• Home
  • Crafts
    • Wreaths
    • Back to School Crafts
    • Christmas Crafts
    • Father’s Day Crafts
    • Fourth of July Crafts
    • Halloween Crafts
    • Kid’s Projects
    • Mother’s Day Crafts
    • Thanksgiving Crafts
    • Valentine’s Day Crafts
  • Recipes
    • Christmas Recipes
    • Fourth of July Recipes
    • Halloween Recipes
    • Thanksgiving Recipes
    • Appetizers
    • Beverages
    • Breakfast
    • Dessert
    • Main Dish
    • Side Dish
    • Soups & Salads
    • Snacks
  • Freebies
    • Back to School Printables
    • Christmas Printables
    • Father’s Day Printables
    • Fourth of July Printables
    • Halloween Printables
    • Mother’s Day Printables
    • Thanksgiving Printables
    • Valentine’s Day Printables
  • xTool
  • About
    • About CCL
    • Privacy Policy
    • Disclosure
    • Contact Us
    • Email
    • Facebook
    • Instagram
    • Pinterest
    • RSS
    • Twitter

Create Craft Love

December 22, 2014 ·

How to Make a Pintucked Canvas

Sewing

  • Facebook
  • Twitter

This post may contain affiliate links. See my disclosure policy for more details.

 I’ve been wanting to add a little decoration to my office lately, but I wanted it to be something different. I also recently made a tunic with pintucks, which got me thinking…what if I were to put pin tucks on a canvas? So I tried it.

Hi, I’m Lisa Mabey from Mabey She Made It, a DIY, crafts, and sewing blog, and I’m loving how this Pintucked Canvas has added just the right amount of sewing inspiration to my creative space.  It’s cute, it represents sewing, and it is a fun way to display a little bit of inspiration along the way.
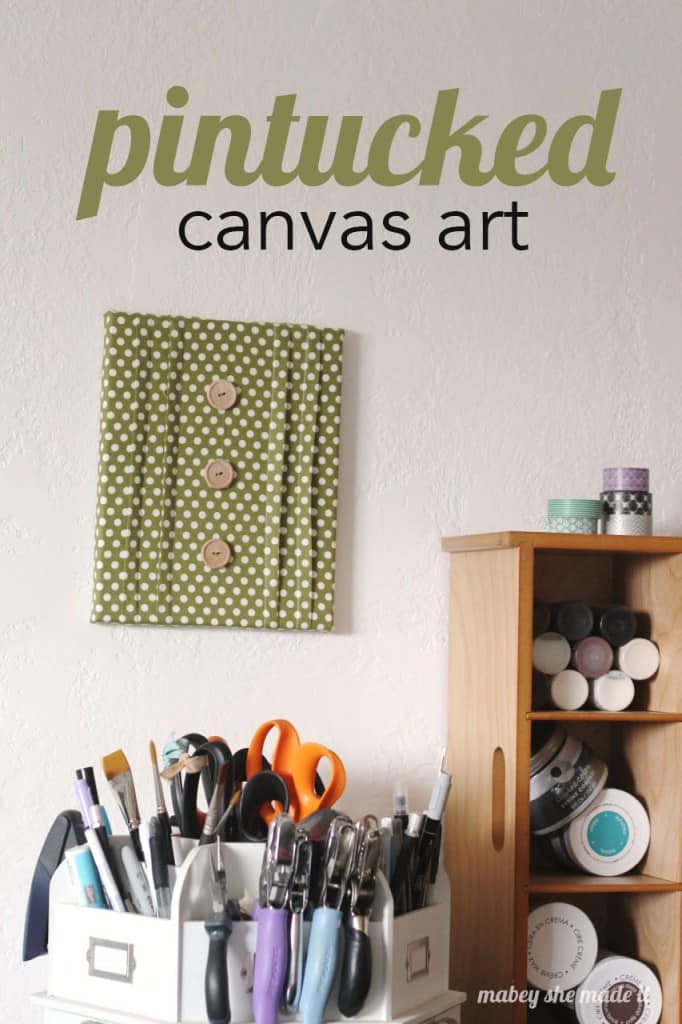
Spice up your decor with this Pintucked Canvas!


Pintucked Canvas Supplies
8″ x 10″ Canvas
Fat quarter of fabric
Sewing machine and thread
3 wooden buttons
Water soluble marking pen
Ruler
Staple gun

Instructions
Find the center of your fat quarter, then mark a line at 1-1/2″ on either side of the center (so you’ll have a 3″ center)
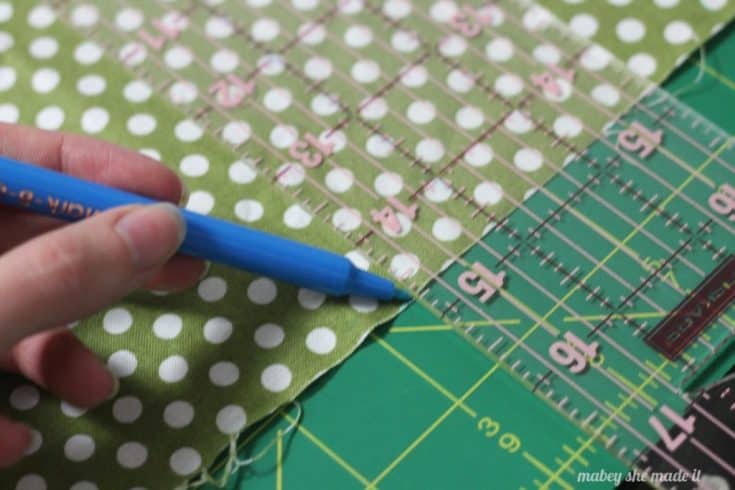
 

Find center of fat quarter to make pintucked canvas

Then make a line every 1″ on the outside of each of those lines. I made 4 lines total on each side for 2 pintucks per side.
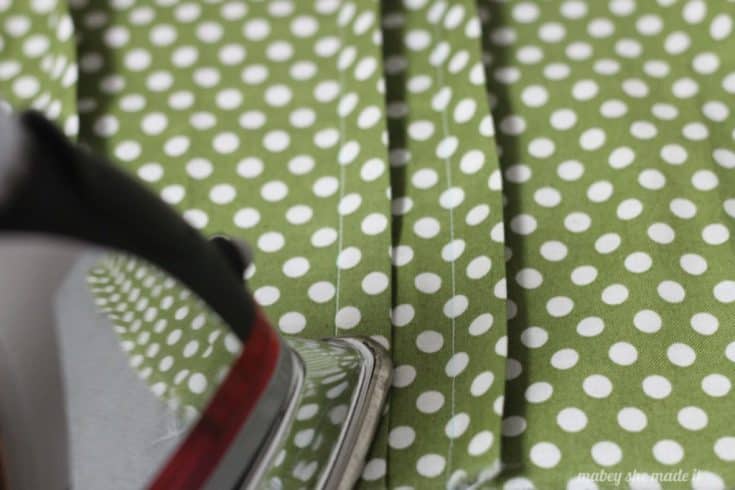
Take the two lines closest to each other on one side, and stack them on top of each other with wrong sides together. Press your pintuck. Repeat with the other sets of lines.
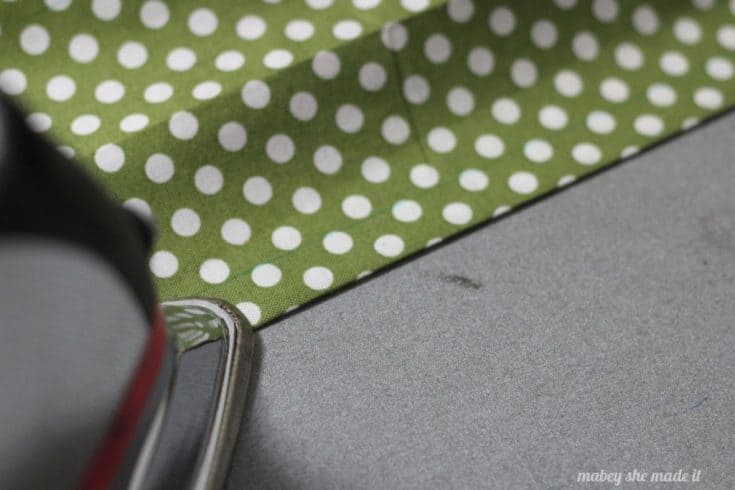
press your pintucked canvas


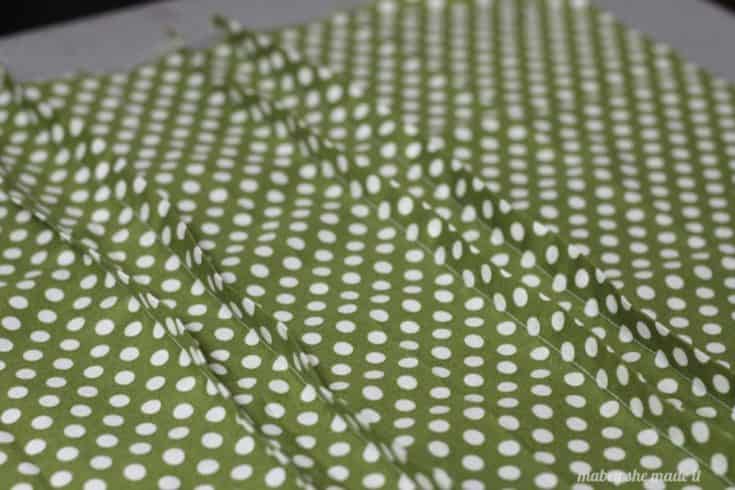
With one pintuck as your edge, sew along the marked line. Repeat for all the other pintucks, making sure you’re always just sewing the two sides of your pintuck together.
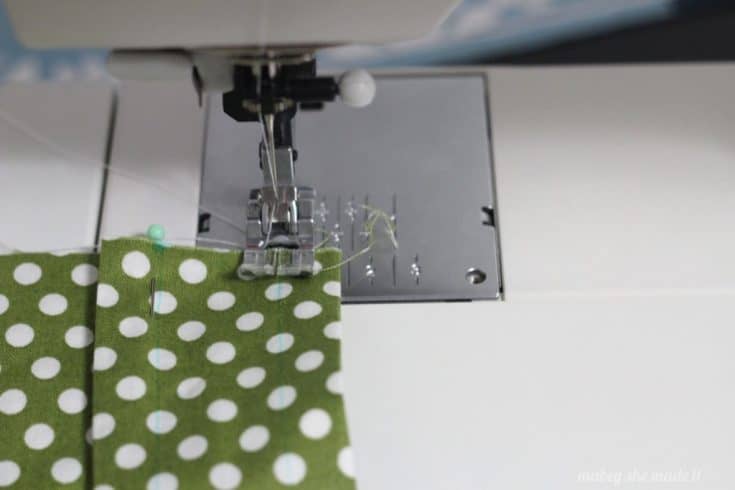
sew along marked line of pintucked canvas


When you get done, it will look like this:
sewn pintucked canvas
Press your tucks outward, so each side will go toward the edge of the canvas.
press tucks outward for pintucked canvas


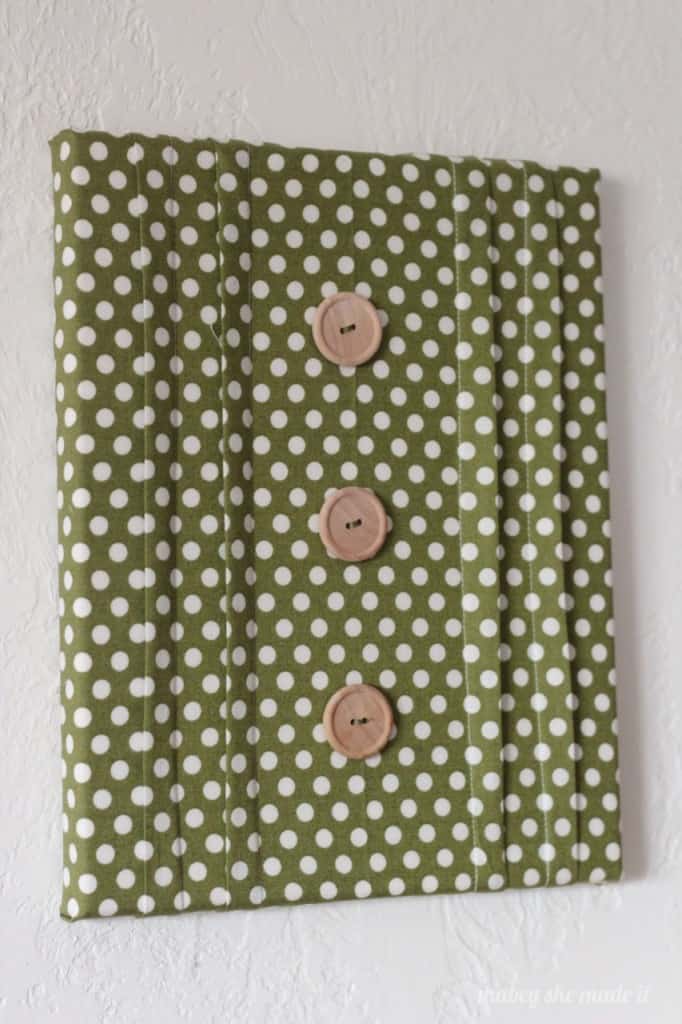
Sew your buttons on to your fabric so they’ll be centered on your canvas. For 3 buttons and a 10″ height, there was a 2.5″ space between each of my buttons.
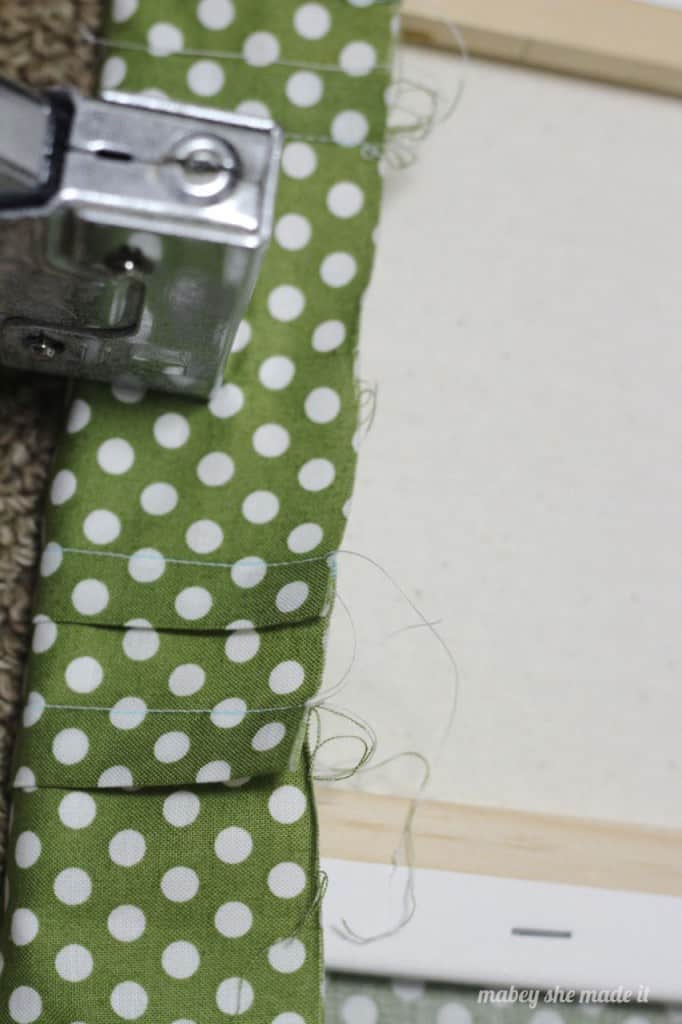
Put your fabric right side to the ground, and center your canvas on your fabric, then staple your fabric around the canvas, making sure to pull the fabric taut. Staple the sides first, and then the fabric around the corners.
staple edges of pintucked canvas

And then you can just hang it up for a super cute, unique way to decorate your sewing space and add a punch of color anywhere you want. You can play around with the scale of the pintucks to get smaller, more stacked tucks or leave them big.
Spice up your decor with this Pintucked Canvas!

I hope you’ve liked this fun idea, and that you’ll come see what else I have going on at Mabey She Made It. You can also find me on Facebook, Twitter, Pinterest, Google + and Instagram!


lisa signature


About Us

We are passionate about sharing simple, fun DIY projects that anyone can tackle—whether you're a seasoned crafter or just getting started. From seasonal décor to everyday crafts, we love inspiring others to make something beautiful with their own two hands.

« New Years Party Favors
Plaid Wrapped Christmas Trees »

Popular Posts

Winter Decorations for After Christmas
This Gold Leaf Mason Jar Vase is keeping with the trends this spring! #spring #gold #goldleaf #masonjars

HALLOWEEN

Trick or Treat Bag - Free SVG Cut File
Oreo Mummies are perfect for classroom or costume parties!
Design your own Gothic Halloween Invitations and let the Cricut Explore do the rest! #halloween #gothichalloween #cricutteam5 #designspacestar

THANKSGIVING

These Pumpkin Spice Cupcakes are everything fall is meant to be! via createcraftlove.com

CHRISTMAS

This Reindeer Noses Printable makes a perfect stocking stuffer or classroom party favor! via createcraftlove.com
Add a little more to your Christmas decor with this Holiday Kissing Ball tutorial! via createcraftlove.com
Vintage feel to this Paper Christmas Village!
© 2019 · Create Craft Love·
  • Pinterest
  • Facebook
  • Twitter