This post may contain affiliate links. See my disclosure policy for more details.
It’s so fun to be back here at Create. Craft. Love. to share with you one of my latest creations. Again, I’m using my favorite crafting medium… book pages! You will adore the look of this Flowery Book Page Pumpkin!
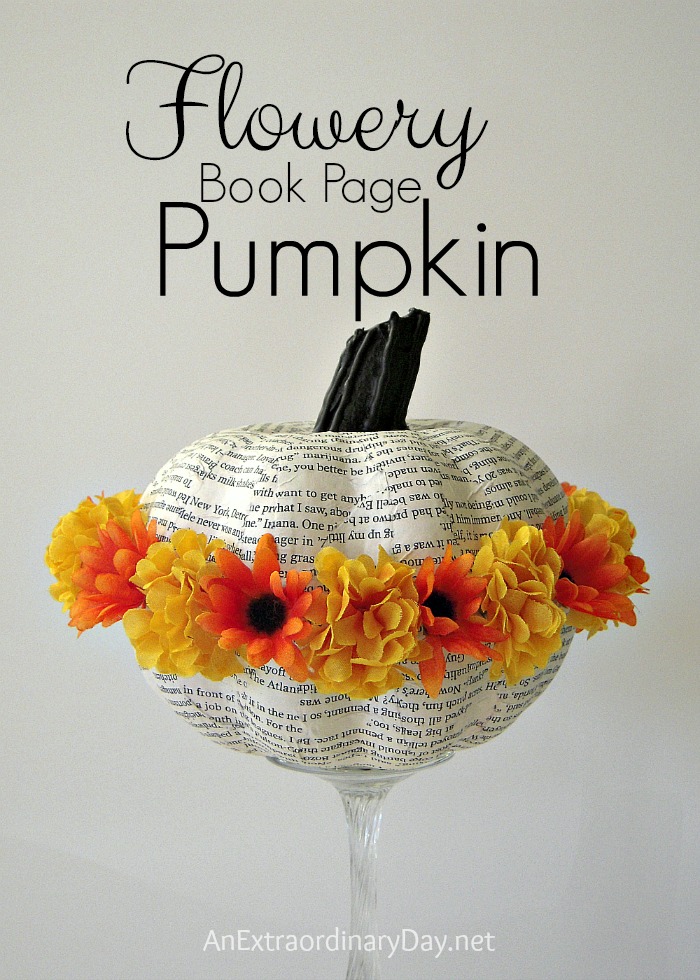
I’m all about simple doable home decor crafts that anyone can make. And believe me… this one is super simple… and inexpensive, too! The best part is that it’s whimsical…. it delights children… and make adults smile. Sometimes we take seasonal home decor too seriously. So today….we’re going to have fun! And smile a lot too!
Let’s make a Flowery Book Page Pumpkin
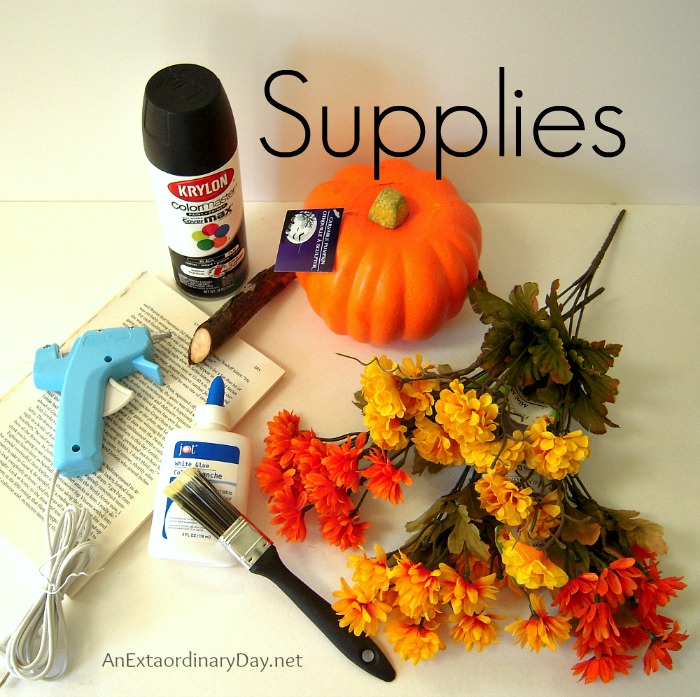
Gather Supplies…
dollar store pumpkin
old book
Mod Podge or DIY decoupage glue
paint brush
small silk flowers
scissors
sharp knife
pencil
cool glue gun and glue sticks
branch cut to stem size
black paint
Make Your Own Decoupage Glue
Supplies
small, clean empty glass jar
white school glue
water
Make it
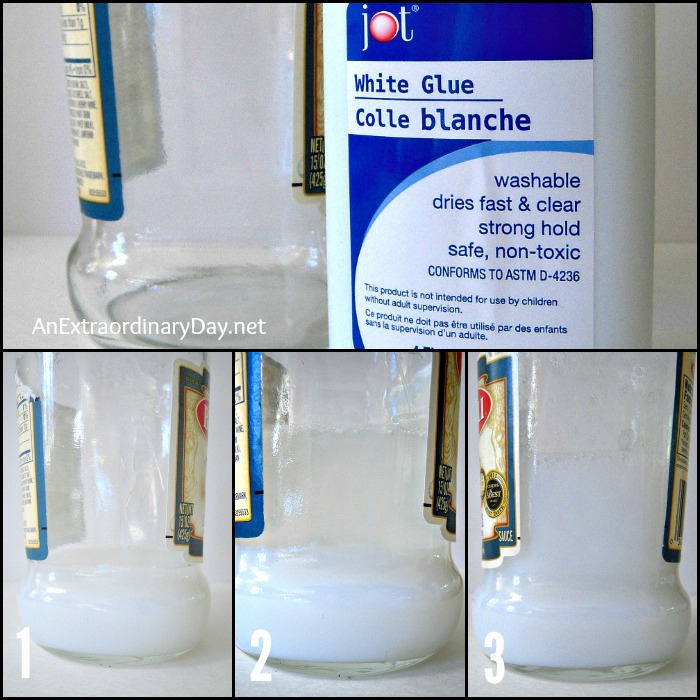
Pour a bottle of white glue into your empty jar
Add an equal amount of water (50% glue /50% water).
Put top on jar and shake well.
Create a Book Page Pumpkin
Tear strips of book page paper to go from stem to base of pumpkin. My pumpkin took about 18 strips of paper.
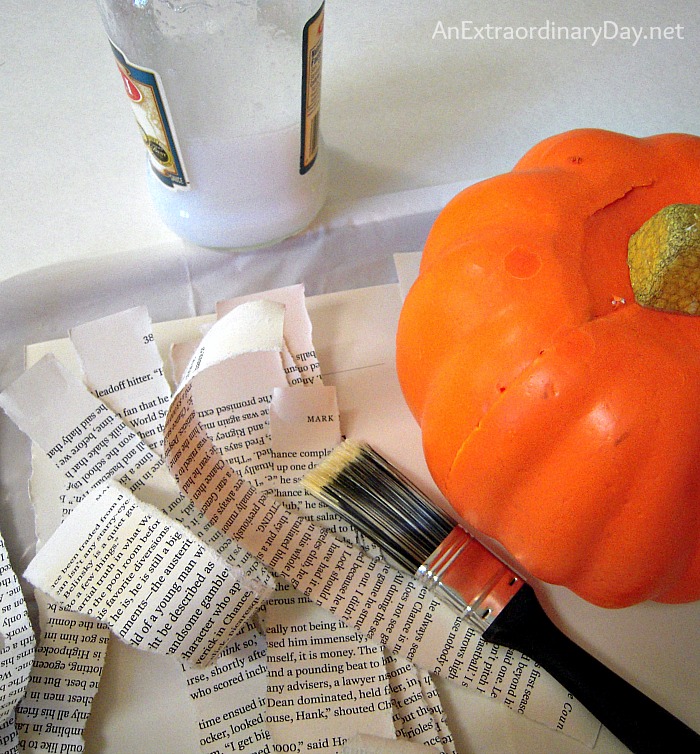
Using a plastic bag to protect your table, covered with a scrap book page for your working surface, lay the torn book page, face down on your work surface and paint the Mod Podge or DIY decoupage glue on the back of the book page strip. Carefully lift it off your work surface and place it on the pumpkin starting at the stem and carefully smoothing it down toward the bottom of the pumpkin.
Apply more glue to the top of the strip of paper with your brush. It will serve to further dampen the paper and allow it to be hand smoothed to the pumpkin.
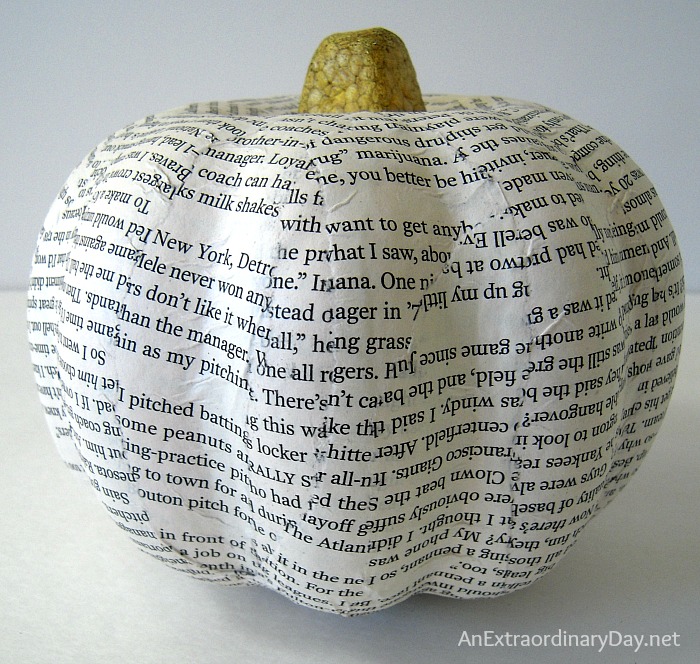
Repeat randomly around the pumpkin until all the orange is covered.
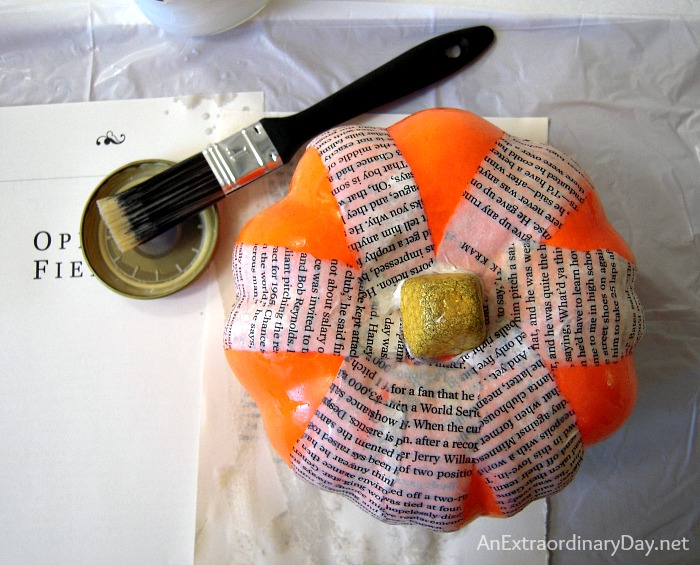
Allow your wet pumpkin to dry.
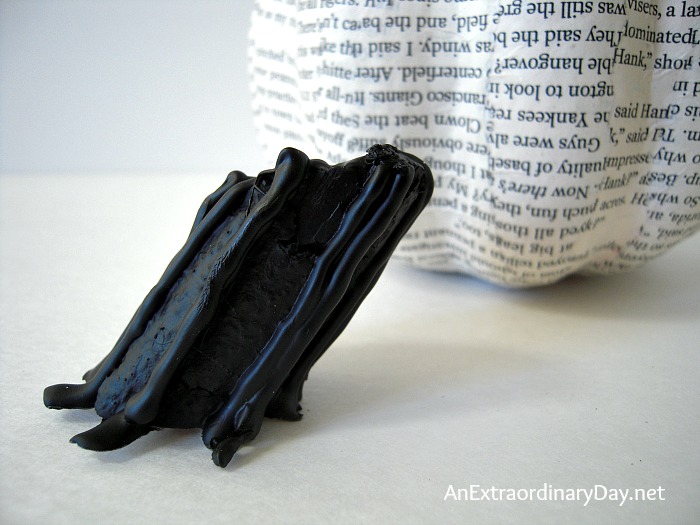
While the pumpkin is drying, make a realistic pumpkin stem. See the tutorial here.
Once your pumpkin is dry, cut the stem out of the pumpkin and cover with book page paper if necessary.
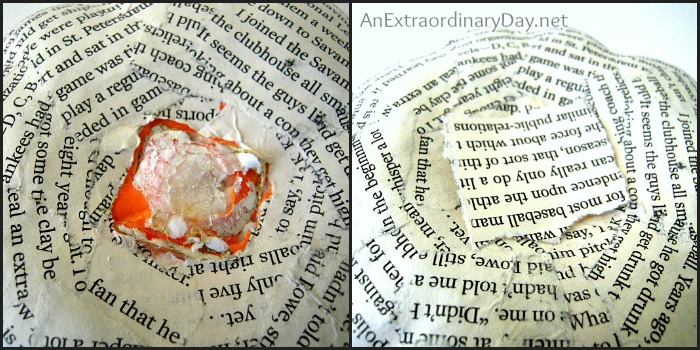
Hot glue your realistic stem on your book page pumpkin.

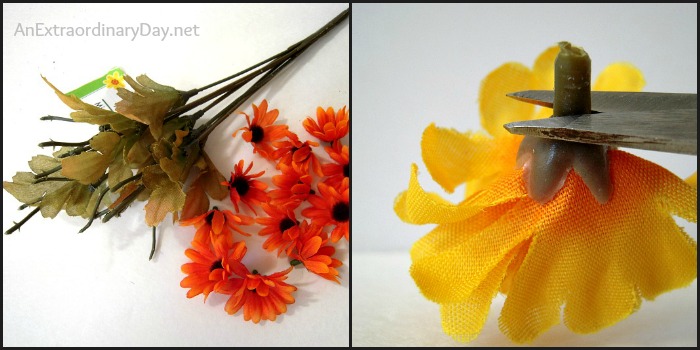
Prepare your flowers for application to the pumpkin. First… pull the flowers off their stems. Second… clip the plastic end off the base of the flower with your scissors.
Create a level guideline for gluing flowers on the pumpkin.
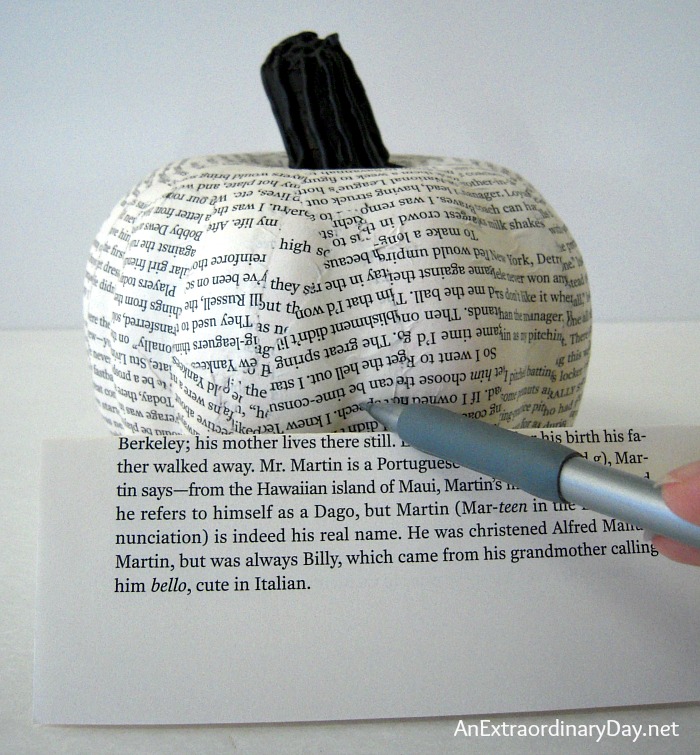
Fold a piece of paper to the desired height and hold it on the table and draw little marks around the pumpkin as your gluing guide.
I used two different bunches of flowers for this pumpkin. The first color was arranged on the table to allow for proper spacing and gluing.
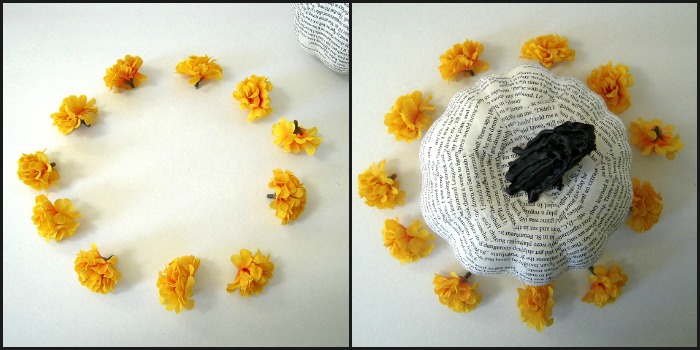
Apply glue to the base of the first group of flowers and glue onto the pumpkin, and on the line, spaced as you had previously arranged them.

Add contrasting flowers to fill in the gaps.

That’s it!!
Fun, quick, easy, and this flowery pumpkin cost all of $3, plus the hot glue and paint.
Now that I’ve made one… I want to make more!
One just isn’t enough. These would be so sweet running down the center of a table for Thanksgiving.
How else do you see yourself using these flowery book page pumpkins?
For more fun book page craft ideas stop by An Extraordinary Day HERE, or HERE for more Fall Ideas.
Facebook | Pinterest | Google+