• Home
  • Crafts
    • Wreaths
    • Back to School Crafts
    • Christmas Crafts
    • Father’s Day Crafts
    • Fourth of July Crafts
    • Halloween Crafts
    • Kid’s Projects
    • Mother’s Day Crafts
    • Thanksgiving Crafts
    • Valentine’s Day Crafts
  • Recipes
    • Christmas Recipes
    • Fourth of July Recipes
    • Halloween Recipes
    • Thanksgiving Recipes
    • Appetizers
    • Beverages
    • Breakfast
    • Dessert
    • Main Dish
    • Side Dish
    • Soups & Salads
    • Snacks
  • Freebies
    • Back to School Printables
    • Christmas Printables
    • Father’s Day Printables
    • Fourth of July Printables
    • Halloween Printables
    • Mother’s Day Printables
    • Thanksgiving Printables
    • Valentine’s Day Printables
  • xTool
  • About
    • About CCL
    • Privacy Policy
    • Disclosure
    • Contact Us
    • Email
    • Facebook
    • Instagram
    • Pinterest
    • RSS
    • Twitter

Create Craft Love

November 21, 2018 ·

Paper Christmas Village with Cricut

Christmas Decor· Cricut Projects

  • Facebook
  • Twitter

This post may contain affiliate links. See my disclosure policy for more details.

Capture that vintage holiday look with your own Paper Christmas Village!
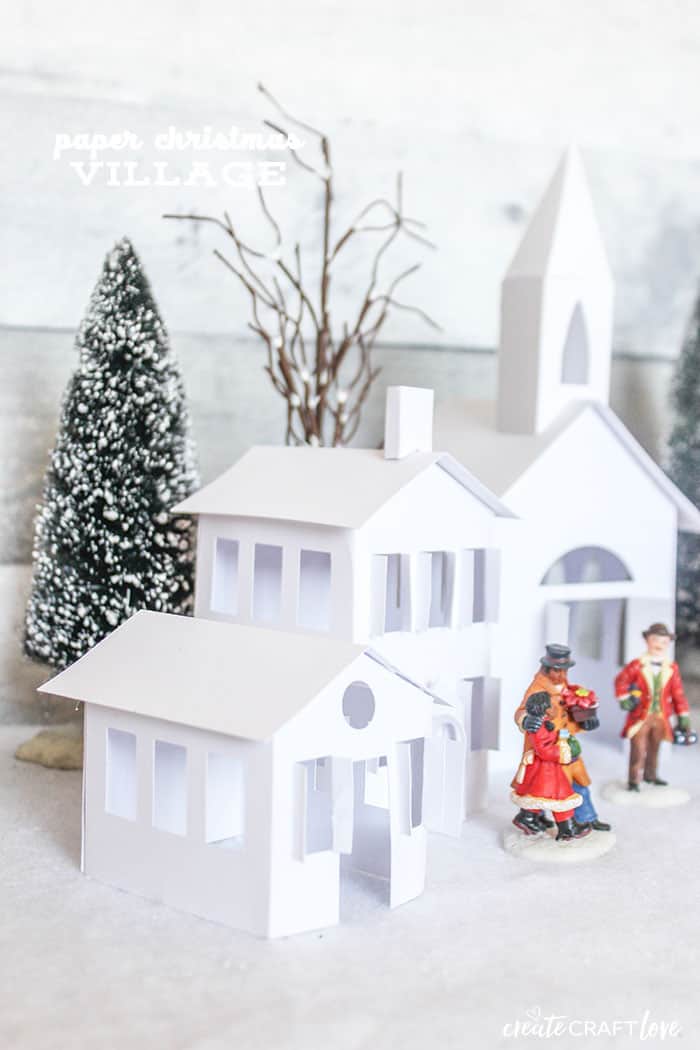
Capture that vintage holiday look with your own Paper Christmas Village!

Have you ever seen a vintage paper Christmas village?  The pages are perforated and you can create a beautiful holiday scene with some folding and gluing.  Kind of like playing with paper dolls.  Now you can create your own using your Cricut machine!

This post contains affiliate links for your convenience!

Materials needed for Paper Christmas Village

  • Cricut Maker
  • Scoring wheel
  • Fine point blade
  • Light grip mat
  • White cardstock
  • Hot glue gun

Images used for Paper Christmas Village

  • 3D Building #M469EB
  • 3D Building #M41DBF
  • 3D Building #M4728B x 2
  • 3D Building #M45C3C

I chose all white because I’m a purist when it comes to colors for my Christmas decor.  Plus, it allows me to keep it up as a “winter” village for a little longer than just the holiday season.  I sized the buildings so the largest side was 11.5 inches.  Once you have sized as you wish, send to cut.  As with previous scoring wheel posts, the software will prompt you when to use the scoring wheel and when to switch to the fine point blade.  
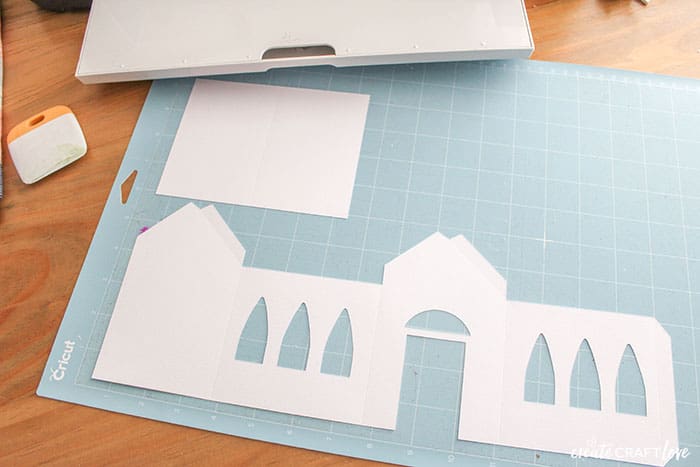
cutting paper village

Fold along the scoring lines and then glue sides together with hot glue gun.  I did not use parts of the church design because I wanted it to look simple.
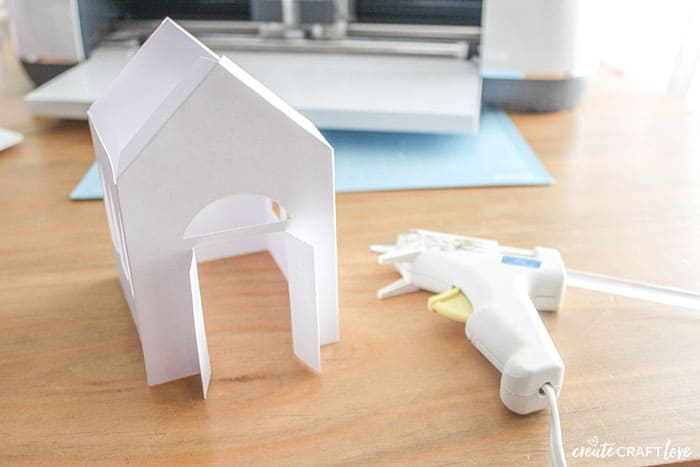
gluing paper houses

Add the roof and steep last and glue into place.  I have found some other 3D designs to be difficult to work with in Design Space.  These were super easy to figure out. 

Repeat the process for the other buildings.  
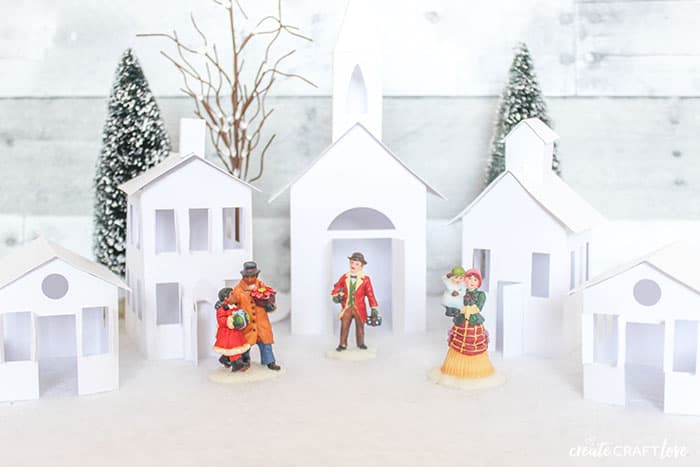
horizontal paper christmas village

The best part of this design?  They make adorable luminaries!  Just add LED tea lights to enjoy in the evening too!
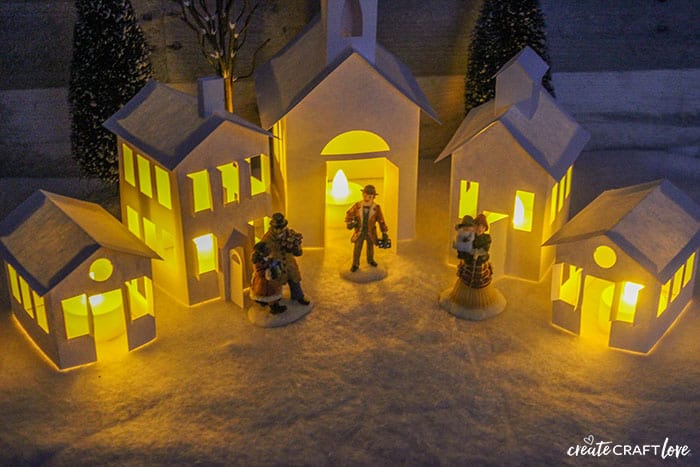
lit paper village

How sweet is that?!  I love how it glows.  This will look adorable next to my Christmas tree!
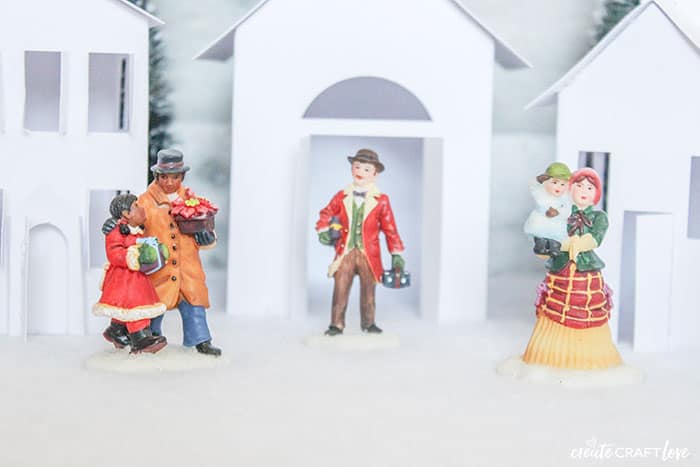
upclose

You could even add some of these Plaid Wrapped Christmas Trees to your village scene!
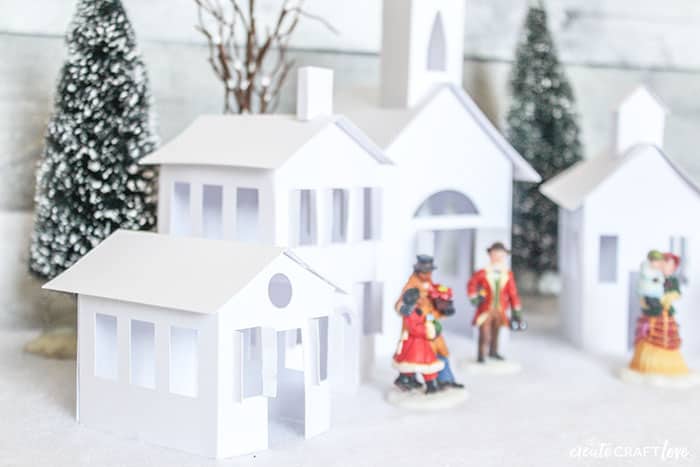
Vintage feel to this Paper Christmas Village!

About Us

We are passionate about sharing simple, fun DIY projects that anyone can tackle—whether you're a seasoned crafter or just getting started. From seasonal décor to everyday crafts, we love inspiring others to make something beautiful with their own two hands.

« Burlap Reindeer Garland for Christmas
Hoop Snowman Wreath for Christmas »

Popular Posts

Winter Decorations for After Christmas
This Gold Leaf Mason Jar Vase is keeping with the trends this spring! #spring #gold #goldleaf #masonjars

HALLOWEEN

These Cardboard Box Halloween Costumes are so imaginative, fun and cheap to make! via createcraftlove.com

THANKSGIVING

Close up picture of Fall Leaf Garland

CHRISTMAS

pipe cleaner rosette
old christmas card gift tags
© 2019 · Create Craft Love·
  • Pinterest
  • Facebook
  • Twitter
