This post may contain affiliate links. See my disclosure policy for more details.
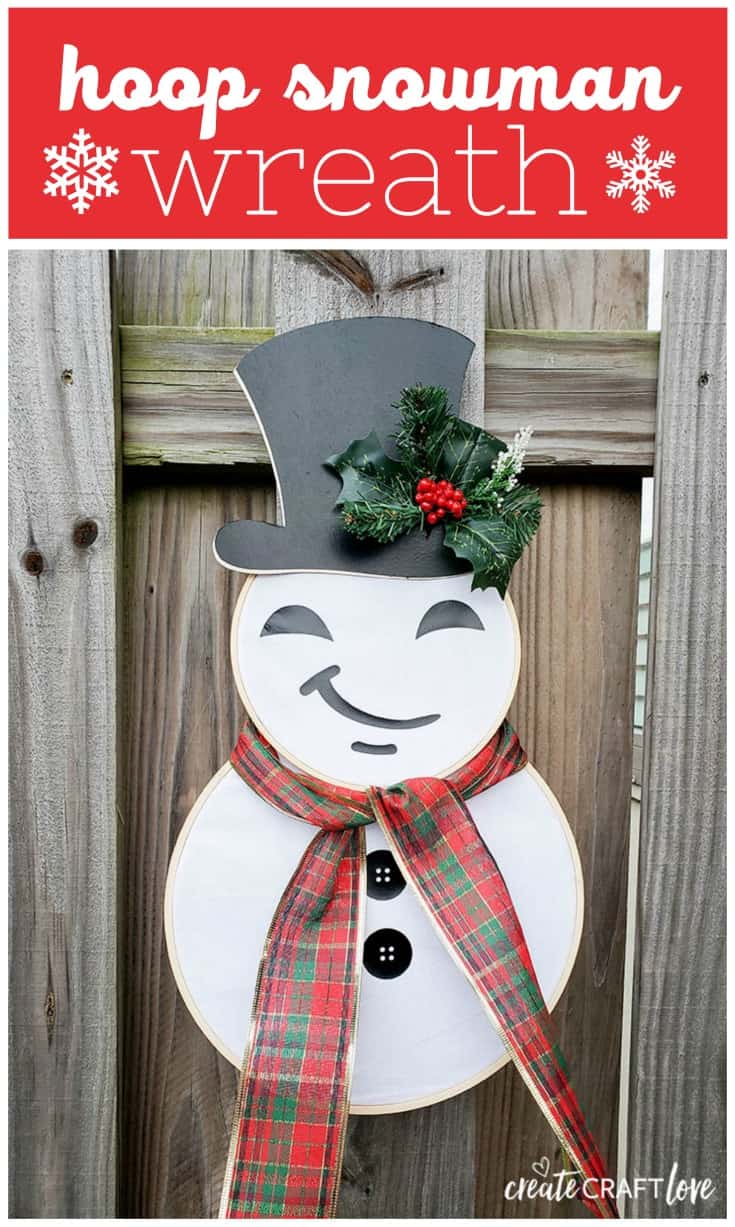
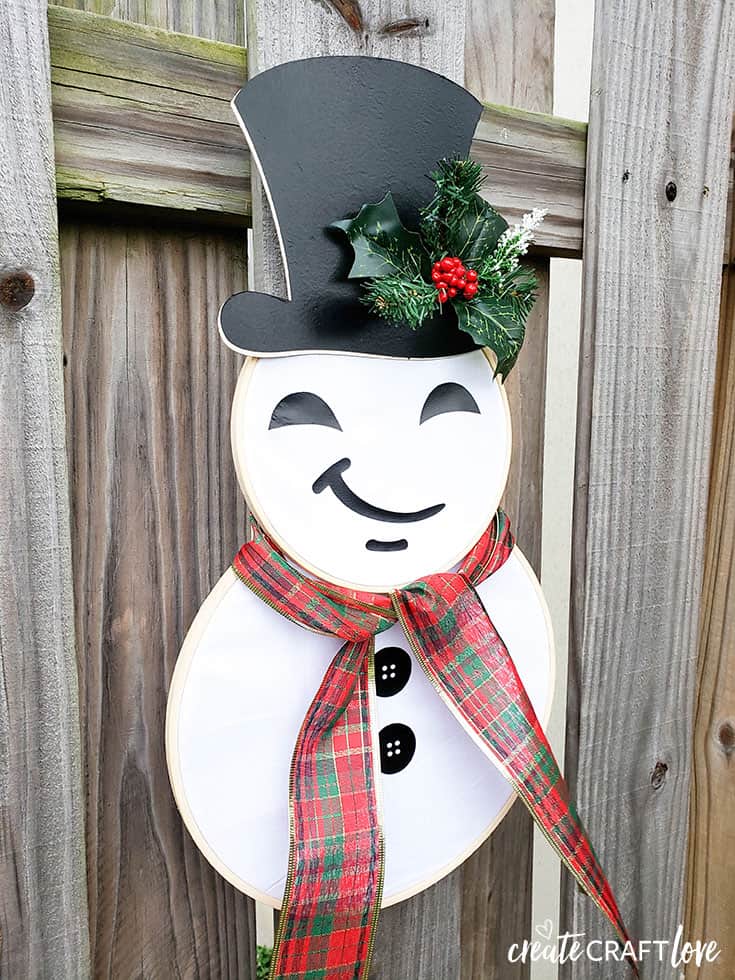
This adorable Hoop Snowman Wreath can be kept up even after Christmas is over!
This post contains affiliate links for your convenience.
Materials needed for Hoop Snowman Wreath
7 inch wooden embroidery hoop
10 inch wooden embroidery hoop
White broadcloth
Birch plywood 1/32 thickness sheet
Cricut Maker
Knife blade
Fine point blade
Black iron on vinyl
Strong grip mat
Light grip mat
Cricut basic tool set
Cricut EasyPress
Hot glue gun
Scissors
Plaid Christmas ribbon
Christmas floral pick
Design Space images used for this project:
Top Hat #M8F459B5
Face #M7F48EFA
Button #M314E4
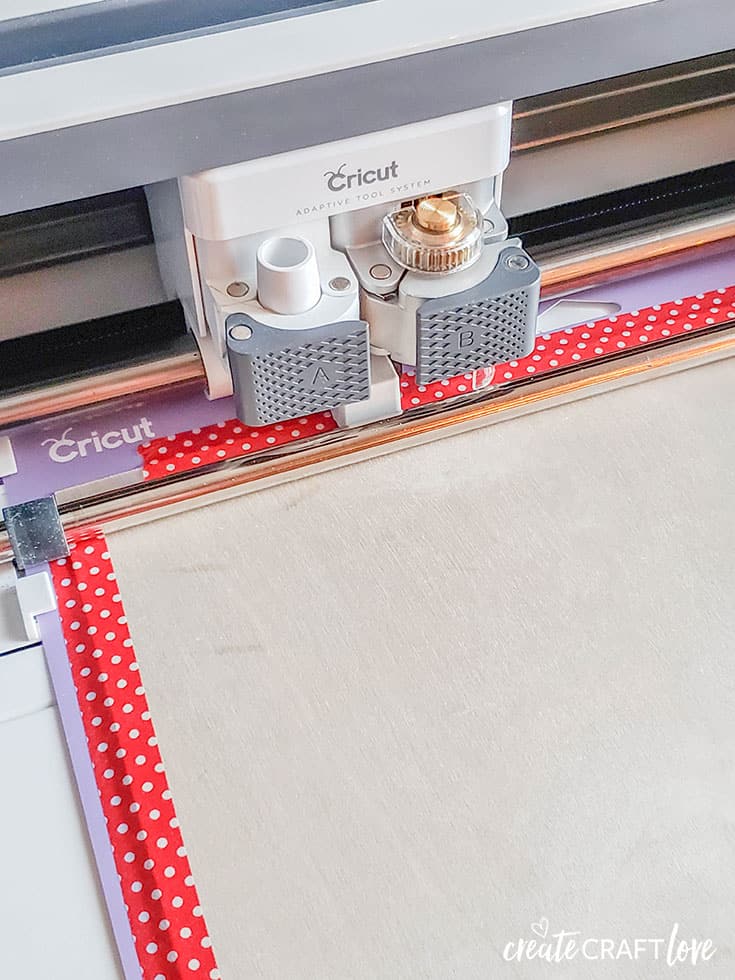
Begin by opening Design Space and opening the top hat image listed above. Size the image at 8 inches in width. Load your knife blade. Send image to cut and choose balsa 3/32 as your material. Apply the birch to the strong grip mat and secure the edges with washi tape. Load and cut.
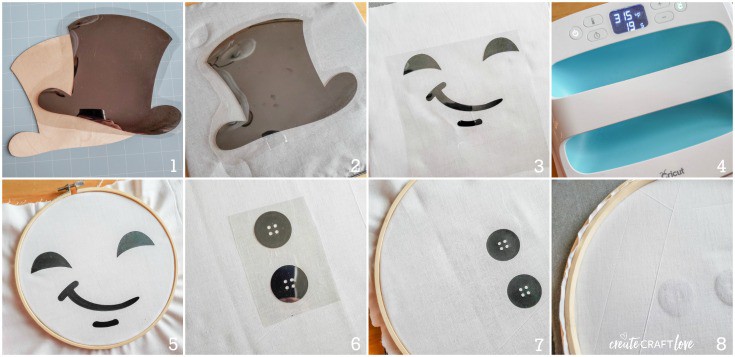
- Once wood hat is cut, set aside. Change material to iron on vinyl. Mirror the image. Apply the black iron on vinyl, shiny side down, to the light grip mat. Load and cut the hat image again.
- Weed vinyl away from the hat. Lay the iron on vinyl on top of the wood hat cut out. Set EasyPress to 300 degrees for 40 seconds. Apply EasyPress to the sandwiched hats and begin timer. Once timer finishes, remove EasyPress and set in cradle. Gently peel the plastic liner away.
- Next, cut the face and button images. Insert face image onto canvas and size to 6 inches wide. Size buttons to 1.5 inches wide. Send to cut. Mirror the images, choose iron on vinyl and cut. Weed away excess vinyl. Apply face image to white cloth. Set EasyPress to 315 degrees for 30 seconds.
- Apply EasyPress to face image. Once timer finishes, gently peel away plastic liner.
- Place cloth with face image in the 7 inch wood embroidery hoop.
- Weed away the excess vinyl from the buttons. Apply to cloth. Repeat process of applying the vinyl to the cloth with the EasyPress at same settings. Gently peel away plastic liner.
- Place cloth with buttons in the 10 inch wood embroidery hoop.
- Trim excess cloth from the back of the embroidery hoops.
Assembling Your Wreath
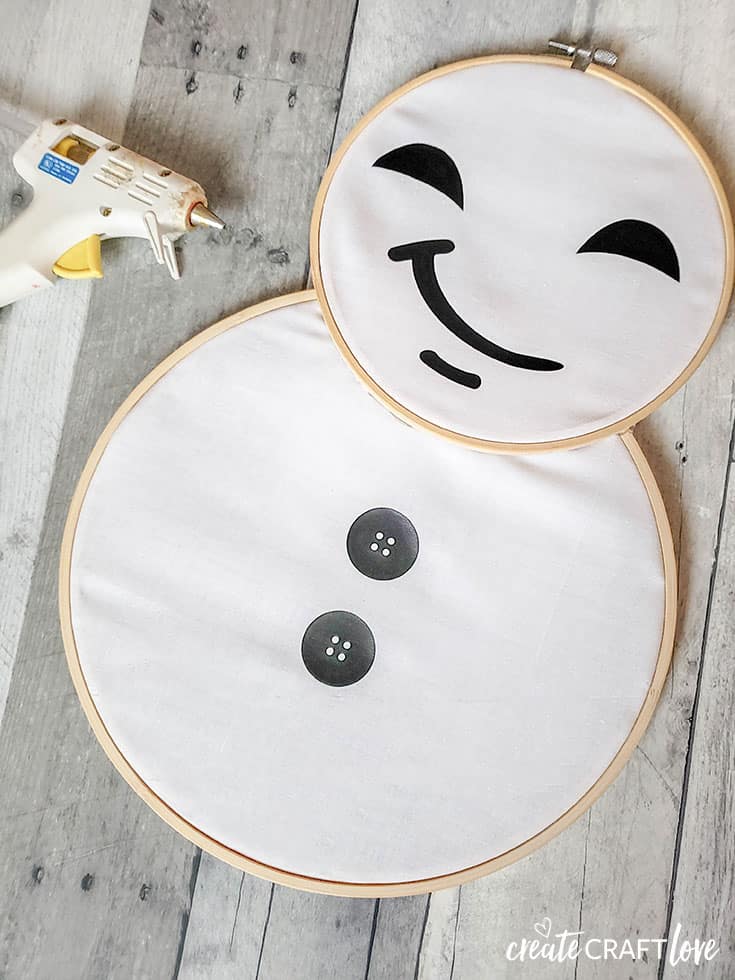
Overlap the larger hoop with the smaller hoop. Hot glue in place.
Pull apart the Christmas floral pick. Choose which leaves you wish to use.
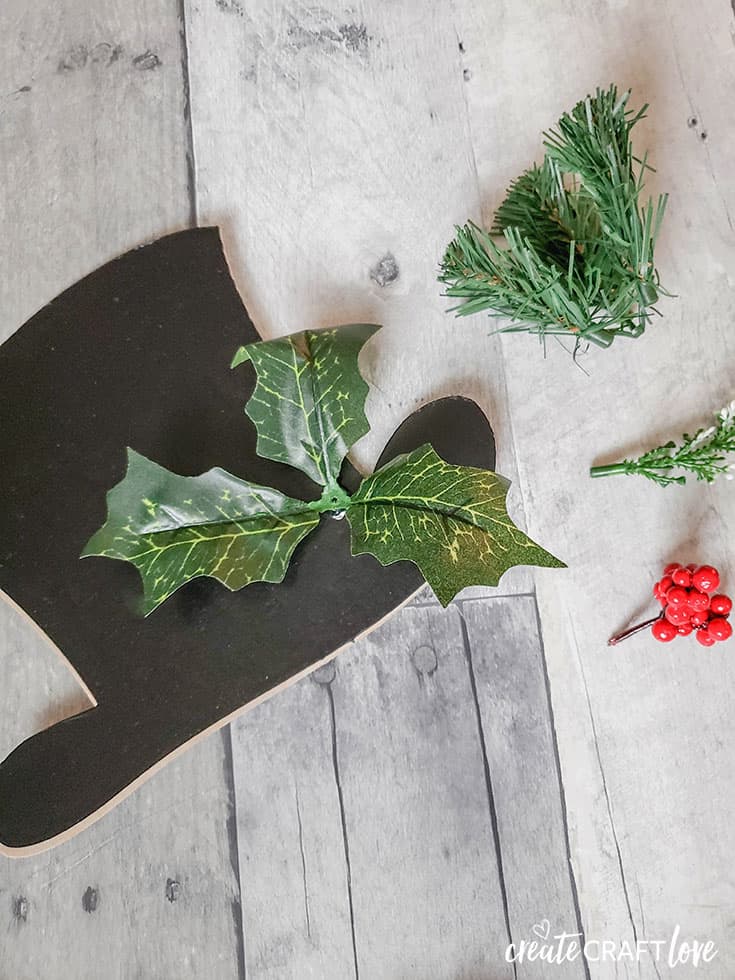
Arrange leaves and berries onto hat and hot glue into place.
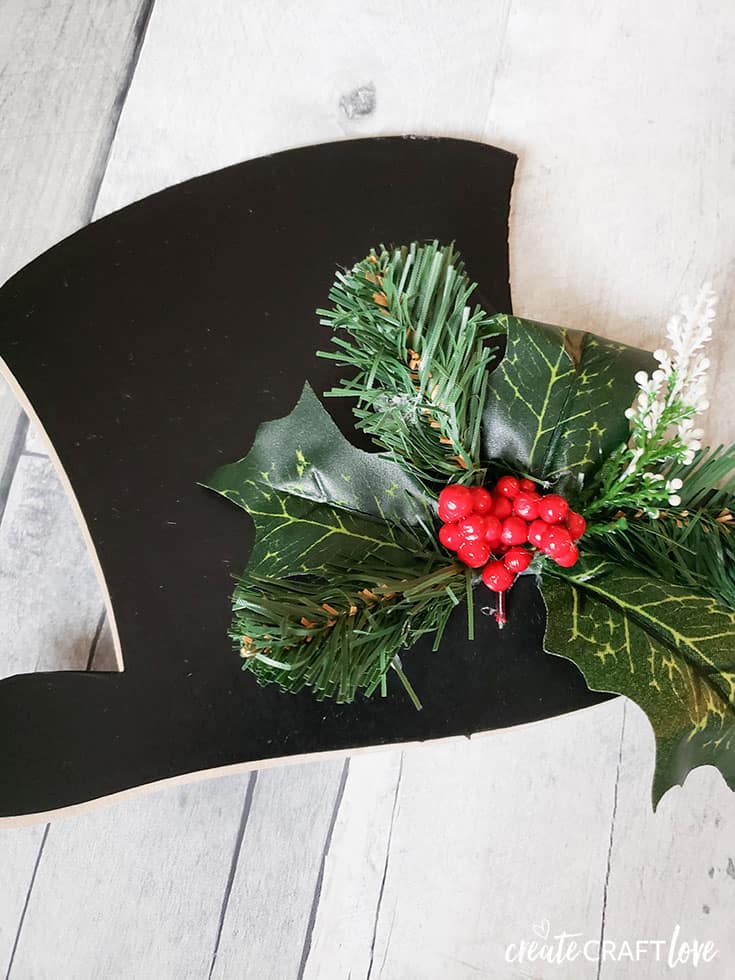
Hot glue finished hat onto the top of the assembled snowman. Add plaid Christmas ribbon between the two hoops to create a scarf.
How stinkin’ cute is that?! I love him!
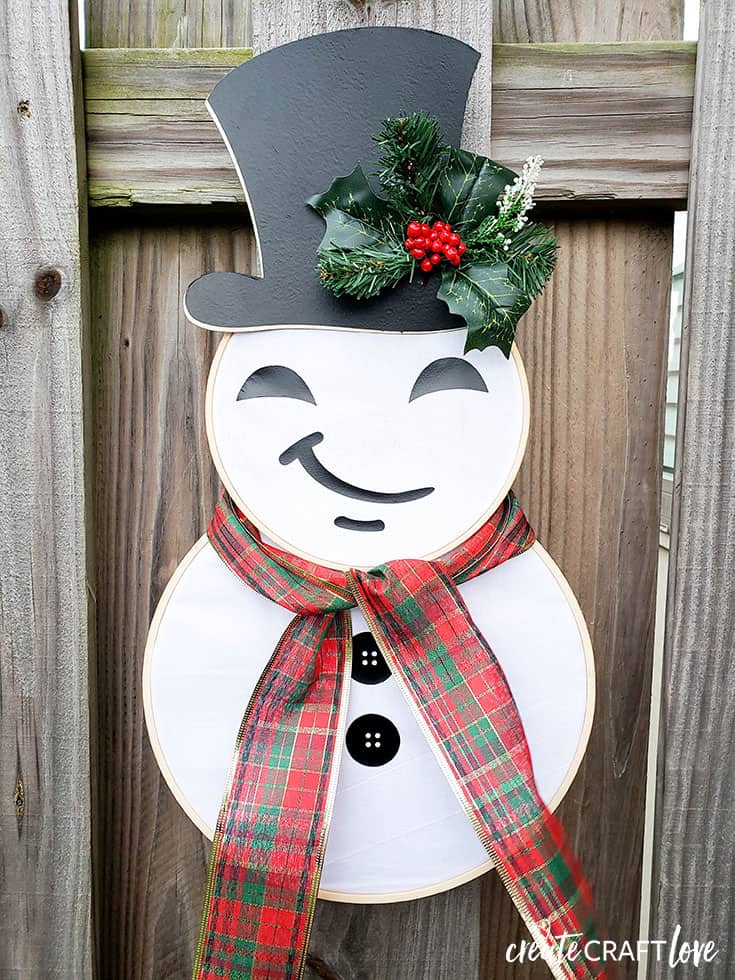
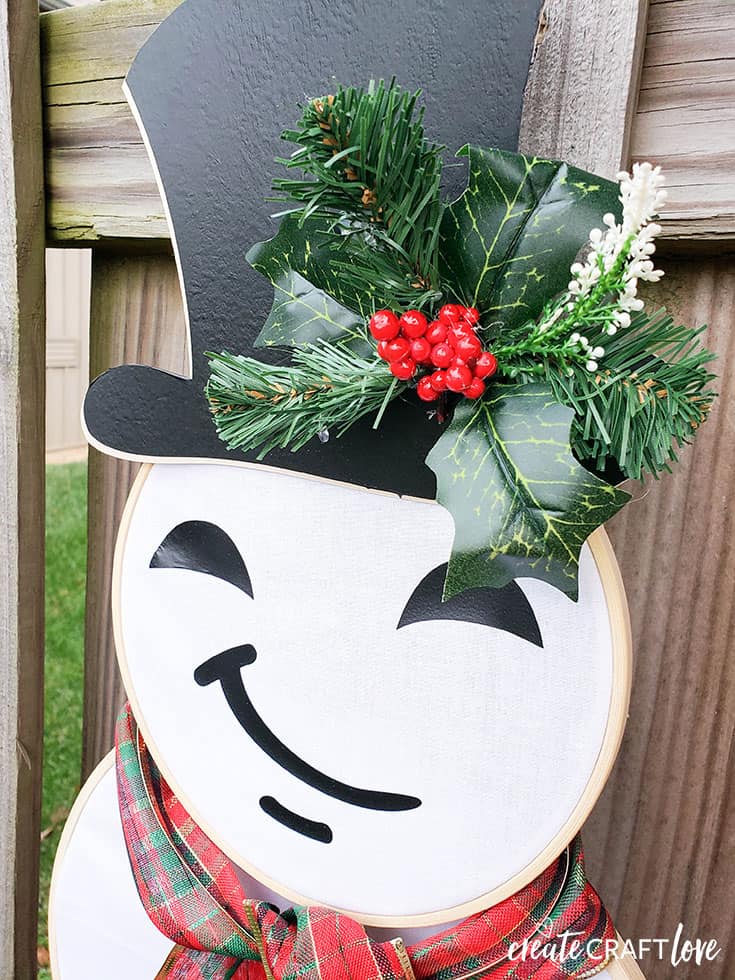
I love how it turned out! I have him hanging inside our front door.
Check out our other great Christmas wreaths!
