This post may contain affiliate links. See my disclosure policy for more details.
Greet tiny trick or treaters with this adorable and not scary Halloween Owl Wreath! This is a copycat version of a Pier One Halloween wreath that I saw and let’s just say, I love mine just as much and it was WAY less expensive.

Halloween Owl Wreath
I saw a super cute fall owl wreath in the Pier One catalog and knew I had to make him for Halloween!
Materials needed for Halloween Owl Wreath
- 2 foam wreath forms (6 inch and 9 inch in diameter)
- Knife
- Toothpicks
- 2-3 black feather boas
- Hot glue gun
- 2 black twig floral picks
- 2 wooden circles
- White acrylic paint
- 2 black buttons
- 1 tear drop shaped piece of wood
- Orange acrylic paint
- Black pipe cleaner
- Halloween ribbon
How to Make an Owl Wreath for Halloween
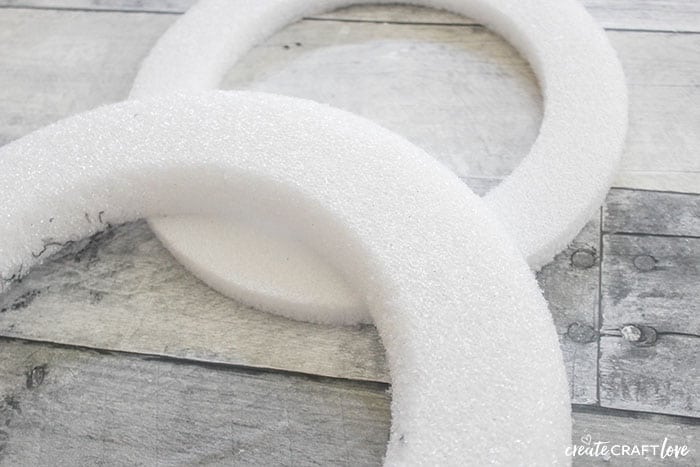
The two wreath forms will create the owl head and body. Begin by overlapping the little one with the larger one and trim off excess.
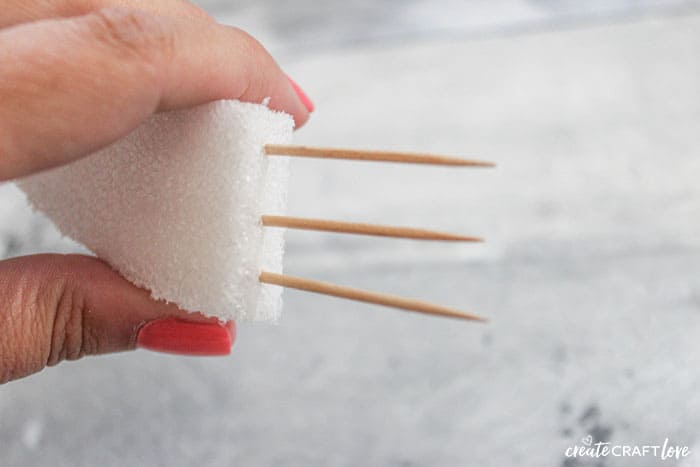
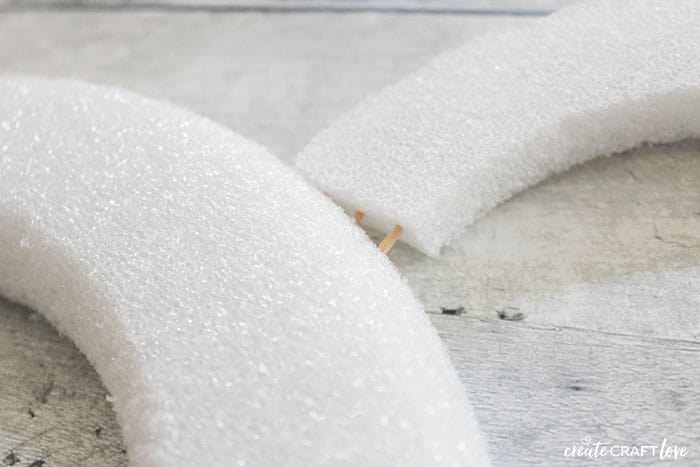
Add toothpicks to the small wreath where you cut. The toothpicks will secure the two wreaths together to form one piece.
Attach the smaller wreath to the larger wreath.
Hot glue the end of the black feather boa to the back of the wreath and begin wrapping. You will need 2-3 boas for this project. Once you reach the end of one boa, hot glue in place and begin process again. Repeat until entire “owl” is wrapped.
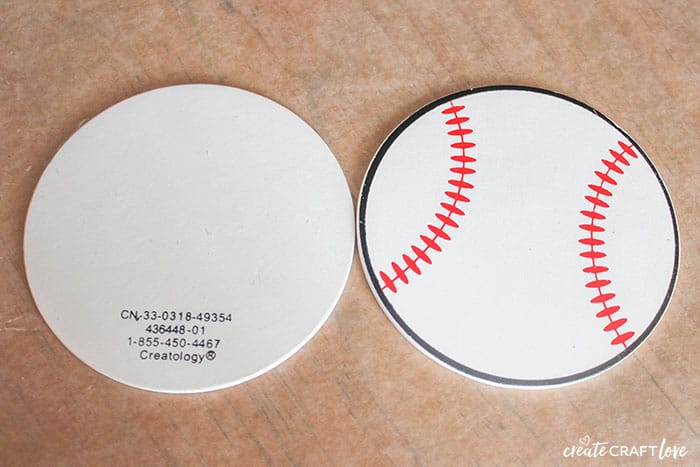
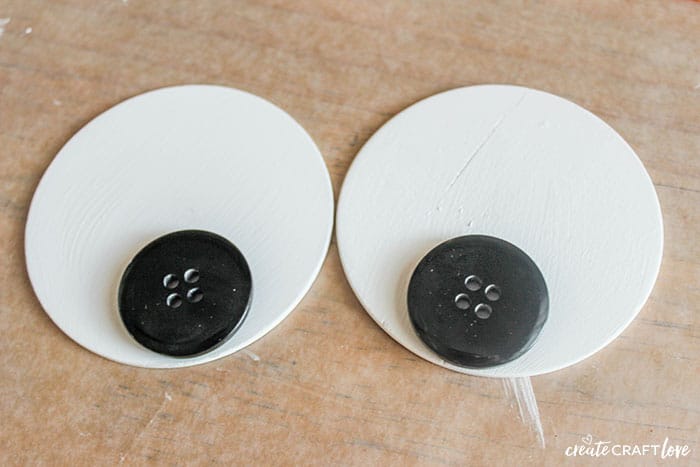
For his eyes, I used these baseball wooden circles! I just painted over the black stamp on the back.
Set aside and allow to dry. Use the orange acrylic paint to paint the tear drop shaped wood piece that will form his beak.

Once his eyeballs are dry, hot glue the black buttons to create his pupils.
Here’s where I had to get creative. The boa does not allow for easy hot gluing of embellishments. I hot glued a black piper cleaner to the back of each eyeball and then wrapped the pipe cleaner around the wreath form. Once I had the eyes in place, I hot glued the beak to the bottom of his eyes.
To finish him off, I added the black twig floral pieces to look like wings. I completed the look with his Halloween ribbon bow tie!

OMG! I love him! He is so cute and friendly looking!

Do you love making Halloween wreaths too?
