This post may contain affiliate links. See my disclosure policy for more details.
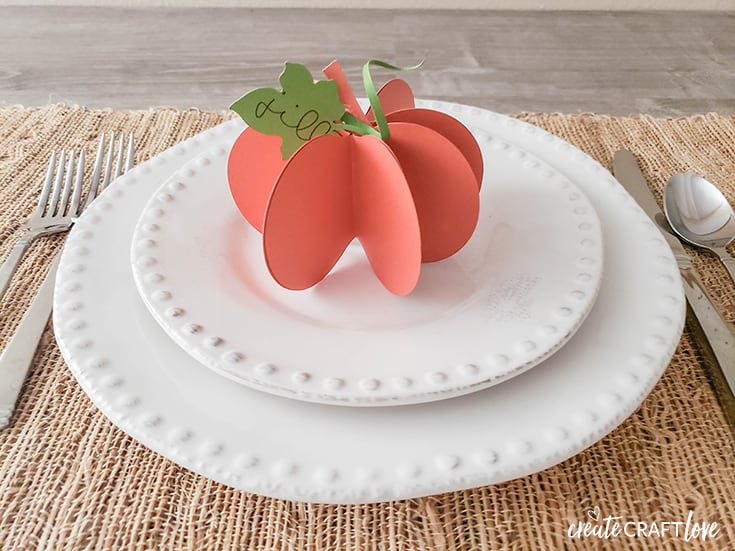
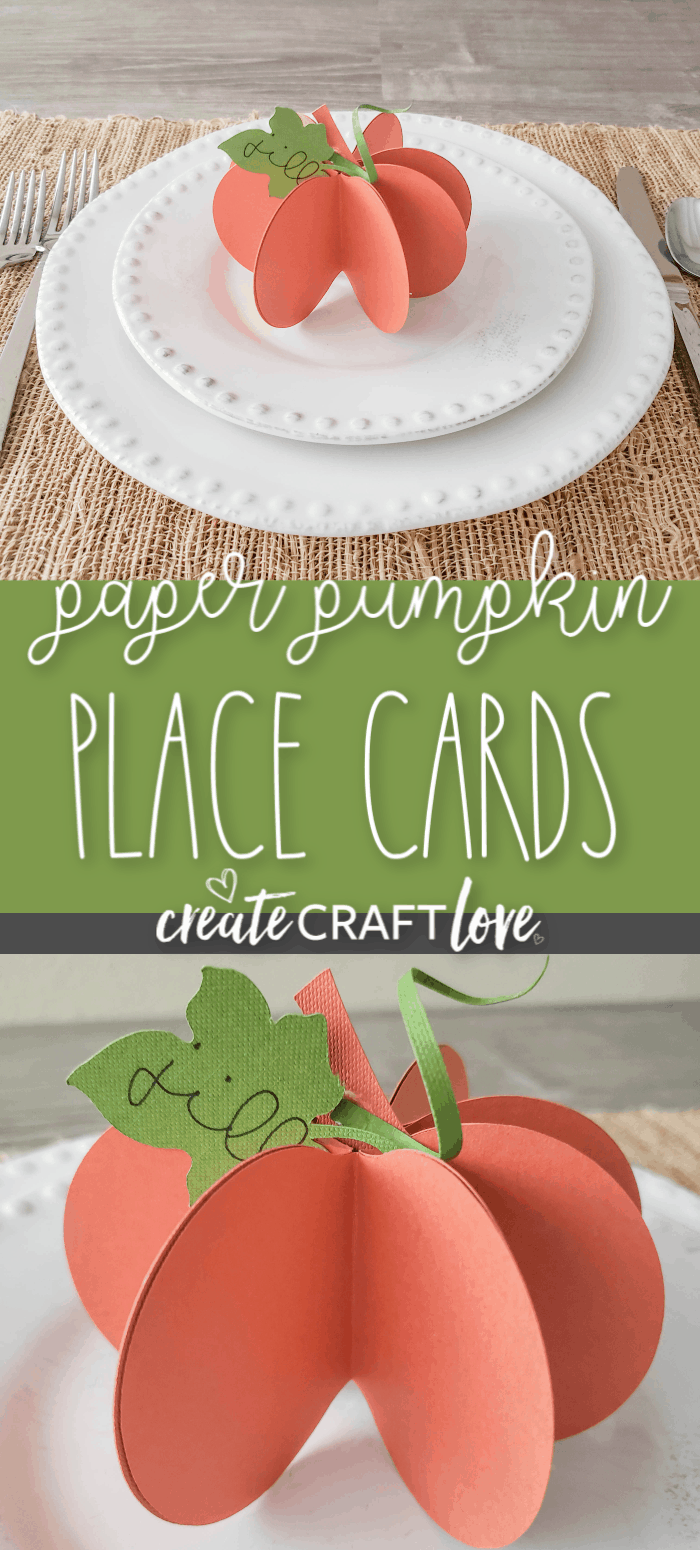
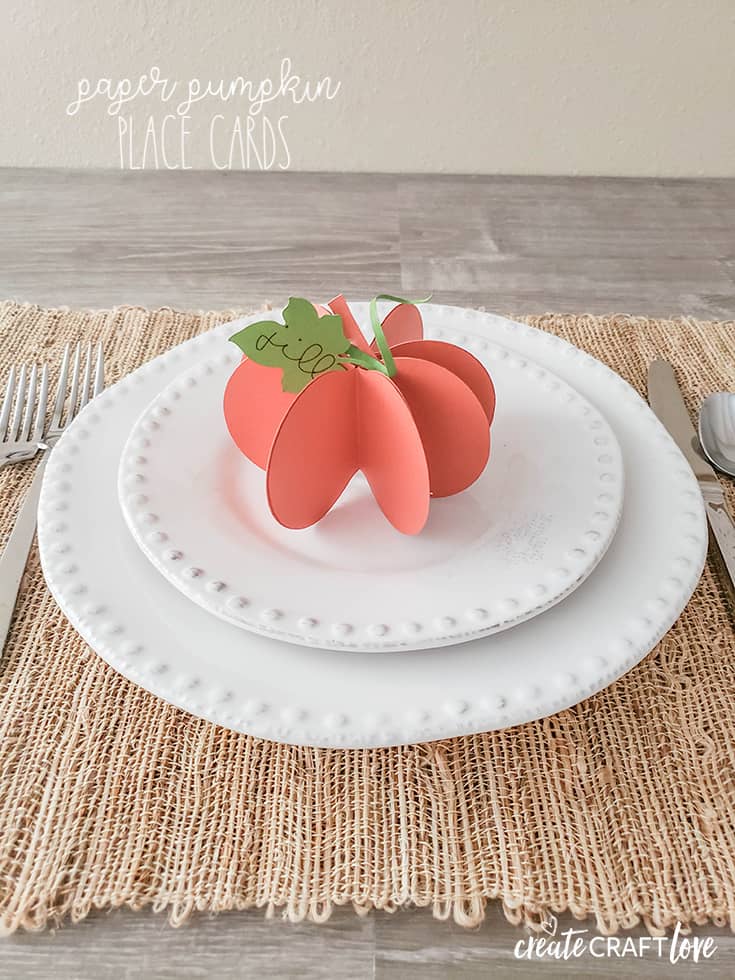
These Paper Pumpkin Placecards are perfect for Thanksgiving or any other fall social gathering you are hosting!
I was browsing through images in Design Space the other day for Halloween and stumbled across this cute 3D pumpkin. What a great idea for placecards! This placecard was so easy to make and was finished in 10 minutes!
This post contains affiliate links for your convenience.
Materials needed for Paper Pumpkin Placecards
Cricut Maker or Explore
Fine point blade
Single scoring wheel
Light Grip Mat 12×24 inch
Orange and green cardstock
Black Cricut Fine Point Pen
Hot glue gun
Images used from Design Space:
Martha Stewart Pumpkin #M6A4C5F3
Open image in Design Space. I enlarged it to a width of 19 inches (this was the total width for all cuts, not the individual pumpkin). Change the leaf and stem to a different color so it prompts to cut on a separate piece of paper. Next I added the writing to the leaf using the text tool. Send to cut. Follow prompts to use scoring wheel and then change back to fine point blade with pen.
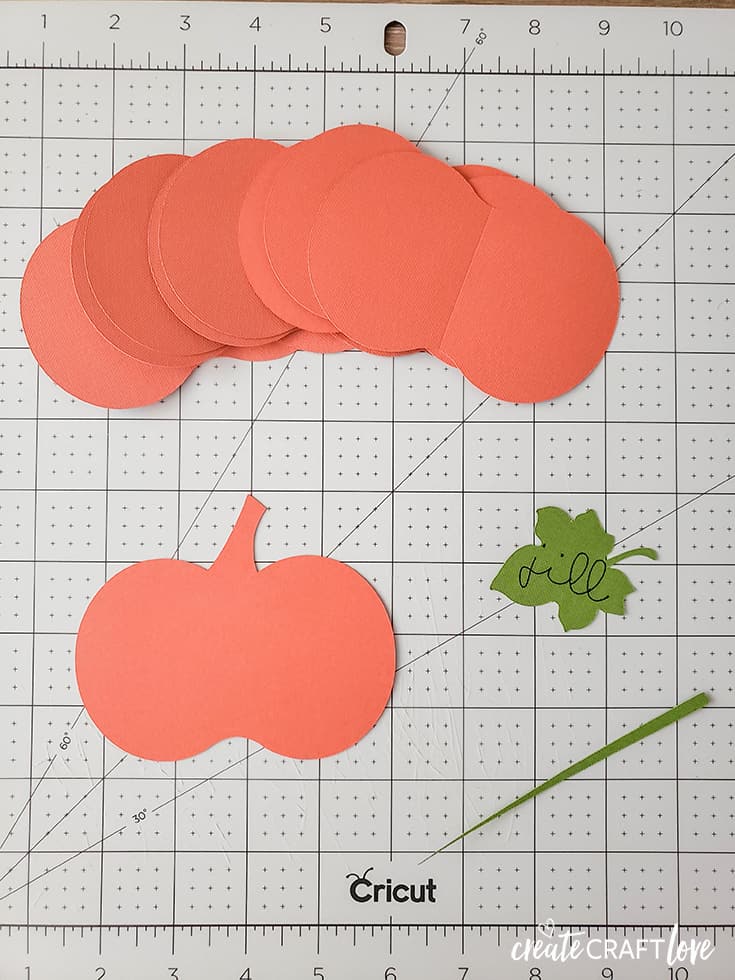
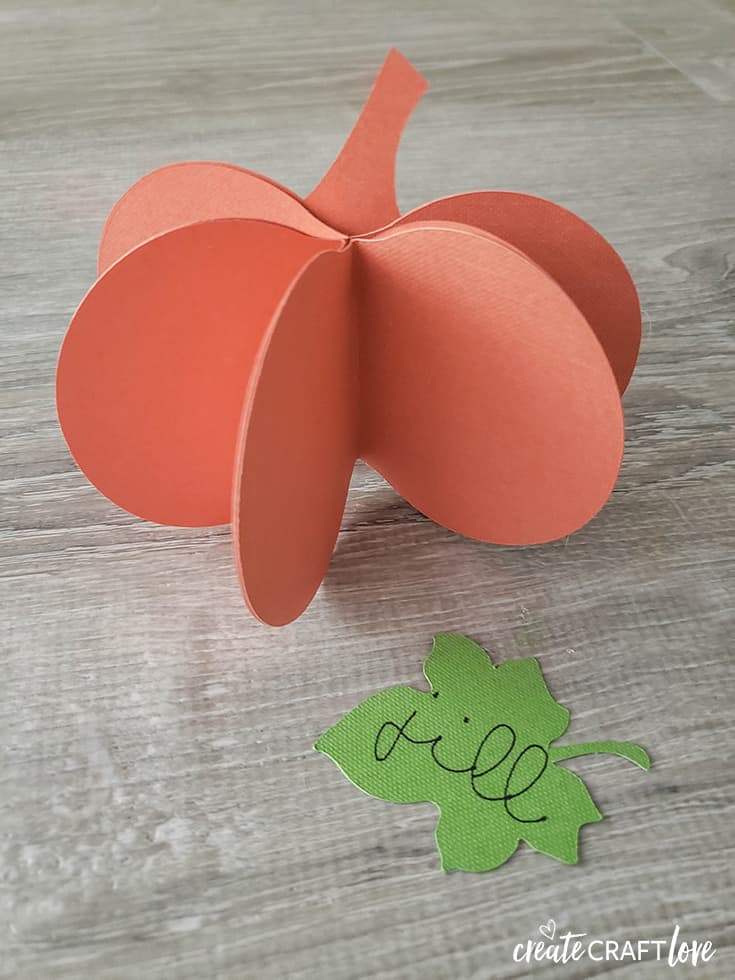
You should end up with one complete pumpkin, 8 scored pumpkins, a leaf with your name, and the stem.
Gather four of the scored pumpkins. Fold each pumpkin in half and then stack them together. Hold the middle folds leaving the end folds open.
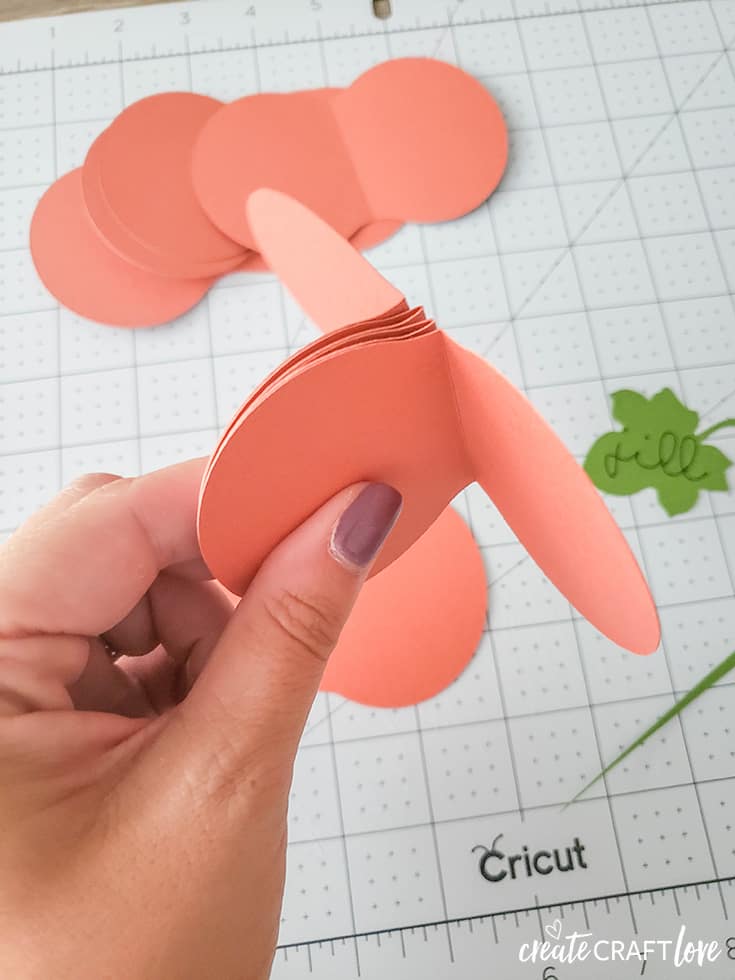
Hot glue the open ends to the pumpkin. Then begin hot gluing all of the side of one fold to the side of the other fold.
Turn over and repeat on the other side with the remaining four pieces.
Wrap the stem piece around a pen or pencil for curling effect. Hot glue leaf with name on it and the stem to the middle of the pumpkin.
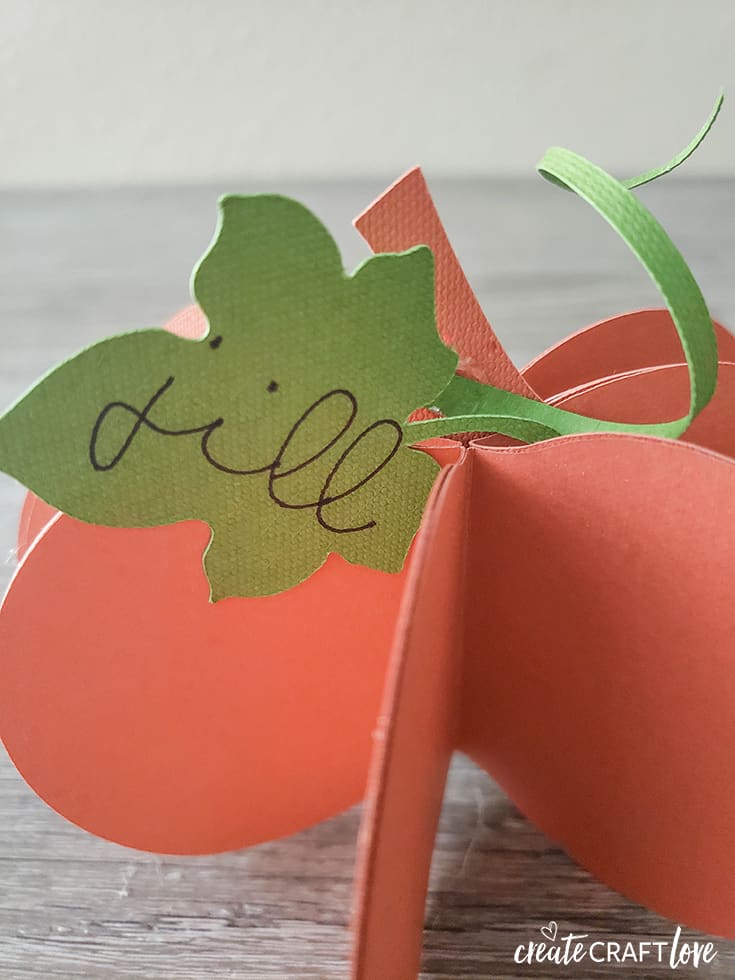
How cute is that?! This is a festive addition to your Thanksgiving tablescape! These would be fun for the kids’ table too!