This post may contain affiliate links. See my disclosure policy for more details.
Hello friends, I’m Sarah from Becoming Martha and I am so excited to be over here with Jill today, sharing a Christmas wreath with you. Today, I am sharing a Christmas version of a Bubbled Burlap Wreath!
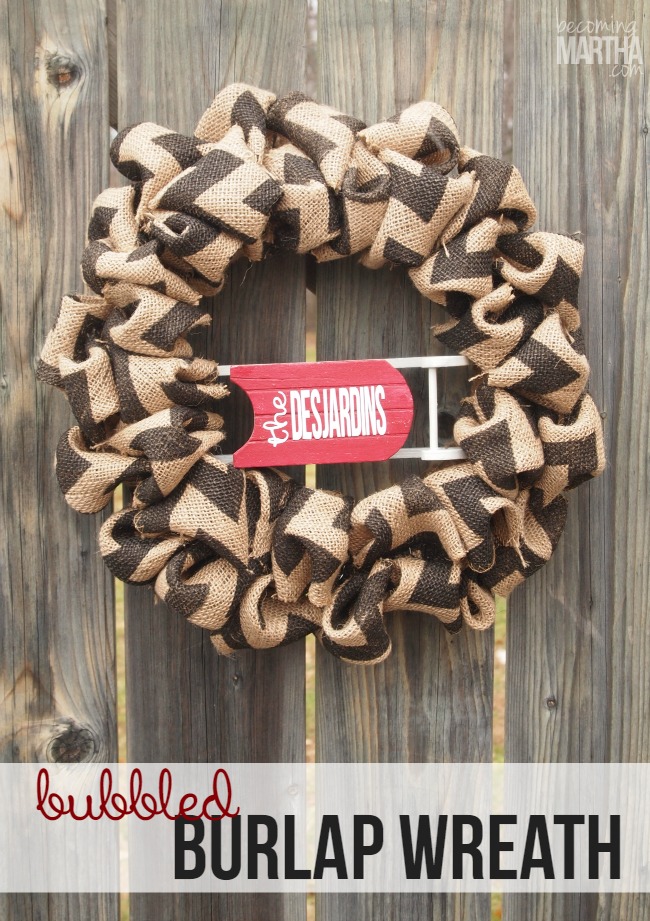
Bubbled Burlap Wreath
I love the rustic and simple look of this bubble burlap wreath. There are so many things you could do to dress it up, or change the colors/themes. It’s easy to put together, affordable and looks so pretty.
To make this wreath, you will need:
- Wreath form
- 1-2 rolls of 5″ burlap, 5 yards each
- Jute twine
- Ornament or decoration
- Vinyl
- Floral u-pins
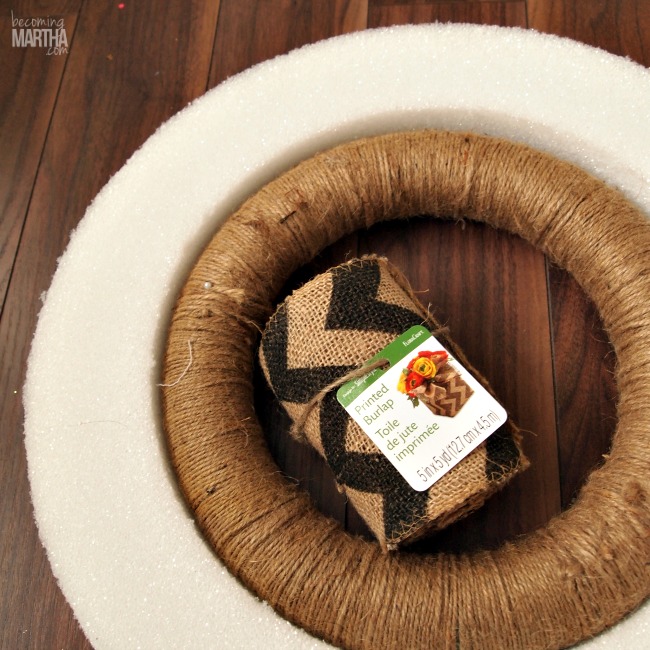
- First of all, choose your wreath form. This wreath looks great at any size, but I used the moulded 12″ wreath since it fits nicely on my door. 1 roll of burlap is just barely enough for this 12″ wreath form – I would have bought two if my craft store had more and made it a little fuller, but you can totally get by with one roll. If you only use one roll, I suggest covering your wreath form in jute twine first, because there may be little gaps in the burlap, and the twine will make it blend together.
- Start by cutting the burlap roll into 5″ squares. Five yards should give you 36 squares. Then, bubble it by joining the corners together. This process is a little tricky for the first few times, but once you get the hang of it, it’s really easy.

3. Use the u-pins to secure the burlap squares. You can use dress pins, but u-pins are really more secure, since dress pins can slip through the loose weave of burlap.
4. Overlap the pieces, covering up the pins as you work.
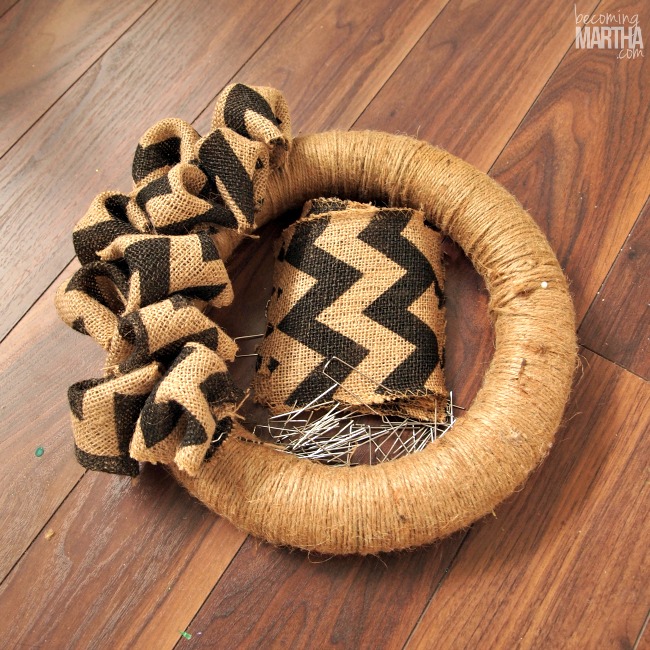
The whole process shouldn’t take more than half an hour, once you get the hang of folding the squares. It really is a simple wreath to create. I love how the chevron pattern becomes more abstract – and you could totally change out the decoration and use it for Halloween next year too!
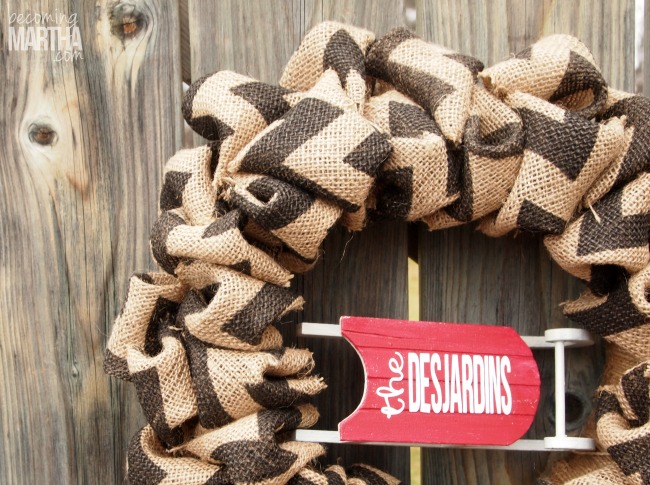
I cut our family name out of vinyl and stuck it on the little vintage style wooden toboggan that I was attaching to the wreath. The original plan was to use black vinyl on the white sled, but my daughter decided it needed some red marker all over the top. So I had to paint it – I did decide to stick with her color suggestion though! I attached the toboggan with twine, so it would blend in with the burlap. Once it was secured, all that was left to do was hang!
I hope you had fun creating this wreath and will stop over to visit me at my blog! You’ll find many more great holiday decor and gift ideas. Thanks so much for having me over Jill! See you all soon! ~Sarah
More Favorite Handmade Wreath Projects:
We love holiday crafts around here and wreaths seem to be our forte! I’m not even kidding, I think we have more wreath tutorials than recipes, ha!
Here are some of our favorite wreath crafts for you to try:
- Cookie Cutter Wreath
- Fairy Garden Wreath
- Fresh Fall Wreath
- Burlap and Plaid Christmas Wreath
- Boxwood Wreath

[…] Halloween is over, and November is here, which means it is officially time to break out the Christmas posts! Agree? I’m hoping to share a lot of gift ideas with you this year, and simple DIY projects that you can complete easily. (FYI – I have been sharing great gift ideas on my Facebook, and they have been a huge hit, so make sure you are following along! I also created a Gift Guide for Kids Gifts on Etsy last week!) The first of those ismple DIY’s is a Christmas wreath that I shared yesterday over on my friend Jill’s blog, Create.Craft.Love. […]