This post may contain affiliate links. See my disclosure policy for more details.
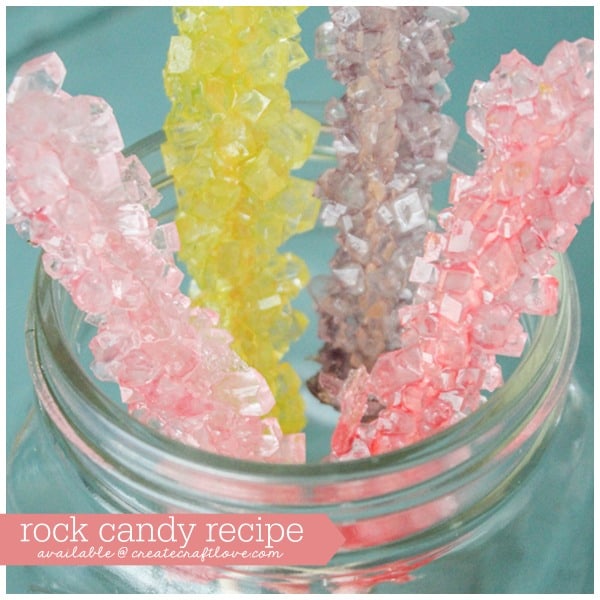
For Valentine’s Day, we made borax crystal hearts, and playing around with the science of crystals inspired me to try making a homemade rock candy recipe. If you aren’t familiar with rock candy, it is simply large flavored sucrose crystals on a stick. In other words, it’s a fancy looking sucker.
Homemade Rock Candy Recipe
There are a number of different sugars. Glucose is the primary sugar used by the human body and will be familiar to anyone who has or known someone who has diabetes. Fructose is a plant sugar and the primary component of corn syrups. Sugar cane and other plants attach a glucose molecule to a fructose molecule to make sucrose, which we extract to make common table sugar. At room temperature, pure sucrose forms clear rectangular crystals, and it is this property that makes the rock candy.
To make rock candy you need only a few things:
- Water – tap water will work, but if you have particularly hard water like here in the Ozarks, using distilled water will give you a more pure and thus larger crystal
- White table sugar
- Food coloring or flavorings (optional)
- A container to hold your sugar syrup
- A stick of some sort to suspend in the syrup and act as a nucleation site
How to make homemade rock candy:
Step 1: Create a supersaturated sugar solution
Sugar easily dissolves in water. Once the solution can hold no more sugar molecules it is said to be saturated, and any sugar you add will simply sink to the bottom. As the temperature of the water increases, it can hold more and more sugar molecules. If you then cool the solution back down it is said to be supersaturated and the solution essentially squeezes out the extra sugar molecules until it once again reaches equilibrium.
Our goal is to make a solution of about 1 part water to 3 parts sugar. Start with 1 cup of water and bring it to a boil. Slowly mix in 3 cups of sugar, stirring constantly until all the sugar has dissolved and remove from heat. At first glance, it looks like there is no way all that sugar will dissolve, but it will, and you will end up with a clear syrupy liquid.
Step 2: Mix in your additives
If you want to enhance your rock candy, add food coloring and flavorings here.
Step 3: Prepare the candy holder
We used traditional rock candy sticks for this example, but you can use all sorts of things even string. Wet the stick and roll it around in some sugar. Allow it to dry completely. Once it is dry, gently tap it to remove any loose crystals. These crystals serve as the nucleation sites for new crystal formation. If any crystals fall off the stick while in the solution, crystals will form on the bottom and not on the stick.
Step 4: Suspend the candy holder in the solution
Allow the sugar solution to completely cool to room temperature. Carefully suspend the stick in the syrup and set aside.
Step 5: Wait
This is a pretty slow process and you may not see anything happening for a number of days. Local conditions such as temperature, humidity, and elevation will all affect how quickly the crystals precipitate out. It could take two weeks until you finally have the big rock candy crystals you are familiar with.
Step 6: Dry the candy
Once you are satisfied that the crystals have grown enough, remove the stick from the solution, place it on some wax paper and allow it to dry. Once dry, enjoy your treat!
Looking for other fun projects? Here are a few you might like:
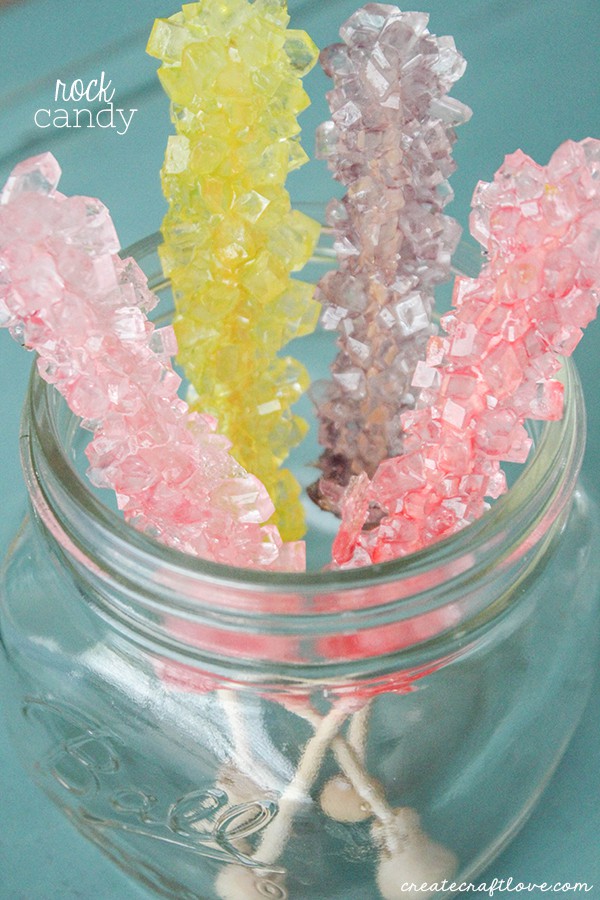
I’d love for you to pin this image!
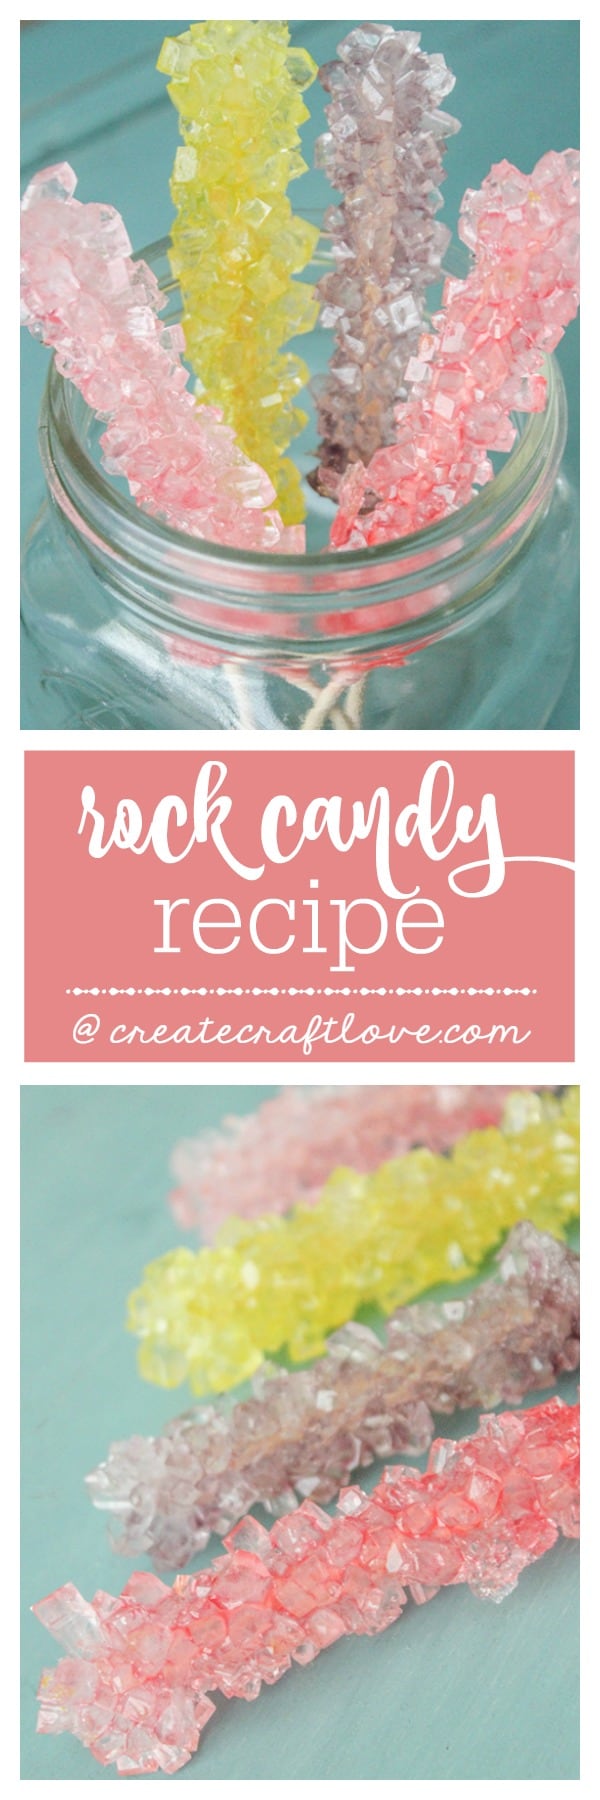
Feel free to share this image on Facebook, I love how it turned out!