This post may contain affiliate links. See my disclosure policy for more details.
This post contains affiliate links for your convenience. See my full disclosure here.
Sponsored by Cricut
Learn how to upload your own images into Cricut Design Space to create this adorable 4th of July Shirt!
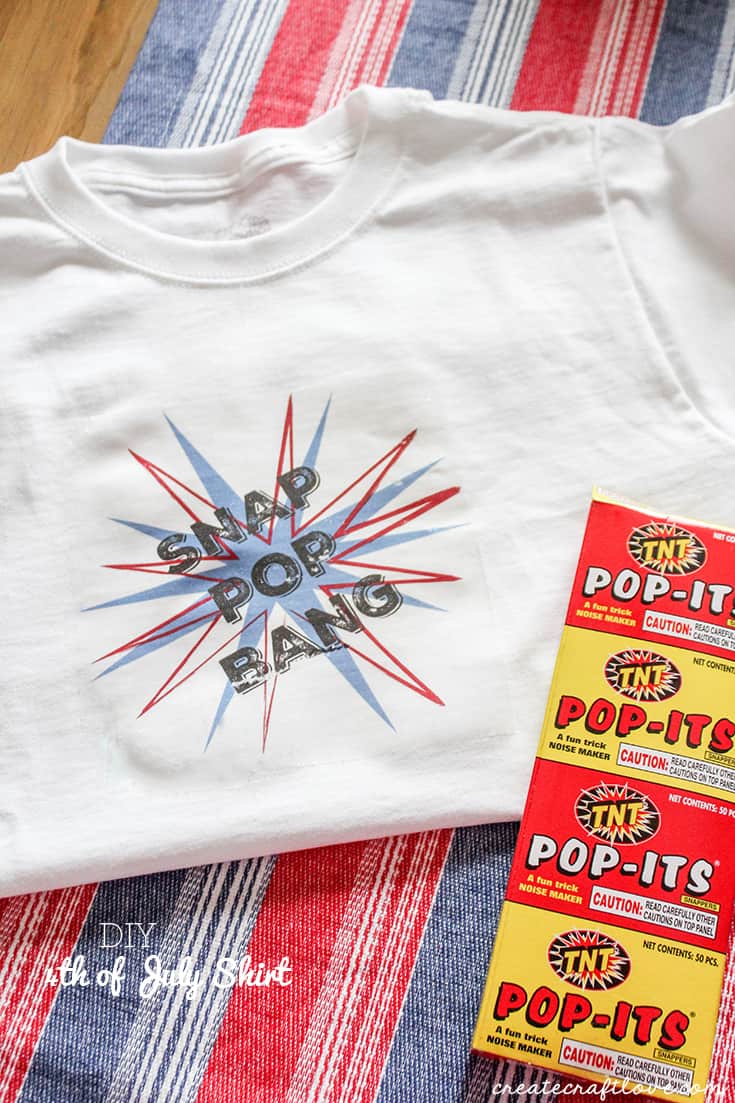
Create an image for your 4th of July Shirt! Begin by creating your own image with your favorite design software.
Upload your own images into Design Space to create your 4th of July Shirt!
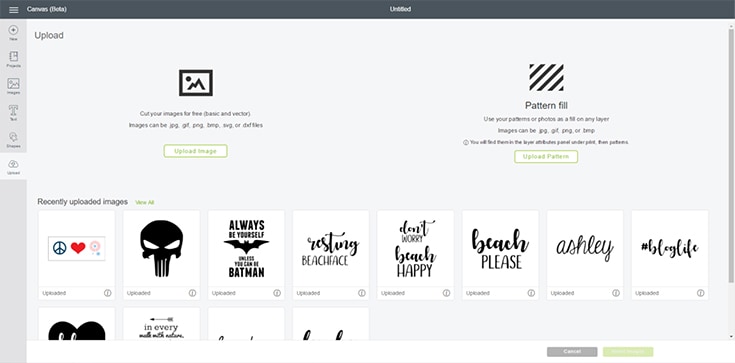
Once your design is complete, open Cricut Design Space. Begin a new project. When the canvas opens, click upload in the left hand side bar. This will cause a new box to open. Click upload image.
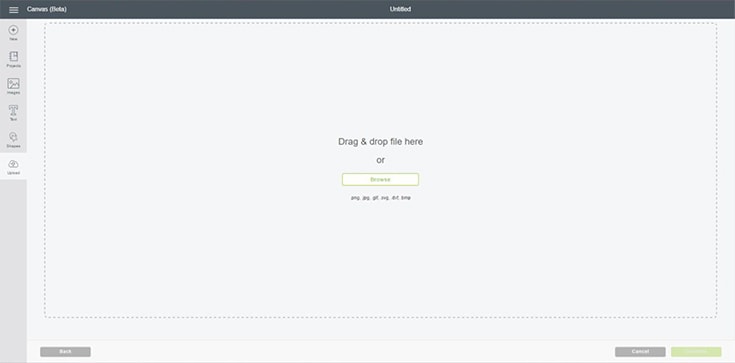
Choose the image file you just designed by clicking browse.
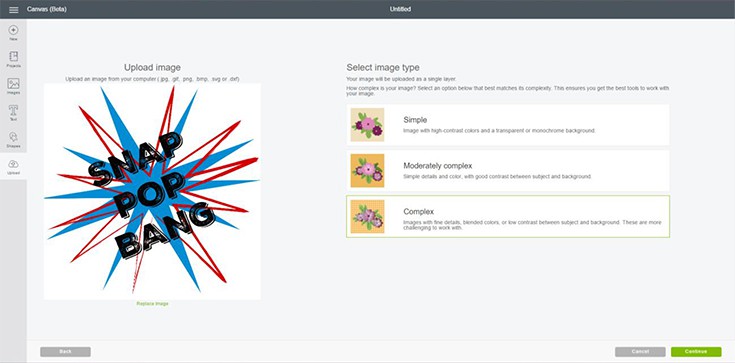
Your image will open in design space. You will need to choose the complexity of the image you are uploading. (I usually choose complex to maintain the resolution.) Now click continue.
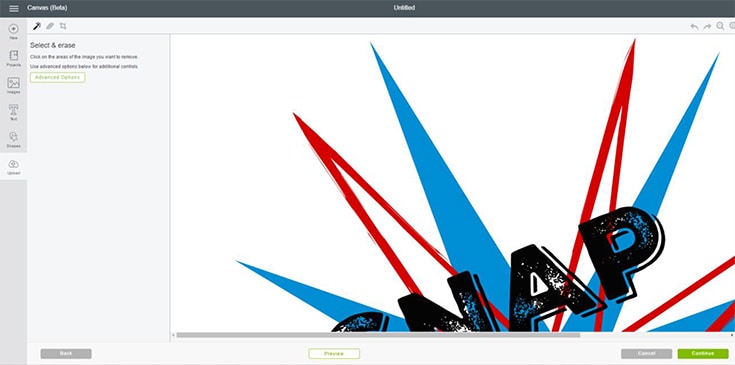
In this window you can erase any parts of the image that you do not want. Since I designed it, my image is free from those types of flaws so I just bypass through this step. You can click continue.
Now we will save the image we just uploaded. You want this as a print and cut file so be sure that one is highlighted. If you want, you can rename your image over on the left. Click save.
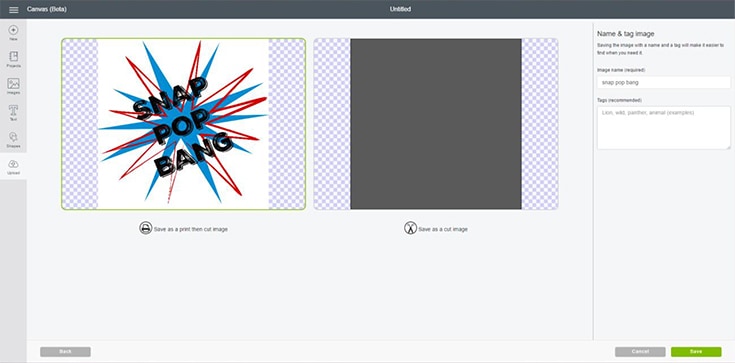
Your image will now appear in your uploaded image library. Highlight the image to insert it onto your canvas.
Let’s print and cut your 4th of July Shirt!
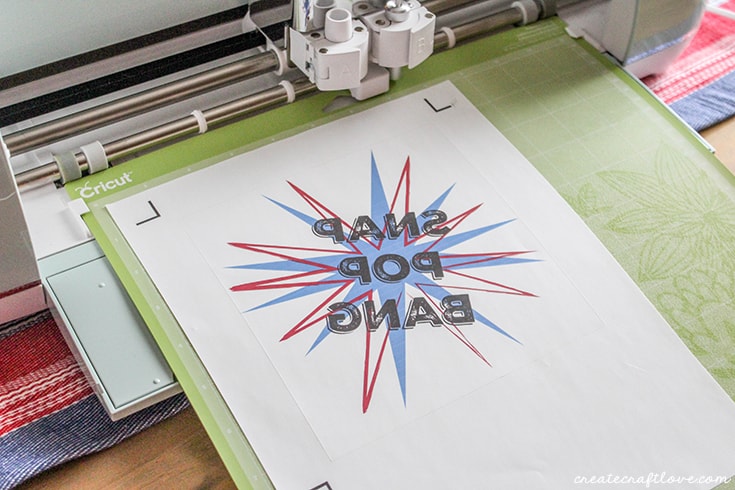
Size the image on your canvas and click continue. When it brings up the mat page, be sure to click “mirror image” so your iron on prints correctly.
For this project I used printable iron on vinyl light. You can get it here.
When you open the package, there will be a piece of parchment paper. You need this when you iron so set it aside and don’t lose it. Place the printable iron on into your printer tray, matte side down.
Click print in design space. You may have to pick your printer if you have never used this feature.
The image will print with registration marks so the Cricut can detect where to cut. Place the printable vinyl sheet on the mat, the same direction as shown on your computer or iPad. Allow the ink five minutes to dry before placing on mat. Proceed to cut as you usually would.
After the image is cut, weed away the excess leaving the image attached to the backing sheet.
Set iron to cotton with steam turned off.
Pre-heat your fabric by ironing for 10-15 seconds in the area where you will be applying the vinyl.
Position the iron on face down on fabric.
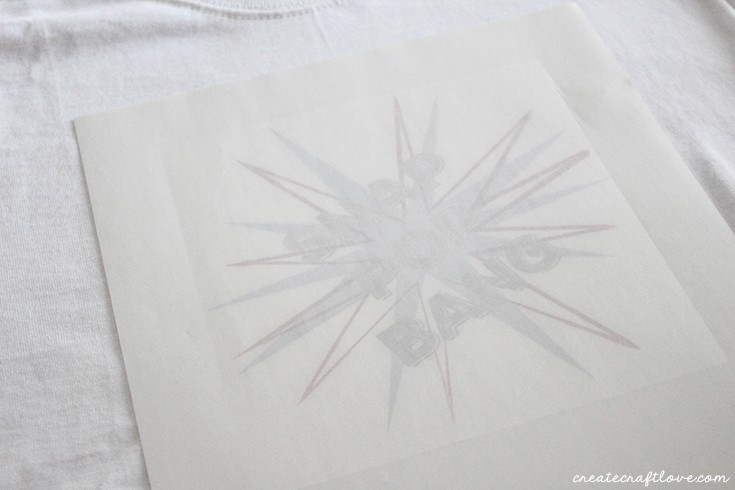
Without removing backing, cover with parchment paper.
Use both hands to press firmly against parchment paper for 40-60 seconds. Move iron slowly and constantly to adhere vinyl to fabric.
For 15-20 seconds, press tip of iron around edges of vinyl to secure it.
Let cool for 5 seconds and slowly remove backing. If not completely adhered, repeat above process.
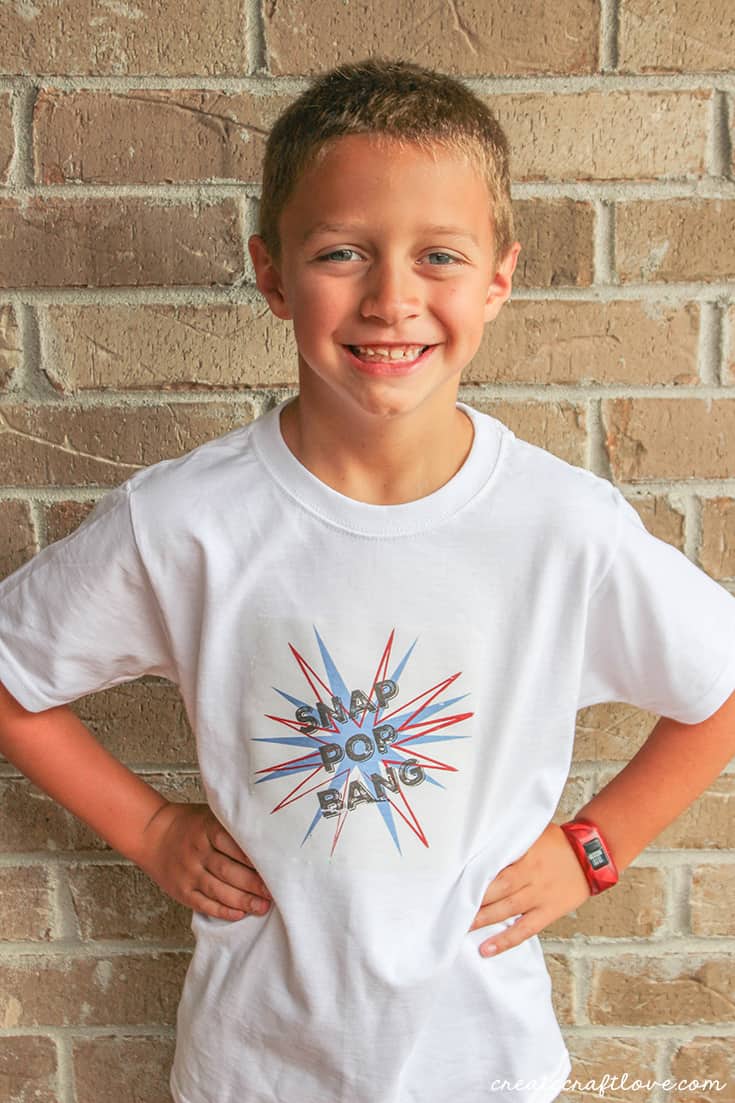
Reed loves it! So I got cool mom points for this one!
If you don’t want to create your own image, you can download the one above by clicking HERE!
I’d love for you to pin this image!

This is a sponsored conversation written by me on behalf of Cricut. The opinions and text are all mine.
