This post may contain affiliate links. See my disclosure policy for more details.
The Attach Function in Cricut Design Space allows you to hold the position of your images or text!
We’ve all been there. You get done arranging everything just like you want it and then when you click cut, it is a jumbled mess. That is where the attach function comes in handy!
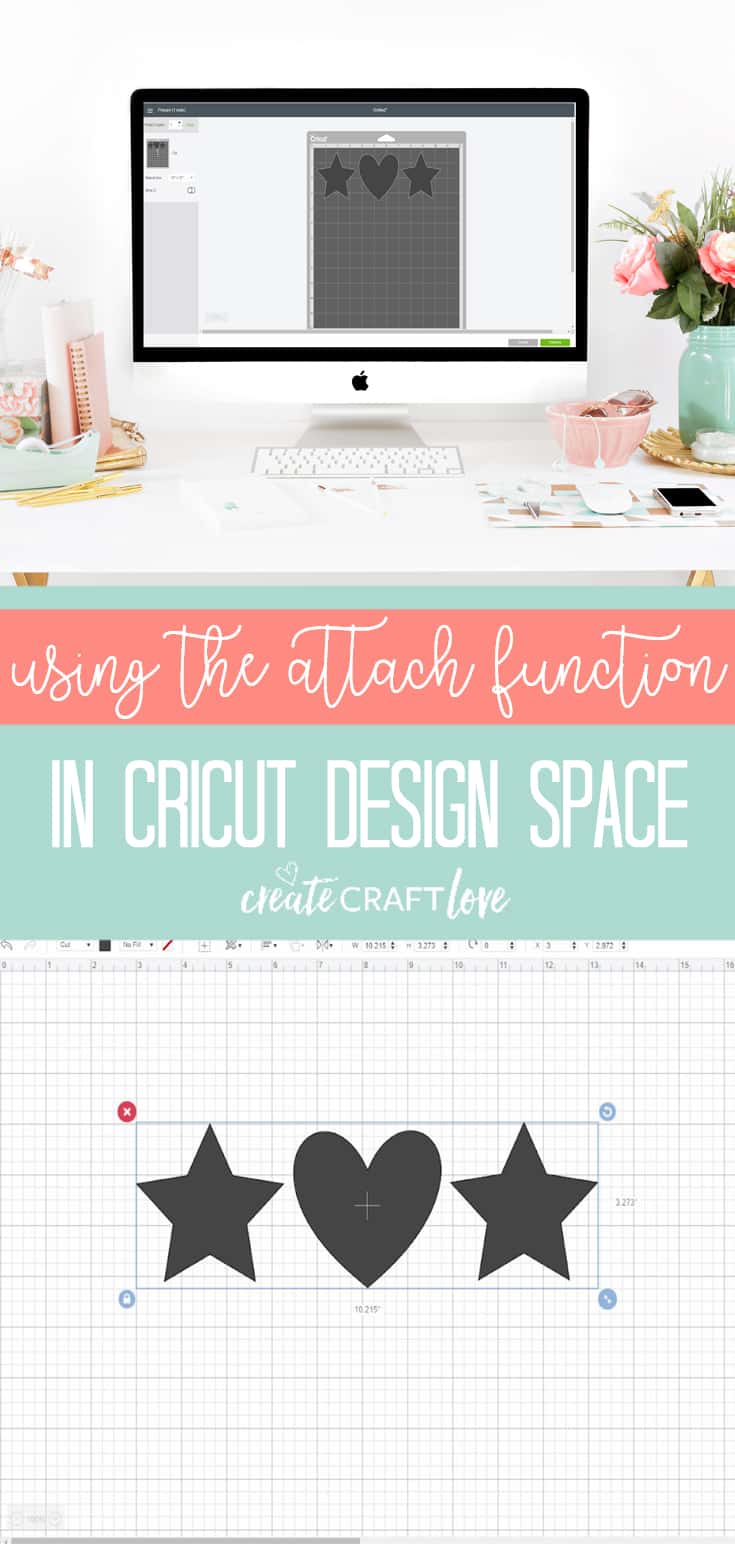
Using the Attach Function in Cricut Design Space
Cricut has designed it’s software to cut in paper saver mode. It will automatically group images/layers together to save paper. However, if you are working with a vinyl or iron on project, the spacing may be of importance. Attaching holds your cut position as you arranged on your canvas.
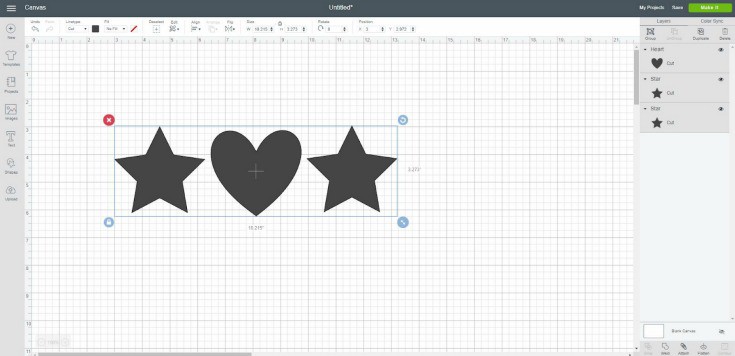
Add your images to the canvas and arrange how you would like it to cut.
If you don’t click attach, your images will appear as pictured below on the cut screen. OUT OF ORDER!

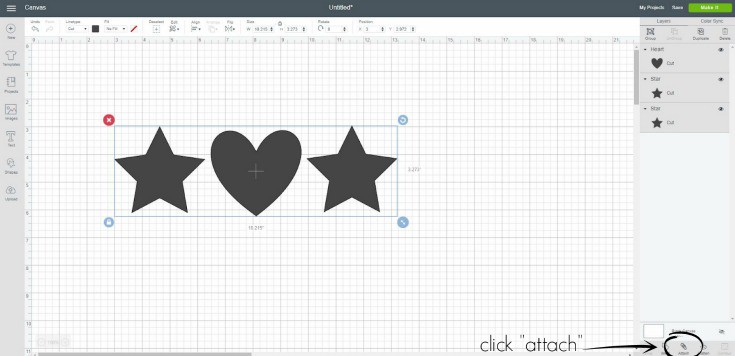
Be sure to select all of your images and then click “attach” at the bottom of the layers panel. It should now say “attached” at the top of the layers panel. Click “make it now”.
This will hold the cut position so that the images will appear in the correct placement. Now the images appear exactly where you placed them on your canvas.

We will explore this option further when discussing other functions of Cricut Design Space!