This post may contain affiliate links. See my disclosure policy for more details.
Sponsored by xTool – This post contains affiliate links for your convenience.
Add dimension to your crafting by learning to layer materials with xTool M1!
Layering materials is a piece of cake with the xTool M1. If you watched our review video, you saw an example of this in real-time. (In case you missed it, click HERE.) I love the look of natural wood but sometimes you want a pop of color with the sturdiness of a thicker material. The real time camera is the game changer here. You can arrange your cut exactly where you want it with minimal hassle all on one machine!
Layer Materials with xTool M1
Begin by opening xTool Creative Space. Turn on your machine. We will cut the paper layer first. If you do not have your blade in the housing unit, add it now. Place your scrapbook paper on the grid side of the blue adhesive cutting mat. Remove the backing to adhere the cutting mat with paper to the base plate. Close the lid to send the real time view to your software.
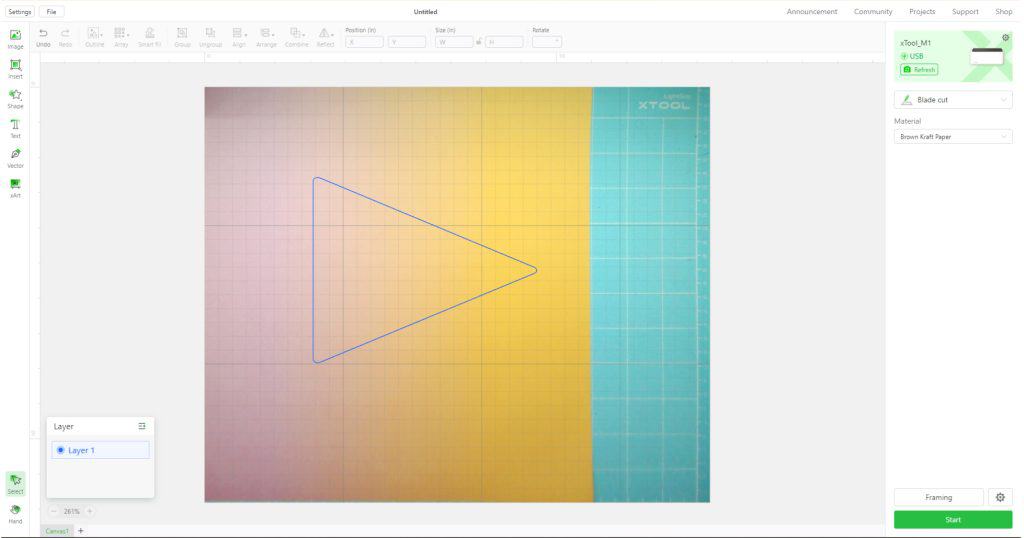
Pull up your image and size it to your paper. In the right hand tool bar, click blade cut and choose brown craft paper as your material. Click start to send the image to the machine. Once the light on the front of the machine is flashing, press the button to begin the cut.
Once cut, remove the adhesive cutting mat and gently peel off the scrapbook paper. Set aside.
Now we are going to cut the wood. Add your triangle prisms to the base plate inside the machine. Place the 3mm basswood on top of the prisms. Close the lid to send the real time image to your software.
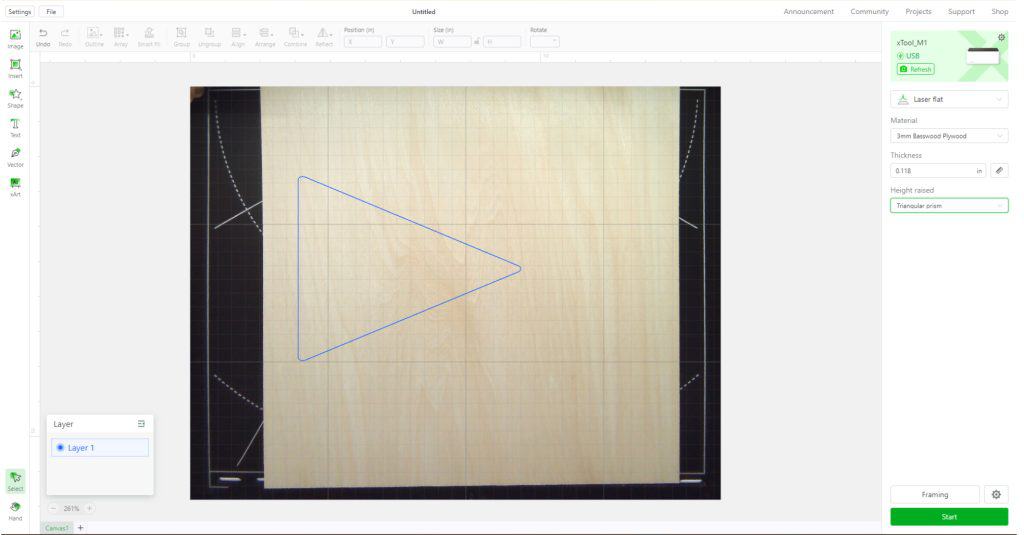
Do not resize your image. Change the setting to laser flat and material to 3mm basswood. Be sure to click height raised to triangle prism.
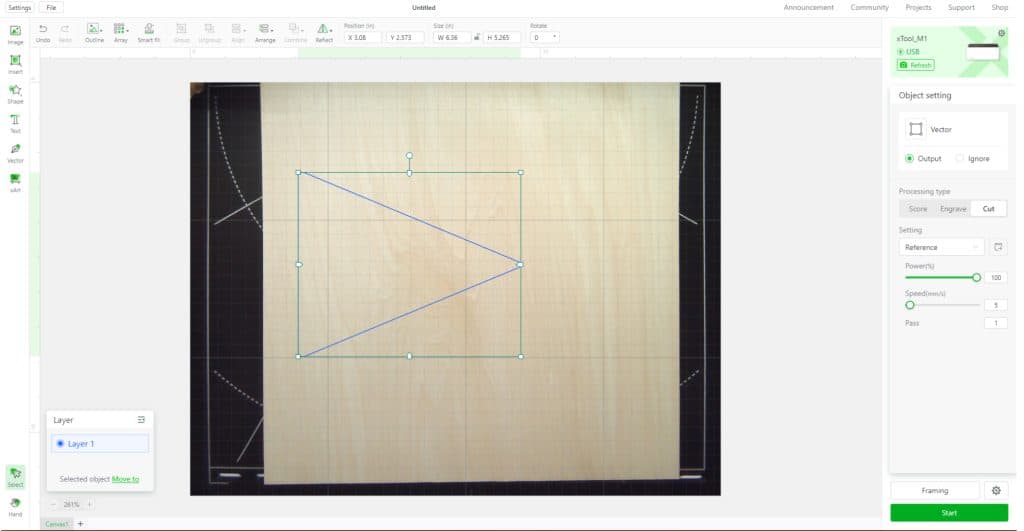
Click the image to highlight it. Change your processing to cut and then click start to send to the machine. Follow the above steps to begin cut.
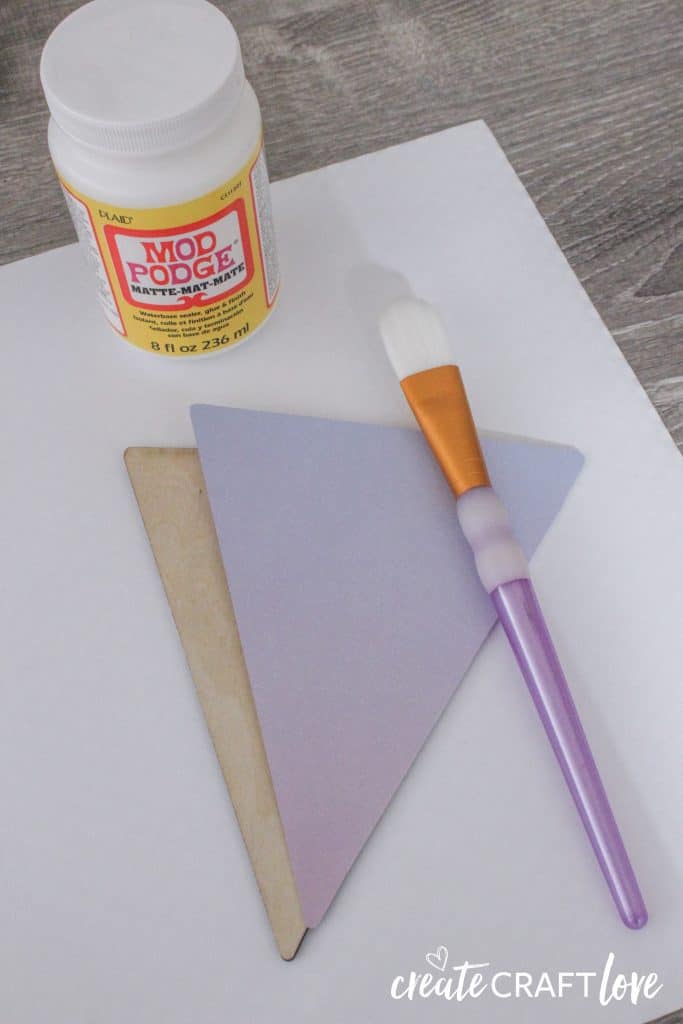
Remove the cut wood for the machine. Apply a thin layer of mod podge to the back of the scrapbook paper and adhere to the top of the wood cut out. Allow to dry. Repeat the process for as many pennants as you want.
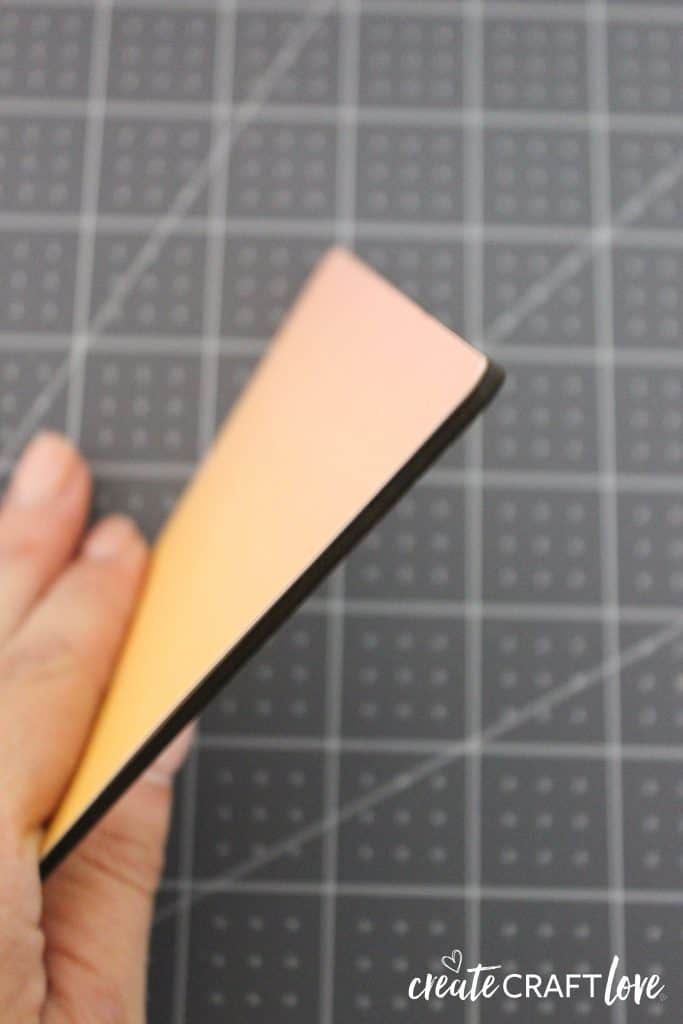
As you can see, it’s a perfect fit!
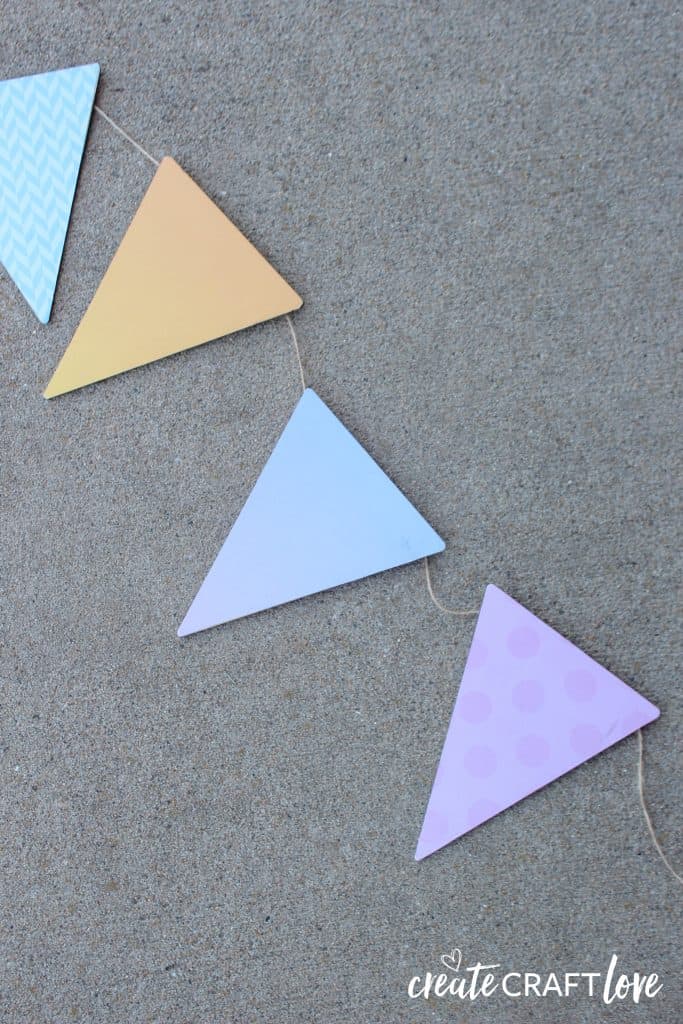
Simply add some twine with hot glue and hang. I hung this pennant banner in my craft room above my peg board and I love it! The room is tall so this helps add a little something to that wall! When you layer materials with the xTool M1, it gives them extra life.