This post may contain affiliate links. See my disclosure policy for more details.
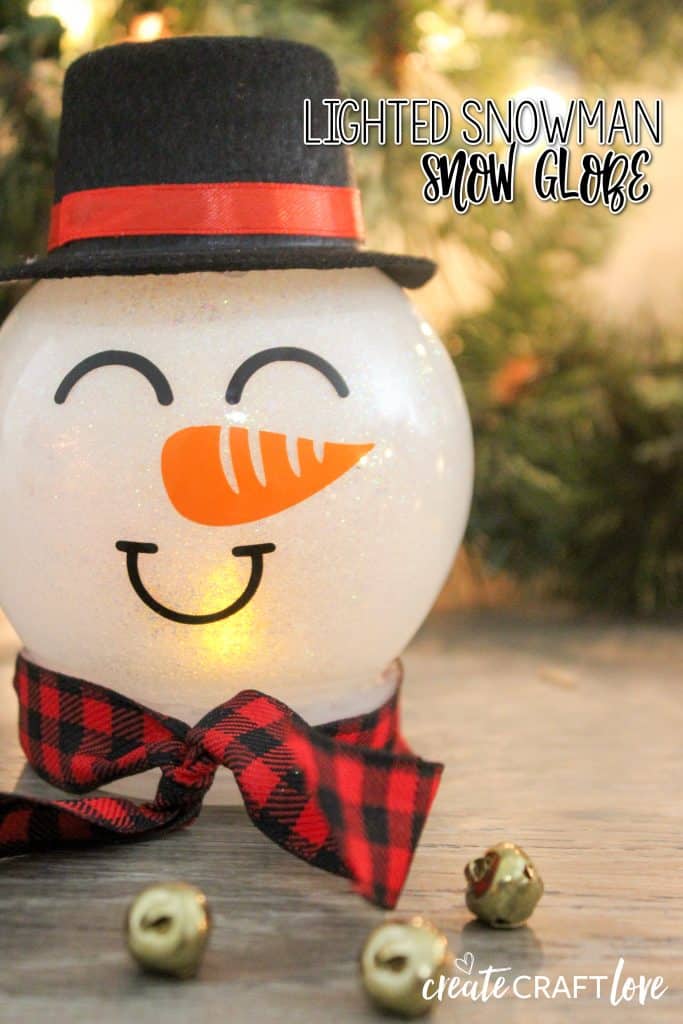
Whip up this cute Lighted Snowman Snow Globe to add to your holiday decor!
I grabbed these 98 cent plastic snow globes from Walmart a couple of weeks ago and I thought they would make a cute winter project! These would be a great idea for a Christmas craft night with the girls!
This post contains affiliate links for your convenience.
Materials needed for Lighted Snowman Snow Globe
- Plastic snow globe
- Felt top hats
- Red and black buffalo plaid ribbon
- Battery operated tea lights
- Black and orange adhesive vinyl
- Cricut or Cricut Maker
- Light grip mat
- Weeding tool
- Mod podge
- Foam brush
- White glitter
- Hot glue gun
Begin by taking apart the snow globe. Unscrew the bottom and set aside.
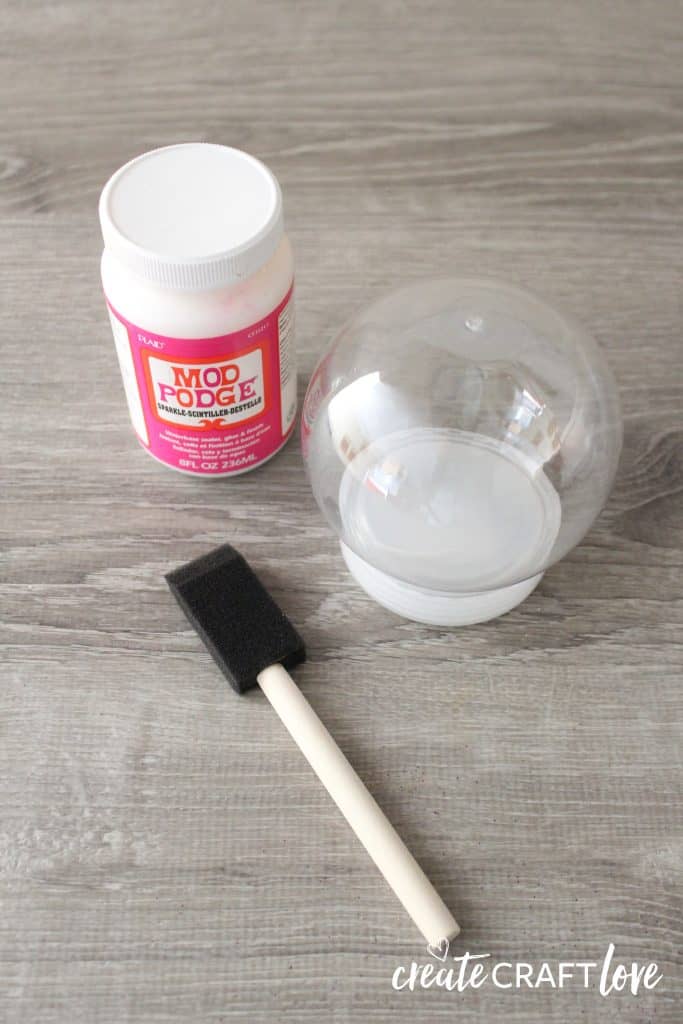
Using your foam brush, paint a light coat of mod podge on the inside of the globe. Add about a teaspoon of white glitter while the mod podge is still wet. Screw the bottom back on the globe and shake to mix the glitter.
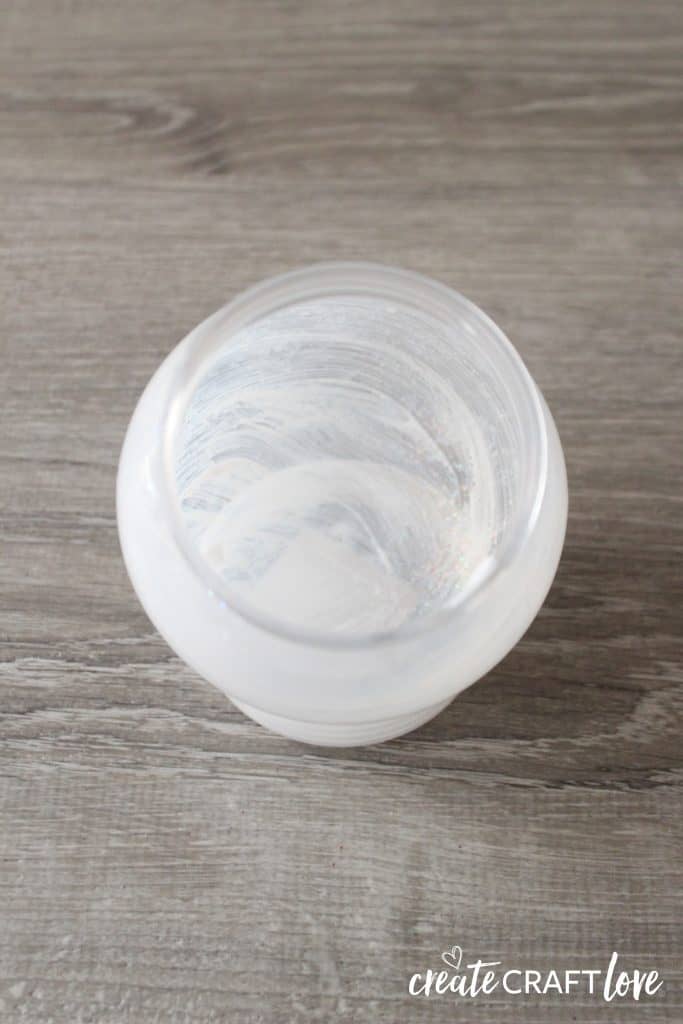
Set aside and allow to dry. In the meantime, use your Cricut to cut the snowman face. I used the image Snowman Face #M3FF91940 from Design Space. You can choose whichever face you want! Follow the prompts to cut your vinyl.
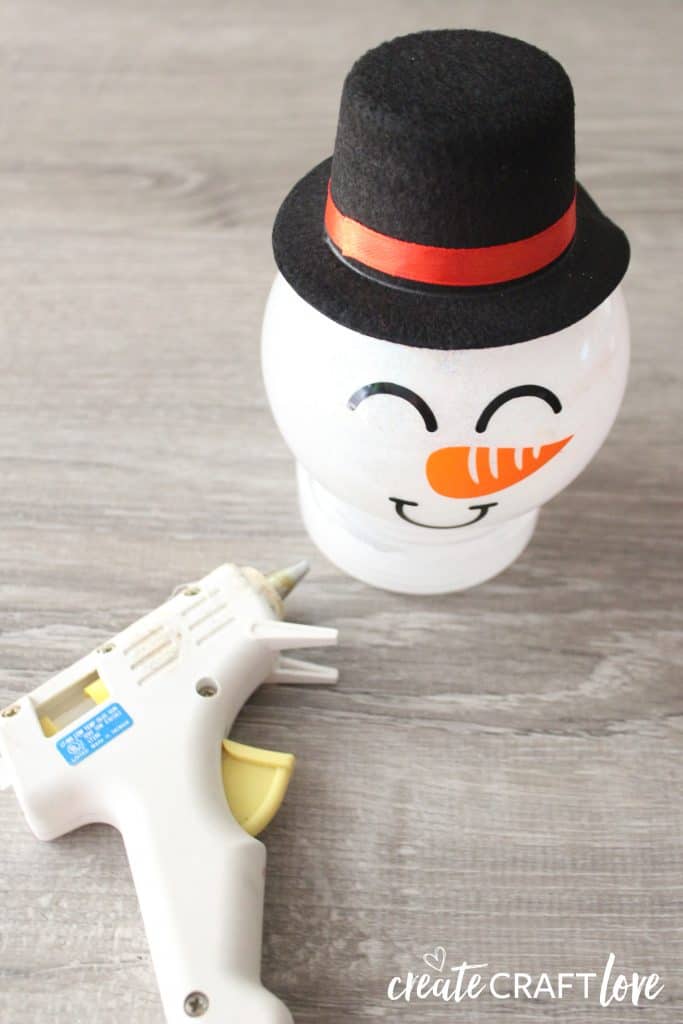
Add the adhesive vinyl face to the side of the snow globe.

Next, hot glue your felt hat to the top of the snow globe.
Use the ribbon to create and scarf and tie around the lid of the snow globe and add the battery operated tea light.
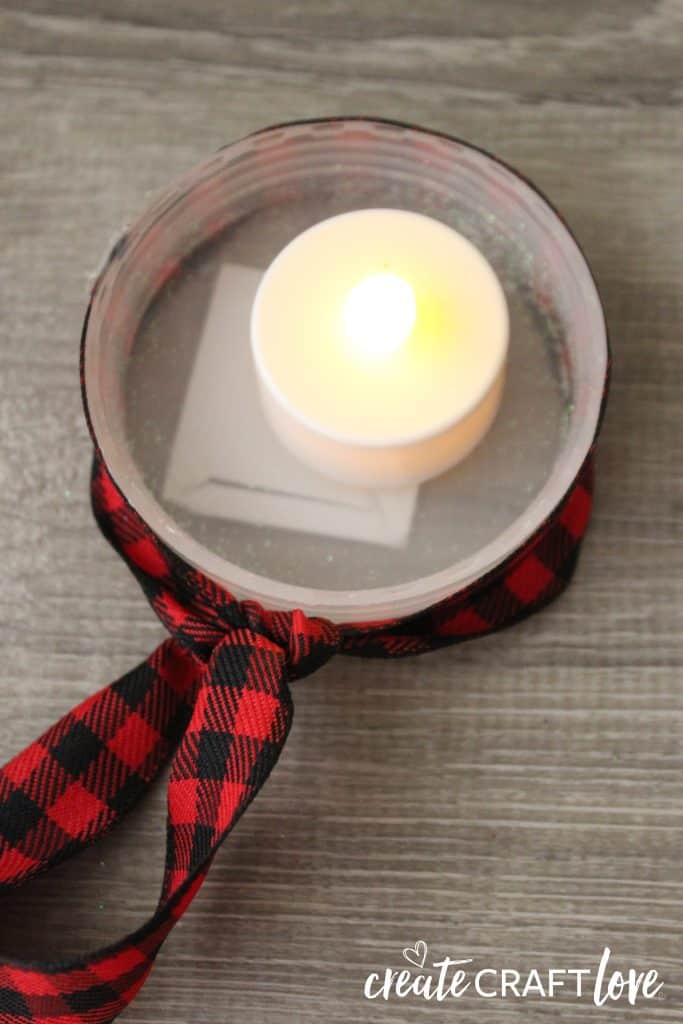
Screw the bottom back on the snow globe and all finished! Isn’t he the cutest?!