This post may contain affiliate links. See my disclosure policy for more details.
Sponsored by xTool – This post contains affiliate links for your convenience.
Creating a customized tumbler has never been easier than with the xTool M1! Great project for gifting!
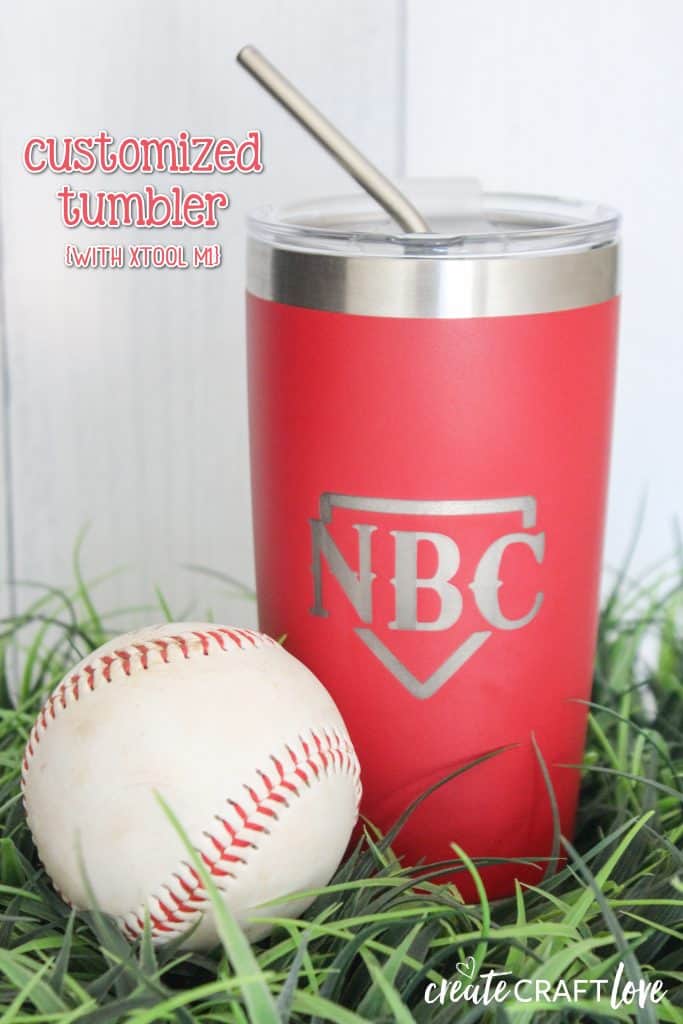
Next to the laser, the rotary attachment is what I was most looking forward to using when I received my xTool M1. The idea that I can take my personal cut files and engrave them onto tumblers blew my mind! There are oodles of YouTube videos available to help walk you through the process. I will do my best to convey that in this post.
Creating a Customized Tumbler Using Rotary Attachment
To use the rotary attachment, you will need to remove the baseplate from the machine. There are five screws that hold it in place. xTool provides you with 10 extra screws in case any go missing. I keep a tiny cup in my table drawer to easily drop the screws into to avoid losing any. Once you remove the screws, gently lift out the base plate and set aside.
My xTool M1 was bundled with the rotary attachment and comes with wooden risers. (You can add it on as an extra if you didn’t purchase the bundle.) The rotary attachment comes with a handy dandy measuring tape that will show you what level to place you risers and what width to set your rotary rollers.
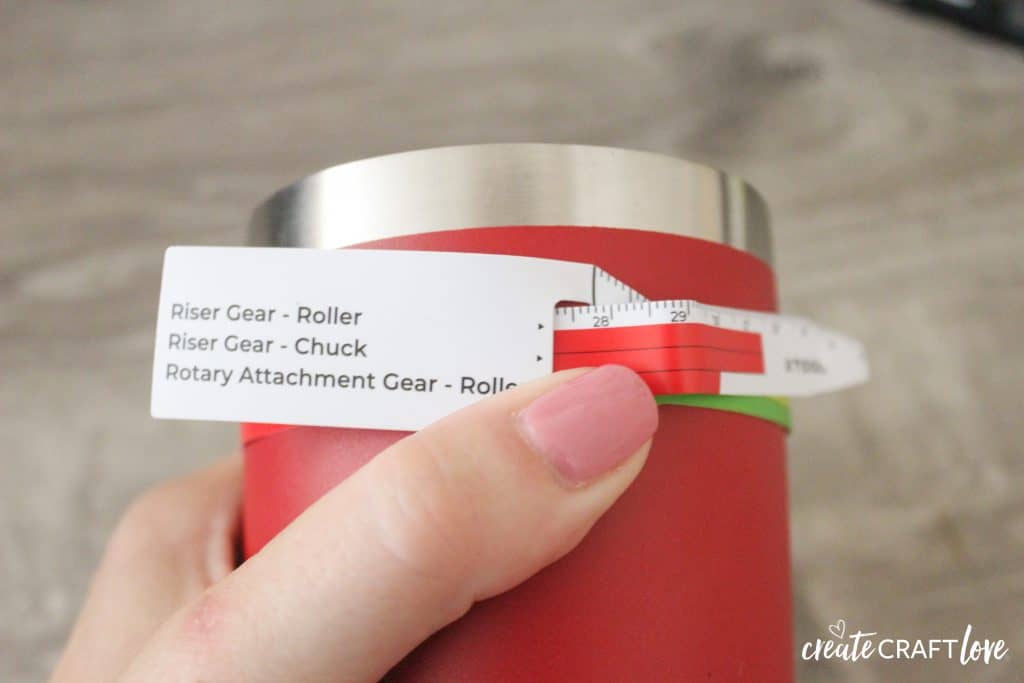
Simply take the tumbler and place the measuring tape around the widest part. As you can see, it tells me I need to use the risers on the highest setting. I bought my tumbler through xTool.
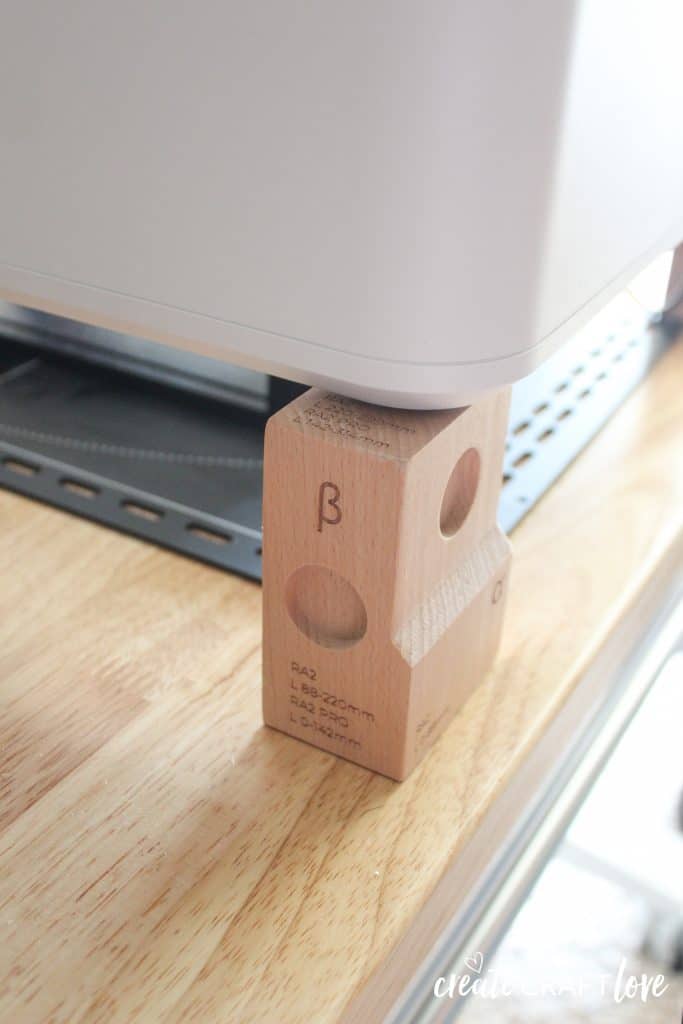
Place the risers at the required height under the four corners of the machine. The feet on the machine will fit neatly in the depression on the riser. Slide the base plate under the raised machine. Turn on the machine.
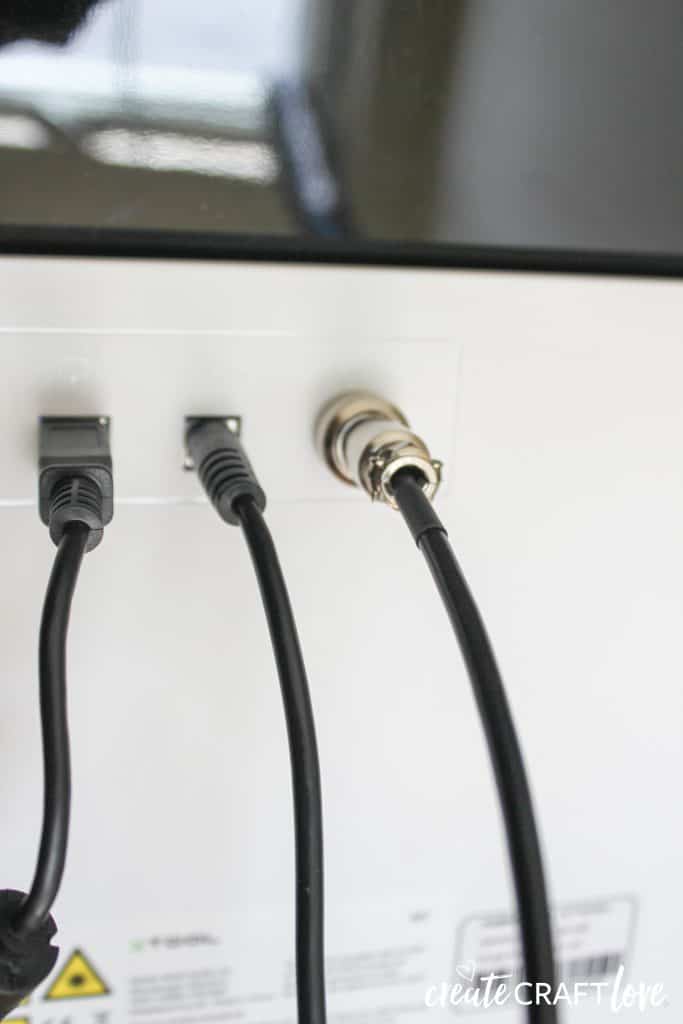
Next you need to attach the rotary tool to the machine itself. There is a cord that connects to the back of the device. Gently slide the rotary accessories under the xTool and attach the cord.
I marked my tumbler with masking tape so I could place the design exactly where I wanted it.
Place the tumbler on the rotary rollers with the end on the leveling device. You want the laser to be at the highest point on the tumbler in the corner of your masking tape.
Place the cute little level on the highest point of your design space. Adjust the leveling device by turning the knob until the tumbler is level.
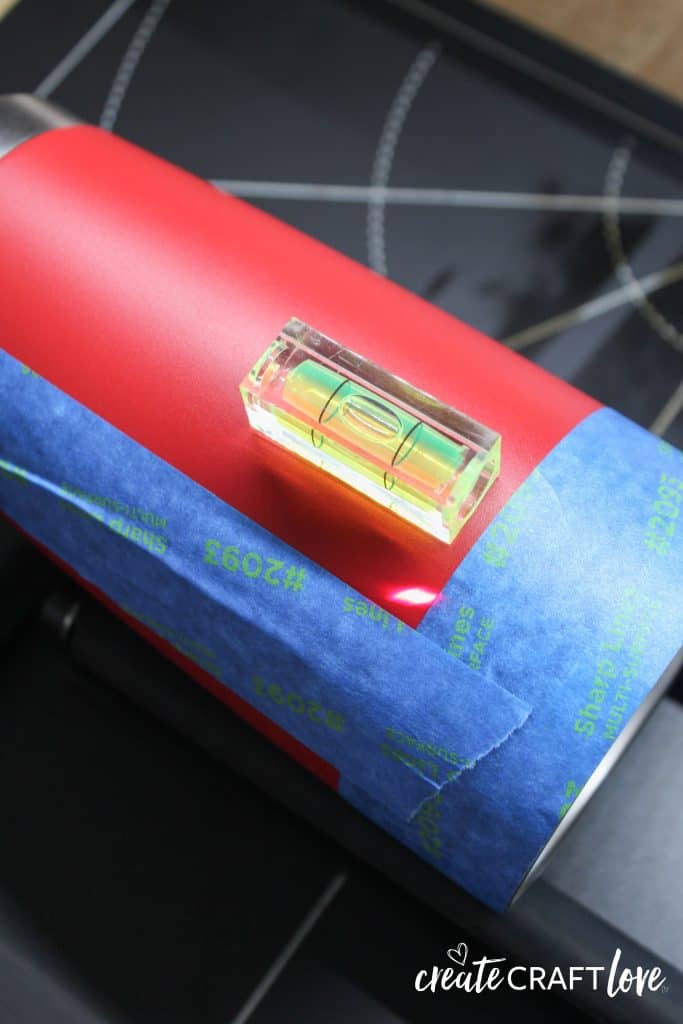
Close the lid to send the image to your software. Adjust your settings to laser cylindrical. Choose stainless steel necklace as your material. It is the best one I’ve found.
You will see that the canvas will change into a split view with a yellow line running down the middle.
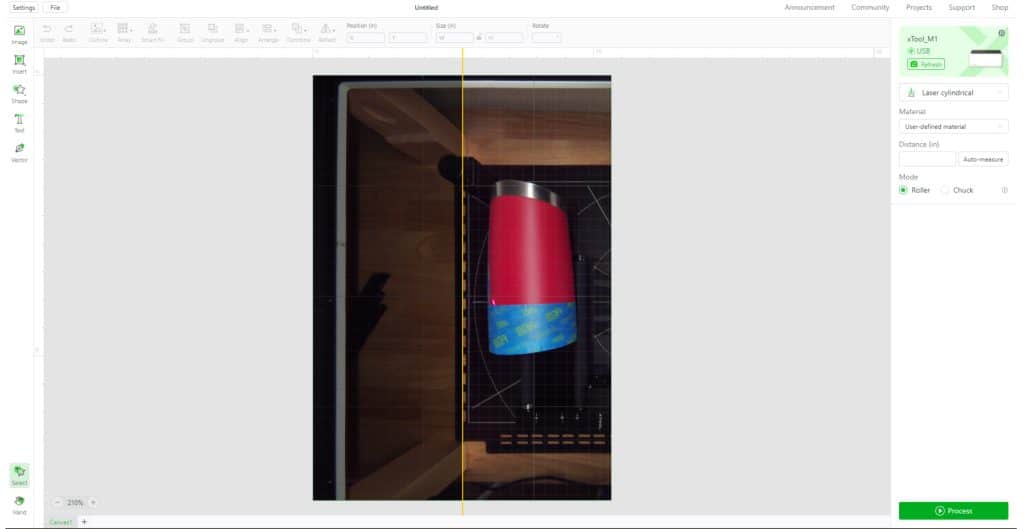
Click auto measure to line up the edge of your tape to the yellow line. If it fails to auto measure, you can manually measure but I will not be covering that in this tutorial.
Once this is lined up appropriately, import your image. Adjust the image to customize your tumbler. You may have to rotate your image. When arranged appropriately, click process to send the image to the machine.
This took about 30 minutes to engrave. When the customized tumbler comes out of the machine, it may have some black soot.
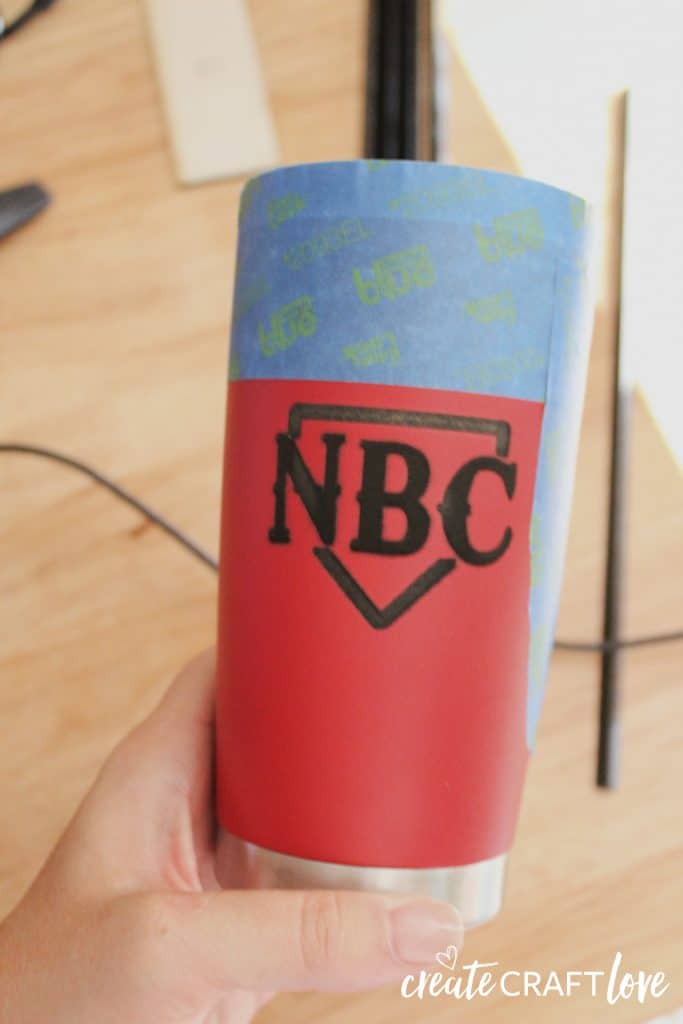
Don’t be alarmed. We used barkeep’s friend to brighten it up!
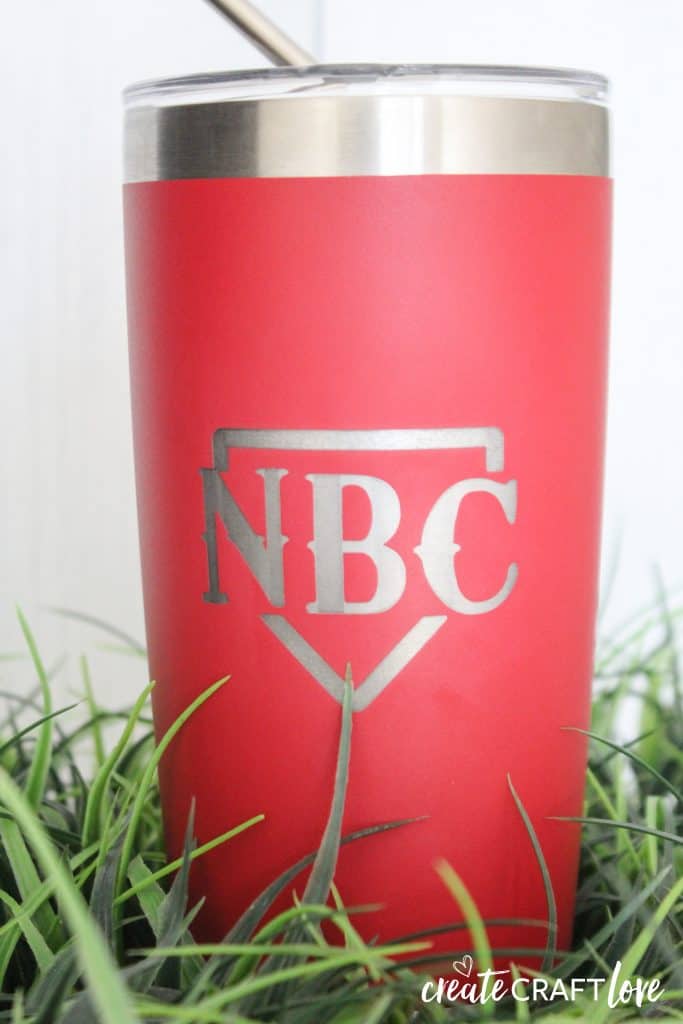
I made this for my son. His baseball team is the Nixa Baseball Club and this is one of their logos. He loves it! I’m thinking about adding his name and number to the back of it. I can’t wait to make more!
