This post may contain affiliate links. See my disclosure policy for more details.
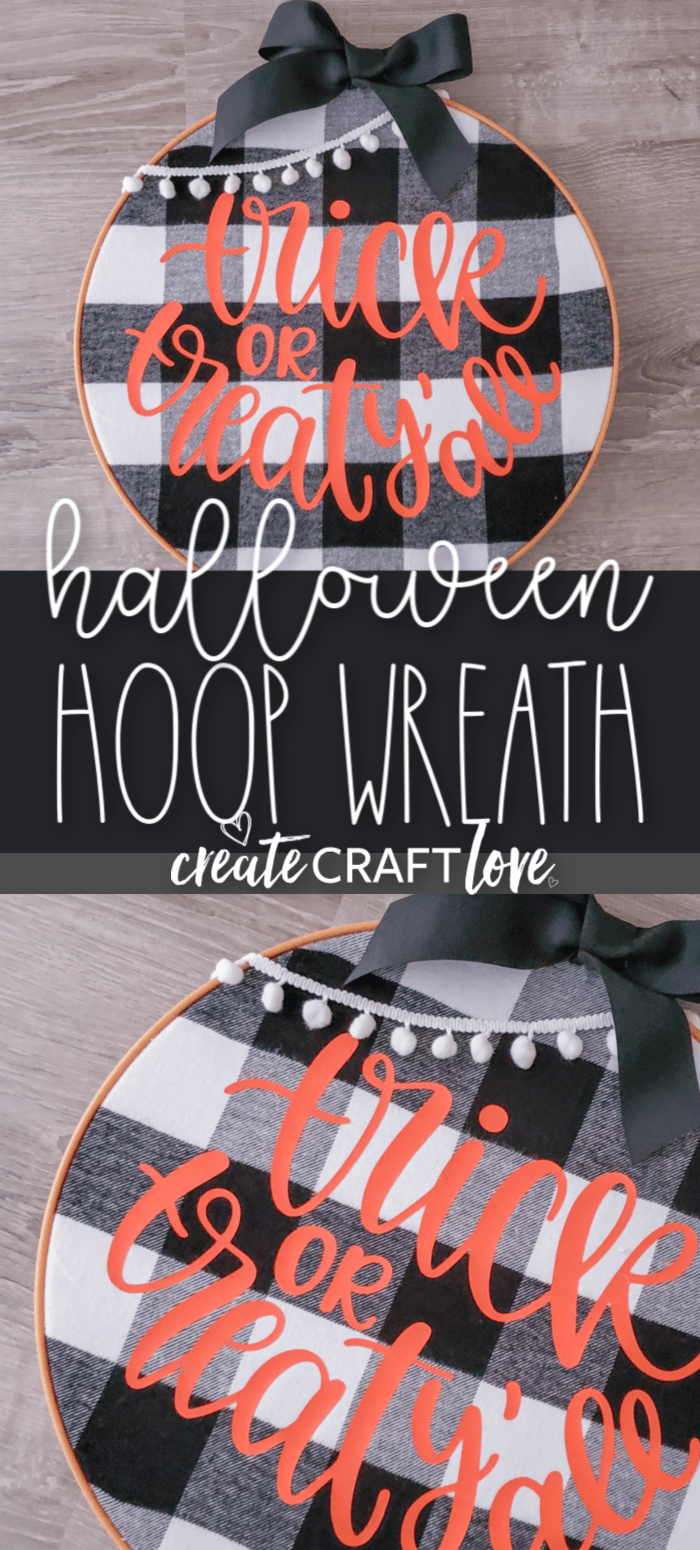
This Embroidery Hoop Halloween Wreath is the perfect addition to my farmhouse front porch!
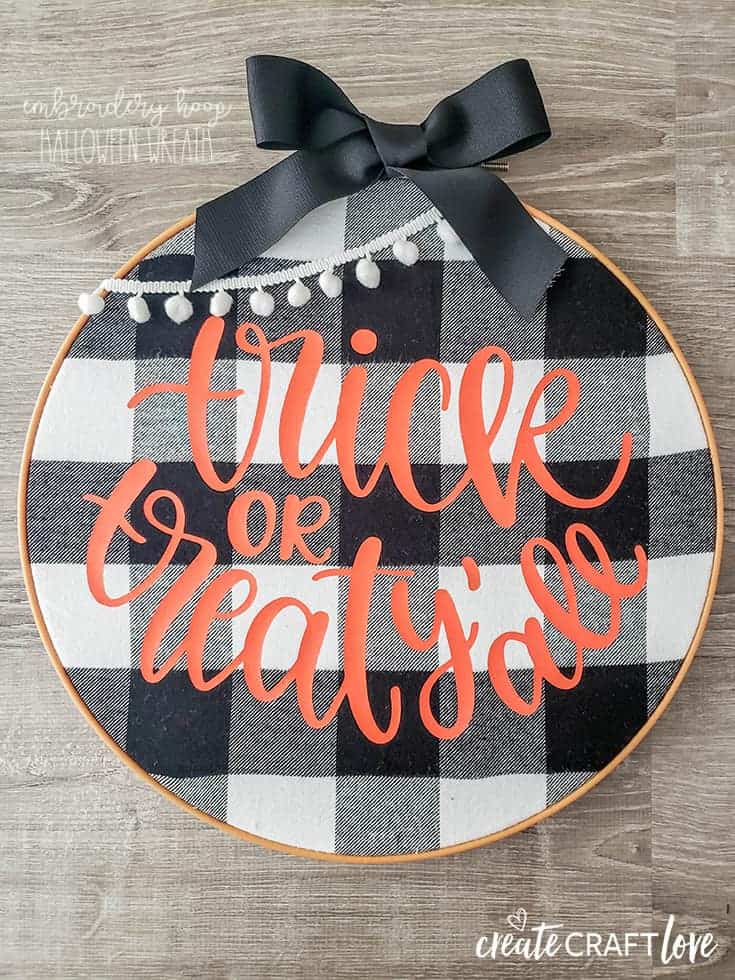
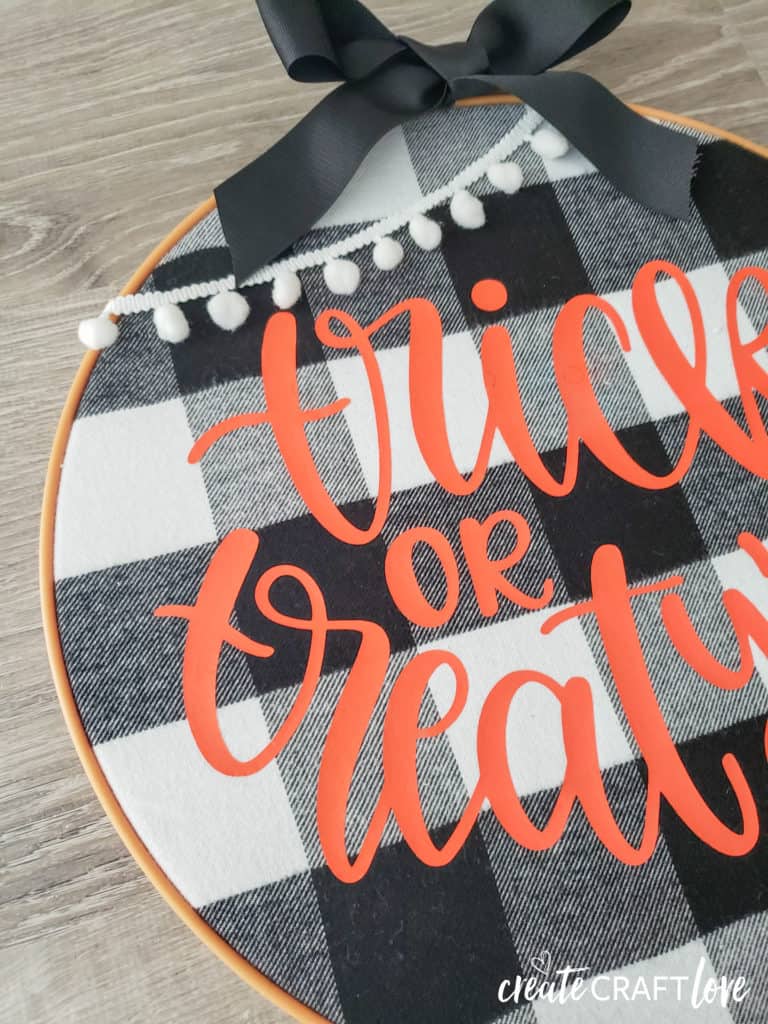
I am legitimately obsessed with this wreath! I love the pop of orange on the black and white buffalo plaid. It looks amazing on my Farmhouse Halloween Porch!
This post contains affiliate links for your convenience.
Materials needed for Halloween Hoop Wreath
Cricut Maker or Explore Air
Standard grip mat 12×12 in
Cricut EasyPress 2 12×10 in
EasyPress Mat 20×16 in
Everyday iron on vinyl in orange
Basic tool set
Black and white buffalo plaid fabric
14 inch embroidery hoop
Scissors
White pom pom trim
Black ribbon
Hot glue gun
Images used from Cricut Design Space:
Trick or Treat #MC2653F6
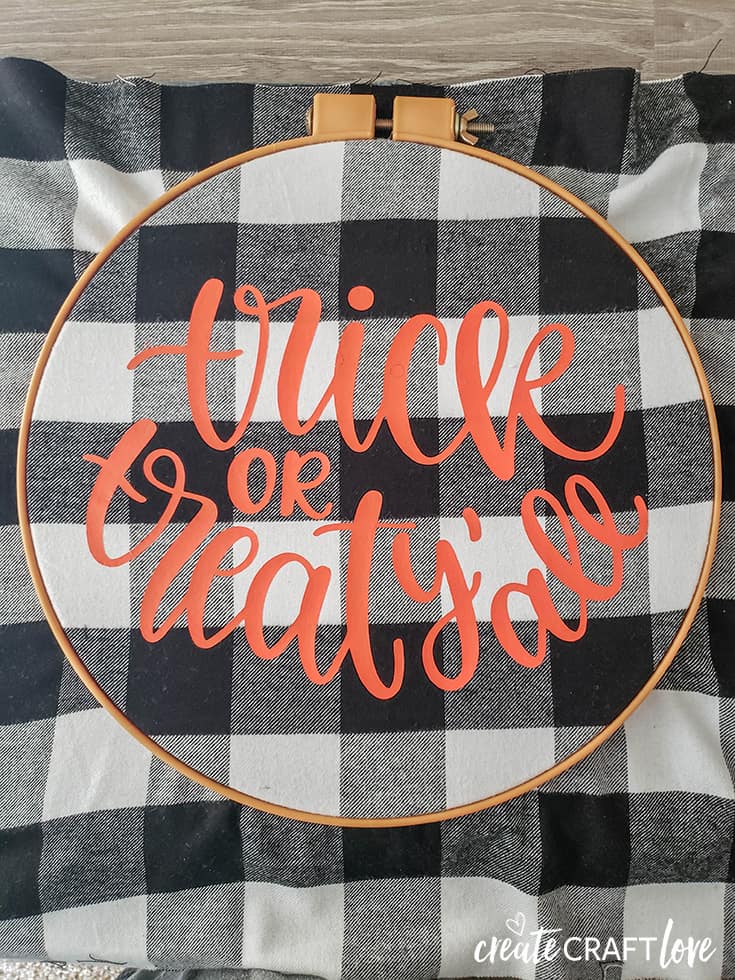
Open Design Space and the image listed above. Contour the image to delete the pumpkin. (If you don’t know how to do that, check out this post!) Size the image to 11.5 wide to fit in the 14 inch hoop. Send to cut. Don’t forget to mirror the image since you are working with iron on vinyl.
Apply vinyl shiny side down on the standard grip mat. Cut image.
Once image has completed cutting, weed away any excess vinyl and discard.
Set you EasyPress 2 to the 315 degrees for 30 seconds. Pre-heat fabric for 5 seconds.
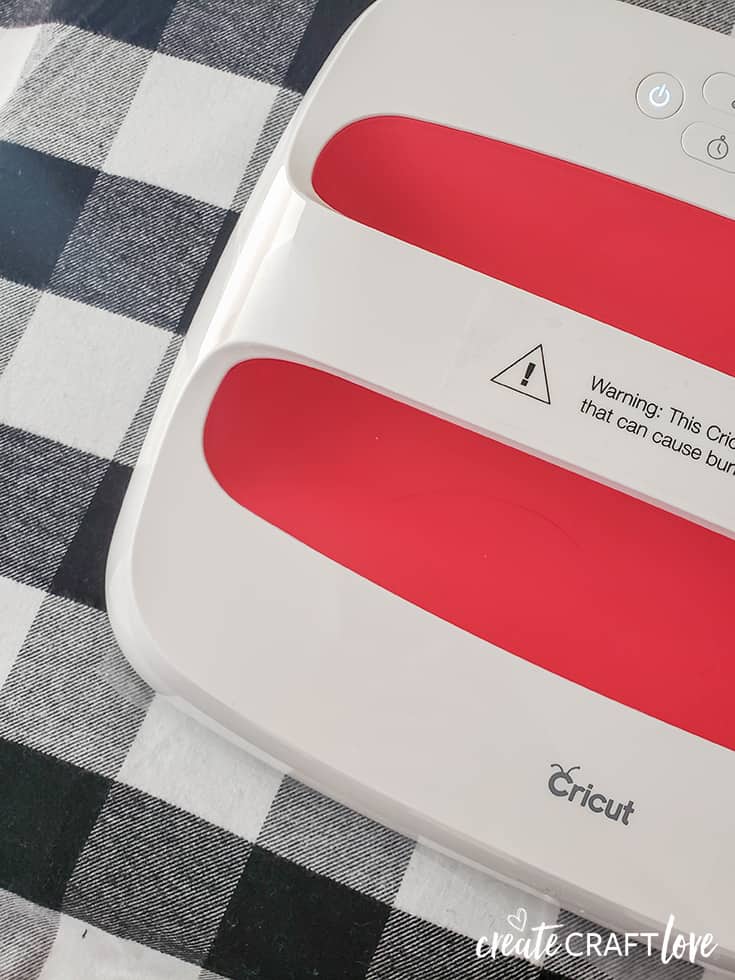
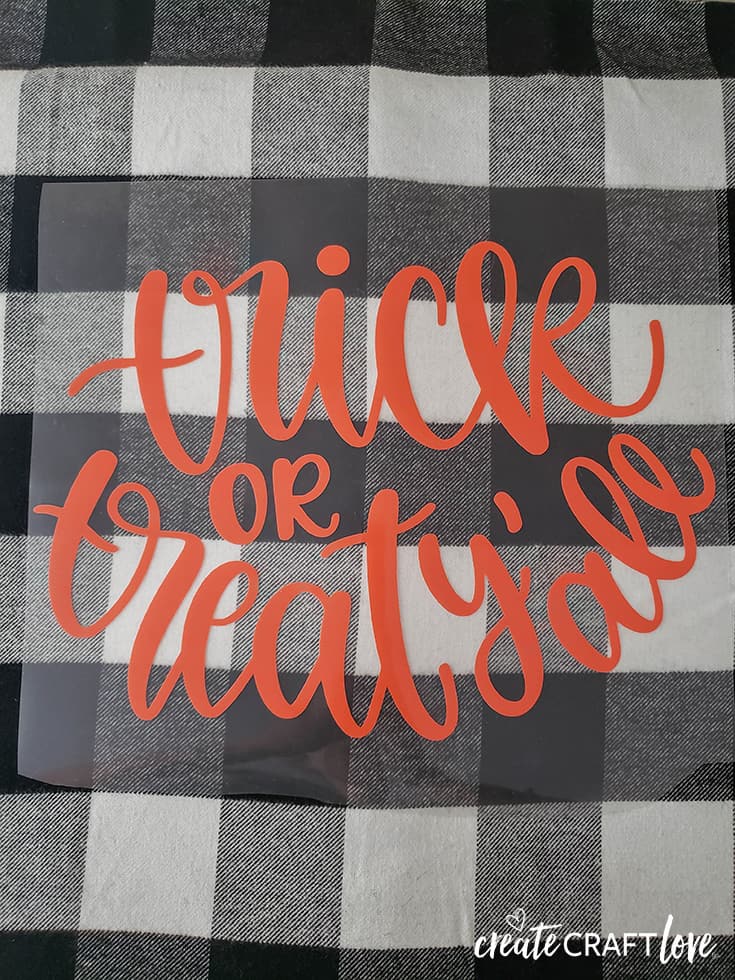
Apply cut image to fabric with liner side up. Place EasyPress 2 directly on top of image and start timer. Apply firm even pressure. Once timer sounds, remove EasyPress 2 and return to it’s cradle.
Allow to cool for 30 seconds and then gently peel away the liner.
Center the fabric with image inside the embroidery hoop and secure.
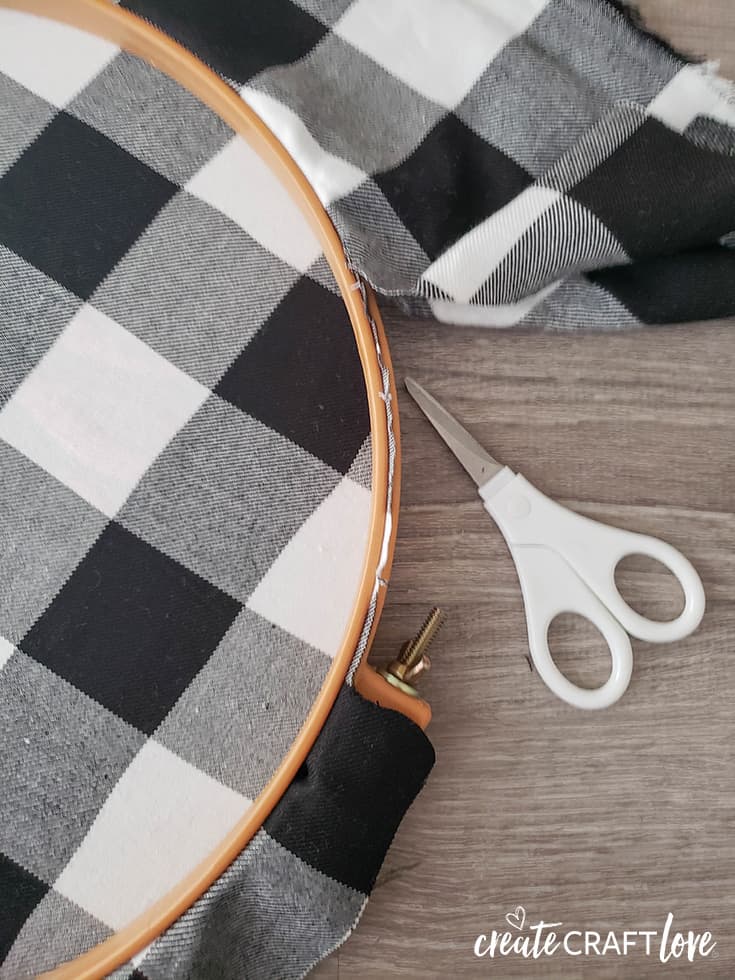
Turn over and trim away the excess fabric.
Add pom pom trim and ribbon embellishments with hot glue gun!
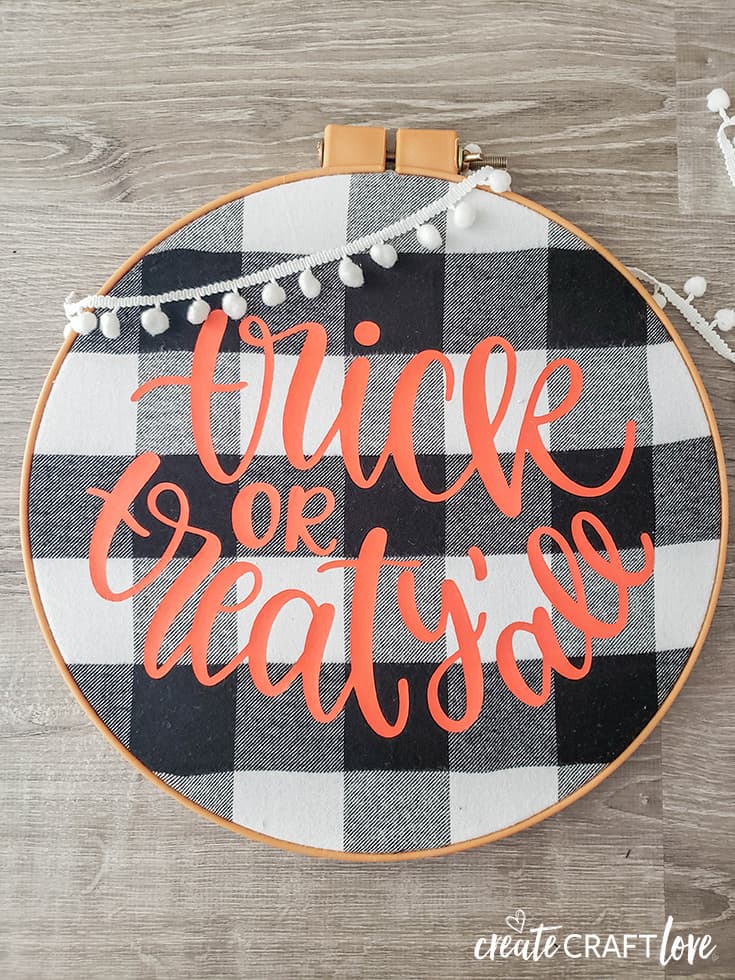
It is so stinkin’ cute! I can’t wait to show you the rest of the front porch!