This post may contain affiliate links. See my disclosure policy for more details.
If you’re new to Cricut, you will want to bookmark this How to Upload Images into Cricut Design Space!
Have you ever wondered how to use all of those cute files offered on multiple different sites? I offer a lot of free cut files on the blog. This tutorial will walk you through uploading your own images or images you have downloaded/purchased into Cricut Design Space.
Cricut Design Space allows you to upload JPG, PNG, SVG, DXF, BMP, or GIF files. Most blogs or design sites offer multiple different file upload options. Typically, I offer JPG, PNG, and SVG because they are the most popular. JPG and PNG files are ideal for simple images. SVG files are usually for multi-layered images. Learning this simple technique will open up an entire world of design that you can obtain outside of the Cricut software.
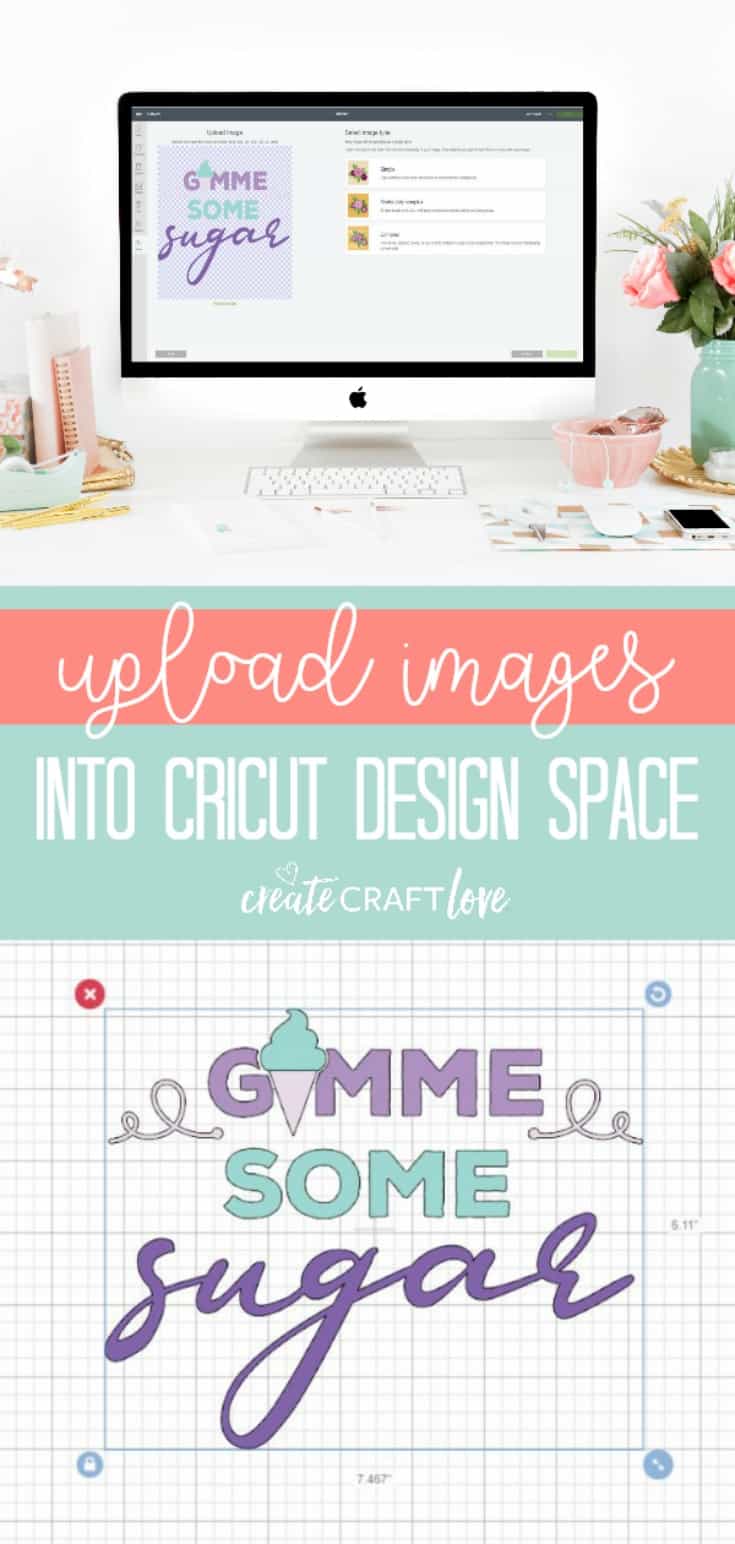
How to Upload Images into Cricut Design Space
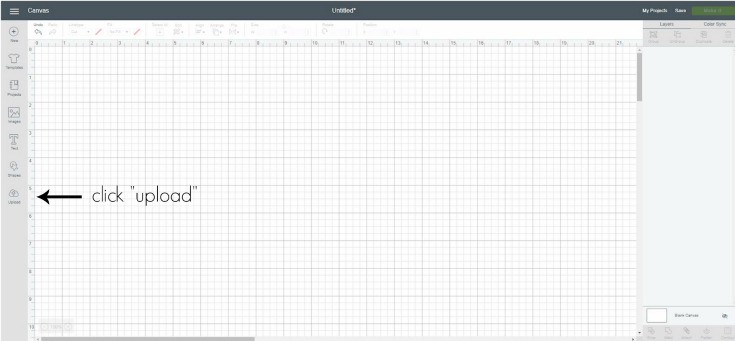
Open your canvas in Design Space. In the left hand toolbar, at the bottom, click “upload”. This action will take you into the image upload library.
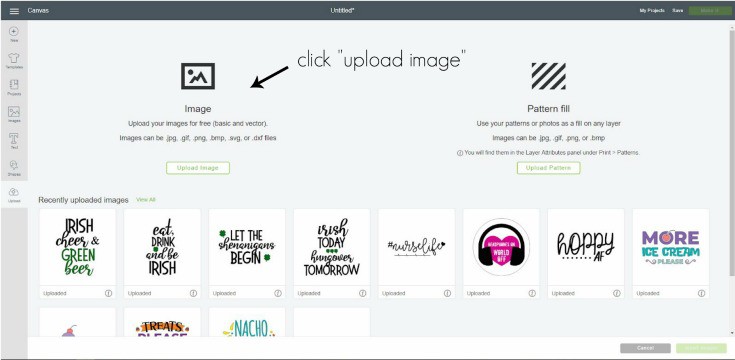
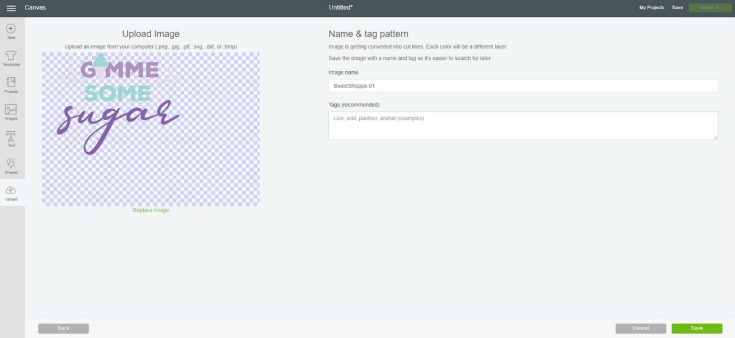
In this new window, click the green “upload image” button. A new window will appear, click browse. Select the image you wish to use for your project.
Your selected image will appear. Click “save” in bottom right hand corner.
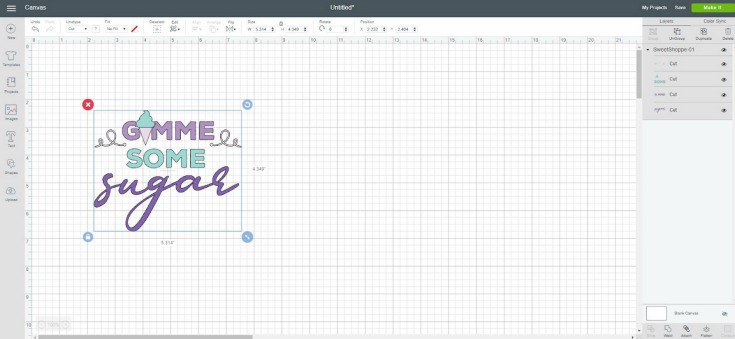
Your newly uploaded image will now be available in your personal image upload library. Click on the image so it is highlighted in green and then click the green “insert images” in the bottom right hand corner. This action will place the image onto your canvas. From the canvas, you will be able to manipulate the layers, size, etc to personalize for your project.
I will be referring back to this post whenever there is a new image download available but you should pin it so you can find it easily!