This post may contain affiliate links. See my disclosure policy for more details.
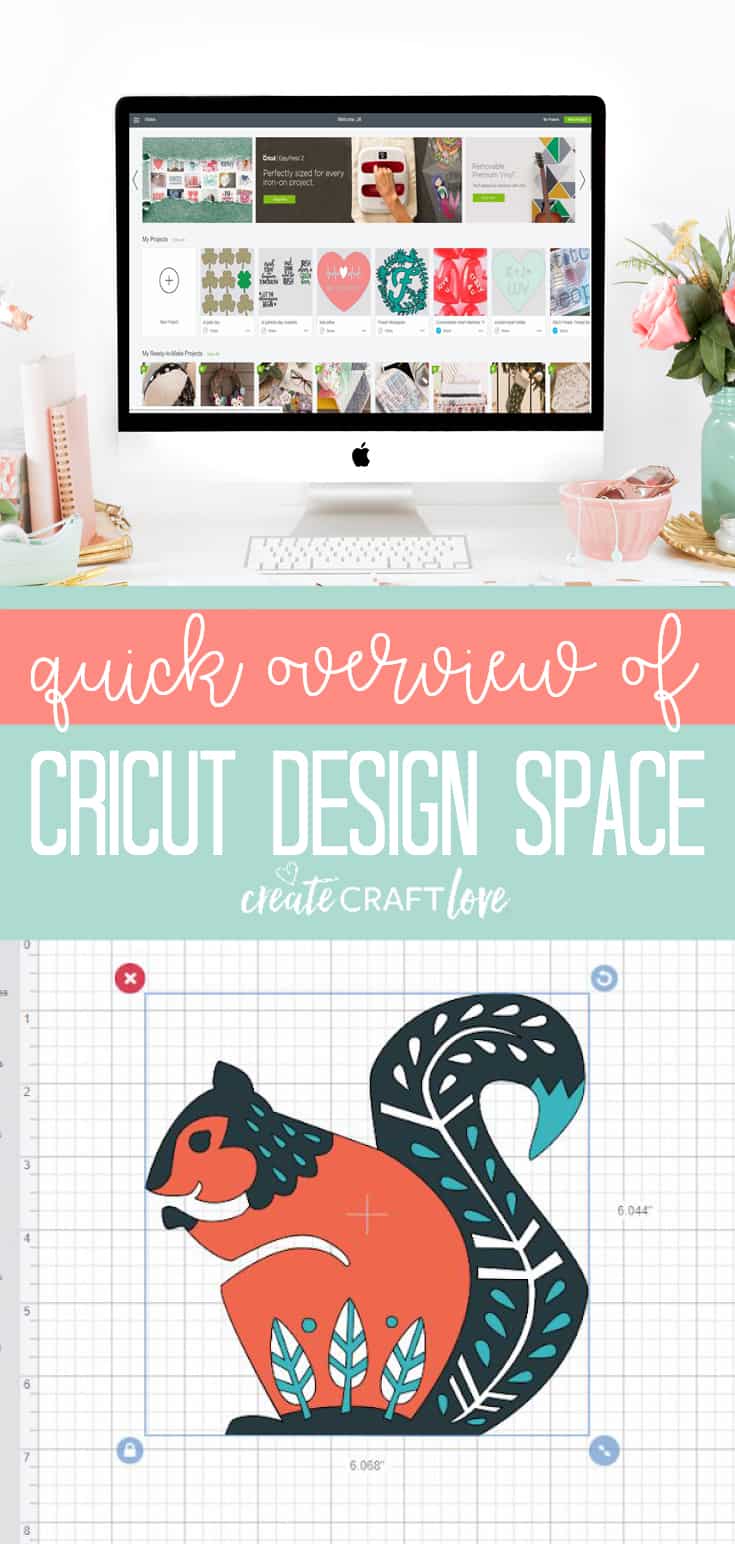
Let’s take a quick overview of Cricut Design Space to get started using your new favorite crafting tool!
If you’re new to Cricut, the software can seem a little daunting when you first begin. But have no fear! I’m going to give you a basic overview of the features of Cricut Design Space. I have also provided tutorials for using those features and functions within the software.
Overview of Cricut Design Space
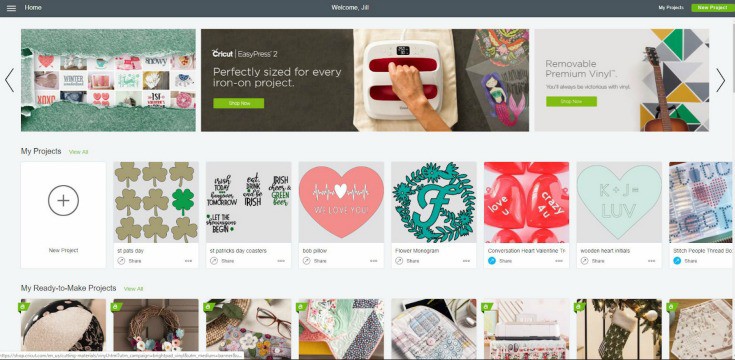
When you log in to Cricut Design Space, you will land on the home page. Here you can see any projects you have saved along with featured “Make It Now” projects.
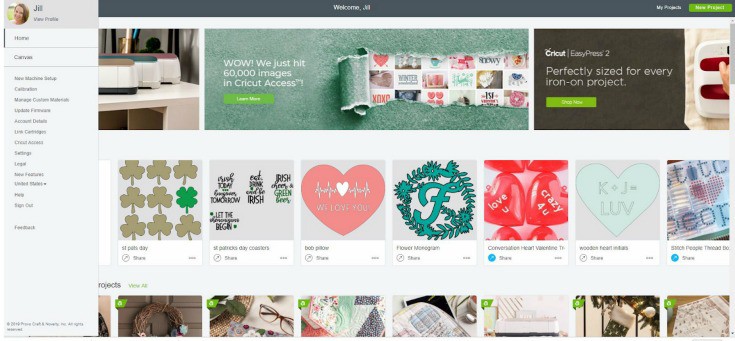
In the upper left hand corner, you will notice three lines next to the home button. Clicking on those lines, drops down your account menu. From here you can set up your new machine! You can also calibrate, update firmware, link cartridges, Cricut Access, and manage your account details.
If you scroll down, you will see the “Make It Now” projects are divided into categories that appear on a ribbon menu.
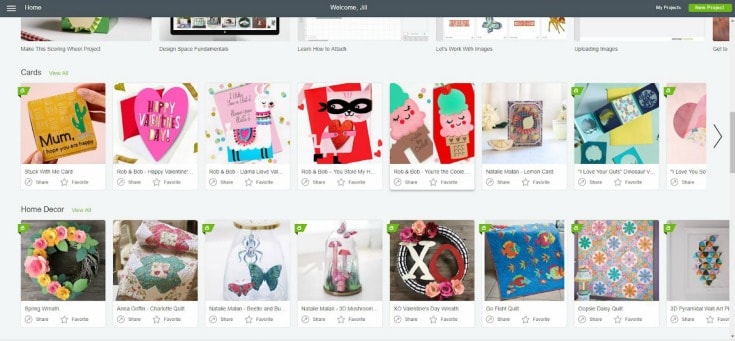
There are 3 ways to begin a new project from the home screen. You can click on “canvas” in the drop down menu. Another way to begin a new project is to click the green “new project” button in the upper right hand corner. Or click the white “new project” button next to your saved projects.
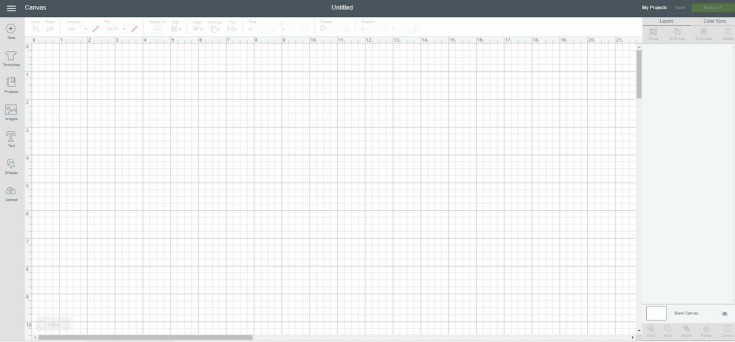
The menu to your left is the side menu bar. From there you can use a template to see how your design will look on different materials and items. You can search the image library, add text, add shapes, or upload images.
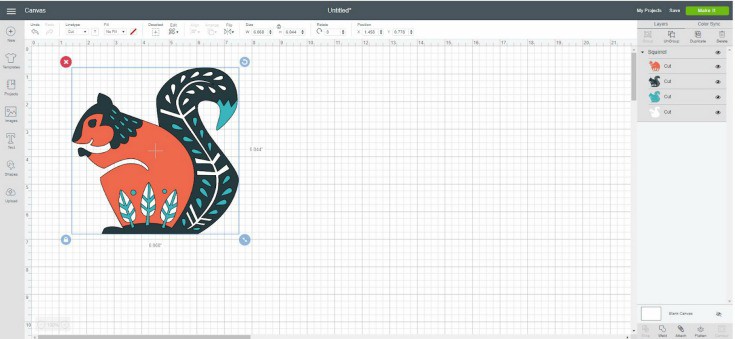
The top menu bar is where you can manipulate the image and its layers. From here you can change the linetype (cut, score, or draw), arrange, change orientation and resize.
The panel menu to the right is where you perform the various actions to change the image and its layers. Here is where you can group/ungroup, duplicate or delete layers. You can also slice, weld, attach, flatten and contour.
We will review these actions in different posts.