This post may contain affiliate links. See my disclosure policy for more details.
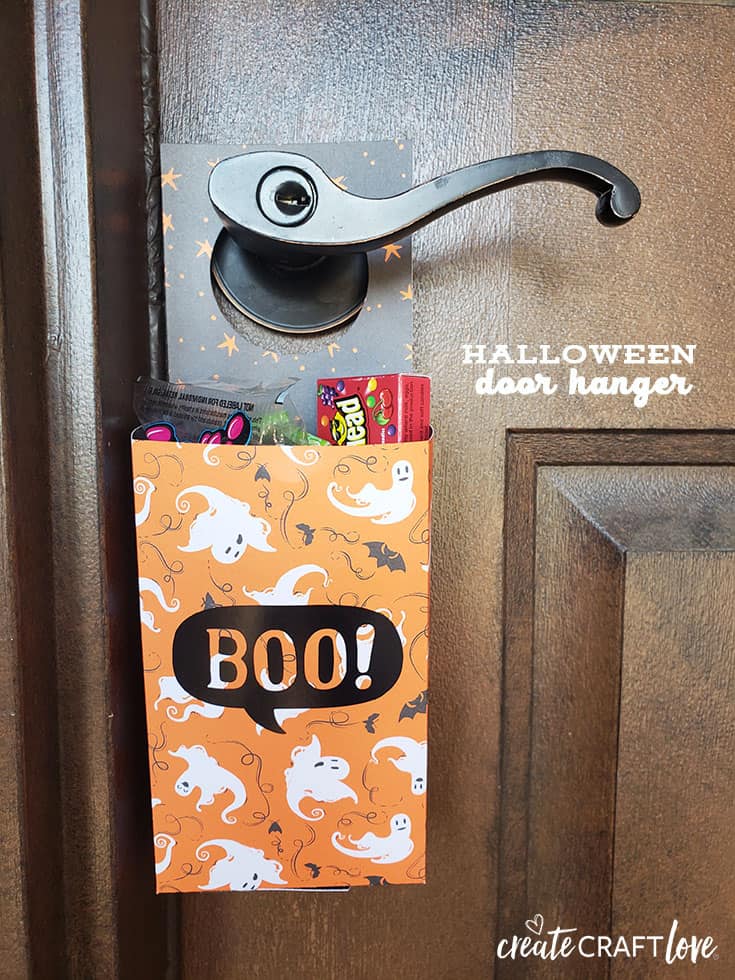
This Halloween Door Hanger is a quick and easy project to whip up for your neighborhood game of You’ve Been Booed!
Everyone is getting ready for Halloween! I’ve made my Trick or Treat Bag and now you can surprise your neighbors with this fun idea!
This post contains affiliate links for your convenience.
Materials needed for Halloween Door Hanger
Cricut Maker or Explore
Light grip mat 12×12
Scoring wheel
Halloween cardstock paper
Black adhesive vinyl
Cricut basic tool set
Transfer tape
Hot glue gun
Click HERE to download your SVG cut file!
(That Halloween cardstock is from Michaels. It’s called Hocus Pocus Supercherie and comes in a 12×12 inch pack. There are so many cute patterns! All pages are two sided!)
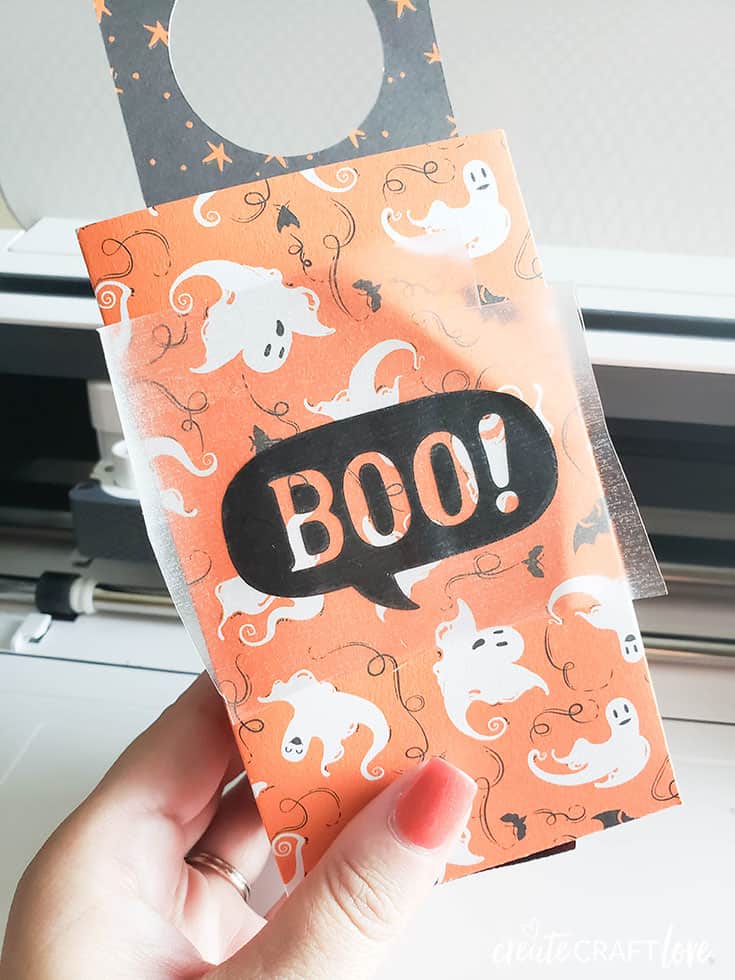
The door hanger measures at 11.5 inches wide. Choose your favorite two sided Halloween cardstock to use. Lay the pattern you want on the outside face down on the cutting mat. Follow the prompts for cutting and scoring. Once door hanger is cut and scored, remove from the mat and begin folding along the score lines.
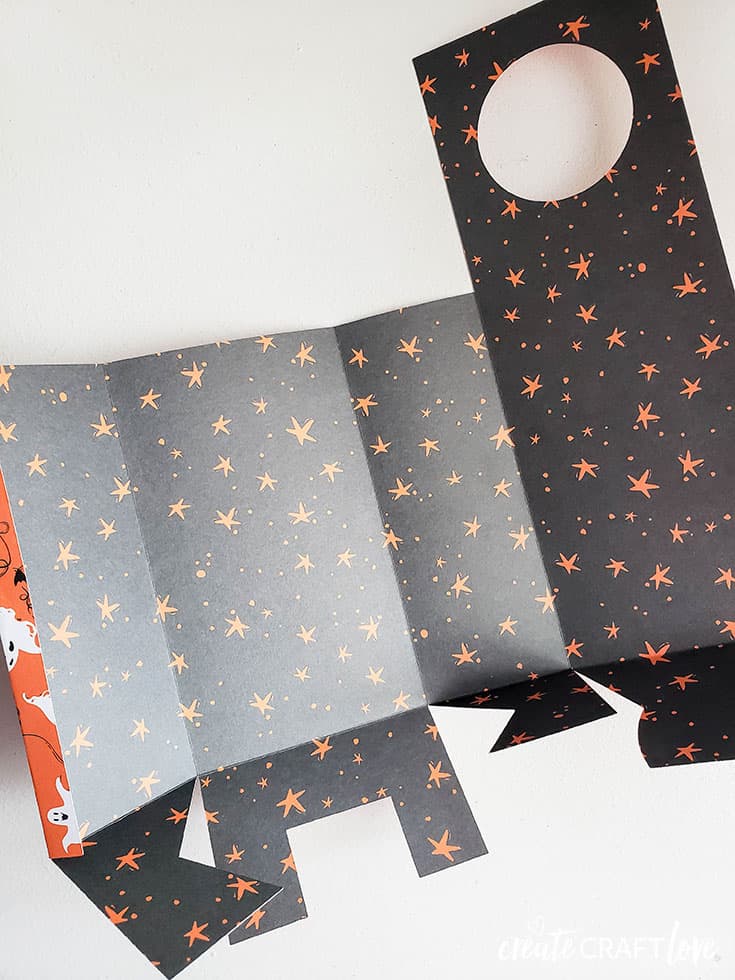
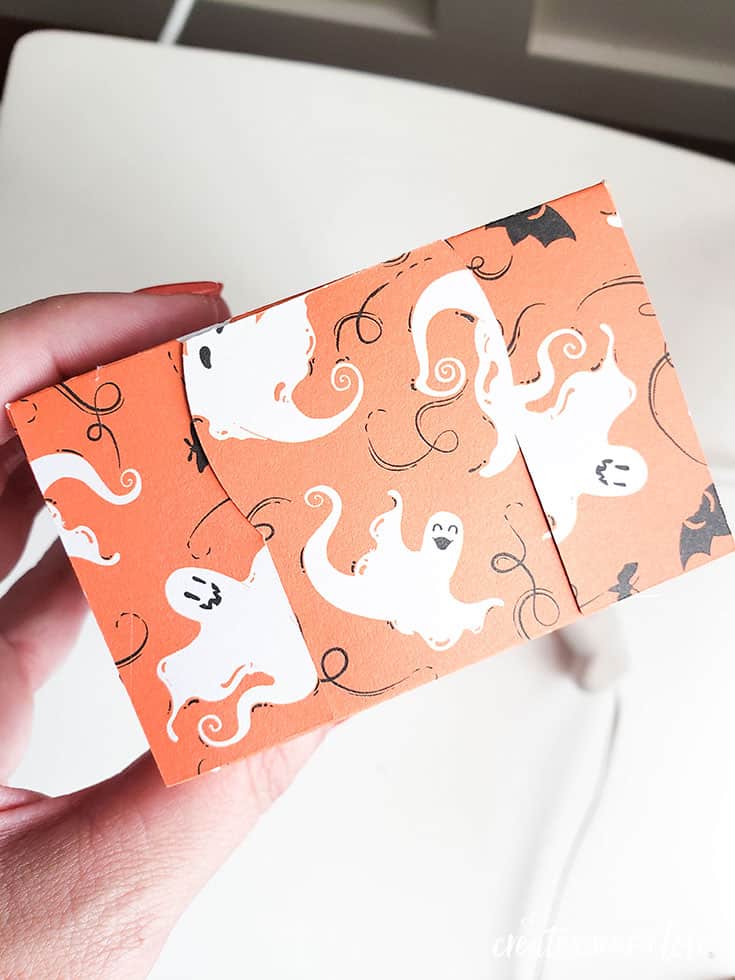
Glue the small fold (on the left of the above picture) to the side of the door hanger.
Fold the small side flaps on the bottom toward the middle. Close the bottom up by folding and hot gluing into place.
My sister also created a bunch of fun Halloween shapes and characters you can cut out of adhesive vinyl to decorate your door hanger!
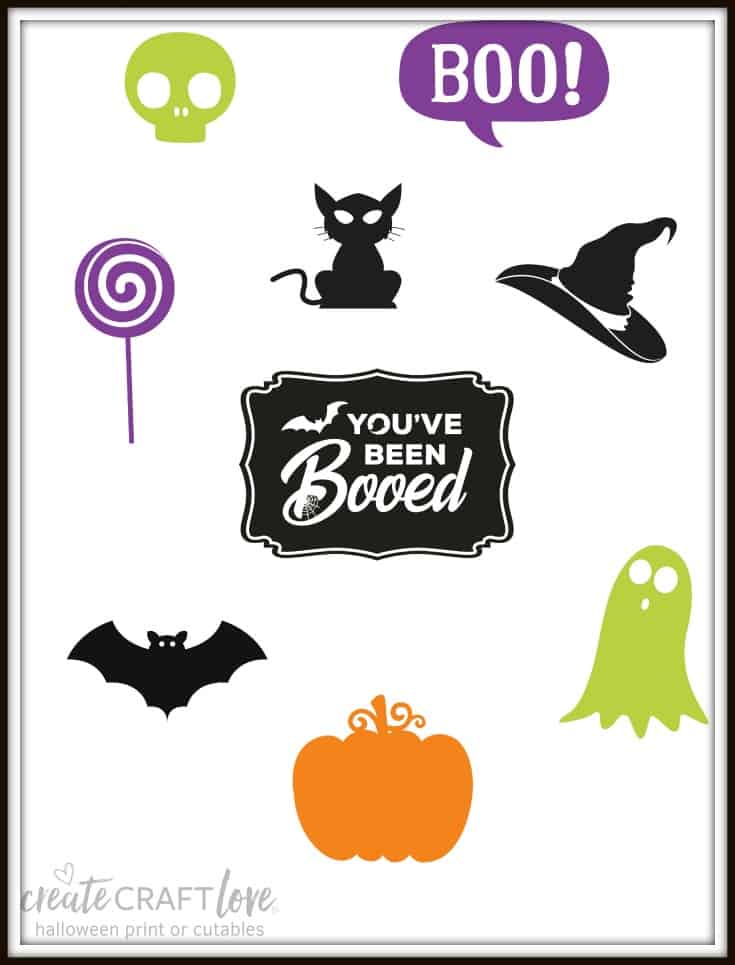
You can download those Door Hanger Decorations HERE!
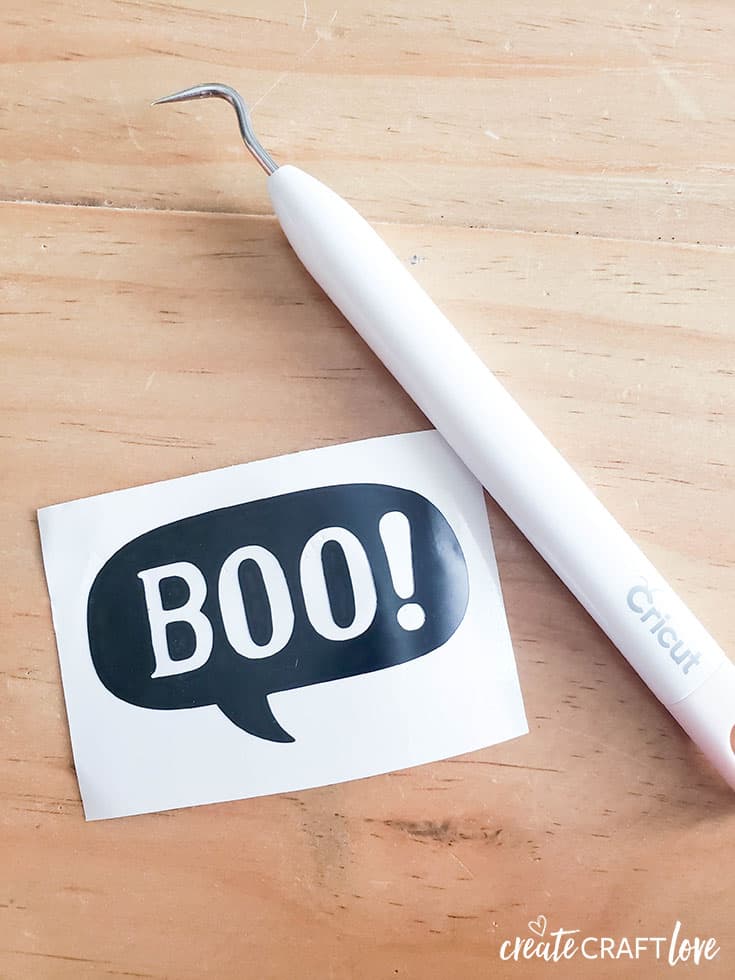
I cut the Boo out of adhesive vinyl Weed away the excess vinyl and use transfer tape to apply to outside of your Halloween Door Hanger!
The final step is to fill with candy and pass out around the neighborhood! These would also be cute to pass out at work or school. I know I would like to get a box full of candy! LOL
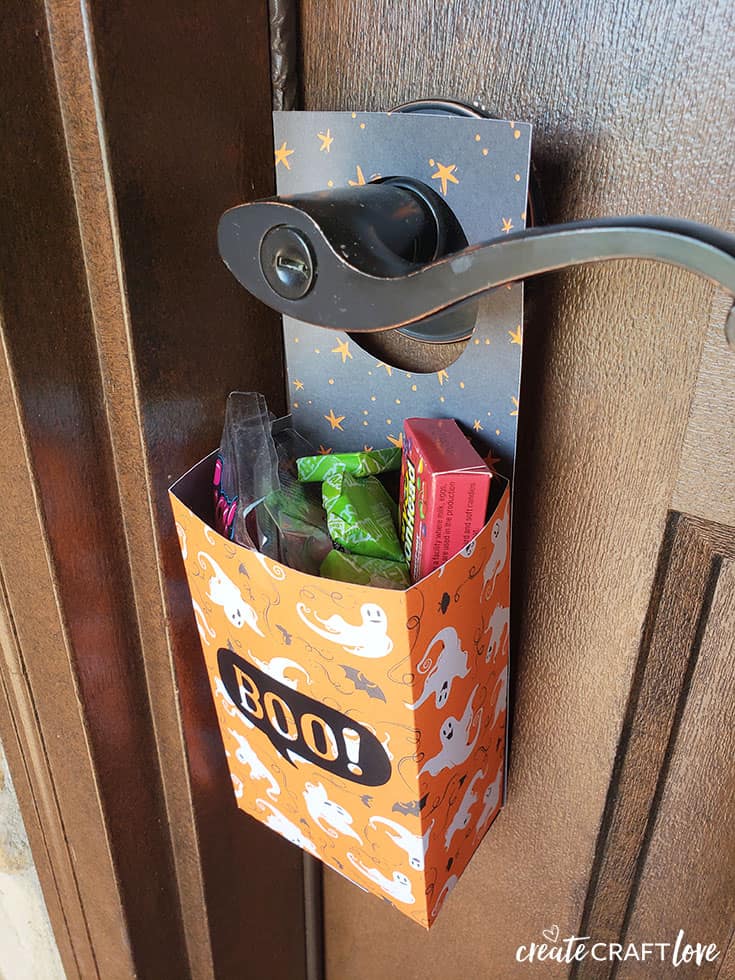
Aren’t these the cutest?! Prepare to be the coolest neighbor on the street!
