This post may contain affiliate links. See my disclosure policy for more details.
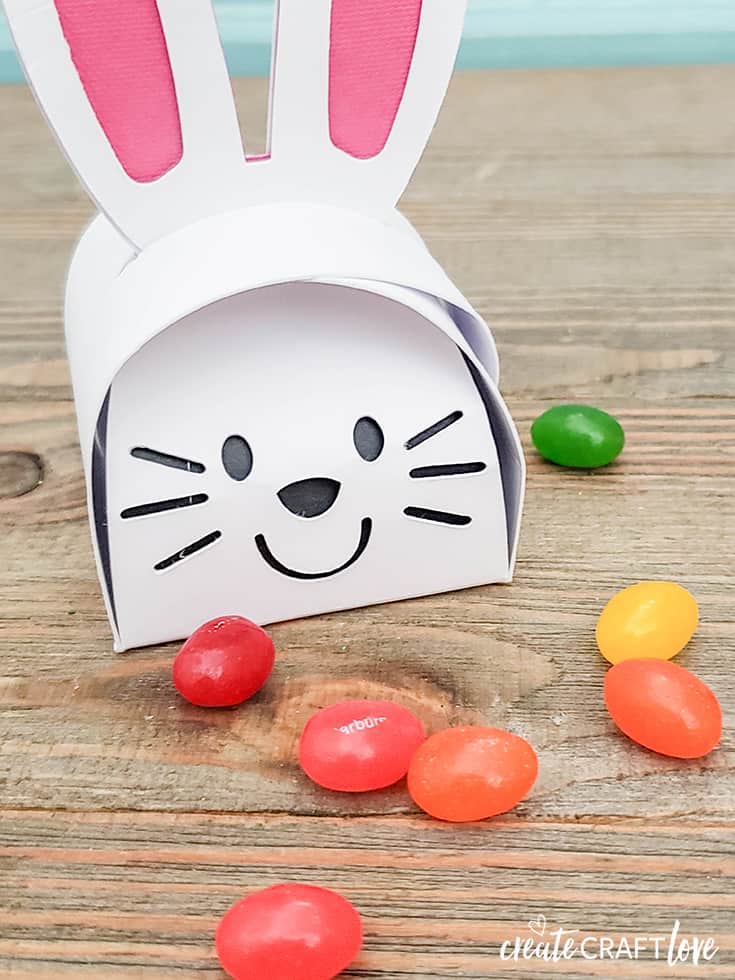
This Paper Bunny Box is a fun idea for the kiddos this Easter!
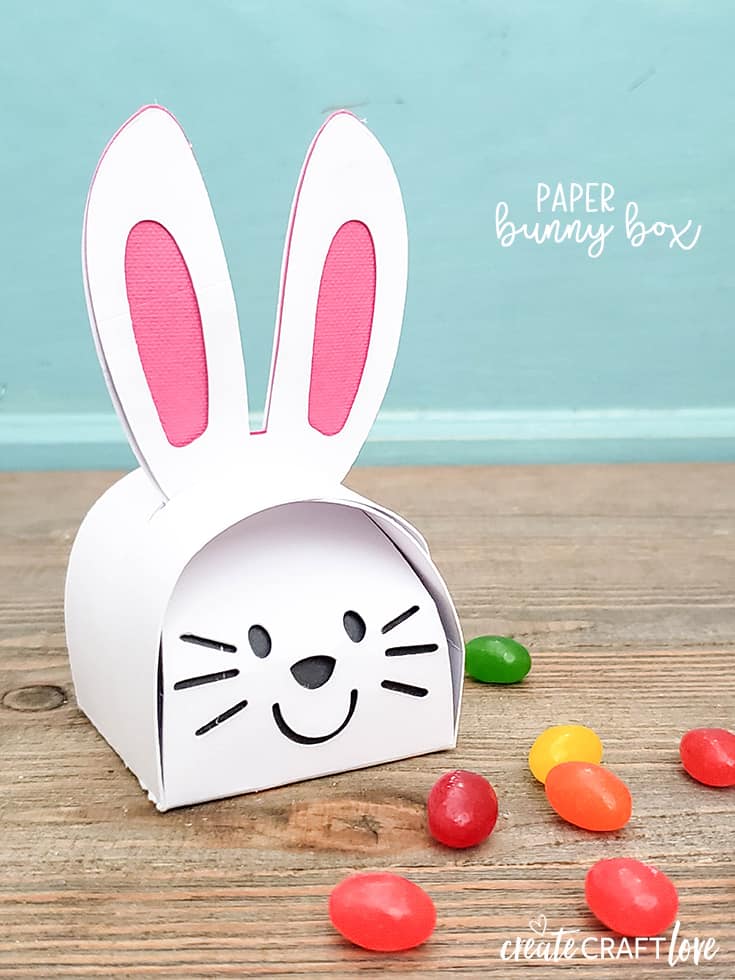
I saw this Bunny Box when searching for Valentine boxes last month. He’s the cutest little guy! It was so much fun to make and pretty easy too!
This post contains affiliate links for your convenience.
Materials needed for Paper Bunny Box
Cricut Explore or Maker
Scoring wheel or stylus
Cardstock (in colors of your choosing)
Light grip mat
Cricut basic tool set
Fine point blade
Hot glue gun
White pom for tail (optional)
Images for this project:
3D Bunny Box #M2193219
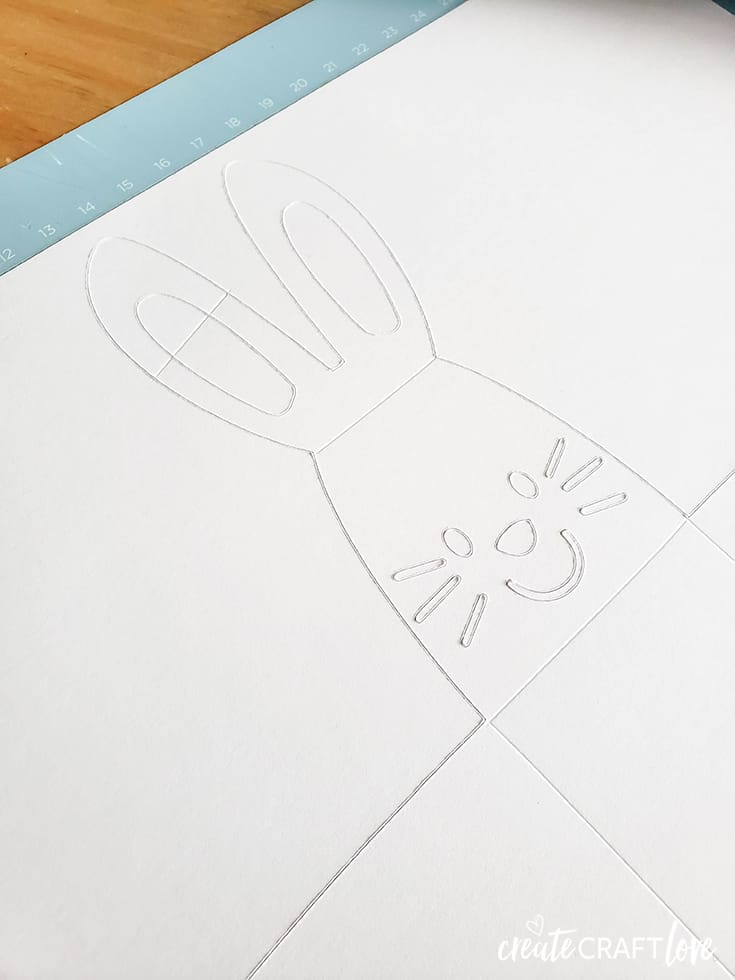
Begin by opening image in Design Space. I sized mine to 11 x 11.8 inches. Click on the main box layer in your layers panel. I do not want to cut the tail out because I am adding a pom pom for his tail. Click contour and hide the tail cut out. Now you are ready to cut the images. Place the cardstock color you are using for the box on the light grip mat and make it now. You will be instructed to load the scoring wheel (or stylus) first. After the lines are scored, add the fine point blade and proceed with cut.
Repeat process for remaining layers.
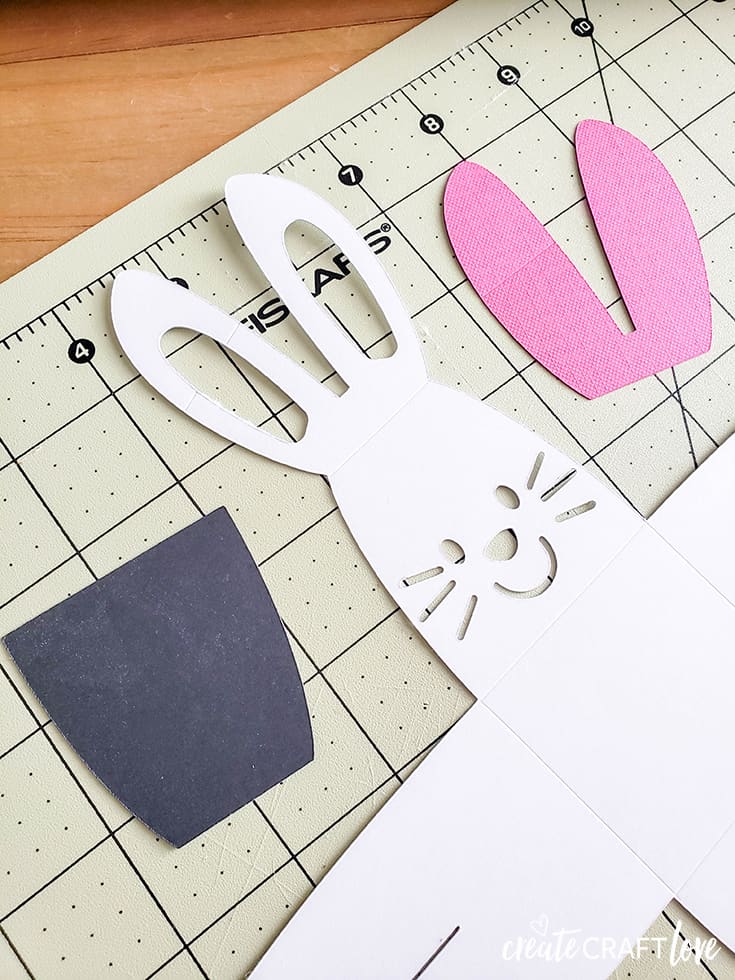
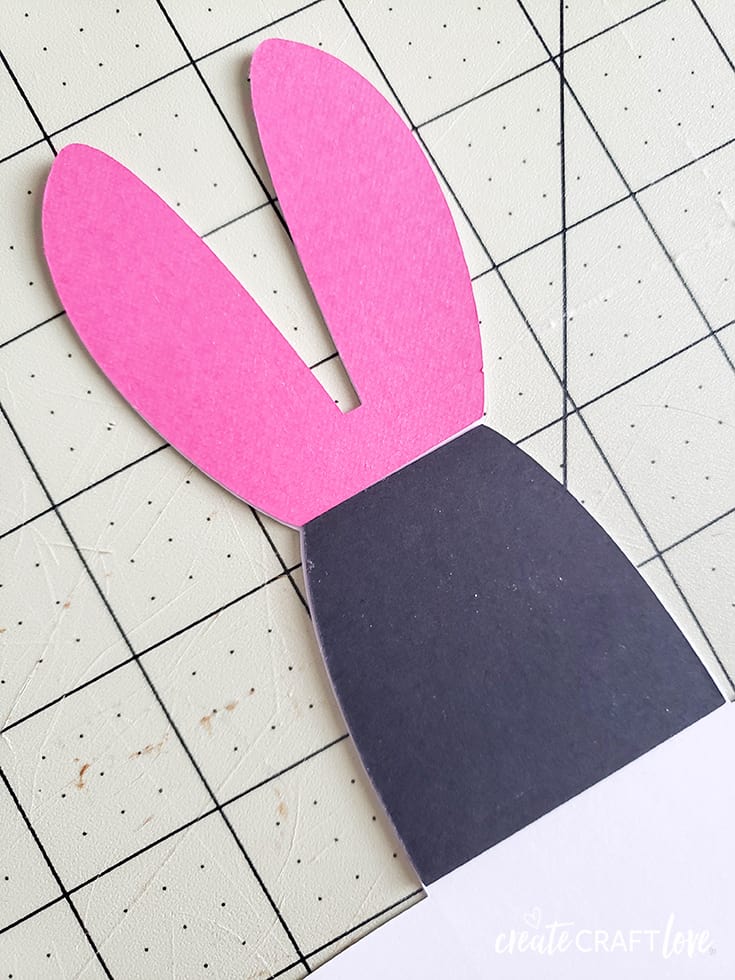
Turn bunny box over and glue the pink for his ears and the black for his face.
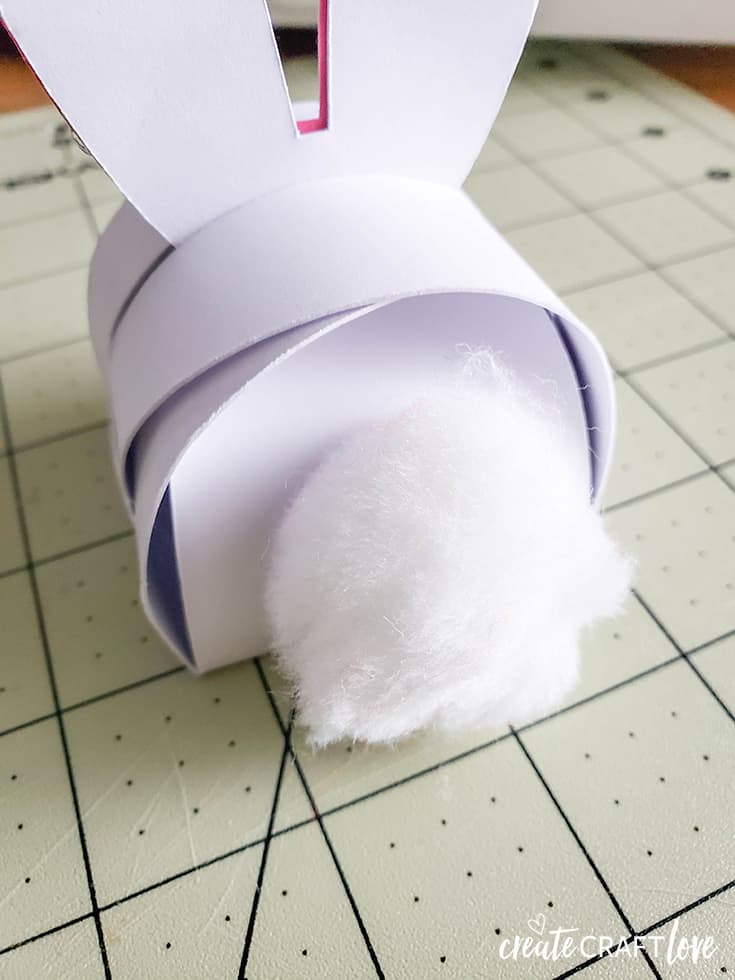
Now fold the bunny box along the score lines. Bring the front and back of the bunny head together with the face towards you. Thread his ears through the flap hanging to your right. Repeat with the left flap. Take the end of the flap and tuck into the small cut hole.
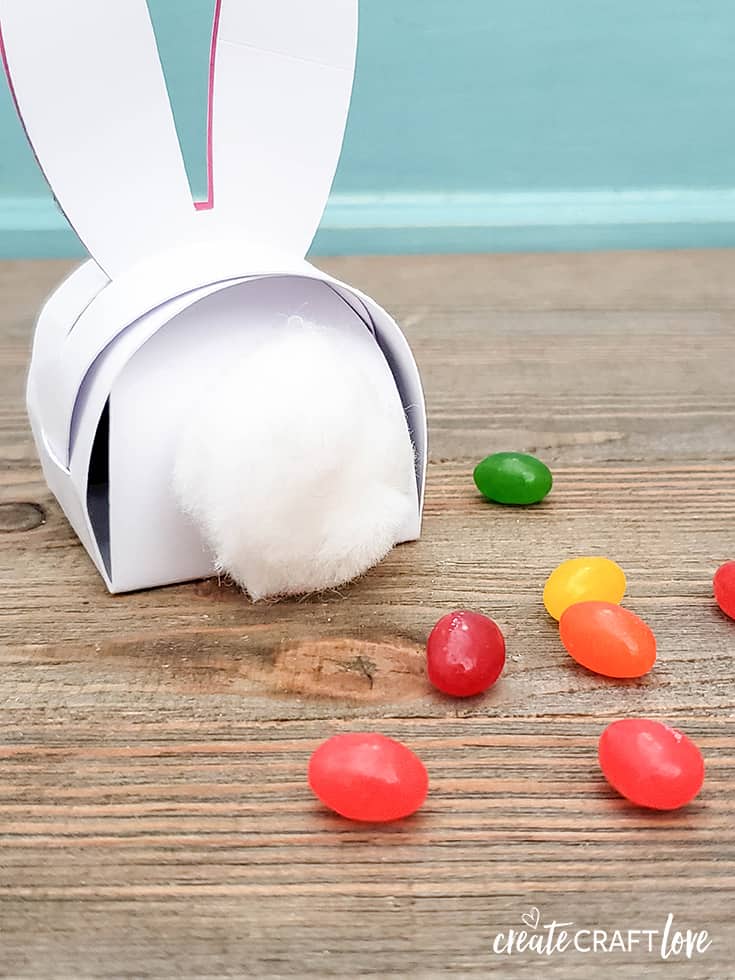
Finally, hot glue the white pom pom on the back of the box to complete the look.
Isn’t he the cutest?! I love how this looks. My son stole it from me when I was done taking pictures…LOL
Such a cute little guy!
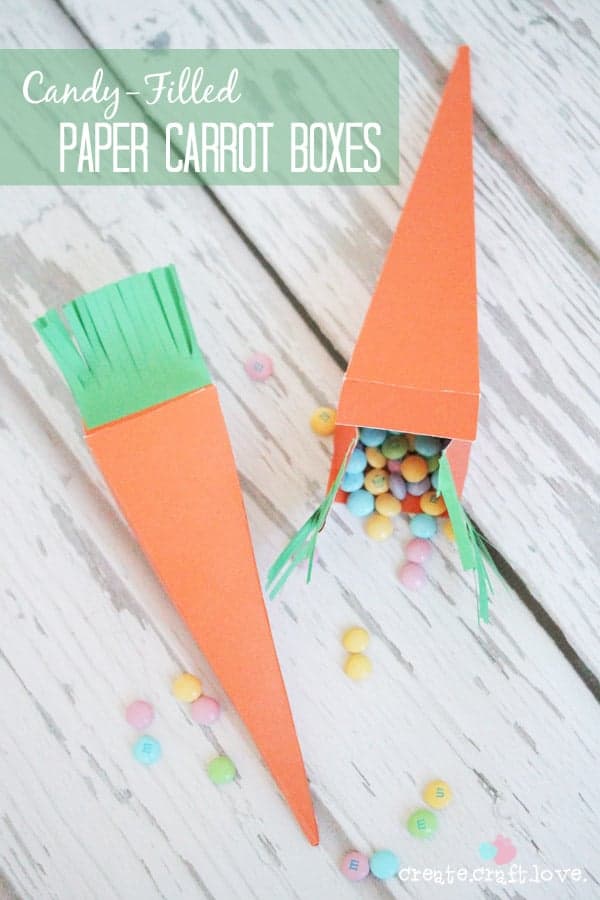
You can also make these Paper Carrot Boxes!