This post may contain affiliate links. See my disclosure policy for more details.
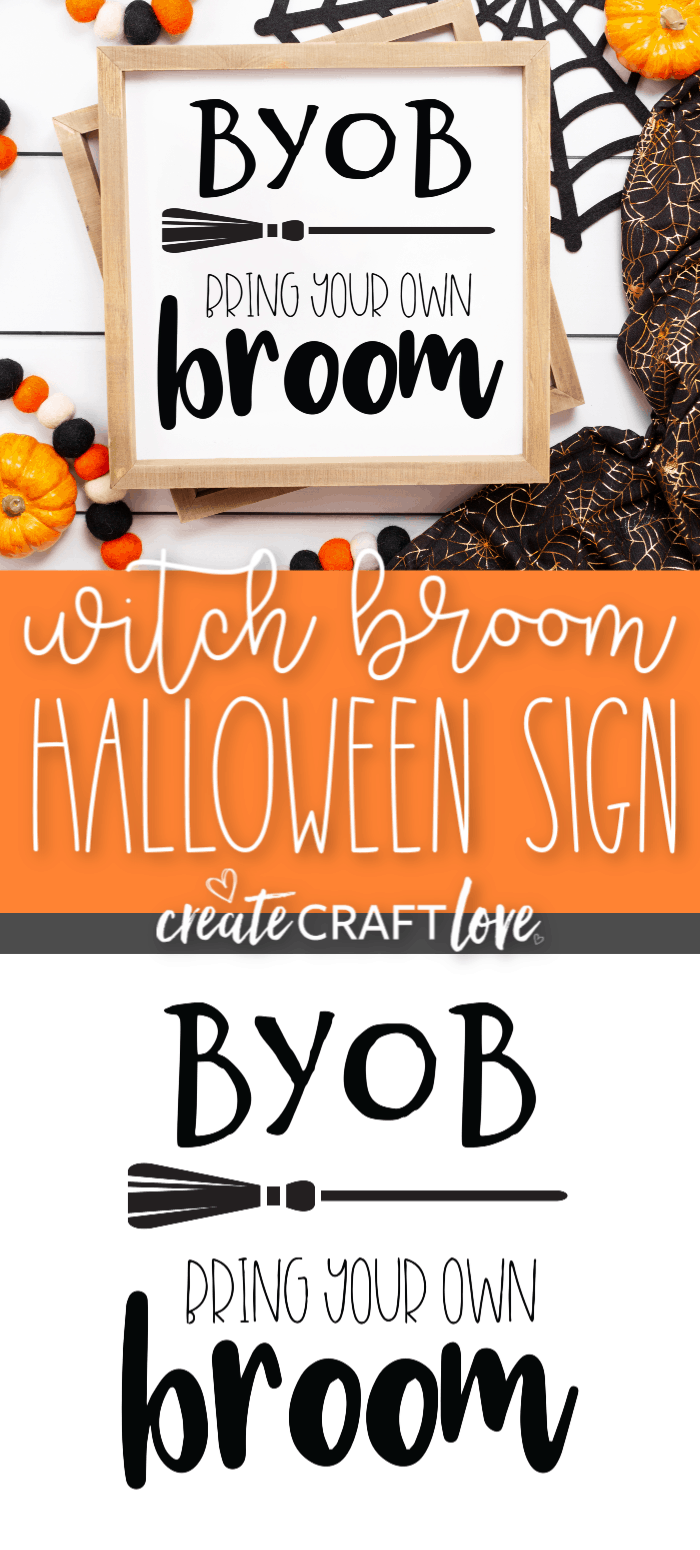
Add some humor to your Halloween decor with our Bring Your Own Broom Sign free cut file!

That sign gives new meaning to BYOB. My college self is shaking her head at my almost 40 year old self. LOL
This post contains affiliate links for your convenience.
Materials needed to create your own Bring Your Own Broom Sign
Cricut Explore or Maker
Adhesive vinyl
Light grip mat
Basic tool set
Transfer tape
Fine point blade
Unfinished framed canvas
Similar to our Autumn Leaves Fall Sign, there are two ways you can do this project. One, you can purchase an unfinished framed sign from a local craft store and add adhesive vinyl. Or you can use the reverse canvas method and use iron on vinyl. It’s completely up to you. For purposes of this post, we will be doing the first option.
- Begin by downloading the free file below and upload into Cricut Design Space.
- Measure your sign and size image appropriately in the software.
- Once finalized, send the image to cut and follow directions for cutting.
- Weed excess vinyl away from image using the basic tool set.
- Peel back transfer tape and place directly over the image. Use the scraper tool to burnish image to the transfer tape. Gently peel the transfer tape away from the vinyl backing. The vinyl image should now be on the transfer tape.
- Arrange the transfer tape with the vinyl image on the sign. Burnish with scraper tool to adhere to the sign.
- Carefully peel back the transfer tape. Your image should now be affixed to the sign.
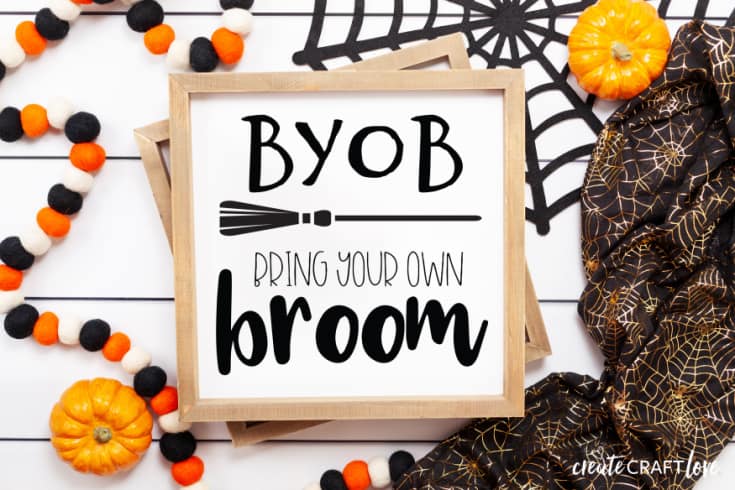
Click HERE to download your FREE Bring Your Own Broom cut file!
All SVG files are for PERSONAL use only! Please do not re-sell, redistribute or claim as your own. If this file is posted to the internet, please give credit and link back to Create.Craft.Love.
Download directions: Click link above. This will bring up a Google Drive folder. Click the download icon at the top. This will save the folder to your computer. Simply open the file and print! YOU DO NOT NEED TO ASK PERMISSION TO VIEW.