This post may contain affiliate links. See my disclosure policy for more details.
Sponsored by Make It: Fun®
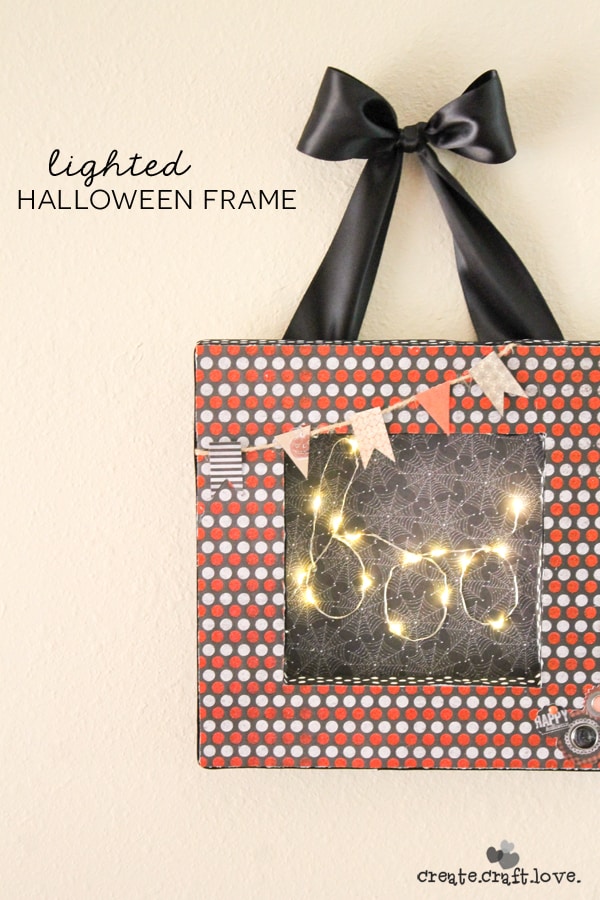
Create this unique Lighted Halloween Frame with some foam and scrapbook paper!
Are you all sick of the Halloween fabulousness yet? I absolutely love being a part of the Floracraft Make It Fun team! Each month I get a secret box full of goodies and challenged to create something awesome. When I saw the LED battery operated lights, I knew I wanted to incorporate them into my crafting somehow! That’s how this adorable Lighted Halloween Frame was born!
Materials needed to create your own Lighted Halloween Frame
Scrapbook paper and scrapbook embellishments
Mod Podge
Sheet of Styrofoam™ 15/16 x 11 15/16 x 17 15/16 inch block
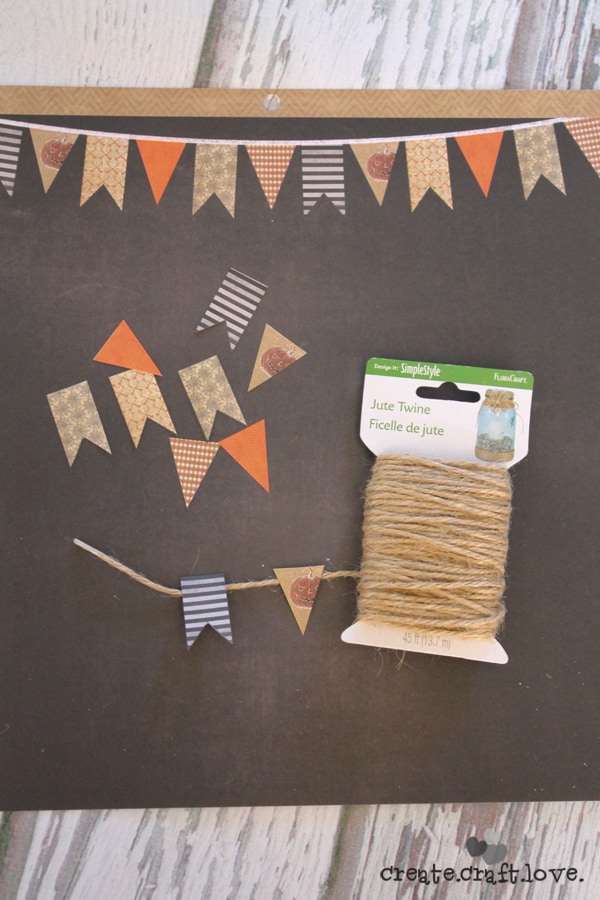
Jute Twine
StyroCutter® Plus
Design It:® LED light strand
Hot glue gun
Ribbon
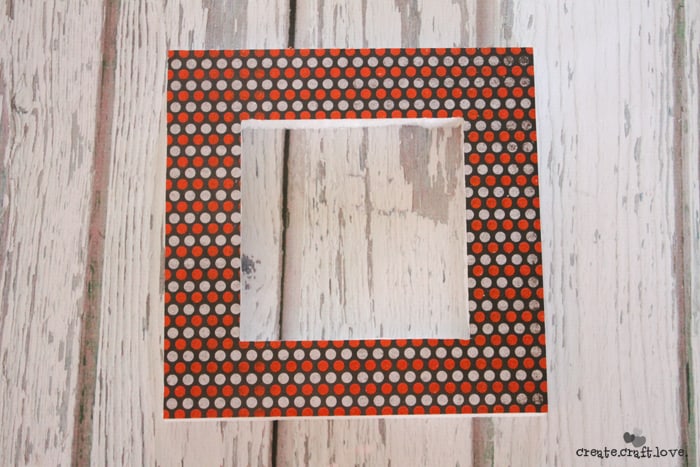
I cut my scrapbook paper into a 10 inch by 10 inch square. The inner square is 8 inch by 8 inch. Mod podge the paper onto your foam.
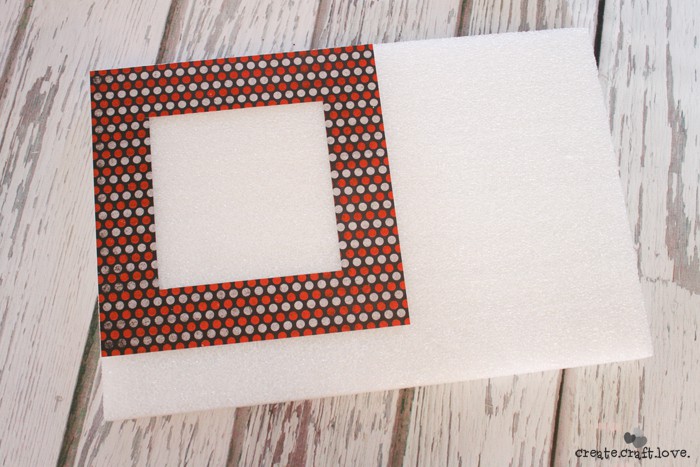
Allow time to dry. Using your StyroCutter®, begin cutting out the frame.

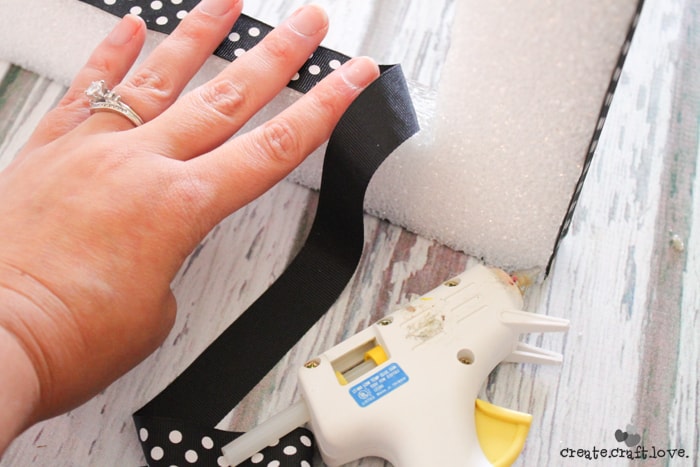
Cover the exposed foam by hot gluing 1 inch ribbon around the edges.
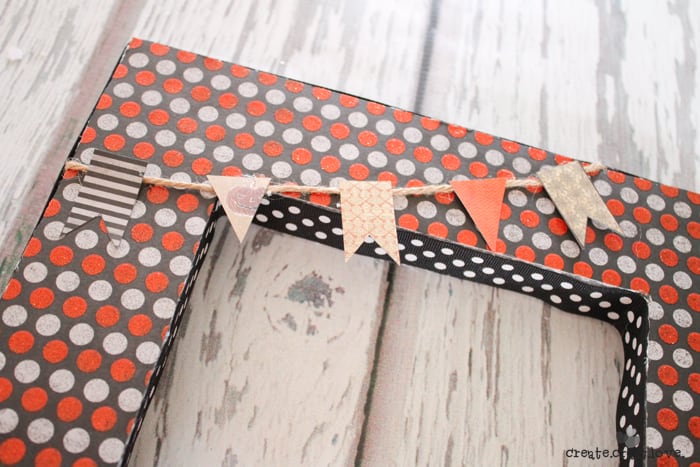
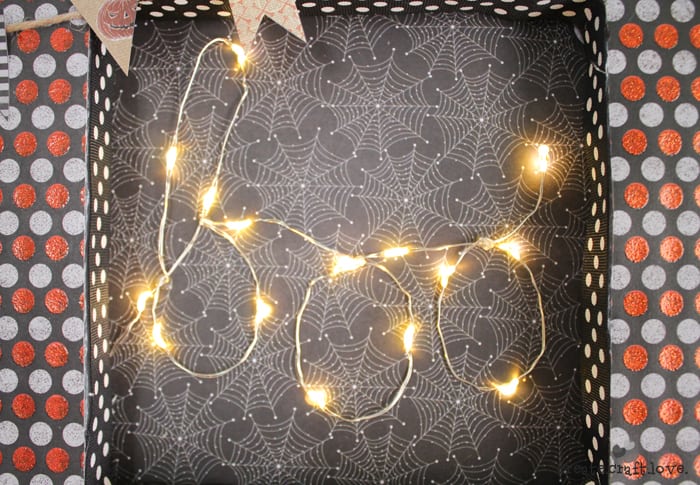
The scrapbook paper I picked out had a really cute pennant banner. I cut out the pennants and hot glued them to the jute twine.
Glue your pennant banner across the frame.
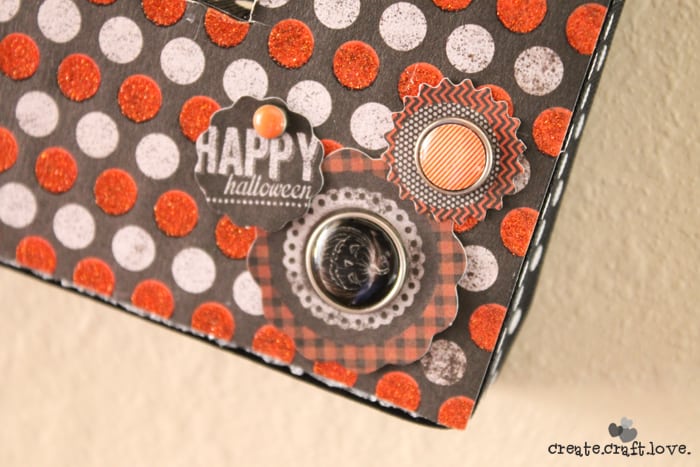
I also added some cute coordinating scrapbook brads to the opposite corner of the frame.
Now it’s time for the fun part!
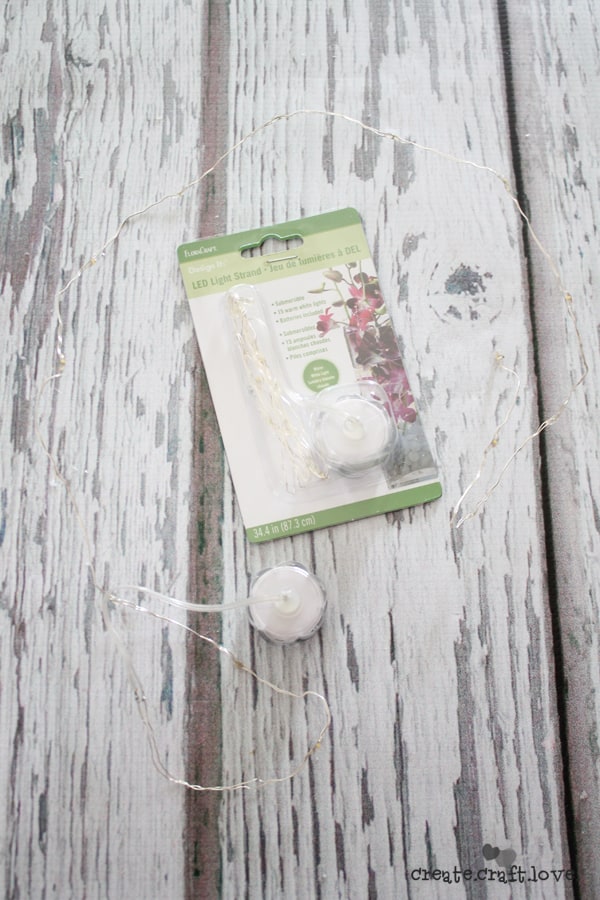
These lights are battery operated. The strand is made of wire. I spelled out “boo” in cursive with the light strand.
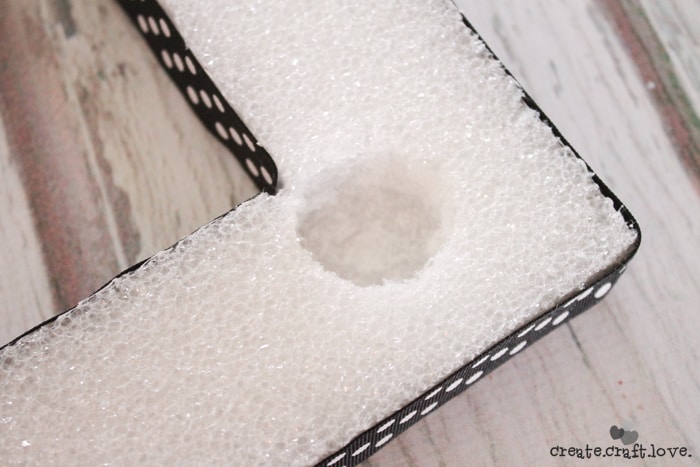
I cored a place for the battery pack into the back of the frame.
Finally, I added some contrasting scrapbook paper to the back of the frame and glued the light strand into place.
Add some cute ribbon to hang it!
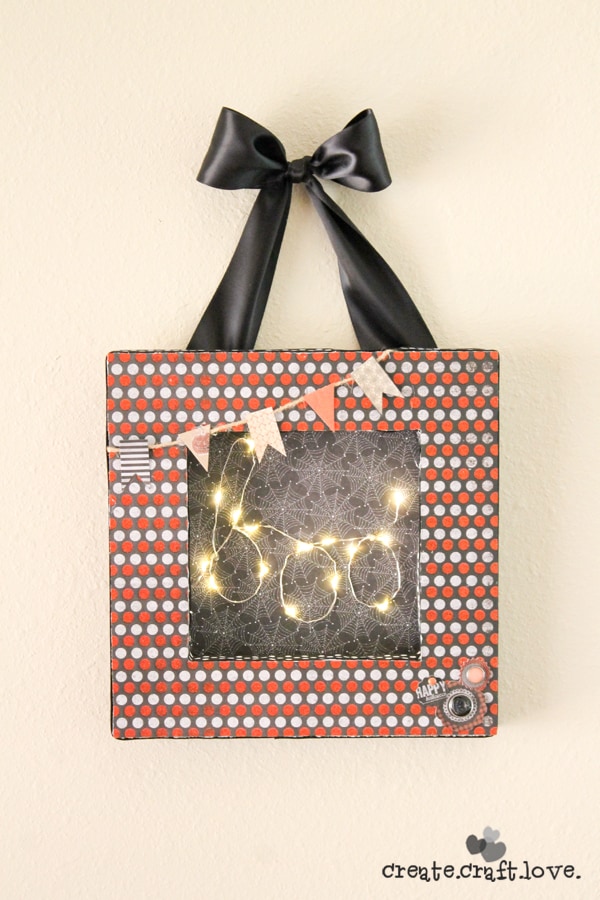
I LOVE it! It looks super cute on the wall next to my Halloween countdown calendar.
I received compensation and free product for the purpose of this post. You can read my full disclosure HERE.

[…] Lighted Halloween Frame by Create.Craft.Love. […]