This post may contain affiliate links. See my disclosure policy for more details.
Make your own Christmas Earrings and get into the festive spirit of the season!

This post contains affiliate links for your convenience.
One of my favorite things to make with my xTool M1 is earrings. Going out for a date night? Make new earrings. Holiday time? Make new earrings. Baseball game? Make new earrings. It’s so fast and easy to customize any look. Our Christmas Earrings will complete any holiday party outfit!
Materials needed to make your own Christmas Earrings
- xTool M1 10W
- Brown acyrlic
- 3mm basswood
- Red acrylic
- Vinyl
- Transfer tape
- Red pom poms
- Hot glue gun
- Earring hardware
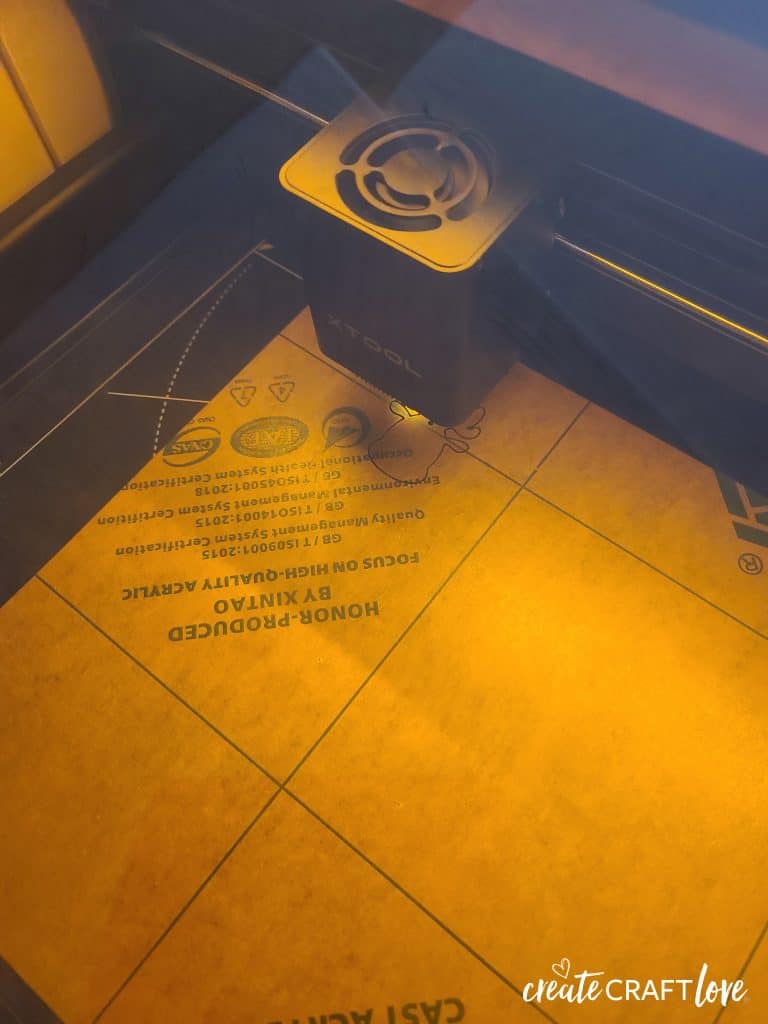
Because the xTool M1 uses a diode laser, you are limited in the acrylic colors you can cut. However, the ones available are perfect for Christmas! Download the Christmas Earrings file from the bottom of this post.
Open xTool Creative Space (XCS) and upload the reindeer earring cut file. Open lid of xTool and place the brown acrylic on triangle prisms. Close the lid to refresh the real time materials picture. Arrange your reindeer earring file and duplicate image to cut both earrings. You will need to add a small circle to the top of the reindeer in order to add the earring hardware when complete. While the image is still highlighted, adjust your settings to laser flat, BLACK acrylic and raised on triangle prisms. You will also need to change from score to cut.
Once arranged to your liking, send the image to the xTool by clicking process in the lower right hand corner. Click start and then press the flashing button on the front of the xTool. Your image will begin cutting.
Once done cutting, remove the acrylic and carefully pop the reindeer out. You will need to remove the masking paper from each side of the earring.
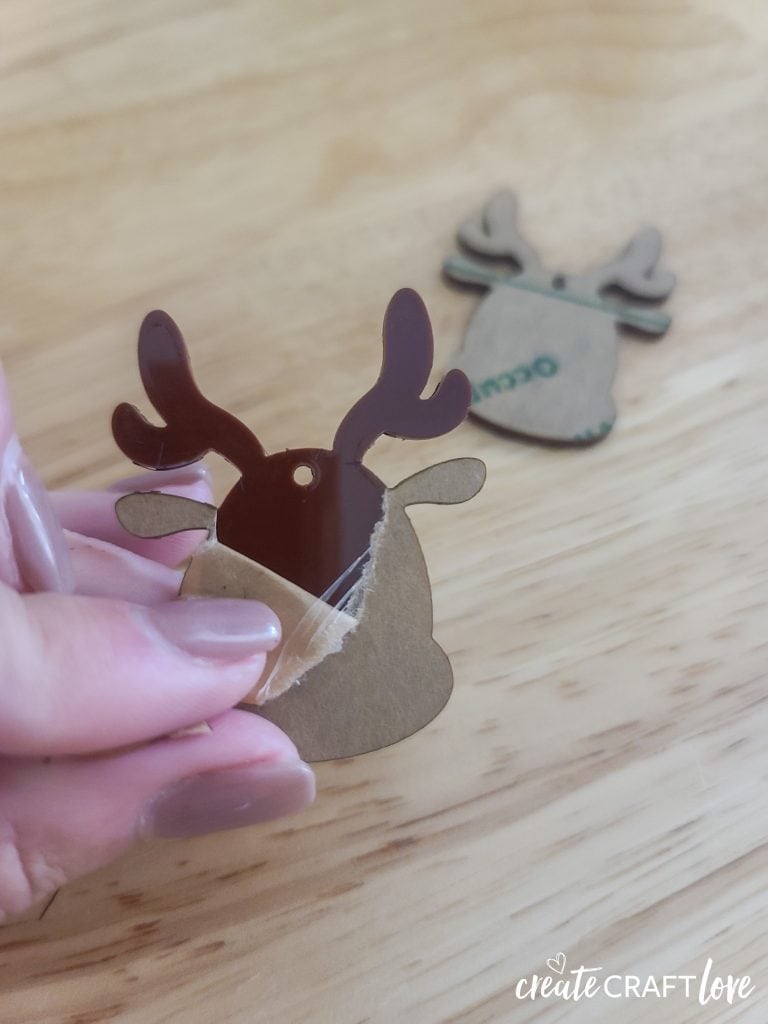
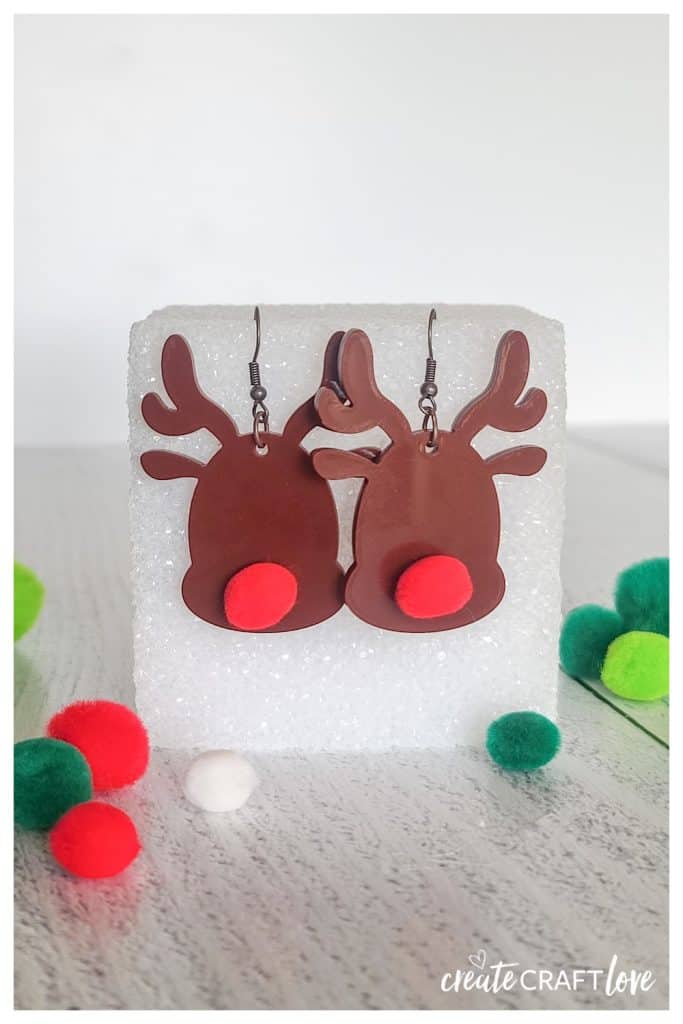
Add your earring hardware. To finish these off, hot glue a small red pom pom to the front of the reindeer. How stinkin’ cute are those?!
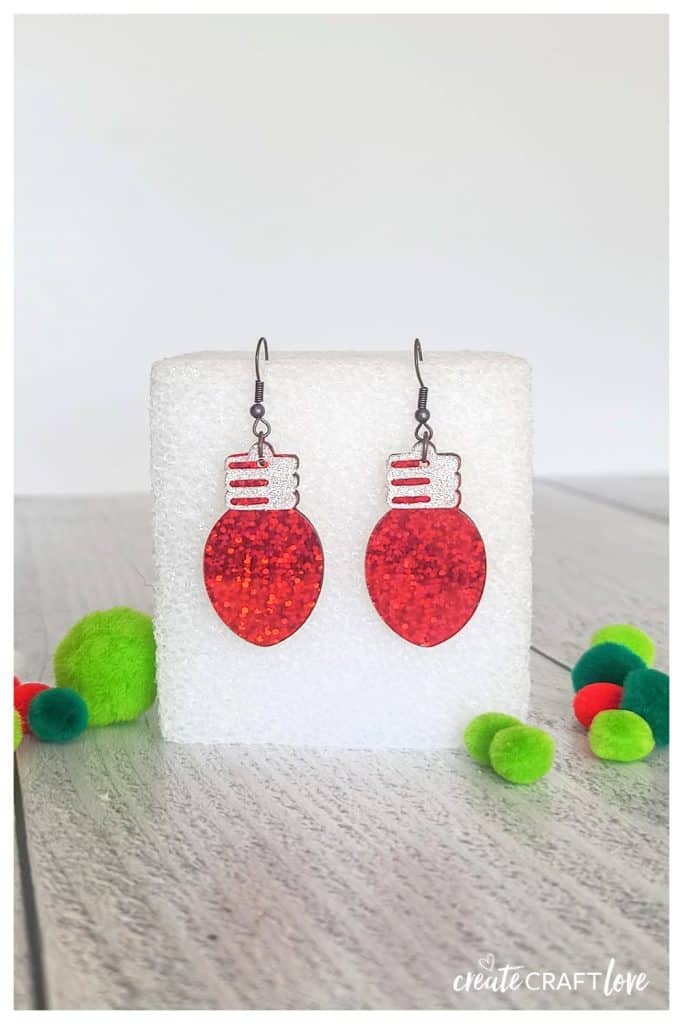
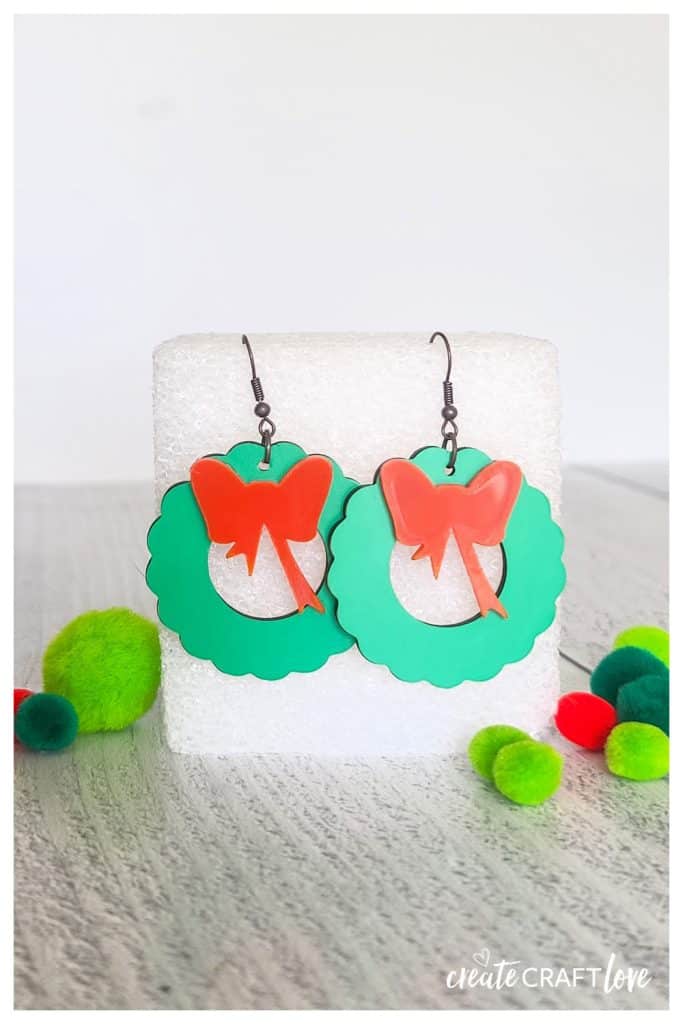
The wreath and light bulbs are done similarly in the XCS programming. However I had to layer our materials because I was unable to cut the green acrylic. The base for the wreath and light bulb are cut from basswood. You will follow the same steps but change your material type to 3mm basswood.
Remove the triangle prisms and clean the bottom of the machine with rubbing alcohol. Allow to dry and then add the two sided adhesive mat to the bottom plate of the xTool. Add you vinyl to the adhesive mat and be sure your blade is loaded in the housing unit. Change your settings to blade cut and use it to cut the green part of the wreath and the red and silver parts of the light bulb.
I cut the red bows on the wreath from red acrylic and then hot glued them on the front of the wreath. Follow up the above steps for setting to cut the red acrylic but change material to red acrylic.
Transfer the vinyl onto the wood using transfer tape. Follow the same steps for adding the earring hardware to complete.
I freaking love these! Everyone keeps asking if I will sell them!
Click HERE to download your Christmas Earrings cut file bundle!
All SVG files are for PERSONAL use only! Please do not re-sell, redistribute or claim as your own. If this printable is posted to the internet, please give credit and link back to Create.Craft.Love.
Download directions: Click link above. This will bring up a Google Drive folder. Click the download icon at the top. This will save the folder to your computer. Simply open the file and print! YOU DO NOT NEED TO ASK PERMISSION TO VIEW.
