This post may contain affiliate links. See my disclosure policy for more details.
Manipulate images by learning how to Contour Images in Cricut Design Space!
When I first started using Cricut Design Space, I would find images I wanted to use in the Cricut library but there would be a single detail that I did not want or need. It wasn’t until I discovered the contour tool that I was able to start manipulating these images into what I wanted.
Contouring is different from hiding. Hiding hides the ENTIRE layer. Contouring hides a PART of the layer.
How to Contour Images in Cricut Design Space
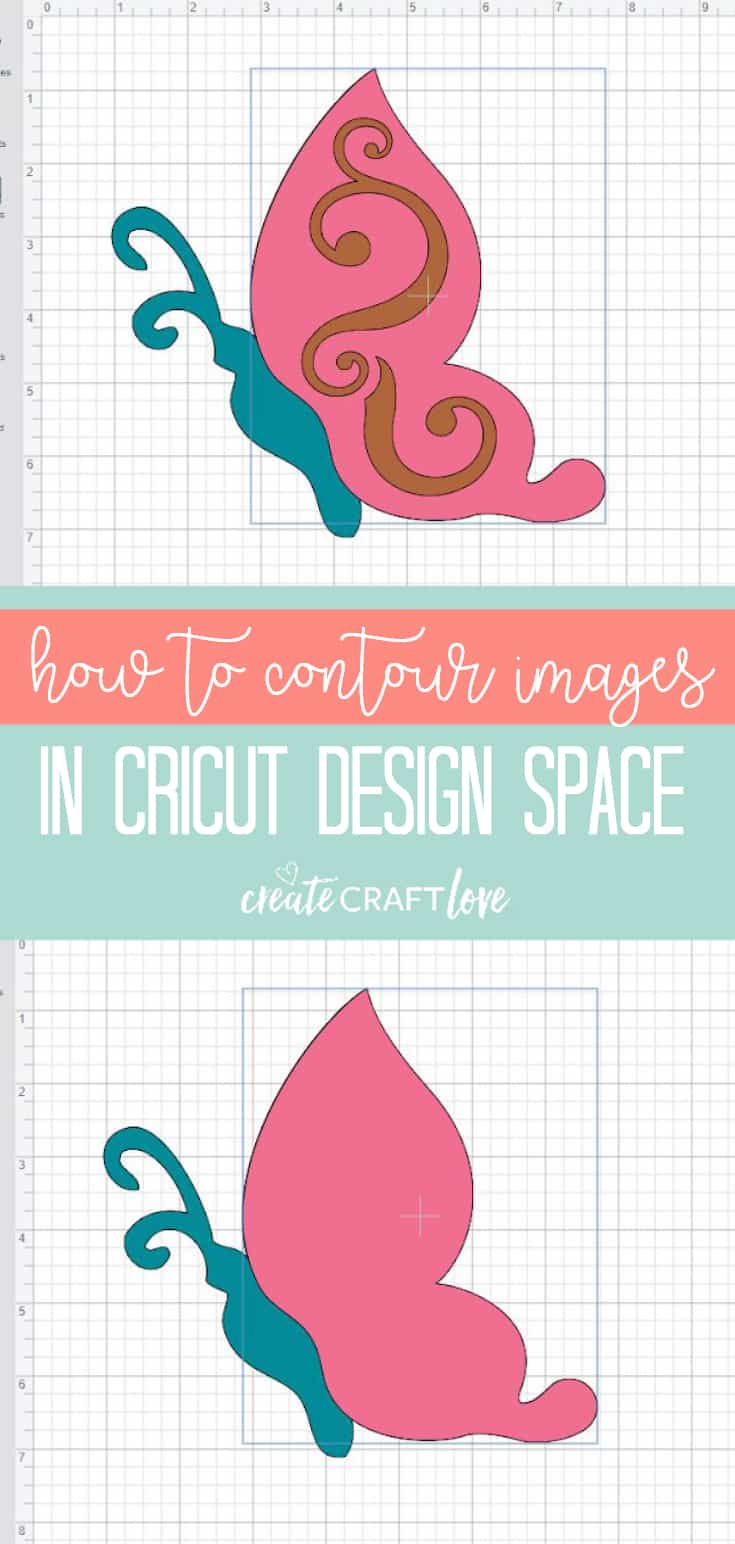
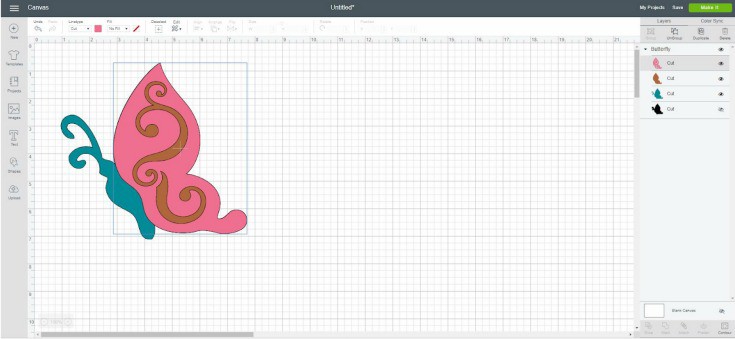
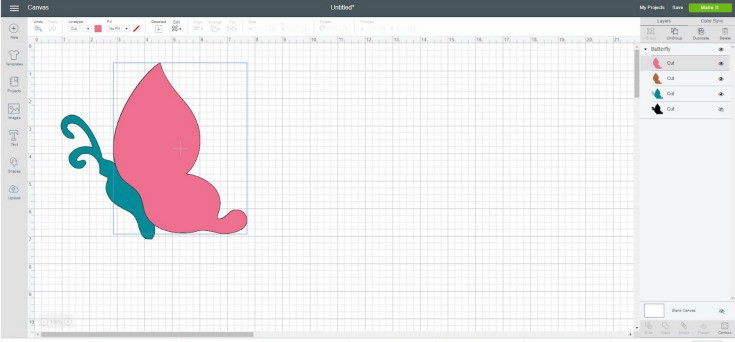
Let’s start by using the same image. Search for Butterfly #M41173. For the sake of argument, let’s pretend we do not want the detail on the butterfly’s wings. Select the layer that has the wing detail in the layer menu to the right of your canvas. (This layer also contains the outline for the wing, hence why we would not want to hide the entire layer.) Then click “contour” in the lower right hand corner.
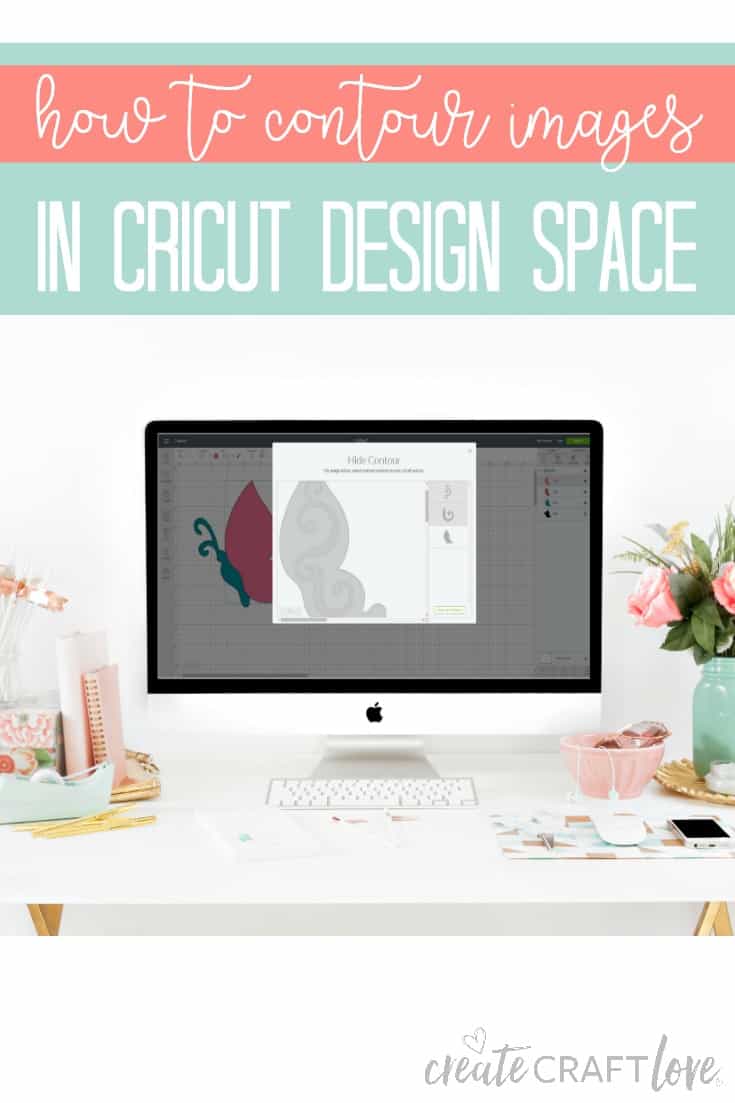
This action will bring up the hide contour window with the individual components of the layer.
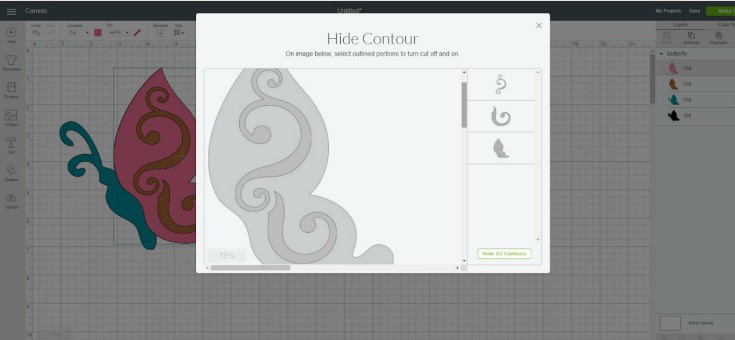
On the image below, select the outlined portions to turn on and off. Click off the swirls in the middle of the butterfly wing. The components you have turned off will appear grayed out in the menu on the right of the hide contour window.

Close the hide contour window and your butterfly wing will no longer have the swirls in the middle.
If you change your mind or want to re-add the swirls, simply repeat the process detailed above.
Of note: This feature is not included in the Cricut app. These more sophisticated features must be accessed on the desktop version of Cricut Design Space.
Isn’t that a neat feature? Now you can customize the images you find in Cricut specific to the project you have in mind!