This post may contain affiliate links. See my disclosure policy for more details.
These DIY Tattoo Pen Stencils are perfect for keeping the kids occupied this summer!
The Easter Bunny brought these tattoo pens but I think my sister and I had just as much fun with them! They provide you with some stencils but they weren’t very high quality and limited designs. Jennifer and I figured we could do way better. She came up with these fun summer designs to dress up your feet and arms!
A little about the pens – they are totally non-toxic and safe to use! The tattoo held up through a couple of hands washings but came off in the shower/bath later that day. I know some people get concerned by these things.
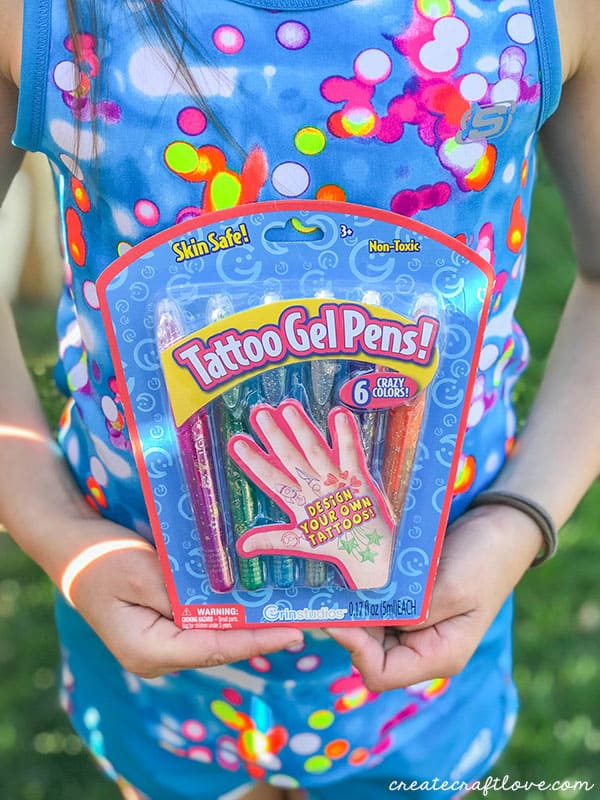
(Rumor has it the Easter Bunny found these at Target. They were only a couple of dollars.)
Using your DIY Tattoo Pen Stencils
First and foremost, download the SVG file below. Using adhesive vinyl and your favorite cutting machine, cut the stencils. You can totally trace them on the vinyl and cut with scissors too. The designs are not super intricate.
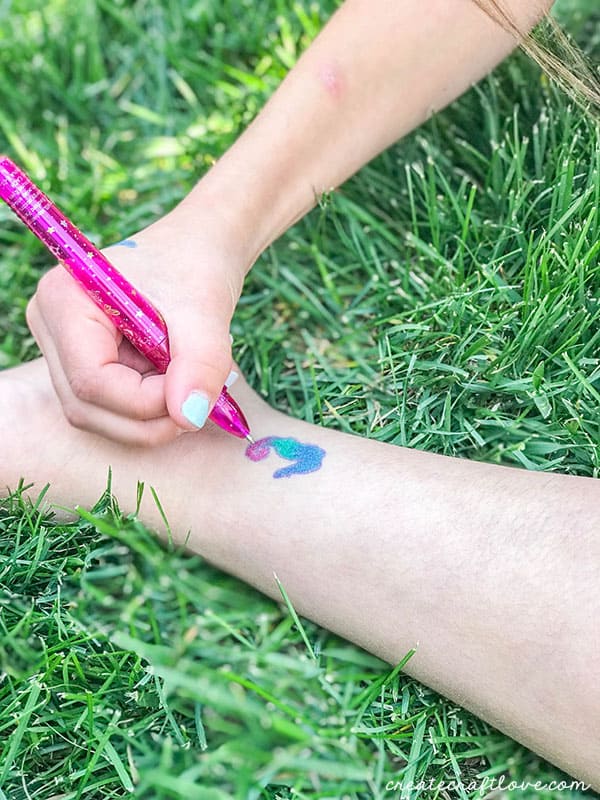
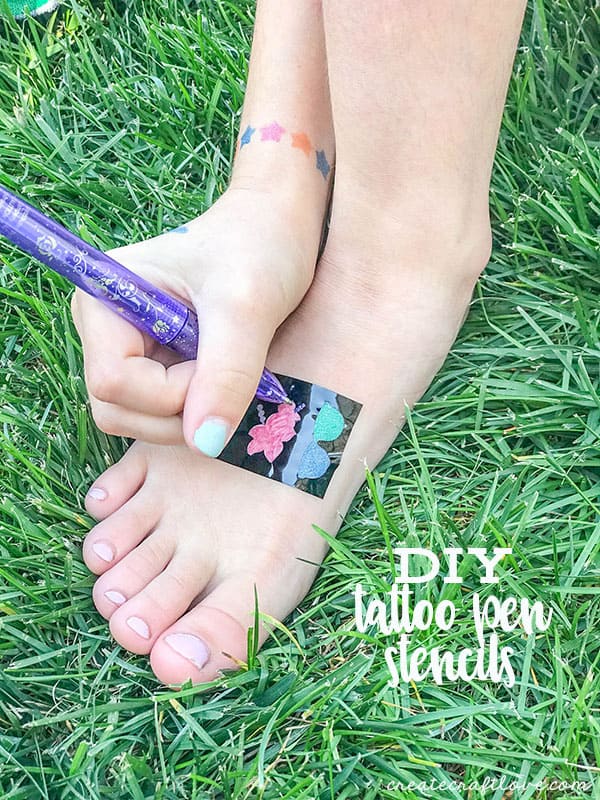
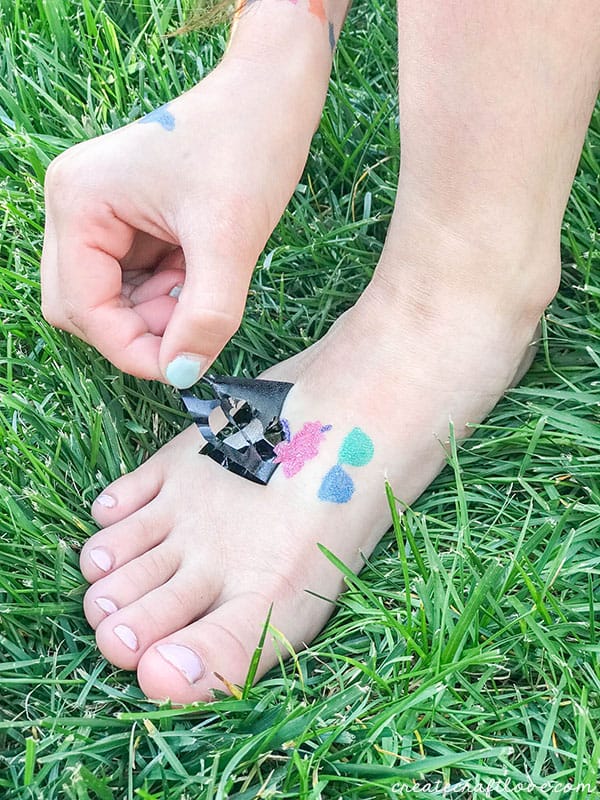
Weed out the middle of the stencil. Gently remove the backing and apply to skin where you want to place the tattoo. Begin coloring with tattoo pens.
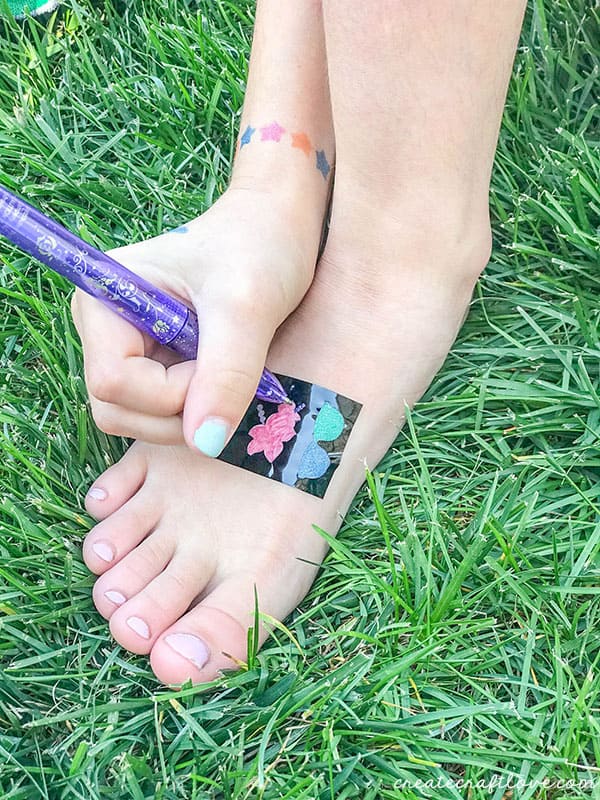
Once done coloring, carefully peel adhesive vinyl away from skin.
How fun is that?! Tennley loved being our model.

Click HERE to download your DIY Tattoo Pen Stencils!
All printables are for PERSONAL use only! Please do not re-sell, redistribute or claim as your own. If this printable is posted to the internet, please give credit and link back to Create.Craft.Love.
Download directions: Click link above. This will bring up a Google Drive folder. Click the download icon at the top. This will save the folder to your computer. Simply open the file and print! YOU DO NOT NEED TO ASK PERMISSION TO VIEW.