This post may contain affiliate links. See my disclosure policy for more details.
I have the best sister and dad a girl could ask for! When my sister began this project last fall, she knew I would want to blog about it, so she took pictures of every step! Wine lovers unite because you are going to need to drink lots of it to create this awesome DIY Wine Cork Backsplash! Jennifer enlisted the help of all of her friends and some local wine stores/restaurants over the past year and they collected over 800 corks to pull this off!
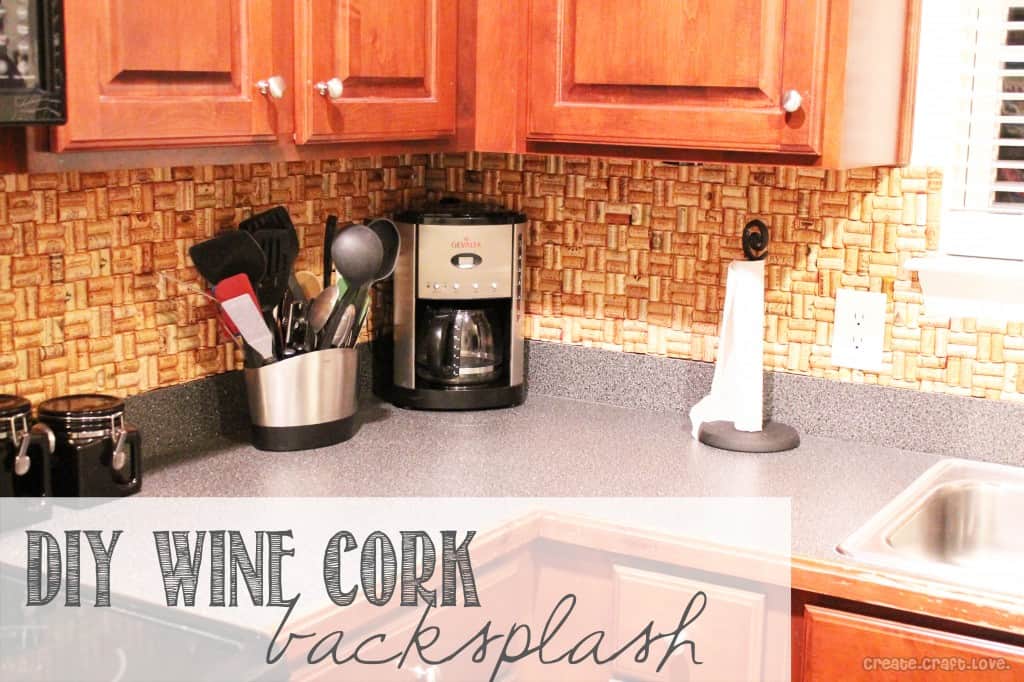
Wanna make your own Wine Cork Backsplash?
Here’s what you need:
Lots and lots of wine corks
Scroll saw
1/4 inch Plywood
Utility knife
Stud finder {Keep the jokes to yourselves, ladies! LOL}
Plastic outlet extenders
1 quart of contact cement
Finishing nails
3-4 cans of Clear spray sealant
Clear caulk
Prepping for your Wine Cork Backsplash
Warning – math ahead!! Dad came up with a formula to calculate out how many corks you need. He laid out a small section of their pattern on a piece of plywood and measured how many cork halves per square inch it covered. Then he took that number and multiplied it by the amount of square inches to fill. Set up your equation like this with “X” being the total number of cork halves for the project:

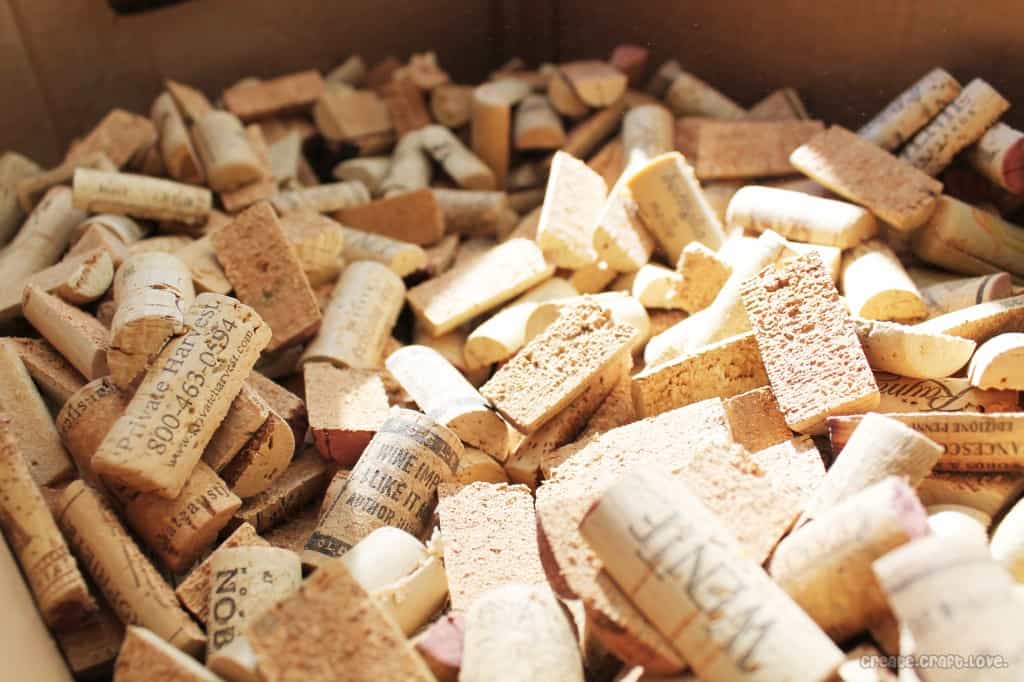
Begin by cutting your wine corks in half vertically with a scroll saw. {Yes – all 800. Jennifer has a small kitchen so if your kitchen is larger, you will need to drink more wine!} Keep cutting and throwing the halved corks into a large cardboard box.
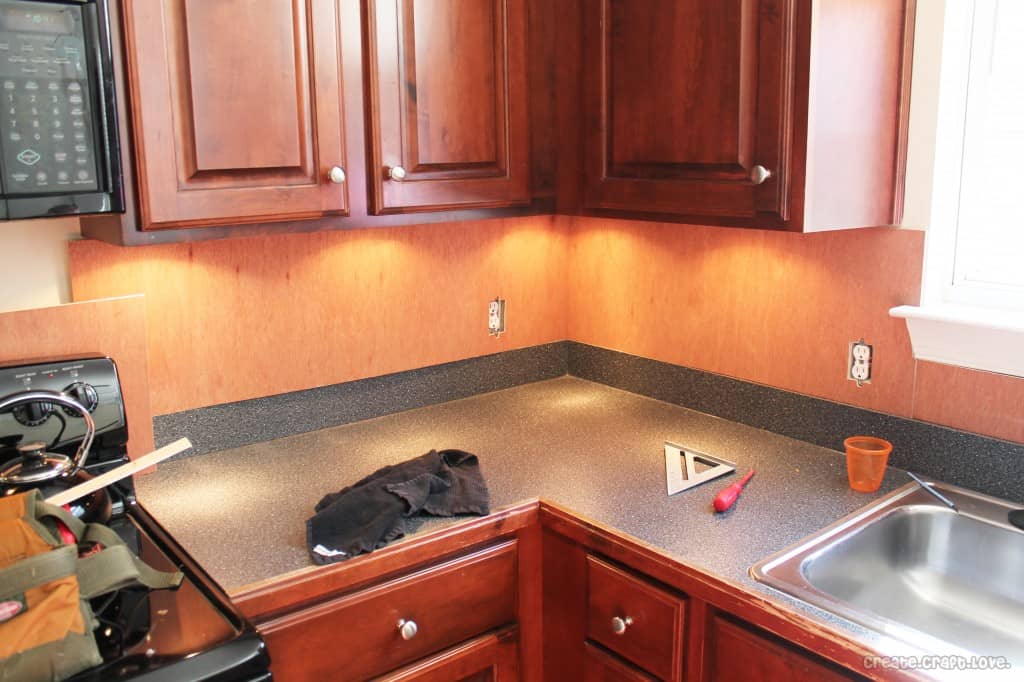
Next you will want to measure the wall and cut the plywood. Dad and Jennifer made sure to mark where the studs were on the wall and the plywood. Cut the plywood to size and set in place to make sure it fits. These are your templates. At this point you do NOT need to secure to the wall. This is just a dry run. {Pardon the pun.}
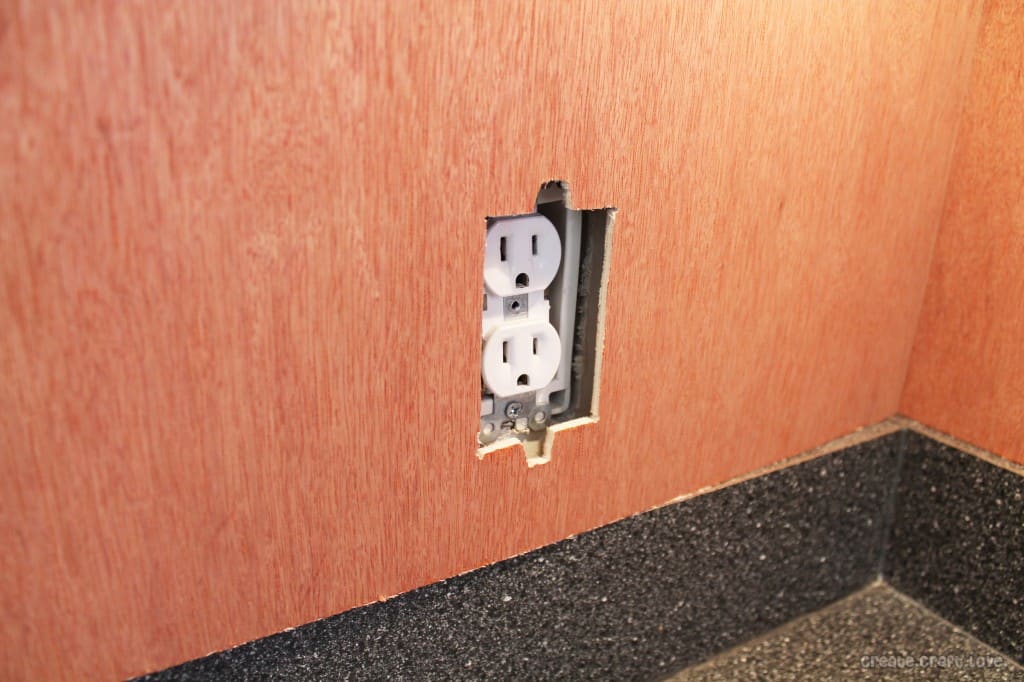
Be sure to cut the holes for your outlets. Turn off the electricity to the kitchen outlets and remove your outlet covers first!
Building your Wine Cork Backsplash
Warning: Contact cement is highly flammable. Extinguish any pilot lights prior to using! As always, be sure to follow the manufacturer’s instructions and recommendations.
Using your plywood templates as a guide, start adhering your wine corks using the contact cement. Begin by applying the contact cement to a small section of the plywood. Allow to dry completely! While the contact cement is drying on the plywood, start painting the flat side of the wine corks with the contact cement. Allow the wine corks to dry completely!
{The key to working with contact cement is applying to both surfaces and allowing to dry completely to guarantee the best adhesion.}
Once both surfaces are dry, begin placing the wine corks on the plywood in the pattern of your choosing. Dad and Jennifer chose to do this awesome basketweave pattern! Simply press down on the corks as you apply them to activate the adhesive.
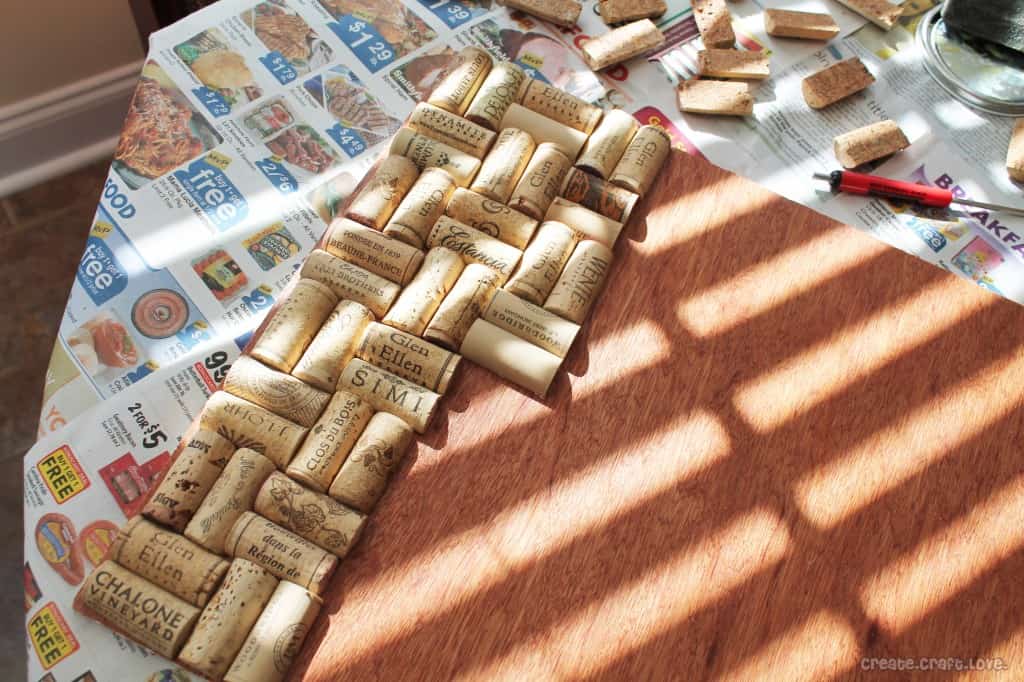
Repeat this process over and over again on each of your plywood templates…LOL
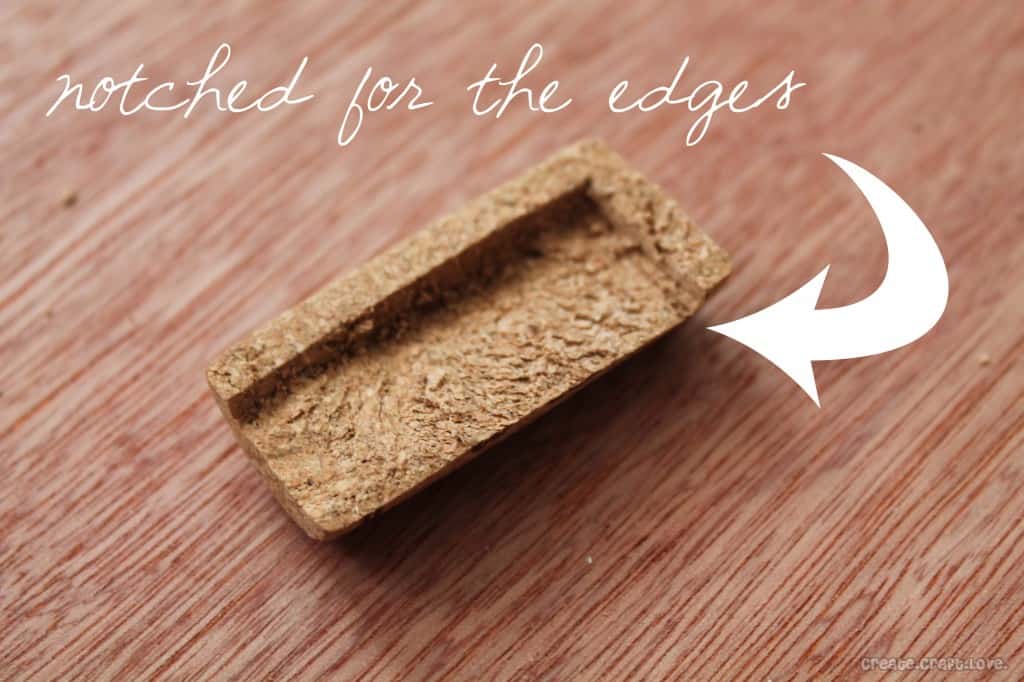
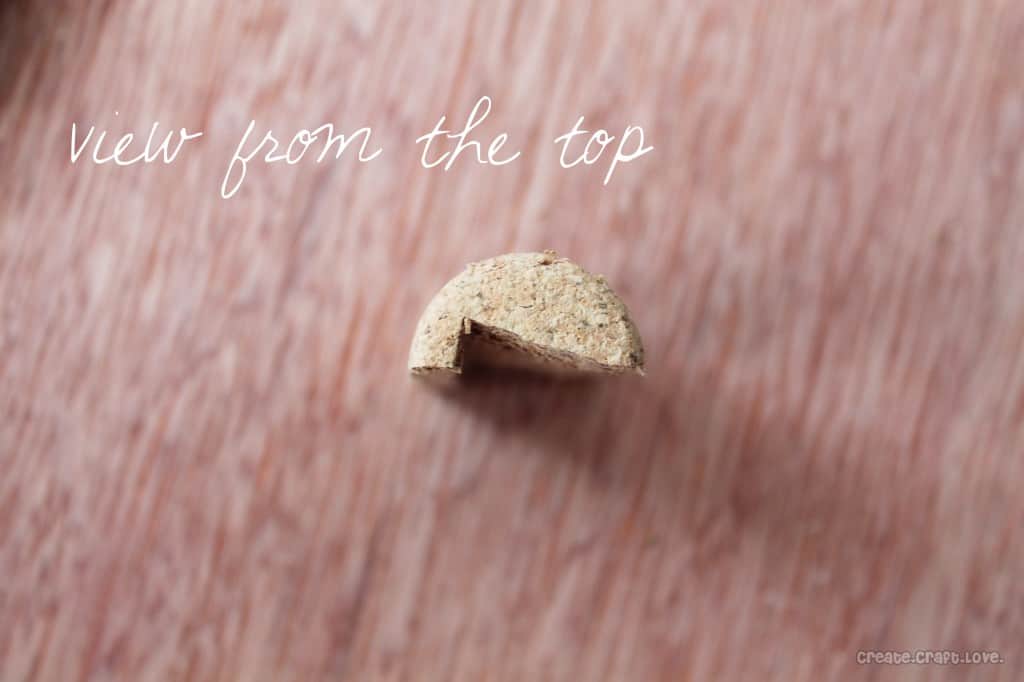
For the exposed edges of the backsplash, you will need to “notch” the wine corks to hide the plywood surface {around the window and at the end of the cabinetry.} To notch the wine corks, they used a utility knife and carefully carved out the area.
Finishing your Wine Cork Backsplash
Before you hang the templates, you need to seal the Wine Cork Backsplash. Grab those cans of clear spray sealant, open the windows and get the kids out of the house.
Public service announcement: The pulmonary nurse practitioner in me wants to remind you to WEAR A FACE MASK when using the spray sealant!
Start spraying. Dad said he sprayed it in every direction – up, down, side to side and diagonally. Allow to dry completely between each coat.
Now that your wine corks are in place and sealed, it’s time to hang the plywood and wine cork templates onto the wall. Using your finishing nails, carefully nail into the studs {between the wine corks}. Dad said he used two nails in each stud – separated vertically by 8 inches {except on the small area over the sink he only used one nail in each stud.}
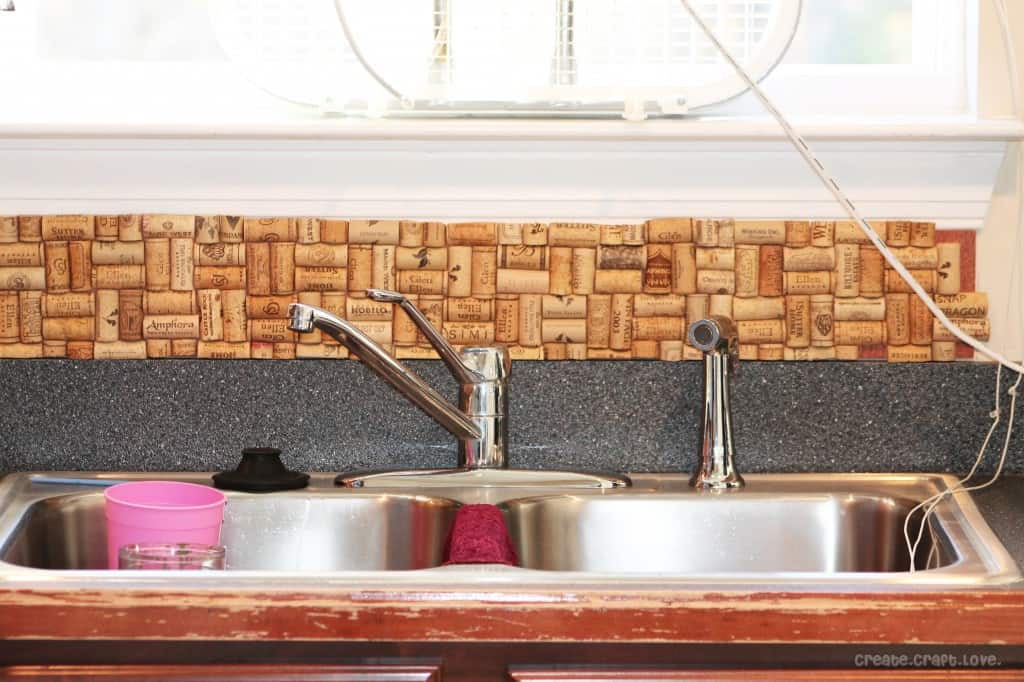
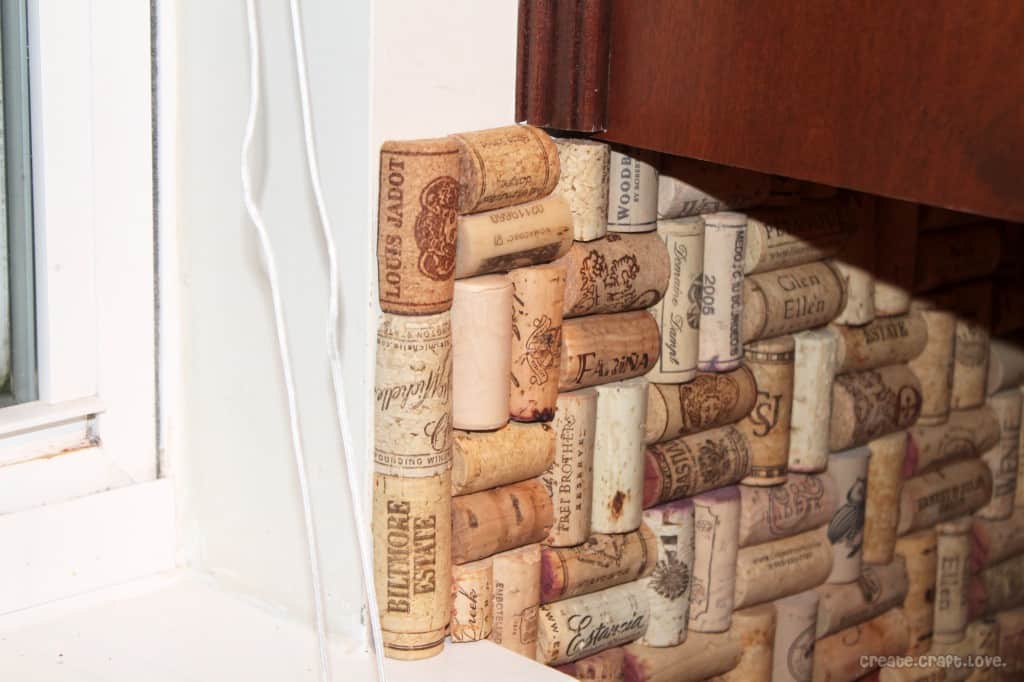
Example of where you will use the notched wine corks.
After hanging the cork, add the plastic extenders otherwise they will be recessed in the backsplash and the outlet covers won’t fit!
Finally, caulk along the edge between the Wine Cork Backsplash and the counter to prevent water damage.
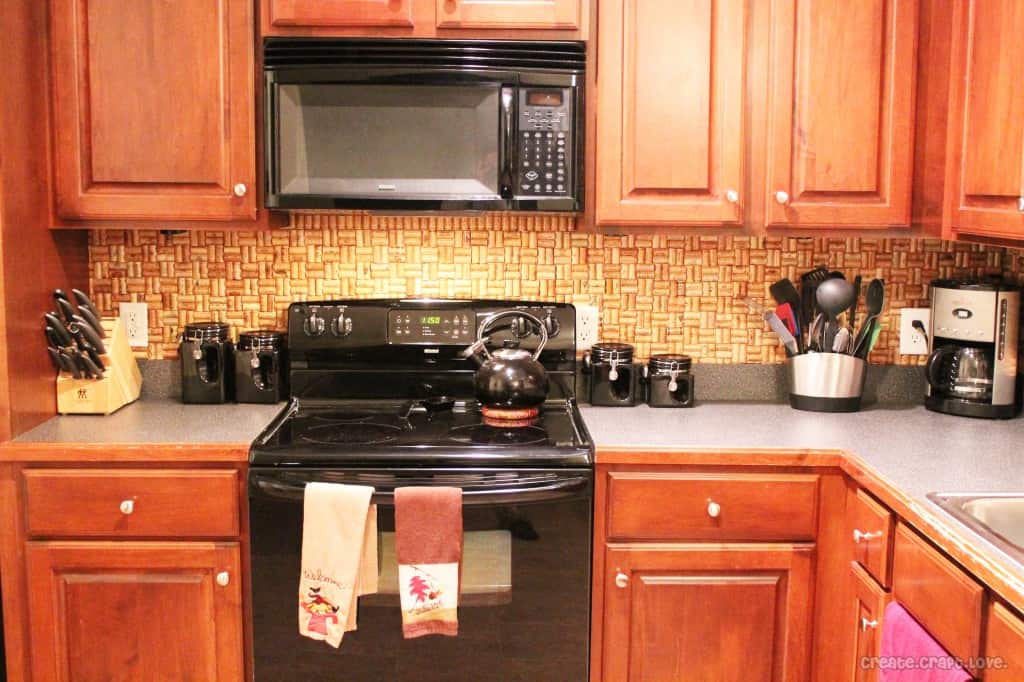
How cool is that? The great part is that if you get sick of it, you can easily remove it from the wall since it’s not applied directly to the dry wall! My dad is a genius! It looks very authentic with the stained wine corks. I love how it turned out!
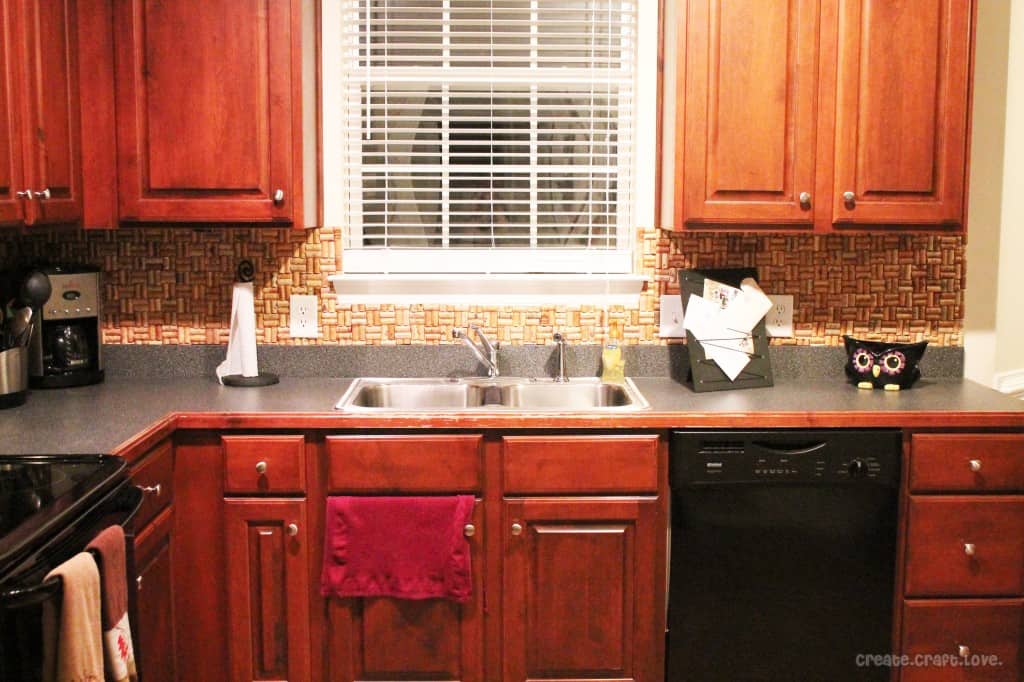
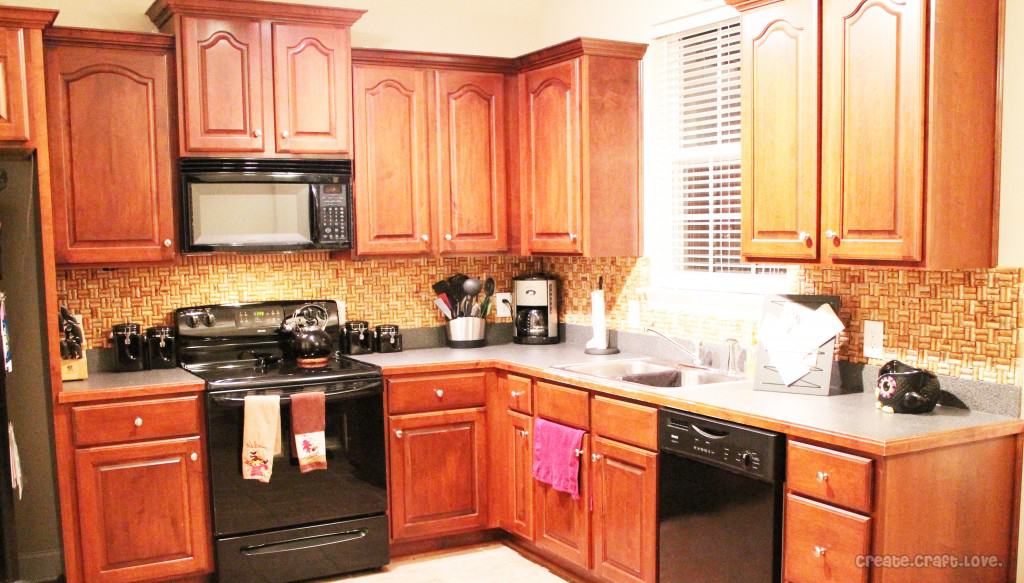
Are you drinking that wine yet? Give me a call! I’d love to help! {wink wink}

[…] Create Craft Love has the coolest backsplash ever, made from wine corks. She shows you how to make your own. […]