This post may contain affiliate links. See my disclosure policy for more details.
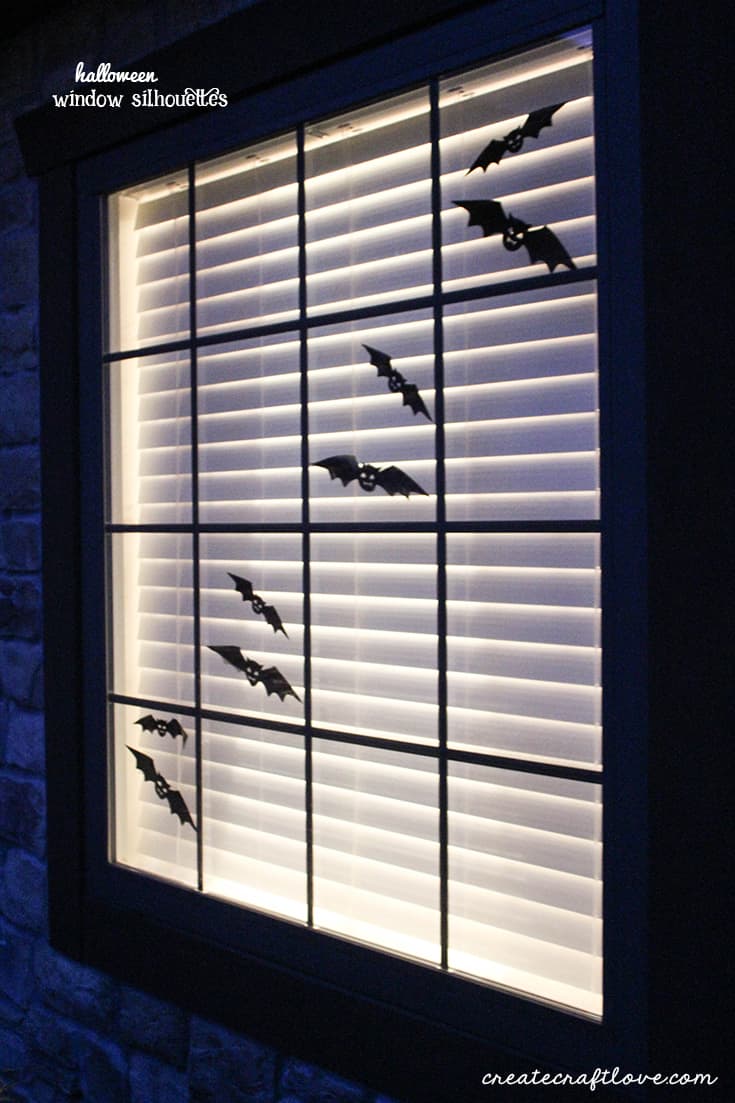
Dress up your windows for Halloween with these Window Silhouettes!
We have two large windows out front and I’ve been wanting to create a fun Halloween porch that encompassed both windows. I had some left over window cling material from when I made these window clings a couple of years ago. Why should the kids be the only ones that get to dress up?
Materials needed for Halloween Window Silhouettes
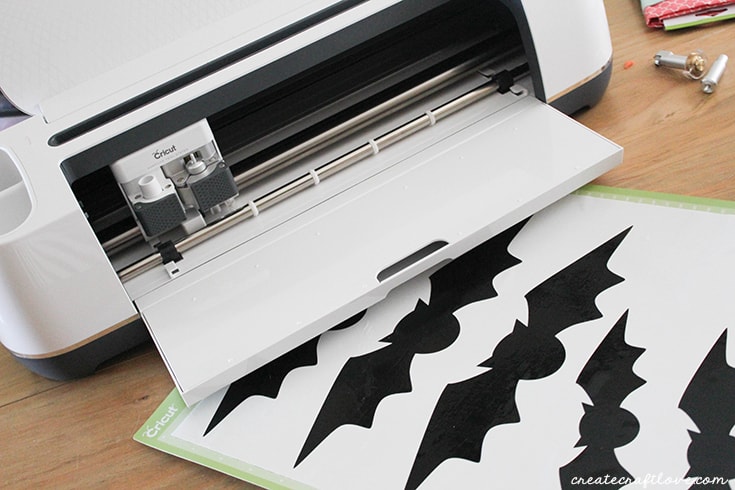
Cricut Explore or Maker
Cricut Window Cling Material in black
Basic tool set
Light grip mat
Scraper tool
I chose a Cricut image that was named “Halloween Window Cling” (Image #M14BC38) – imagine that. It was a cute little image with a black cat, some bats and a spider. I don’t like spiders so I didn’t include it. LOL
Begin by laying your window cling, liner side down, on your standard grip mat. I did not mirror these images since I did not care about their orientation on my window. You can adjust the size to whatever you want. I made the large ones 11 inches wide. In Design Space, you will choose window cling as your material. Then press CUT.
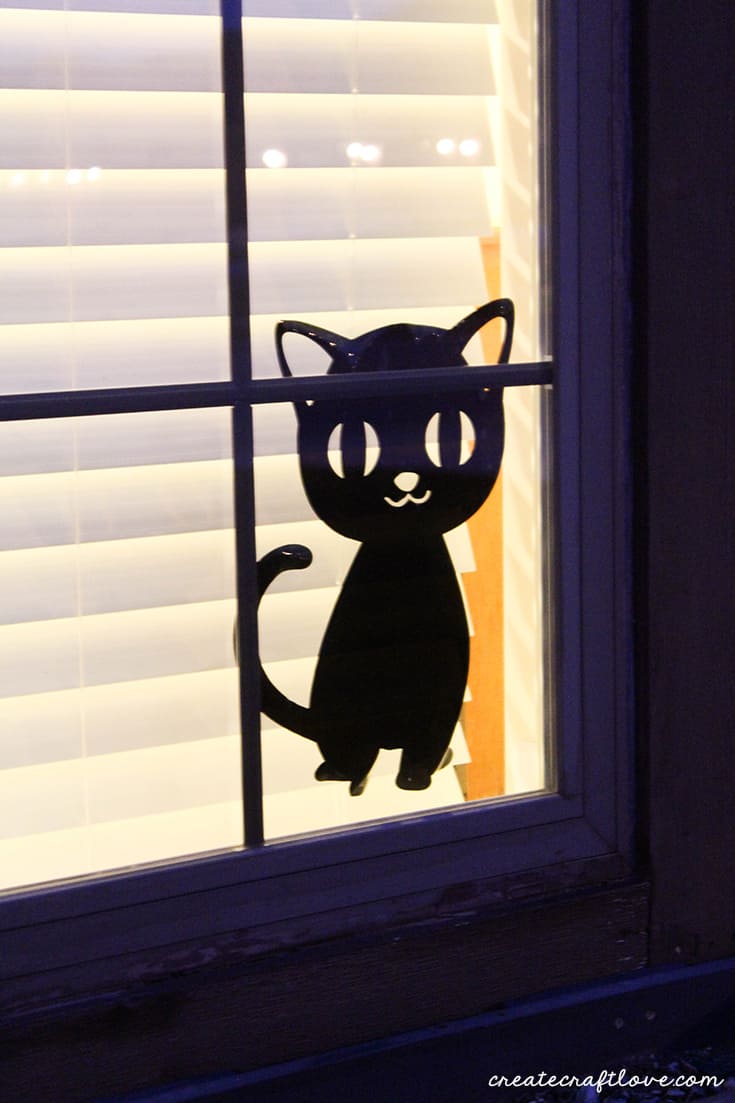
For the cat, I sized him as wide as the program would allow.
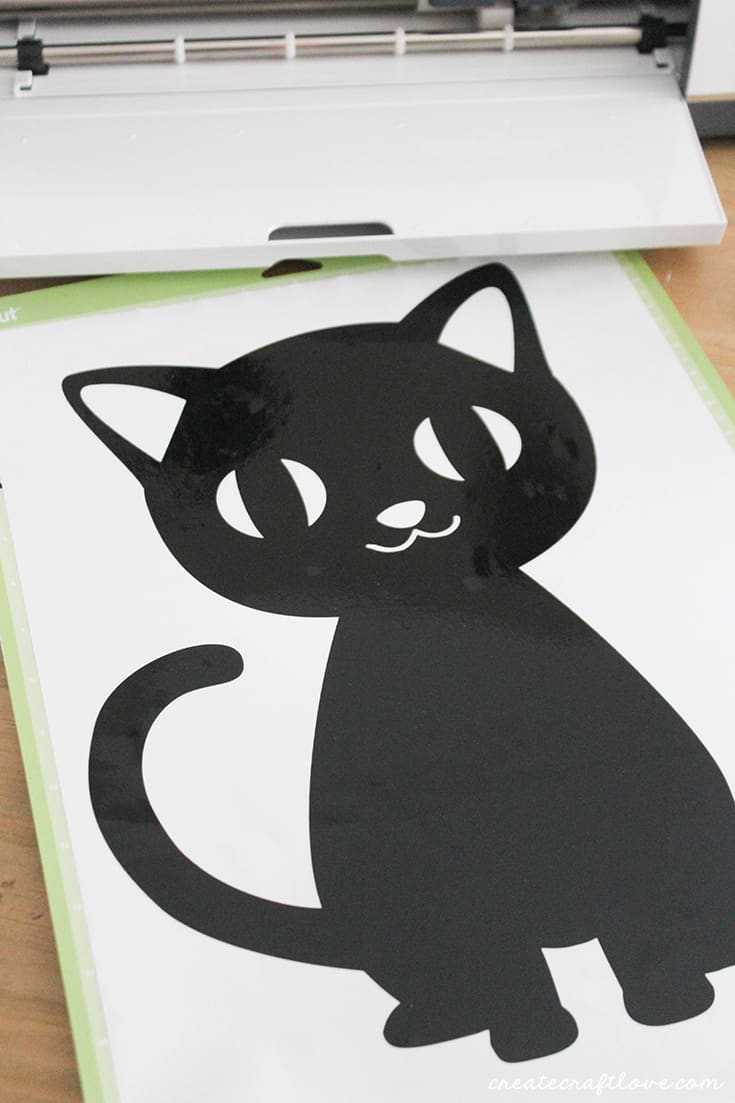
Once your images are cut, weed out the negative space.
Applying your images to your window
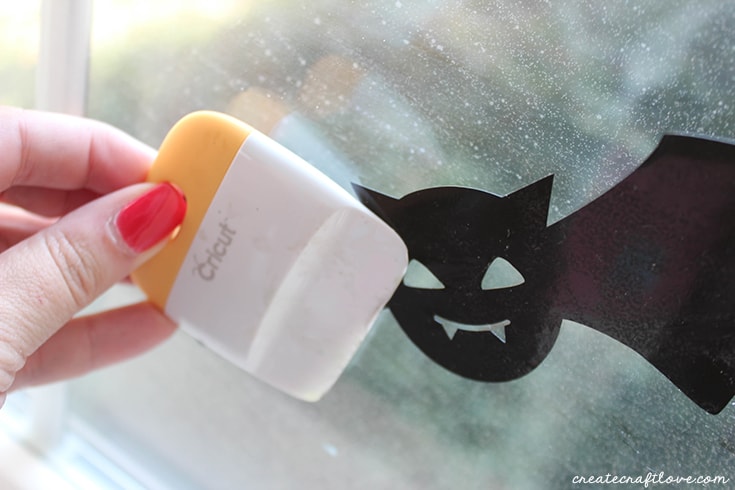
This is a great excuse to clean your windows! The window cling sticks better to clean windows. (As you can see in the image below, the outside of my windows is NOT clean.)
For complicated designs, you can use transfer tape to transfer to the window. For simple images, you can simply place them yourself.
Use your scraper tool to help smooth out any air bubbles and stick to the window.
My son loves this part so I let him do it!

Continue to repeat this process until all of the window clings are applied!
At the time of writing this post, they have been up for over a week and I have not had to re-apply any of them.
I love how they look at night! It creates a fun Halloween scene for your trick or treaters!