This post may contain affiliate links. See my disclosure policy for more details.
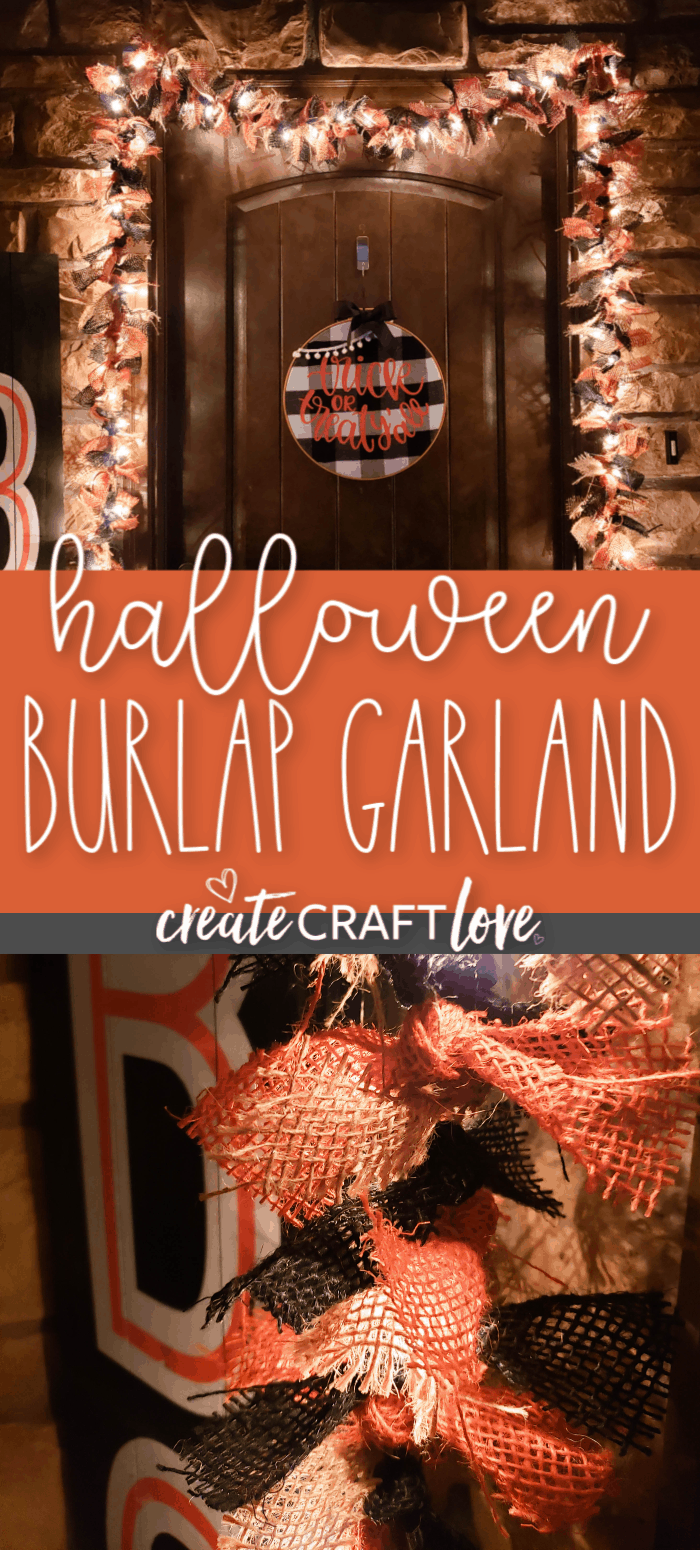
Add some farmhouse decor to your spooky motif with our Halloween Burlap Garland!
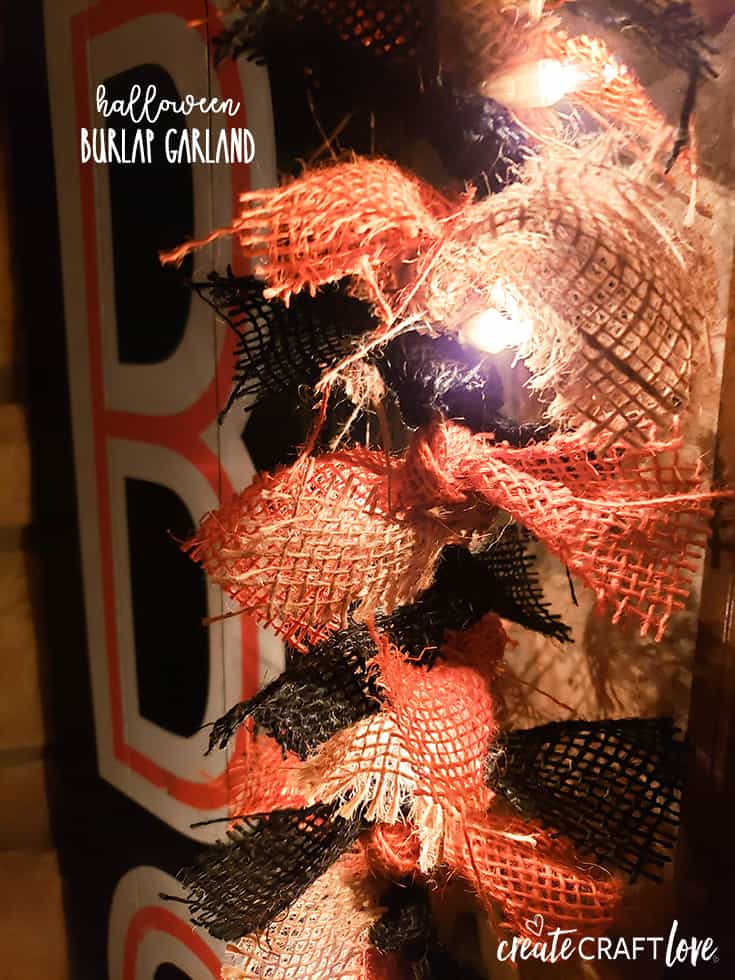
Materials needed to make your own Halloween Burlap Garland
Every year around this time, our Lighted Burlap Garland post goes crazy. Ya’ll love some burlap and lights! (I even have a 4th of July version.) We bought new outdoor decorations this year from Kirklands but it needed something else. So we whipped up a new batch of burlap lights to place around our front door! And I’m obsessed!!
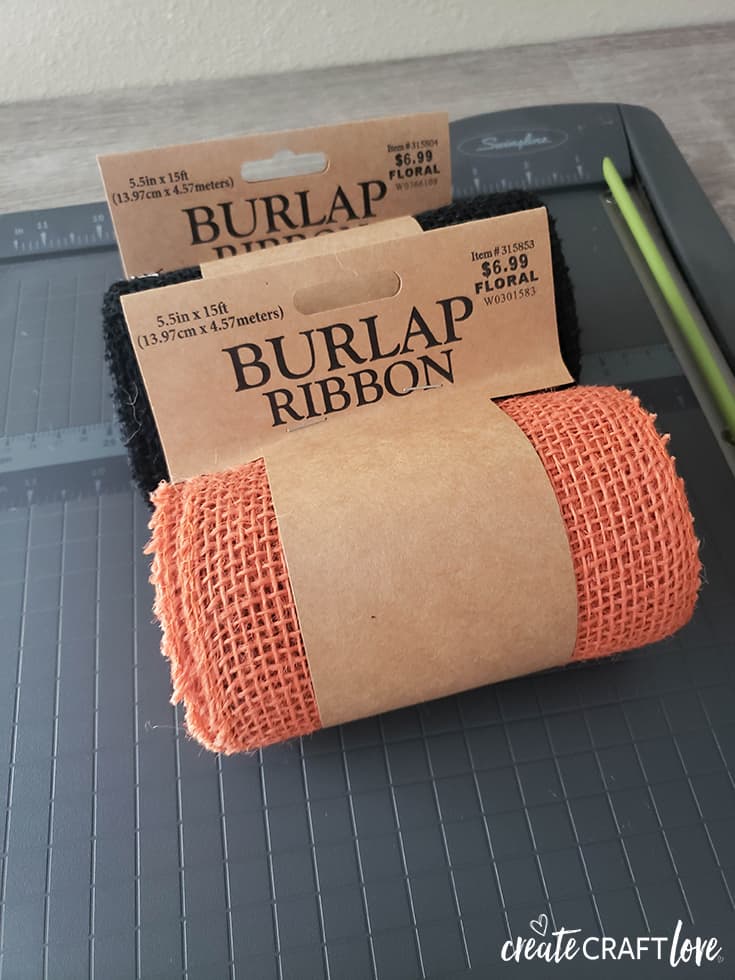
Supplies to Make Lighted Burlap Garland
- Clear 100 white mini lights
- Burlap ribbon in natural, orange and black – 2 rolls of each color (roughly 30 feet of each color needed)
- Paper cutter
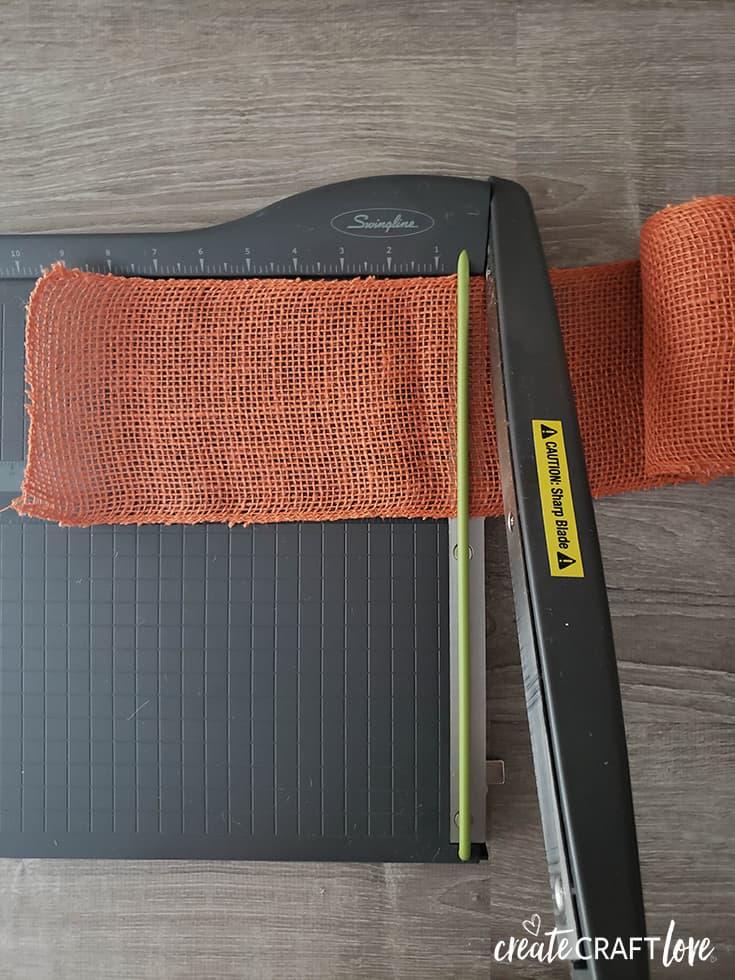
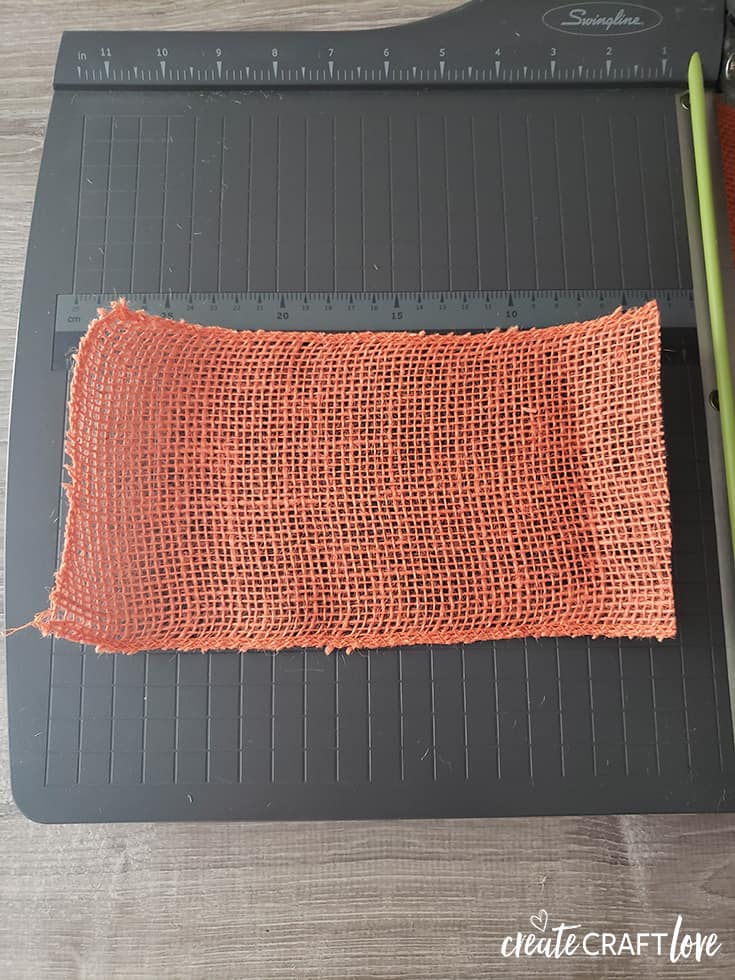
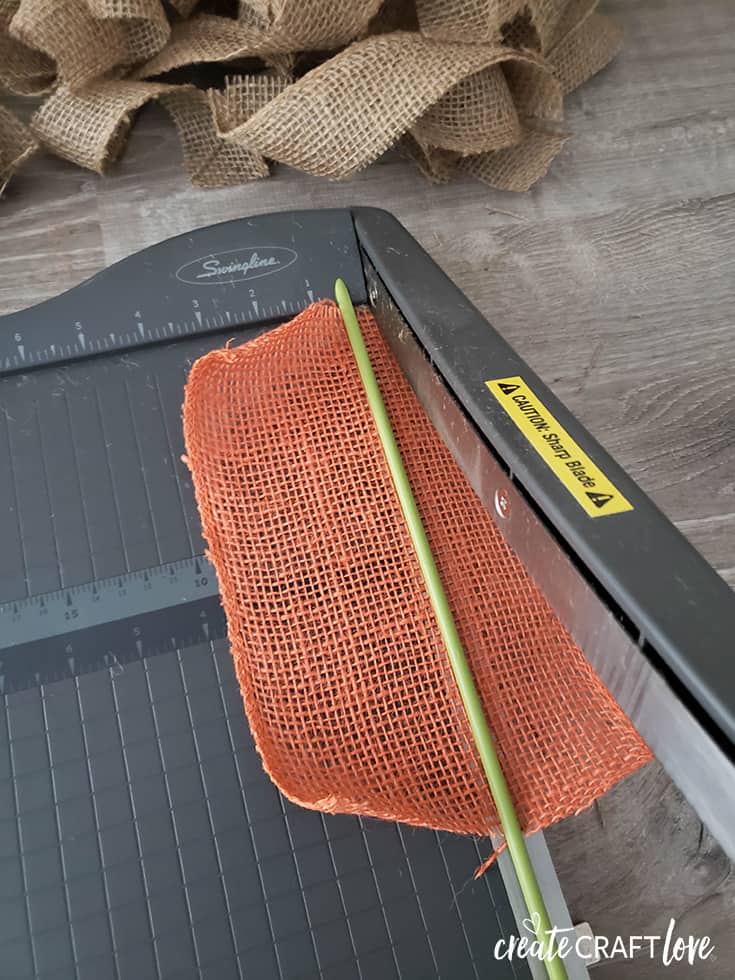
When we originally created the Christmas garland, we used scissors to cut all of the burlap. For the Halloween burlap garland we had the idea to use the paper cutter. It worked like a charm!
This little trick cut down (pardon the pun) our crafting time by 50%!
We found this burlap ribbon rolls at Hobby Lobby, but I was also excited to find it on Amazon (links above) They have every color under the sun plus some patterned ones.
How to Make Halloween Lighted Burlap Garland
- Begin by measuring your burlap ribbon roll to 10 inches on your paper cutter.
- Cut the ribbon. Keep repeating this process until the entire roll has been cut. See how cleanly it cuts the burlap? Life changing.
- Once you have cut the sections you need, turn the burlap piece 90 degrees and cut into thirds. Each piece will yield three cut pieces.
- Repeat the above process for all of the burlap.
- Once you have all of your pieces cut, it’s time to tie them onto the light strand. To simplify this process, I used grocery bags to divide out my colors. I sat down next to my colors, decided on my pattern and began tying them around the light strand.
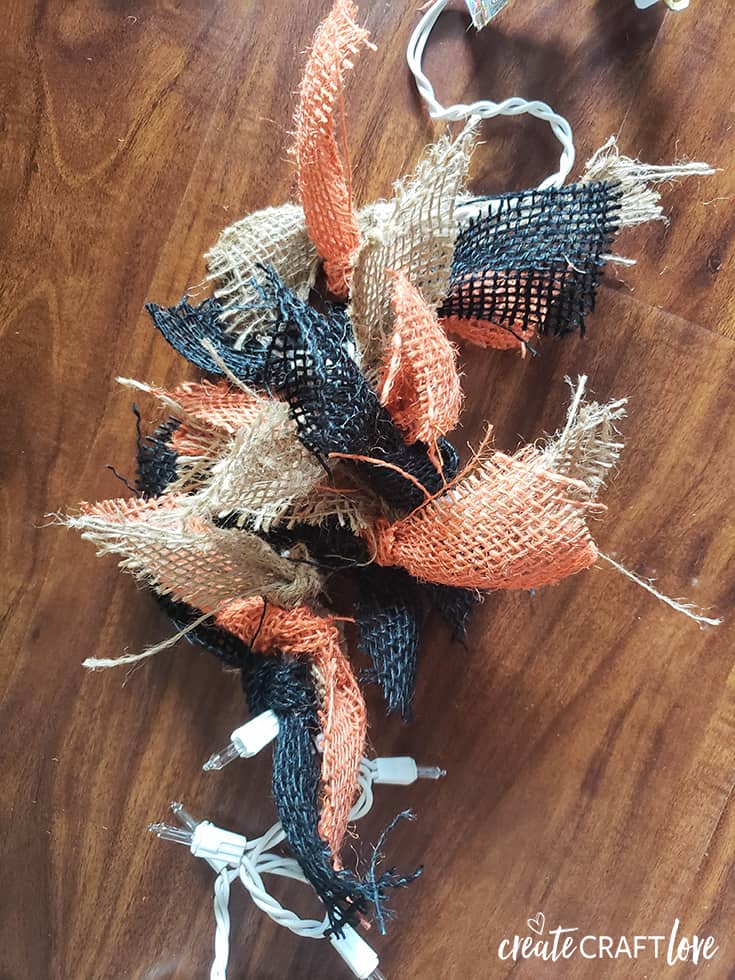
This is a super easy project but the tying takes some time. I suggest putting on a movie or tying them during a football game. The whole process took me about two hours.
The other two times we made this project, we used it indoors. This time we hung the Halloween garland around my front door and it looks amazing!! Looks cute during the day too!
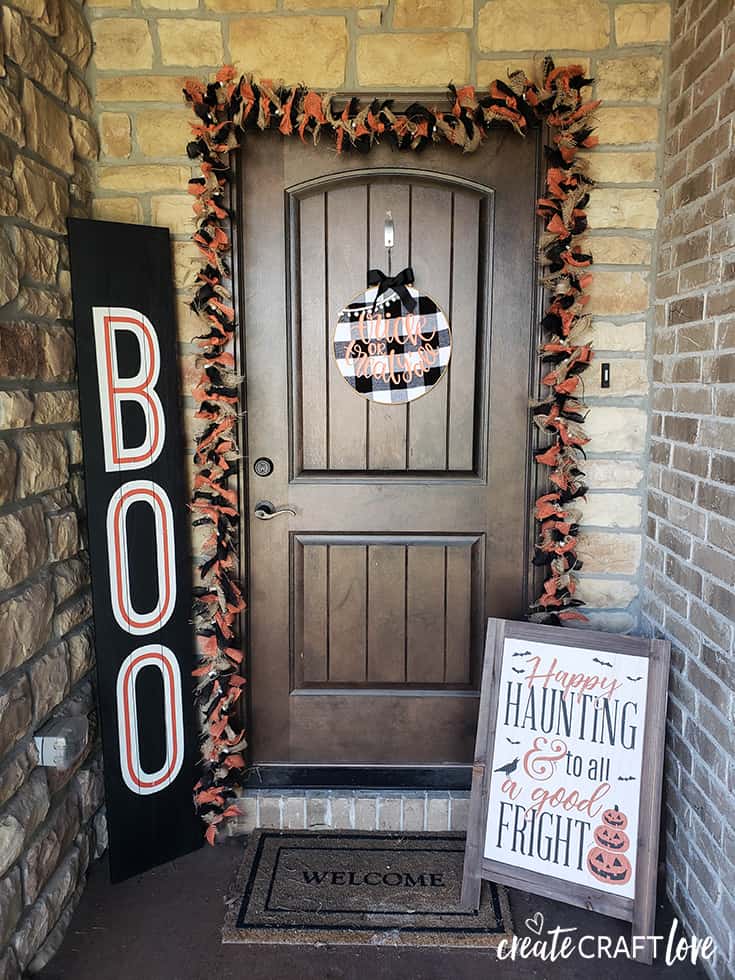
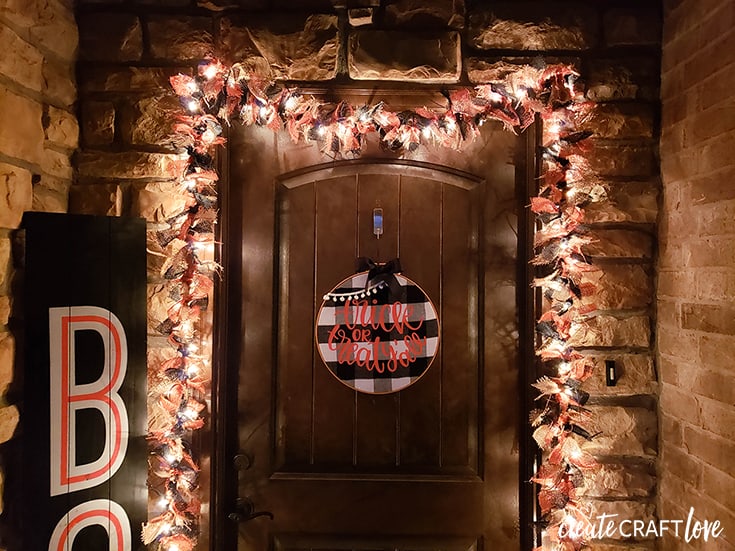
I love it! This year I’m hanging my Christmas one around the front door too! I love fun Halloween crafts and if you do too then make sure to check out these other favorite DIY Halloween ideas:
- Mason Jar Fall Luminary
- Mini Mod Podge Fabric Pumpkins
- Tootsie Pop Spiders
- Beaded Halloween Wreath
- Pumpkin Lollipop Pull