• Home
  • Crafts
    • Wreaths
    • Back to School Crafts
    • Christmas Crafts
    • Father’s Day Crafts
    • Fourth of July Crafts
    • Halloween Crafts
    • Kid’s Projects
    • Mother’s Day Crafts
    • Thanksgiving Crafts
    • Valentine’s Day Crafts
  • Recipes
    • Christmas Recipes
    • Fourth of July Recipes
    • Halloween Recipes
    • Thanksgiving Recipes
    • Appetizers
    • Beverages
    • Breakfast
    • Dessert
    • Main Dish
    • Side Dish
    • Soups & Salads
    • Snacks
  • Freebies
    • Back to School Printables
    • Christmas Printables
    • Father’s Day Printables
    • Fourth of July Printables
    • Halloween Printables
    • Mother’s Day Printables
    • Thanksgiving Printables
    • Valentine’s Day Printables
  • xTool
  • About
    • About CCL
    • Privacy Policy
    • Disclosure
    • Contact Us
    • Email
    • Facebook
    • Instagram
    • Pinterest
    • RSS
    • Twitter

Create Craft Love

February 18, 2016 ·

Iron On St Patricks Day Shirt

Crafts· Cricut Projects· Holidays· St. Patrick's Day

  • Facebook
  • Twitter

This post may contain affiliate links. See my disclosure policy for more details.

I saw a shirt at Wal-mart the other day that said, “Pinch me and I’ll punch you”.  I cracked up!  But the shirt itself was kinda ugly.  (Sorry Wal-mart buyers.)  I knew I could make a cuter one with my trusty Cricut!  This Iron On St Patricks Day Shirt will protect you from pinching fingers!

This Iron On St Patricks Day Shirt will protect you from pinching fingers! via createcraftlove.com

Disclaimer:  To make this shirt, you will need a cutting machine.

I bought green iron on vinyl and green glitter iron on vinyl.  The design I created for Cricut Design Space.  You can grab the free SVG file HERE!

Download file and open in Design Space.  Size the image to fit the shirt.  (Mine is 10 inches wide on a large shirt.)

Click “go”.  Once in the materials setting page, click “mirror image” and turn your knob to iron on.
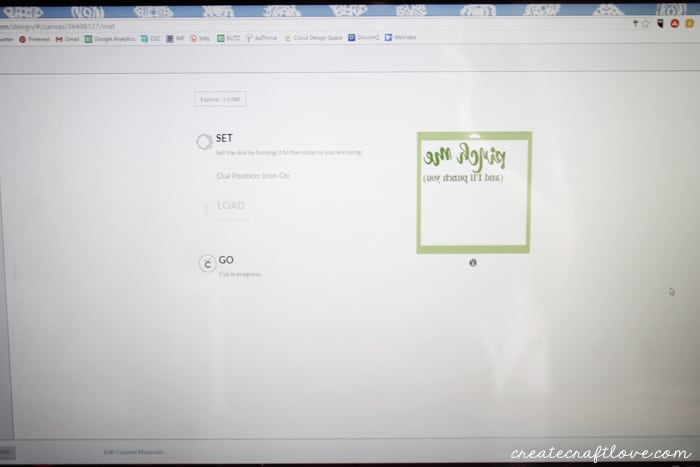
pinch me shirt 1

Load the iron on material, shiny side down, onto your cutting mat.  Cut the image.
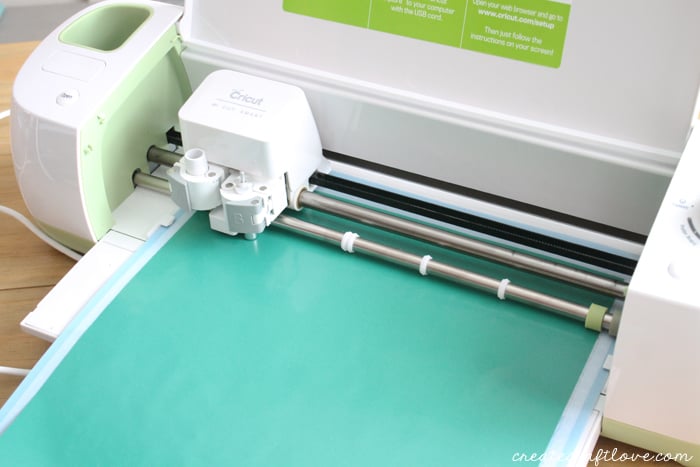
pinch me shirt 2

Once it has finished cutting, carefully weed away the excess iron on material.
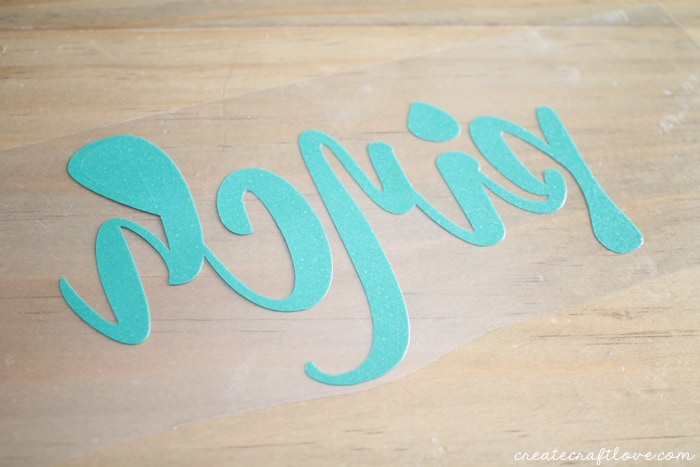
pinch me shirt 3

*For the glitter iron on, you will need to change the material selection to “iron on, glitter” and turn your knob to custom.  Be sure to “mirror image” the shamrock too!
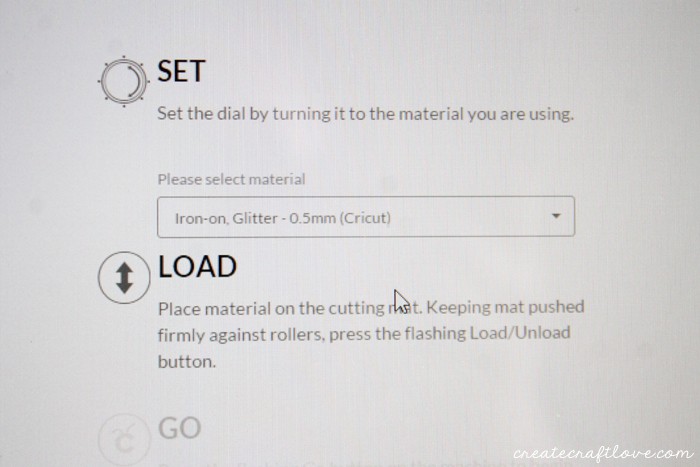
pinch me shirt 4

Once everything is cut and weeded, it will be time to iron on to your shirt.

Place the design, shiny side up, on the shirt.

pinch me shirt 5

Place a piece of scrap fabric over the iron on vinyl and iron into place.  It takes about 30 seconds.
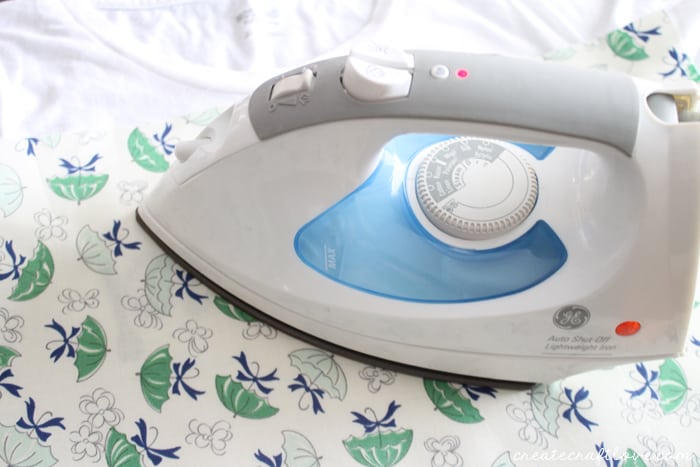
pinch me shirt 6

Carefully peel back the plastic liner.

This Iron On St Patricks Day Shirt will protect you from pinching fingers! via createcraftlove.com

Probably not appropriate for kids but it will definitely get a laugh out of the adults!

This Iron On St Patricks Day Shirt will protect you from pinching fingers! via createcraftlove.com

 Click HERE to see more amazing Cricut Projects!

 

About Us

We are passionate about sharing simple, fun DIY projects that anyone can tackle—whether you're a seasoned crafter or just getting started. From seasonal décor to everyday crafts, we love inspiring others to make something beautiful with their own two hands.

« Baseball Wreath
St Patricks Day Bottle Labels »

Popular Posts

Winter Decorations for After Christmas
This Gold Leaf Mason Jar Vase is keeping with the trends this spring! #spring #gold #goldleaf #masonjars

HALLOWEEN

Oreo Mummies are perfect for classroom or costume parties!
Frankenstein Rice Krispie Treats for Halloween #halloween #halloweenrecipes
Use your Cricut Explore to create this Gothic Halloween Table Setting! #designspacestar #gothichalloween #halloween #cricutteam5

THANKSGIVING

These Thankful Printables are great to set out on the Thanksgiving table to see what everyone is appreciative of today! via createcraftlove.com
I whipped up this Paper Leaf Garland in under five minute for less than five dollars! via createcraftlove.com

CHRISTMAS

You can whip this Styrofoam Washi Tape Ornament Wreath in less than 10 minutes!! Check out the tutorial at createcraftlove.com! #christmas #washitape #25daysofchristmas #styrofoam #wreath
© 2019 · Create Craft Love·
  • Pinterest
  • Facebook
  • Twitter