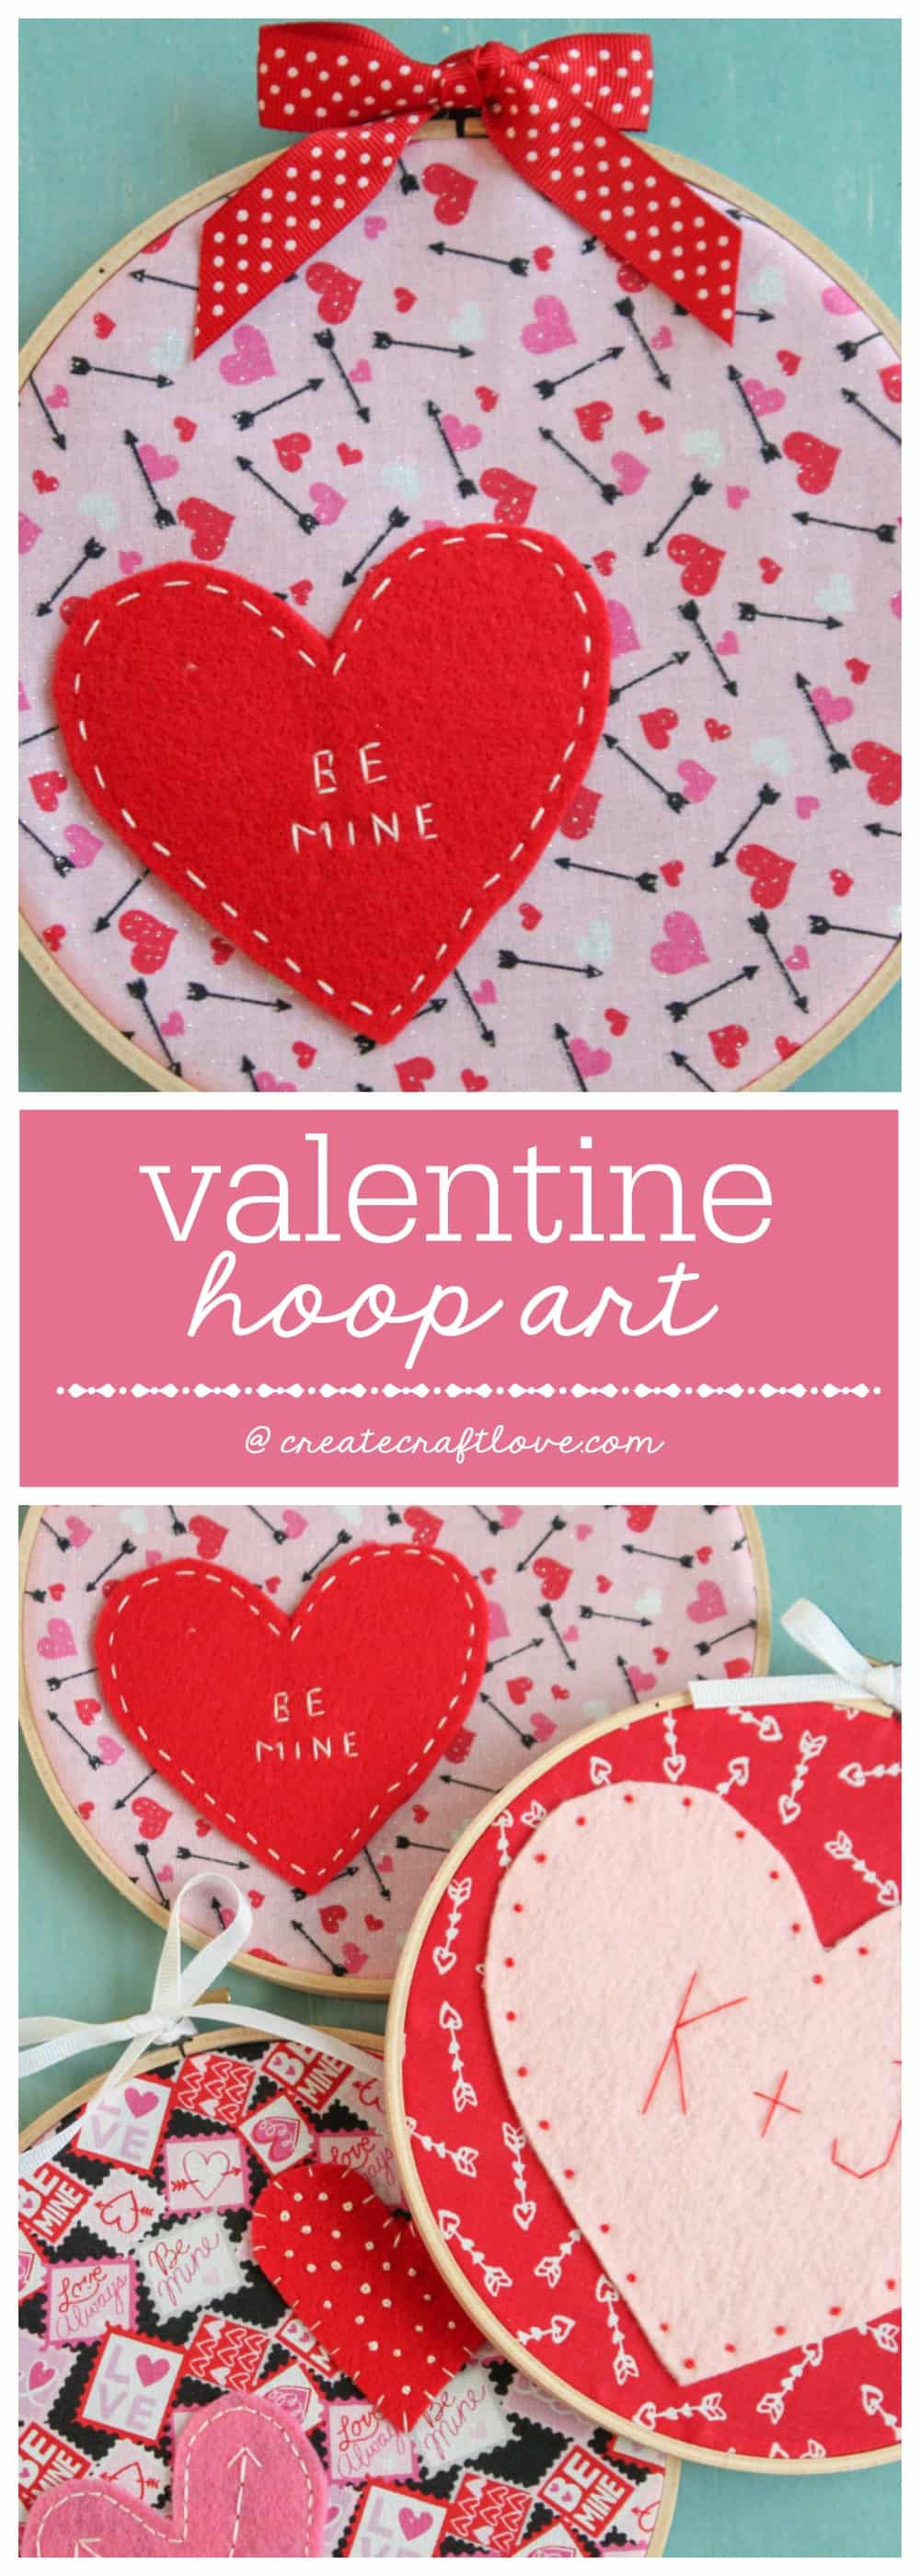
I think it’s fair to say that I am more obsessed with making hoop art. Remember my Spring Embroidery Hoop Art from last year? (You can find it by clicking HERE!) I’m working on making them for all of the seasons. This time I added felt for more dimension. So what do you get when you combine Valentine fabric, felt and embroidery floss? This adorable Valentine Hoop Art!
Here’s what you need to make your own Valentine Hoop Art!
Valentine fabric
Felt (coordinating with your fabric)
7 inch wooden embroidery hoops
Embroidery floss
Needle
Ribbon

Cut your fabric into 10 inch by 10 inch squares. Be sure to iron out any folds or wrinkles first!
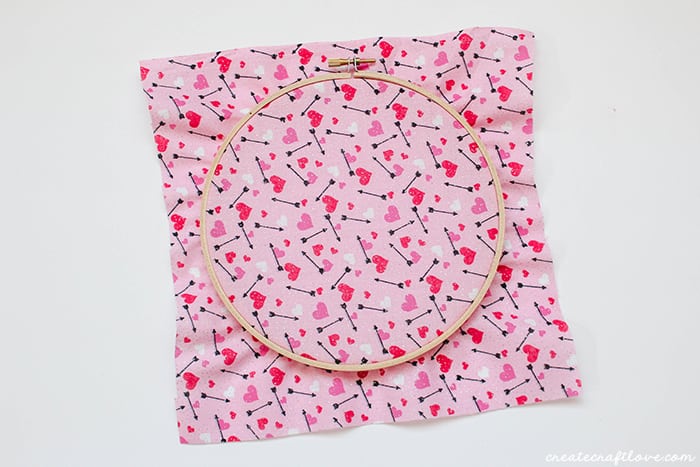
Place fabric in wooden embroidery hoop.
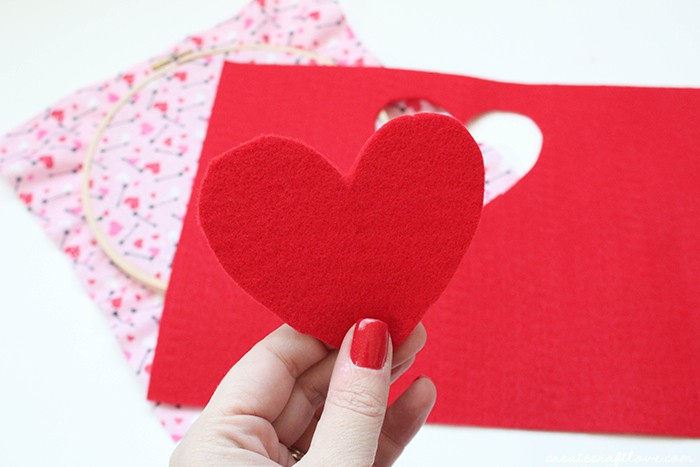
Cut out felt hearts. You can do this by tracing or the fold and cut method you were taught in elementary school. I fold and cut mine.
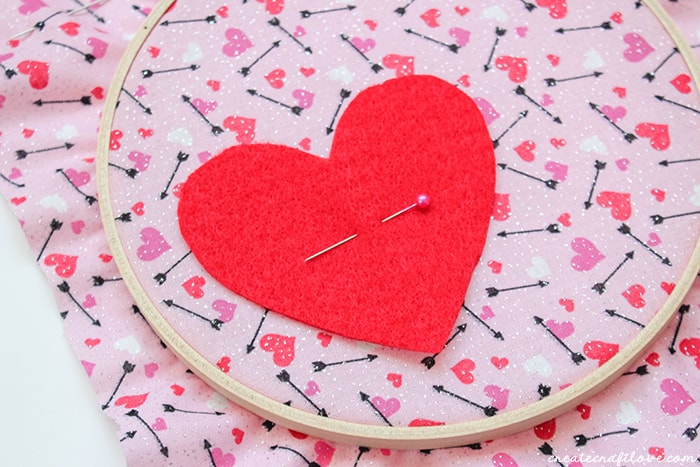
Place felt heart in the middle of the embroidery hoop and pin in place.
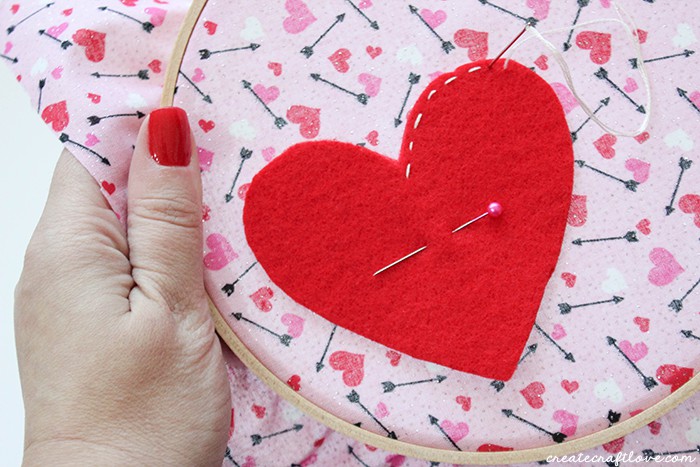
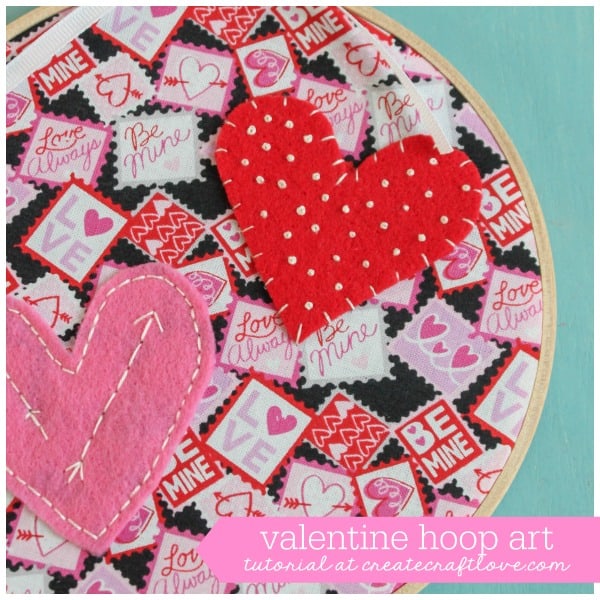
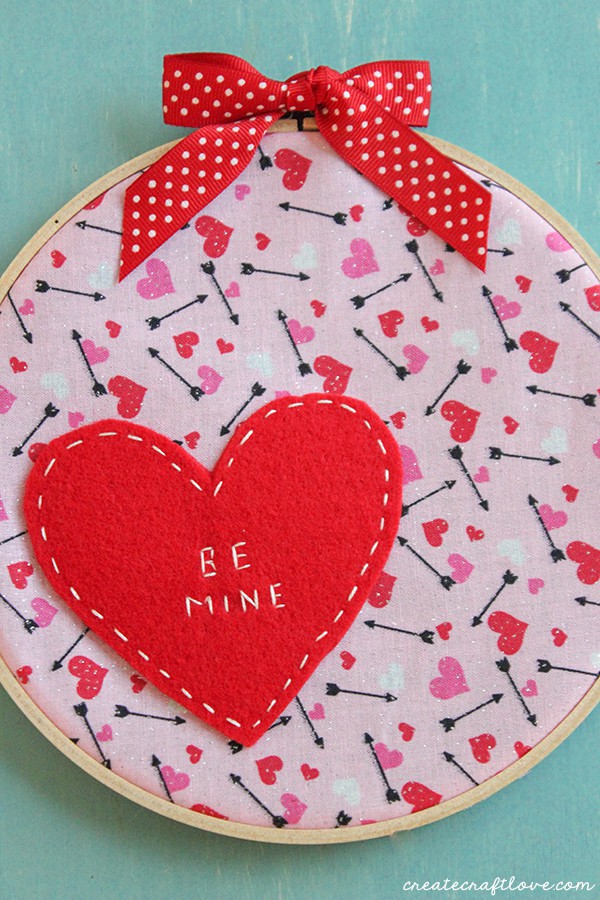
Begin stitching your heart in place. I chose to do a broken straight stitch around the edge of the felt heart.
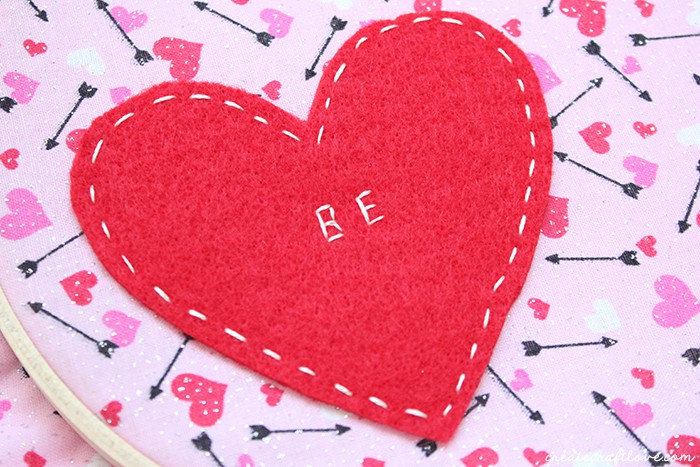
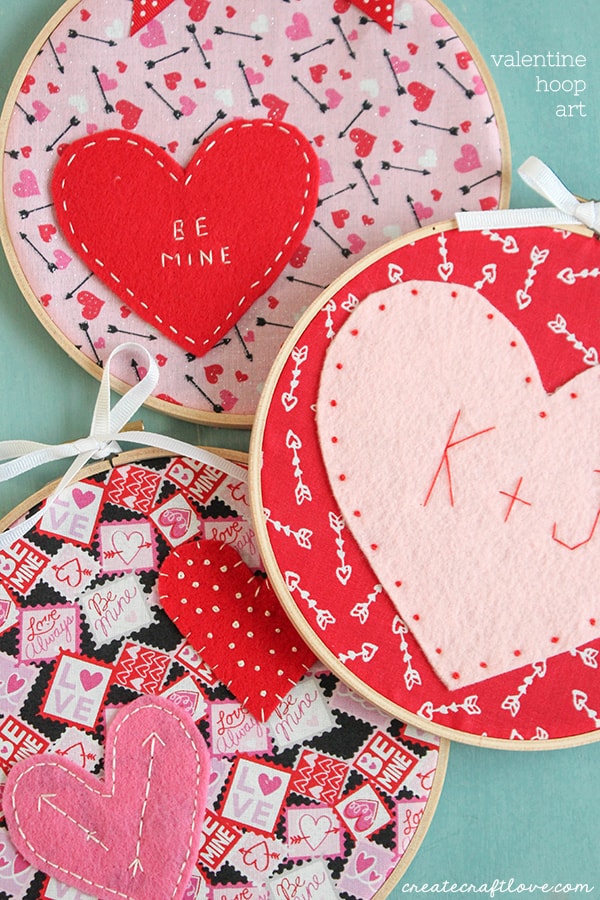
Once that was complete, I stitched “be mine” in the middle of the heart. You can add whatever sentiment you want.
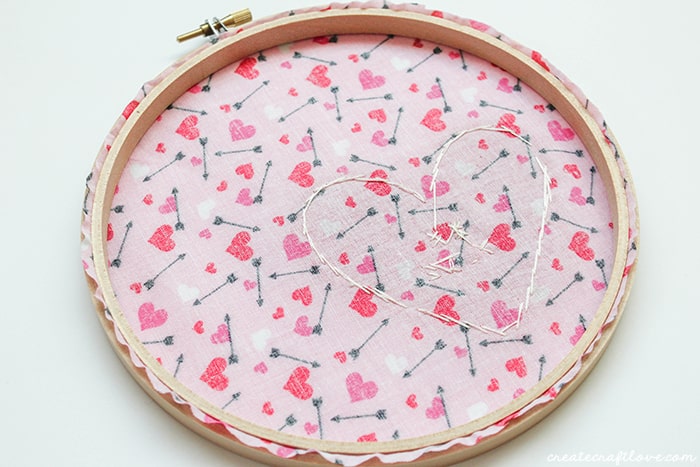
Flip the embroidery hoop over and trim off the excess fabric around the edges.
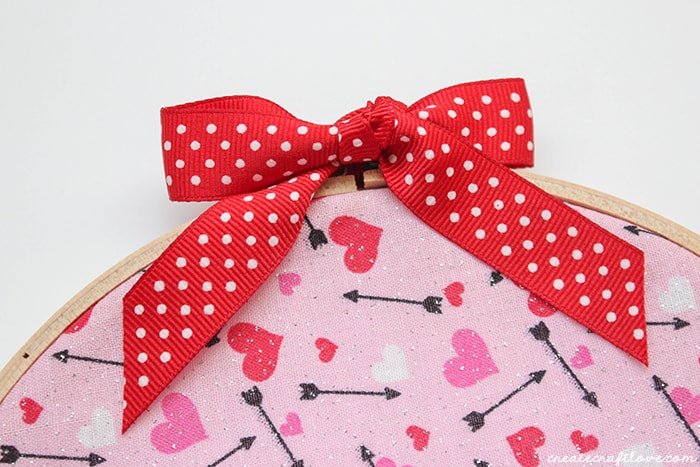
To finish it off, I added a cute ribbon to the top of the hoop to obscure the hinge.
Aren’t these the cutest things ever?! It only took me an hour to complete 3 of these. I love the one with me and Kyle’s initials in the middle!
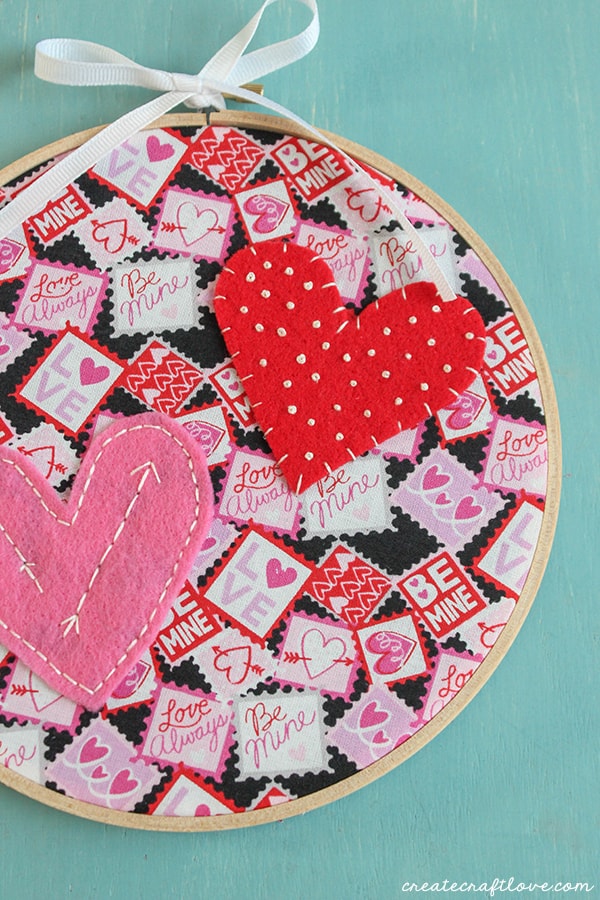
But you don’t have to use any words if you don’t want to! I made this one with french knots and straight stitch arrows.
And isn’t that fabric the best? It makes me super happy!
I’d LOVE for you to pin this image!
Share this image on Facebook!