DIY
If you love DIY crafts and projects then you’ve come to the right place! We’ve got so many different projects for all occasions and seasons. Nothing beats a homemade gift and we’ve got a DIY project for everyone on your gift list!
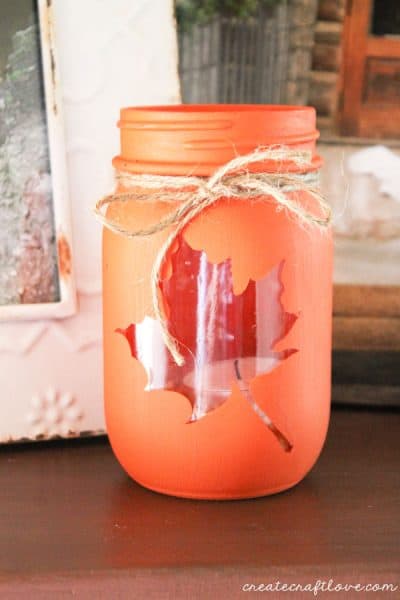
Mason Jar Fall Luminary
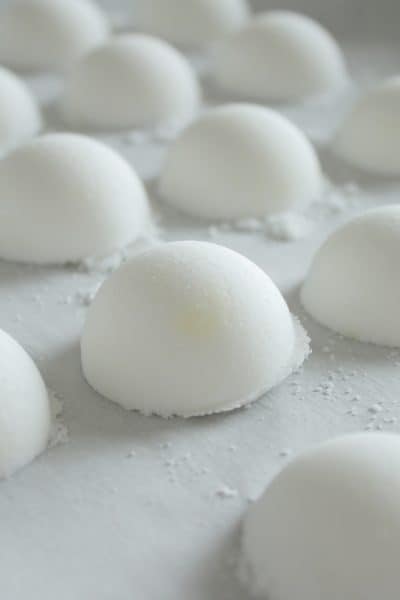
Garbage Disposal Cleaning Tabs
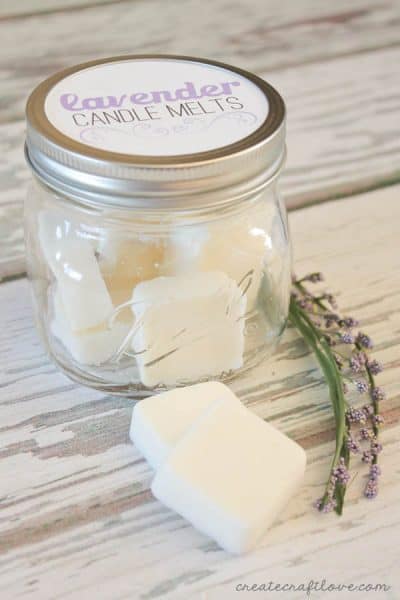
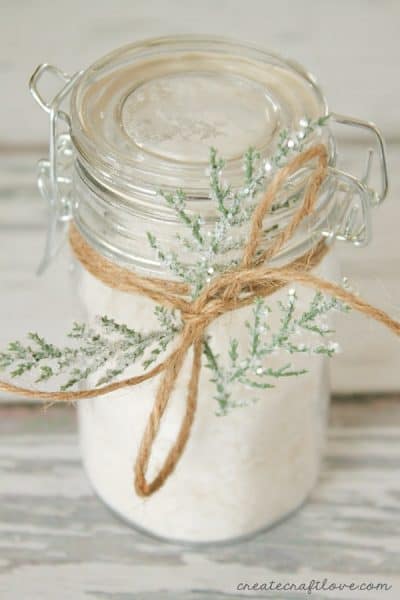
DIY Candle Melts
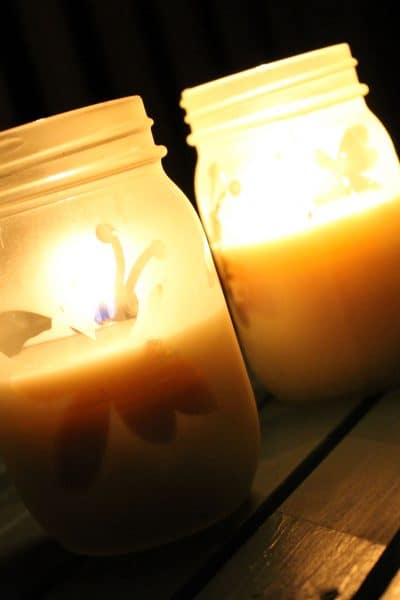
DIY Citronella Candles

Faux Board and Batten Accent Wall
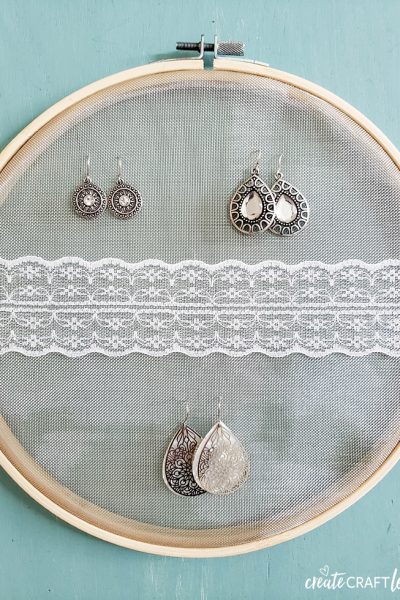
Embroidery Hoop Earring Holder
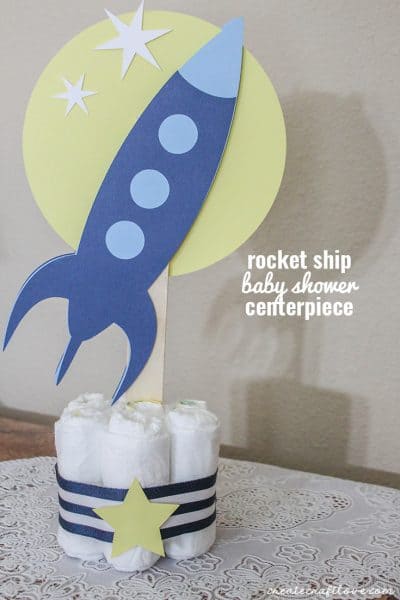
Baby Shower Centerpiece
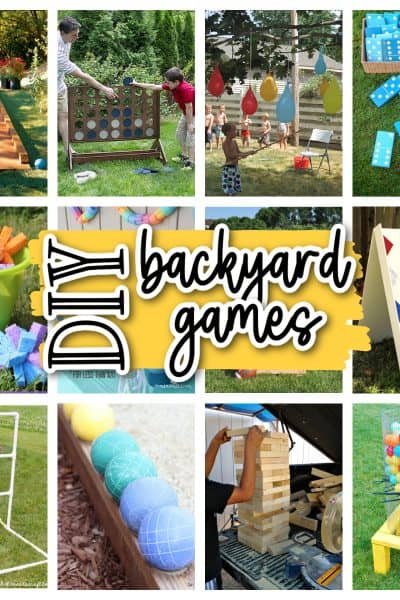
DIY Backyard Games for Summer

Faux Pallet Wood Wall
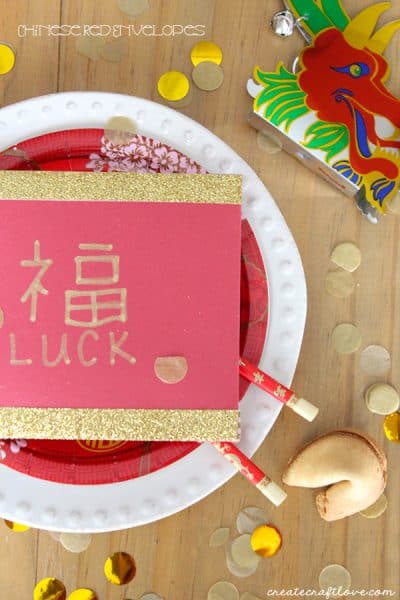
DIY Chinese Red Envelopes
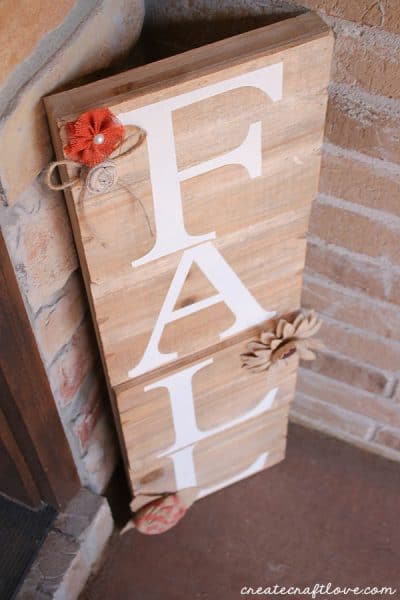
Wooden Fall Sign
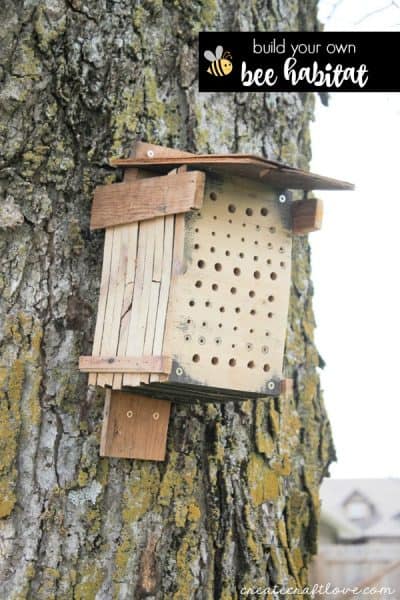
DIY Bee Habitat
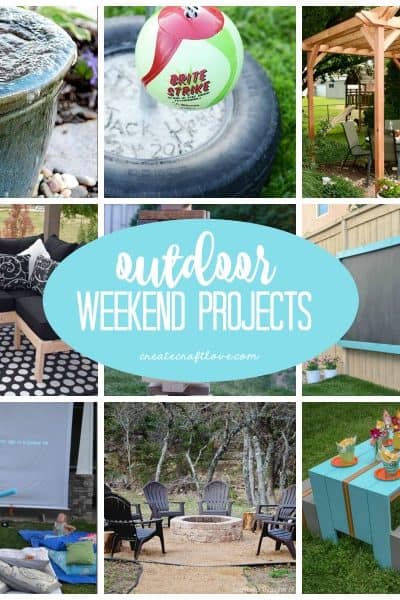
Outdoor Weekend Projects
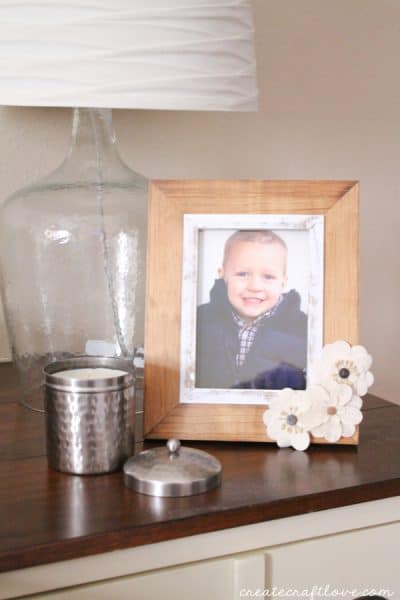
Interchangeable Photo Frame
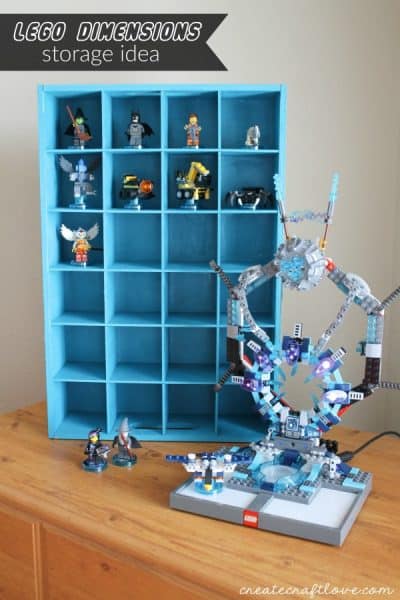
Lego Dimensions Storage Idea

DIY Cold and Flu Remedies
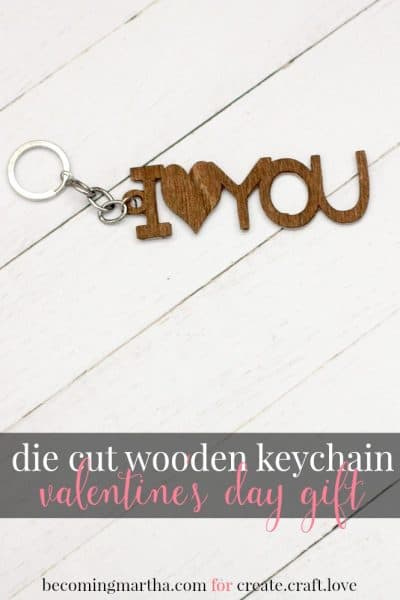
Die Cut Wood Keychain
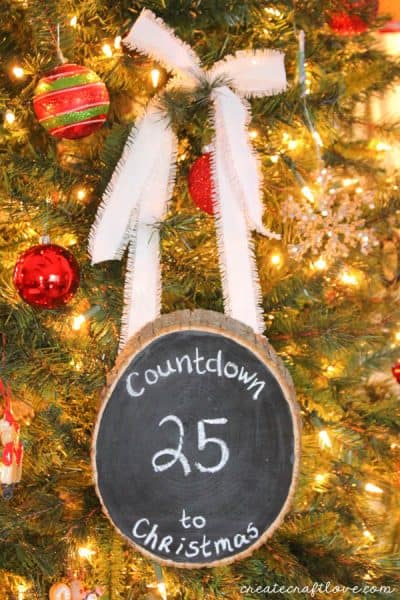
Rustic Chalkboard Countdown
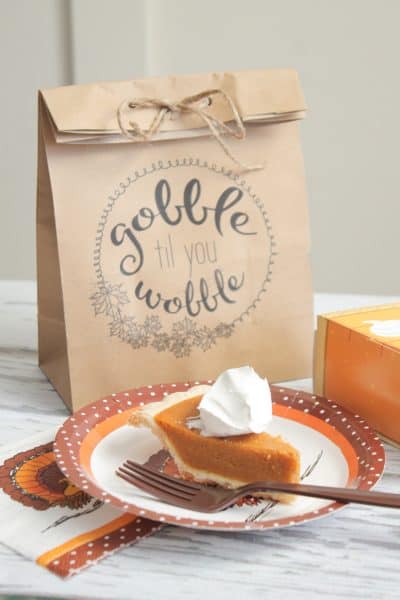
How to Print on Paper Bags
- 1
- 2
- 3
- 4
- Next Page »