This post may contain affiliate links. See my disclosure policy for more details.
Use your Cricut machine to create this Under the Sea Coloring Page!
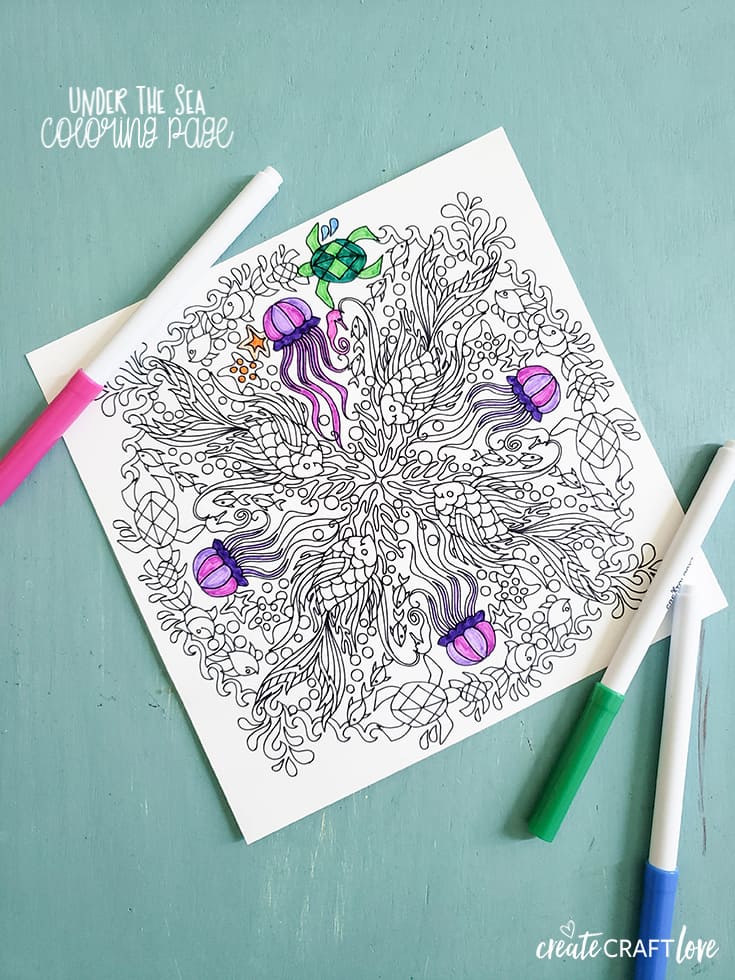
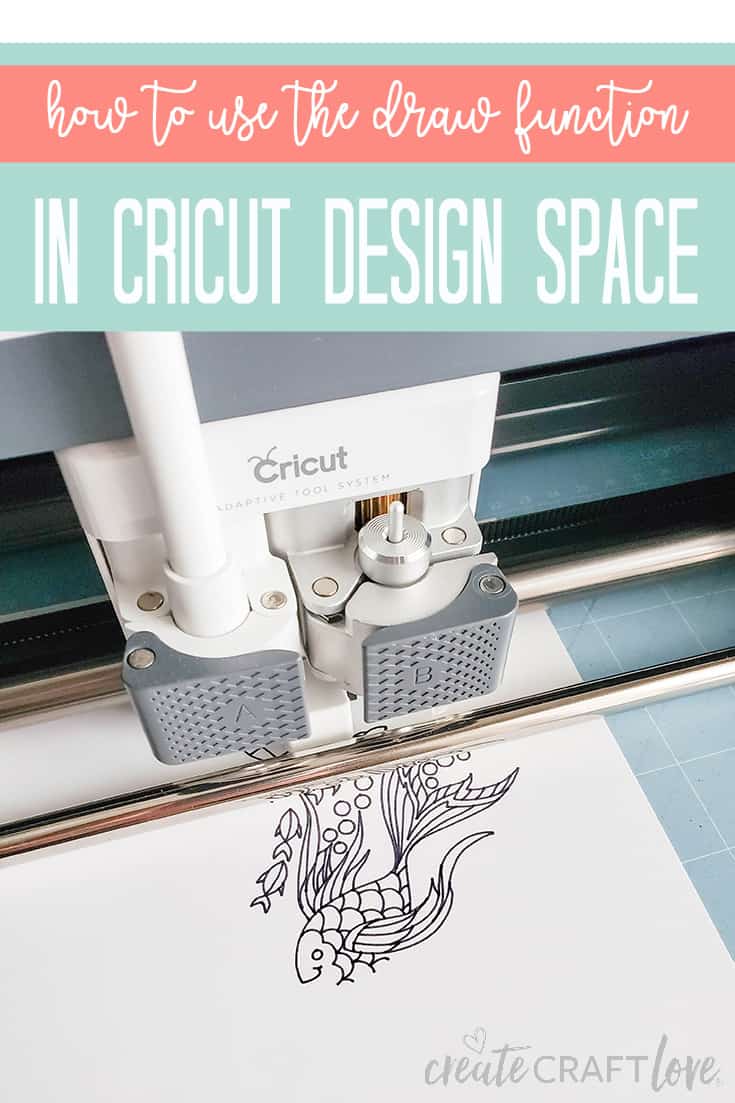
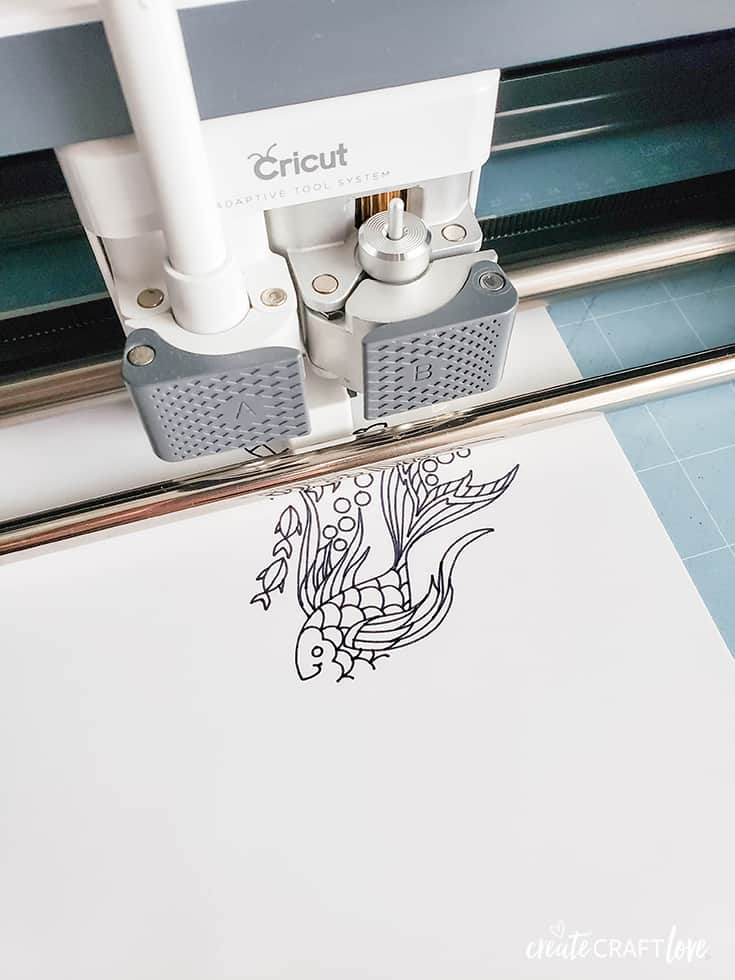
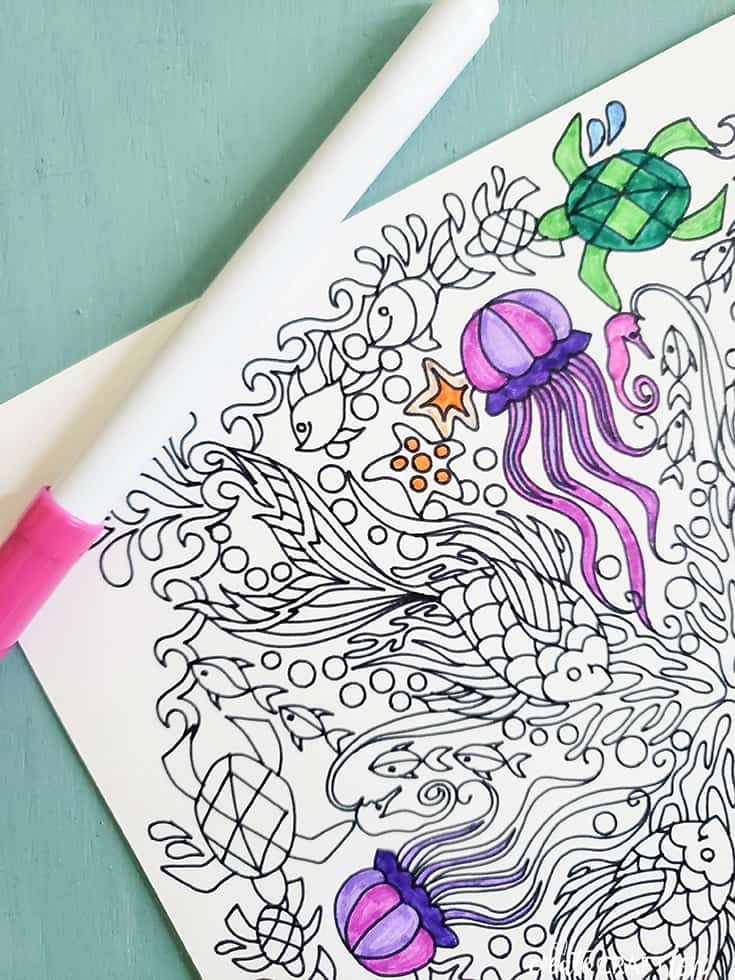
Did you know your Cricut can DRAW?! Check out the detail work on this Under the Sea Coloring Page? The cool part is is LOOKS drawn and not just printed.
You can use the draw feature or writing palette with any image in Design Space. Simply choose the layer you want to draw. Click the layers icon and change it to the pen. BOOM! It’s that easy!
This post contains affiliate links for your convenience.
Materials needed to create the Under the Sea Coloring Page
Cricut Explore or Maker
White cardstock
Light grip mat
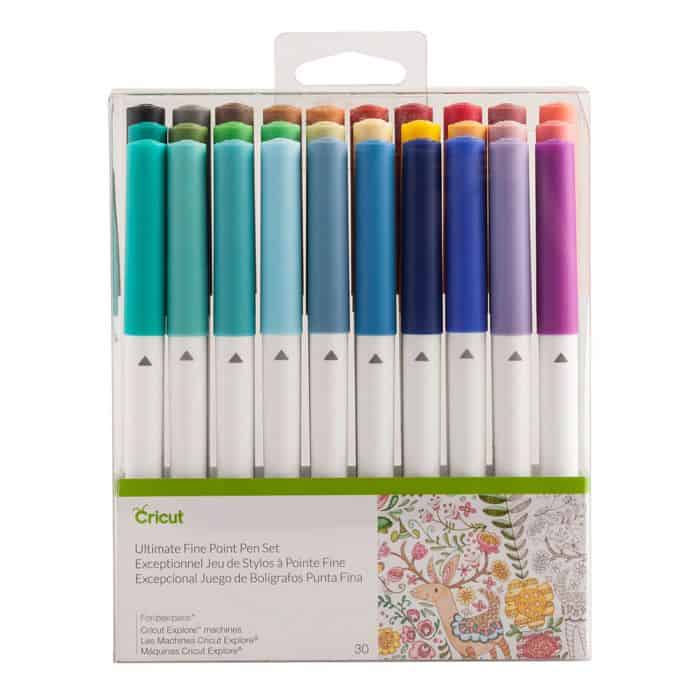
Ultimate Fine Point Pen
Basic tool set
Fine point blade
Images used for this project:
Under the Sea Coloring Page #M208A990
Open image in Design Space. Size the image to fit your cardstock. Send the coloring page image to cut. Place cardstock on the light grip mat and load. Uncap and load your pen into clamp A of the tool system on the machine. Proceed with draw/cut.
It is so cool to watch it unfold. The drawing is a work of art! It does take longer than printing but like I said before but delivers an amazing handmade look that you cannot get from printing.
This specific image will cut around the edge of the image to deliver a square page. You can use the contour function in Design Space to delete the cut line.
Cricut has an ARRAY of colored pens to use with the machine! This pack is my favorite because you get a little of everything!
Doesn’t that look amazing!? I love how this Under the Sea Coloring Page turned out. I wish I could draw like that! Have you tried using the draw function?
Now I’m off to finish my coloring project…