• Home
  • Crafts
    • Wreaths
    • Back to School Crafts
    • Christmas Crafts
    • Father’s Day Crafts
    • Fourth of July Crafts
    • Halloween Crafts
    • Kid’s Projects
    • Mother’s Day Crafts
    • Thanksgiving Crafts
    • Valentine’s Day Crafts
  • Recipes
    • Christmas Recipes
    • Fourth of July Recipes
    • Halloween Recipes
    • Thanksgiving Recipes
    • Appetizers
    • Beverages
    • Breakfast
    • Dessert
    • Main Dish
    • Side Dish
    • Soups & Salads
    • Snacks
  • Freebies
    • Back to School Printables
    • Christmas Printables
    • Father’s Day Printables
    • Fourth of July Printables
    • Halloween Printables
    • Mother’s Day Printables
    • Thanksgiving Printables
    • Valentine’s Day Printables
  • xTool
  • About
    • About CCL
    • Privacy Policy
    • Disclosure
    • Contact Us
    • Email
    • Facebook
    • Instagram
    • Pinterest
    • RSS
    • Twitter

Create Craft Love

July 29, 2013 ·

Princess Tote Bag

Crafts· Cricut Projects· Kid's Projects

  • Facebook
  • Twitter

This post may contain affiliate links. See my disclosure policy for more details.

Sponsored by Cricut

My sweet niece is turning 4 at the end of August!  She was born three months before my kiddo.  When I held her for the first time, Reed was still in utero and he kept kicking her.  Fast forward to today and not much has changed.  LOL  Addy loves all things girly!  She is my little princess and I wanted to make her a special Princess Tote Bag from Aunt Jill!

Princess Tote Bag with Cricut Iron On Glitter Vinyl via createcraftlove.com #ironon #cricut #princess #kidscrafts

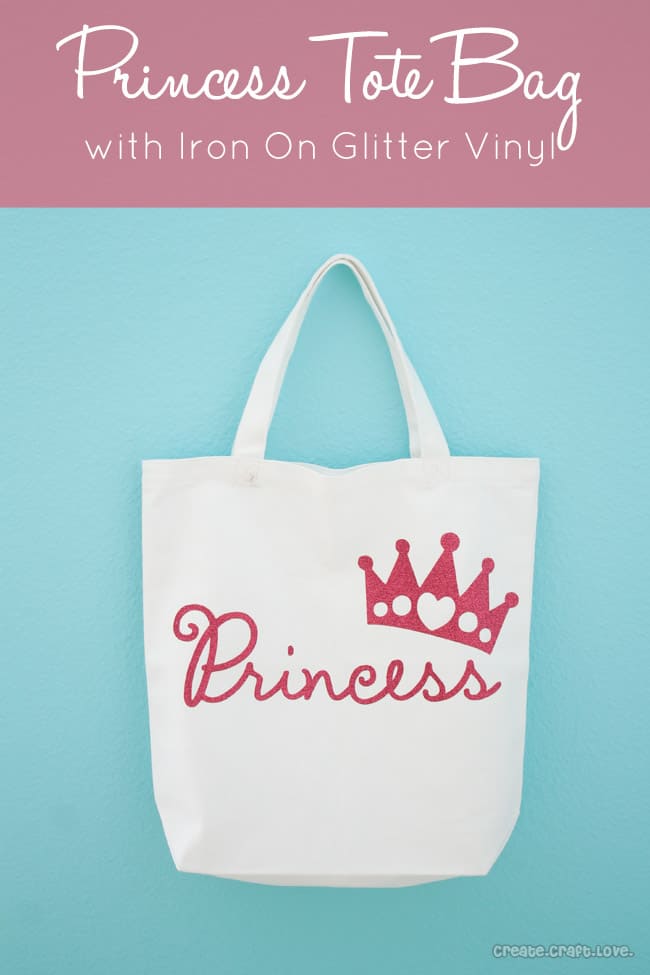
Wanna make your own Princess Tote Bag?

Here’s what you need:

Cricut machine

Pink Iron On Glitter Vinyl

White canvas tote bag

Iron

Ironing board

{For this project, I used my Cricut Mini!  The image is from the cartridge 3 Birds on Parade.}

This was my first time working with the Cricut iron on line.  The iron on instructions recommend a blade depth and pressure of 3.  I would back it off to 2.  It should not cut through the clear liner.  If it does, no worries!  You can still work with it!  Ideally, the clear liner should remain intact and you should weed out the extra vinyl from the image.  DON’T FORGET TO MIRROR THE IMAGE!  Otherwise, your vinyl with be backwards.  Place the iron on vinyl on the cutting mat, liner side down and proceed.

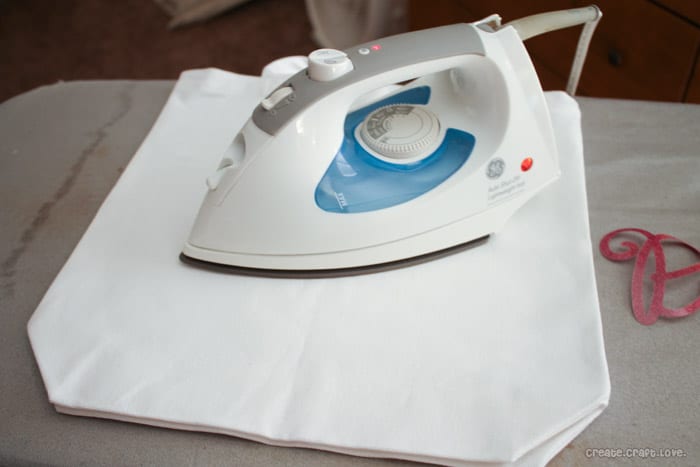
Once your image is cut, you will want to prep your material.  Iron the material on the highest setting to which you are transferring the iron on vinyl.  Iron for 20-30 seconds.

princesstote1

Next, place your image on the bag, liner side up.

princesstote2

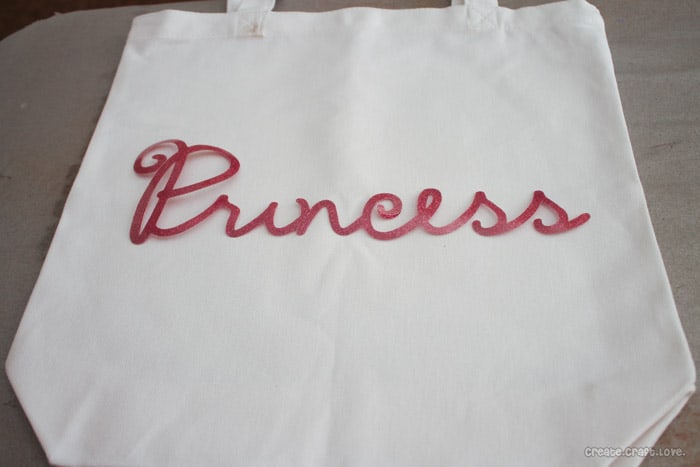
Place a light piece of fabric over the image and iron for 20-30 seconds.  Because of how my image cut, I had to iron the pieces separately.  If you liner remains intact, this can all be done in one fail swoop!

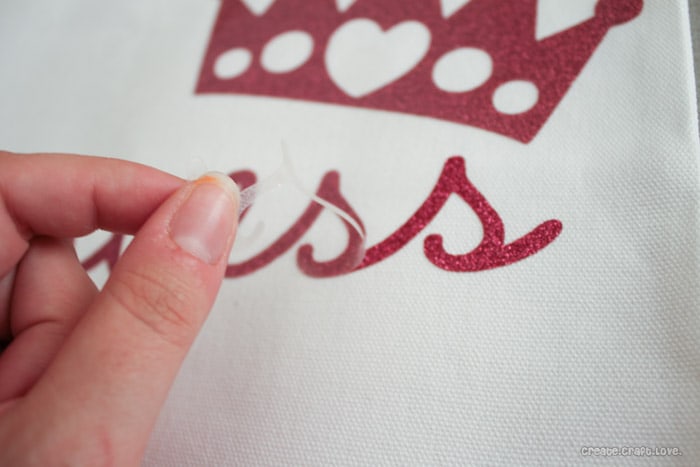
After the vinyl adheres to the bag, carefully remove the clear liner.  It’s that simple!

princesstote4

I love this glitter iron on vinyl!  It doesn’t shed and it looks super sparkly in person!

Princess Tote Bag with Cricut Iron On Glitter Vinyl via createcraftlove.com #ironon #cricut #princess #kidscrafts

I cannot WAIT to show it to her!  I even stuffed it with some extra princess goodies!

Princess Tote Bag with Cricut Iron On Glitter Vinyl via createcraftlove.com #ironon #cricut #princess #kidscrafts

Princess Tote Bag with Cricut Iron On Glitter Vinyl via createcraftlove.com #ironon #cricut #princess #kidscrafts

Have you used the iron on vinyl yet?  What did you think?  I think it’s just as addicting as adhesive vinyl!

I received free product for the project.  You can read my full disclosure here.


About Us

We are passionate about sharing simple, fun DIY projects that anyone can tackle—whether you're a seasoned crafter or just getting started. From seasonal décor to everyday crafts, we love inspiring others to make something beautiful with their own two hands.

« Top Ten Thirst Quenching Summer Beverages
20 Amazing Fabric Ideas »

Trackbacks

  1. The Creative Connection 09/01 - Becoming Martha says:
    August 1, 2013 at

    […] Celebration Birthday Wreath @ Wait Til Your Father Gets Home / Upholstered Foot Stool @ Making Home Base / Twine & Monogram Wreath @ Becoming Martha / Updated Gallery Wall @ Chase the Star / Princess Tote Bag @ Create.Craft.Love […]

    Reply
  2. 30+ Easy & Creative Cricut Projects - Wait Til Your Father Gets Home says:
    January 20, 2014 at

    […] Princess Tote Bag via Create.Craft.Love […]

    Reply
  3. Cricut Crafts says:
    October 12, 2014 at

    […] Princess Tote […]

    Reply

Popular Posts

Winter Decorations for After Christmas
This Gold Leaf Mason Jar Vase is keeping with the trends this spring! #spring #gold #goldleaf #masonjars

HALLOWEEN

Halloween Lunch Box Jokes that will have them laughing all day long! via createcraftlove.com
Use your Cricut Explore to create this Gothic Halloween Table Setting! #designspacestar #gothichalloween #halloween #cricutteam5

THANKSGIVING

The ULTIMATE Guide to Thanksgiving Printables via createcraftlove.com
Create these Gold Pumpkin Votives for your Thanksgiving dinner table! via createcraftlove.com for @the36thavenue

CHRISTMAS

Your guests will go nuts for this snow globe wreath!
Santa Belly Jello Shots | Create Craft Love
© 2019 · Create Craft Love·
  • Pinterest
  • Facebook
  • Twitter