This post may contain affiliate links. See my disclosure policy for more details.
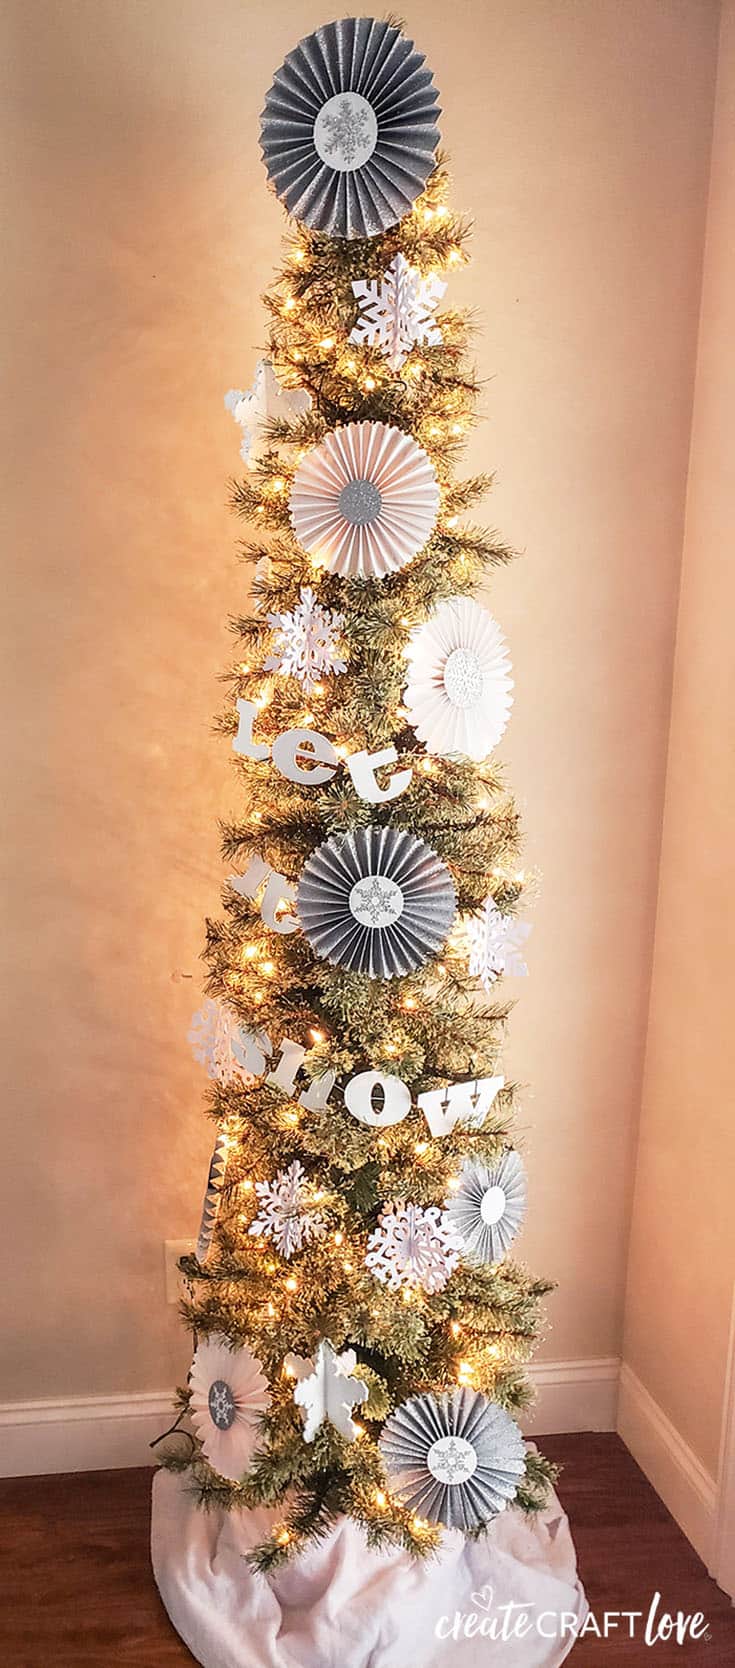
Create your own Let It Snow Christmas Tree with Cricut!

Sponsored by Cricut
This post contains affiliate links for your convenience.
My dream since I first got the Cricut Maker has been to design Christmas tree decor using only this machine. I am beyond thrilled with how it turned out! Who knew one little miracle machine could help you refine and define your holiday decorating style and create gorgeous DIY holiday decorations? Every piece of decor on this tree is made with the Cricut Maker. (Disclosure: You cannot make an actual pre-lit artificial tree with this machine! HA!)
Materials needed for Let It Snow Christmas Tree with Cricut
Cricut Maker
Knife blade
Scoring wheel
Strong grip mat
Light grip mat
Chipboard
Glitter Cardstock (silver and white)
Kraft board (white)
Cricut basic tool set
White acrylic craft paint and paint brush
Baker’s twine
Hot glue gun
Images used from Cricut Design Space:
Rosettes:
Stamp rosette #M42B13
Circle #M3686A
Snowflake M27F8326
Chipboard Snowflake:
3D Snowflake #M34126
Kraft Board Snowflakes:
3D Snowflake #M3697F
3D Snowflake #M36D54
3D Snowflake #M33D4C
Let It Snow Garland
Font: Robotz (size 3 inch height)
This marks my first project using the knife blade too! I cannot believe it took me so long to try it! The chipboard snowflake and “let it snow” garland were made using the knife blade and chipboard.
Creating Chipboard Snowflakes
The image needs to be altered slightly in order to account for the thickness of the chipboard. I created a 0.05 inches wide and 3 inches long rectangle using the shape tool. Take the new image and lay it over the line that bifurcates the snowflake. Select both images and hit slice. This will widen the opening for the snowflakes to fit together. Repeat process for the other snowflake.
Tape the edges of the chipboard directly to the mat. This will help keep the chipboard from shifting while cutting. Be patient! It takes longer to cut through chipboard due to all of the layers. It took about 1 hour for every 2 snowflakes.

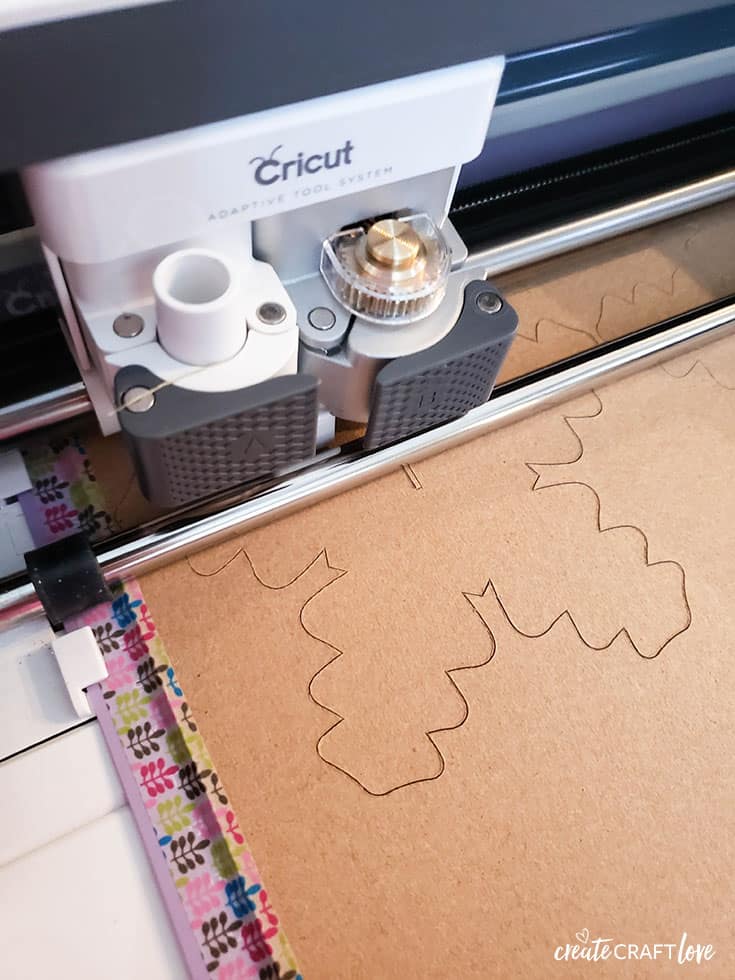
It is absolutely fascinating to watch! The more curves the project has, the more passes it will need to make – 15 passes was sufficient for these snowflakes.
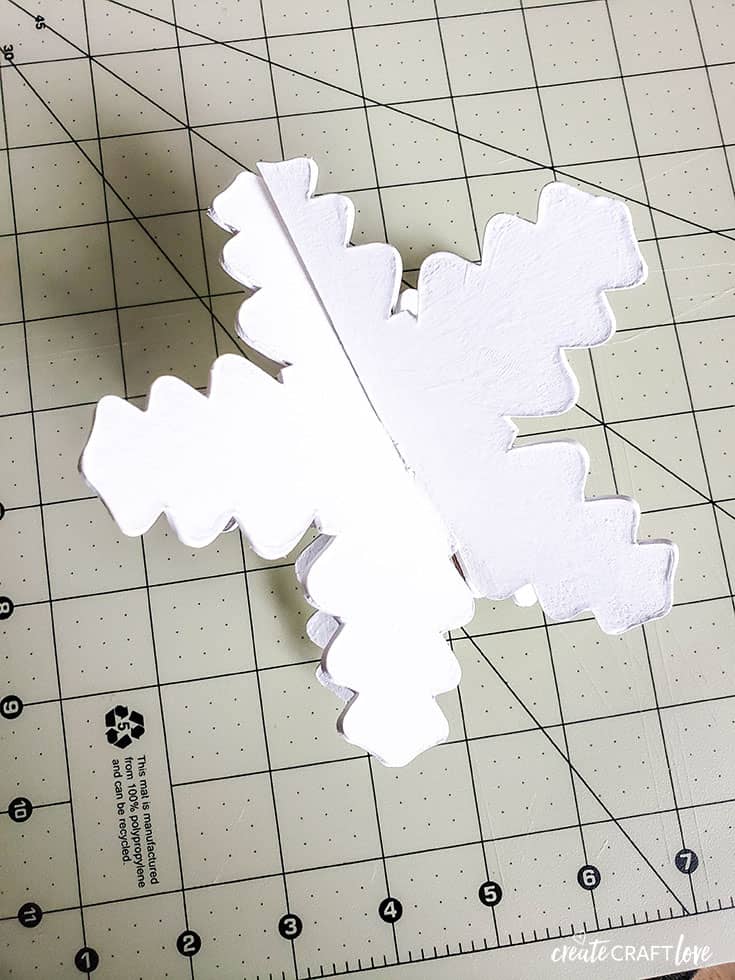
Once the snowflake is complete, fit together and paint using the white acrylic craft paint.
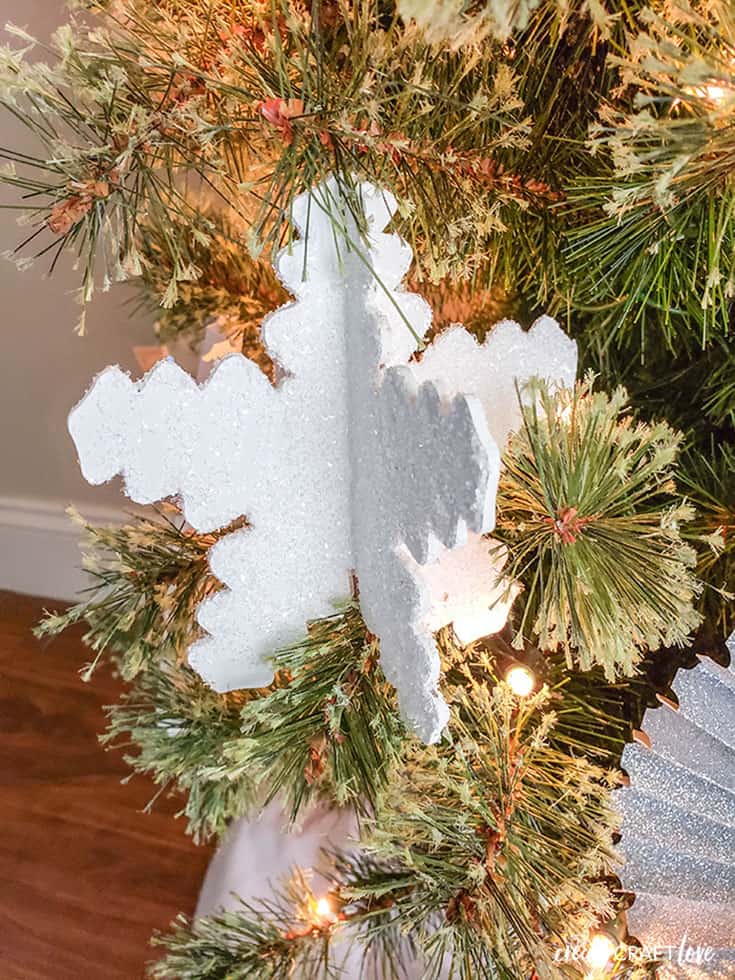
After the second coat of paint, add white glitter before the paint dries. This will give it a shimmery effect!
These were so much fun to make! I followed a similar process for the chipboard letters I used for the “let it snow” garland.
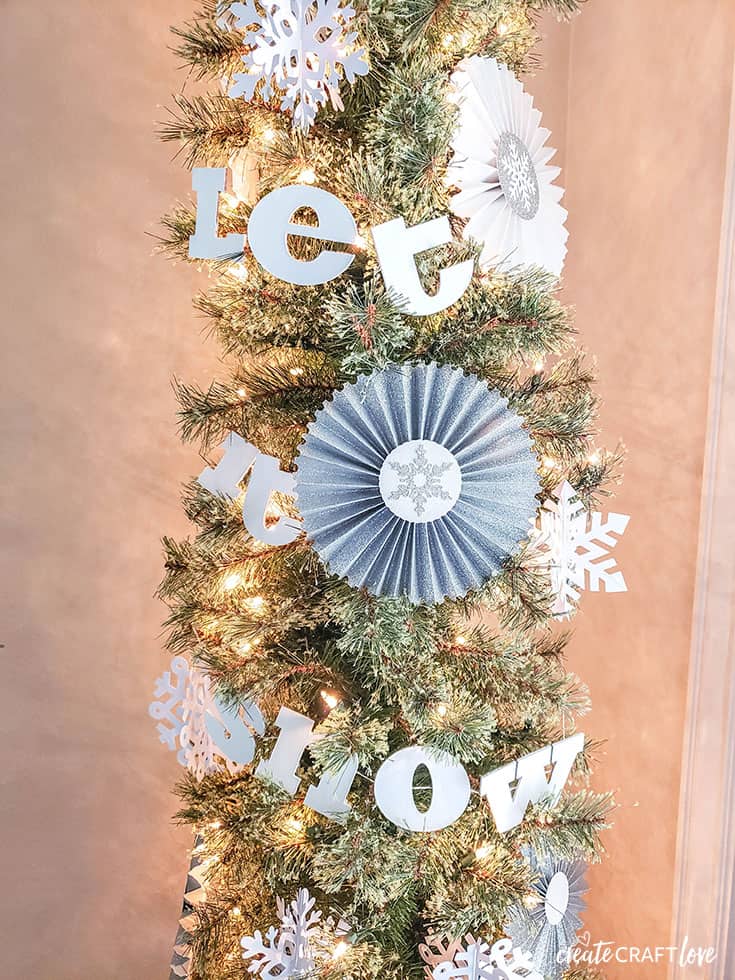
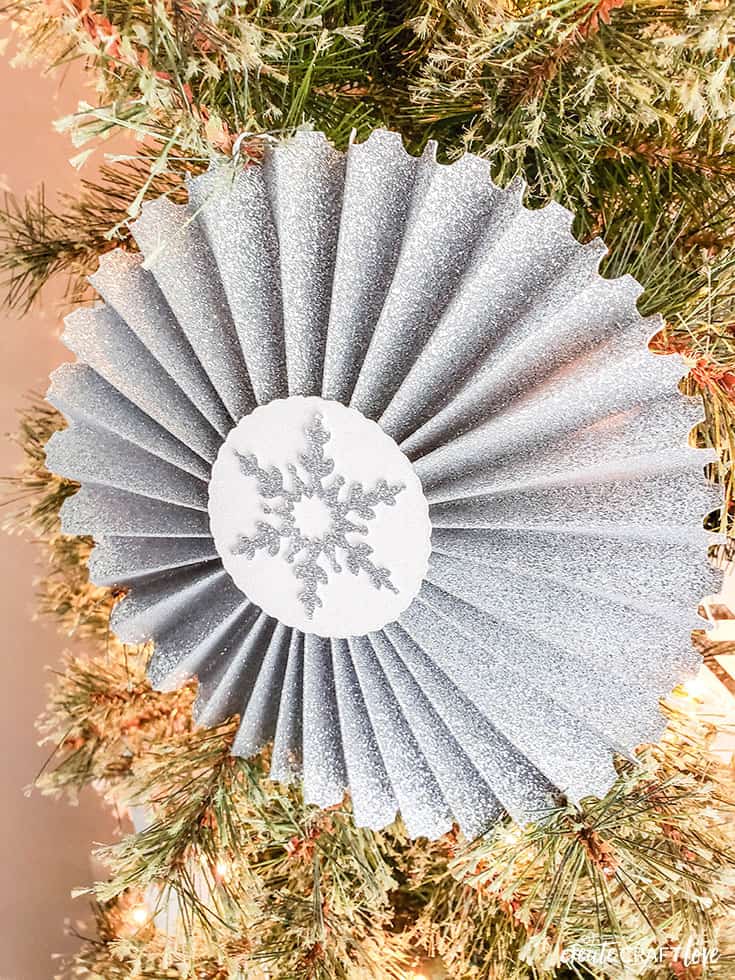
The rosettes were super easy to make with the scoring wheel!
The other 3D snowflakes were made with kraft board and are a great finishing touch!

Why choose the Cricut Maker?
I think that is what I love the most about my Cricut Maker – it’s so versatile! Anything I dream up can be accomplished using this machine. The adaptive tool system and different tool options make this the most well rounded cutting machine out there. You can cut materials that cannot be cut on the Explore line of machines. Chipboard, kraft board, leather, corrugated cardboard – the possibilities are endless! Take your crafting to a new level with the Cricut Maker!
To check out the differences between all of the Cricut machines, click HERE!
This is a sponsored conversation written by me on behalf of Cricut. The opinions and text are all mine.
