This post may contain affiliate links. See my disclosure policy for more details.
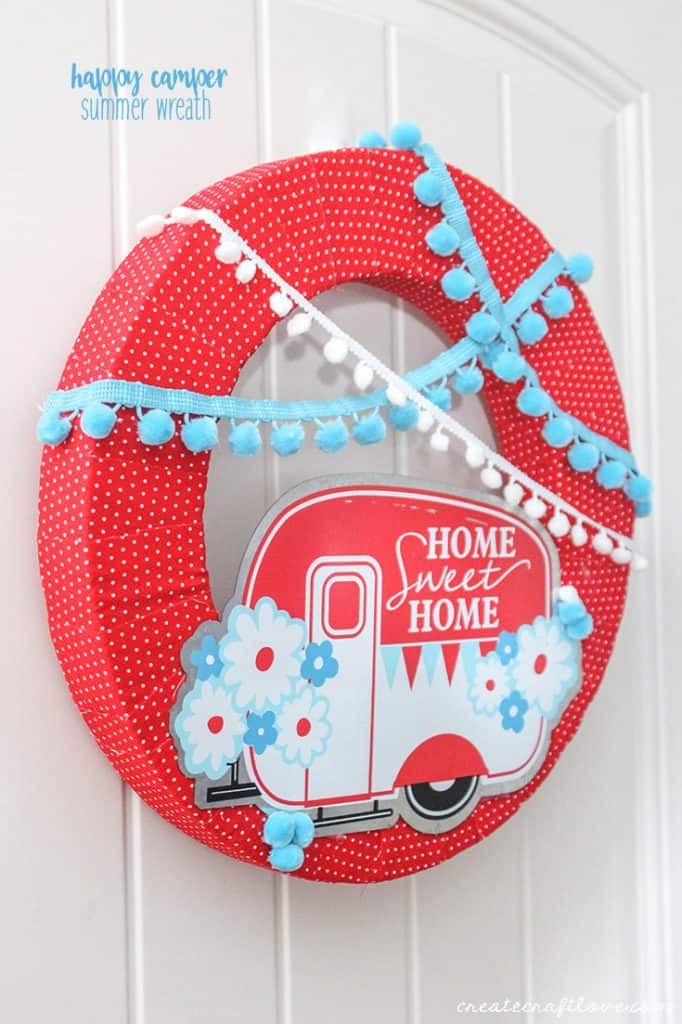
This Happy Camper Summer Wreath is a nostalgic throwback with it’s vintage, retro look!
How to make the Happy Camper Summer Wreath
Supplies:
Foam wreath form (16 inch)
Red and white polkadot fabric (1/2 yard)
Cutting mat and rotary cutter
Acrylic ruler
Hot glue gun
Tin camper decoration
Scissors
Pom poms in two contrasting colors
Ribbon
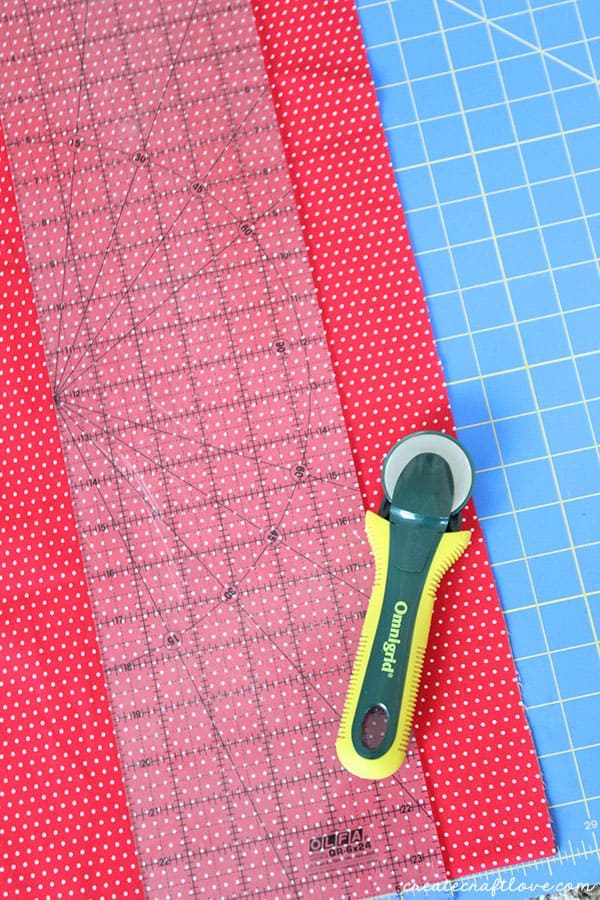
Fabric wrapped wreaths are my favorite to make. The fabric does not have to be cut perfectly. If you don’t have a cutting mat and rotary cutter, no worries. You can totally rock this out with scissors. Honestly, the rotary cutter is just a time saver in my opinion.
Begin by cutting your fabric into 2 inch strips. Trim off the selvage.
Hot glue the end of the strip to the foam wreath form. Begin wrapping the fabric around the wreath. Be sure to keep the fabric taut as you wrap, this will help prevent lumps and bumps. When you get to the end of the strip, hot glue into place. Begin the next strip where the first leaves off.
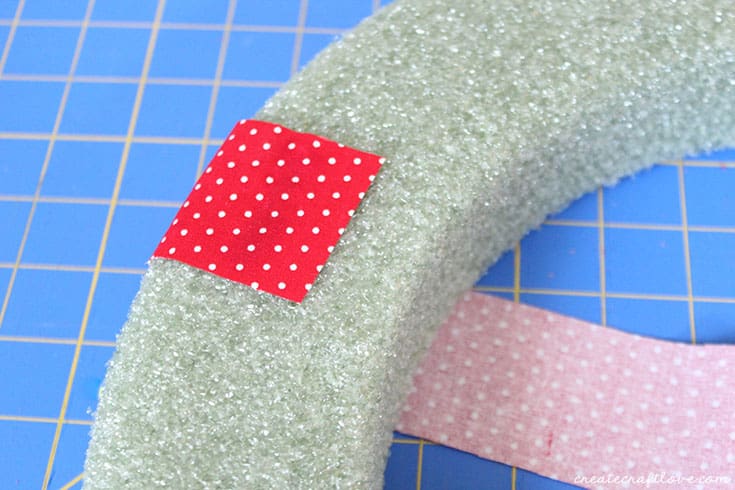
Keep gluing and wrapping fabric strips around the wreath until it is completely covered.
Finish off your Happy Camper Summer Wreath
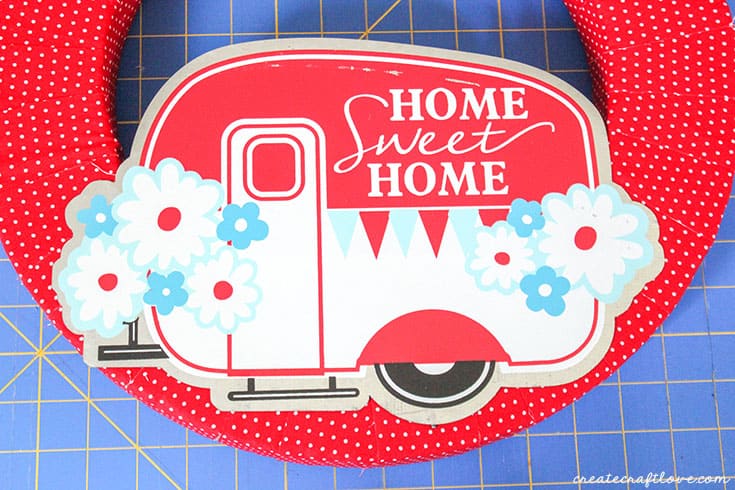
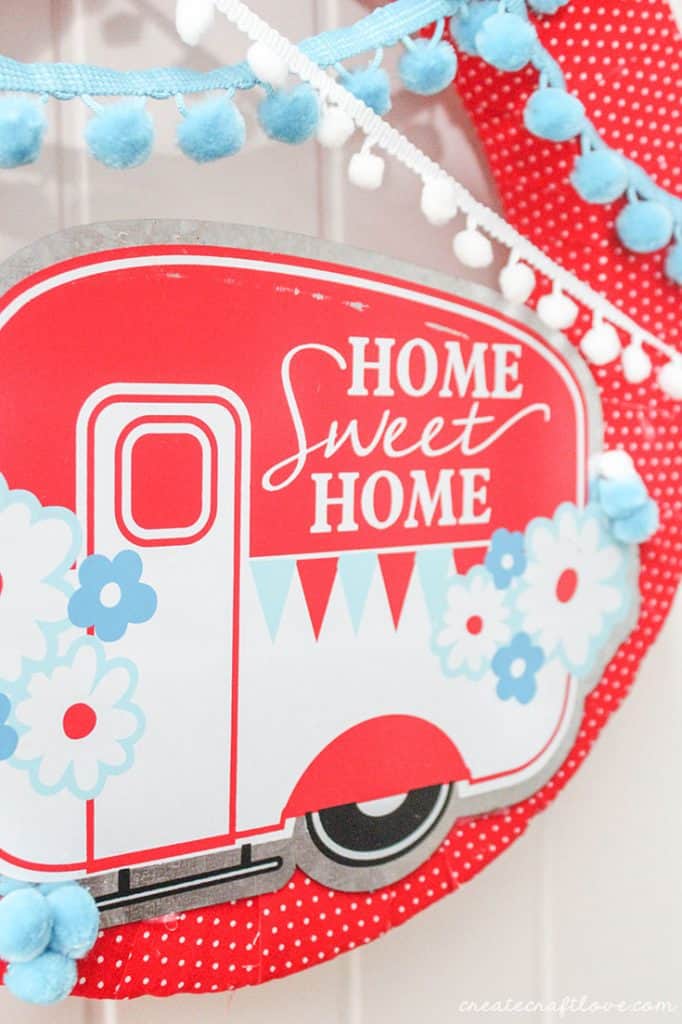
I found that adorable tin camper decoration at Hobby Lobby. It was attached to a wooden stand. I just bent the wire back and forth until it broke off. I hot glued the tin camper to the front bottom center of the wreath.
Next I hot glued the pom poms in place. Because of how I chose to wrap the pom poms, I had to trim them off the back of the wreath. If you prefer, you can cut and glue to the sides without stringing it across the back but I just liked the look of it better this way.

I took the extra pom poms and glued them to the front of the wreath around the camper.
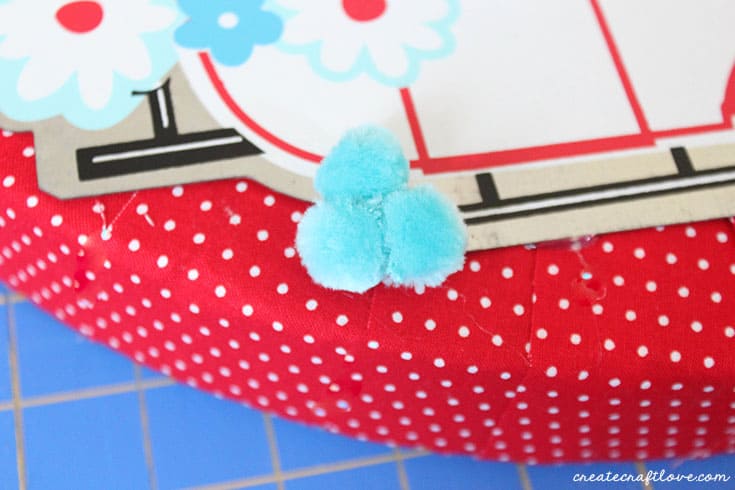
To finish it off, I also added a white string of pom poms because I wanted a little more contrast.
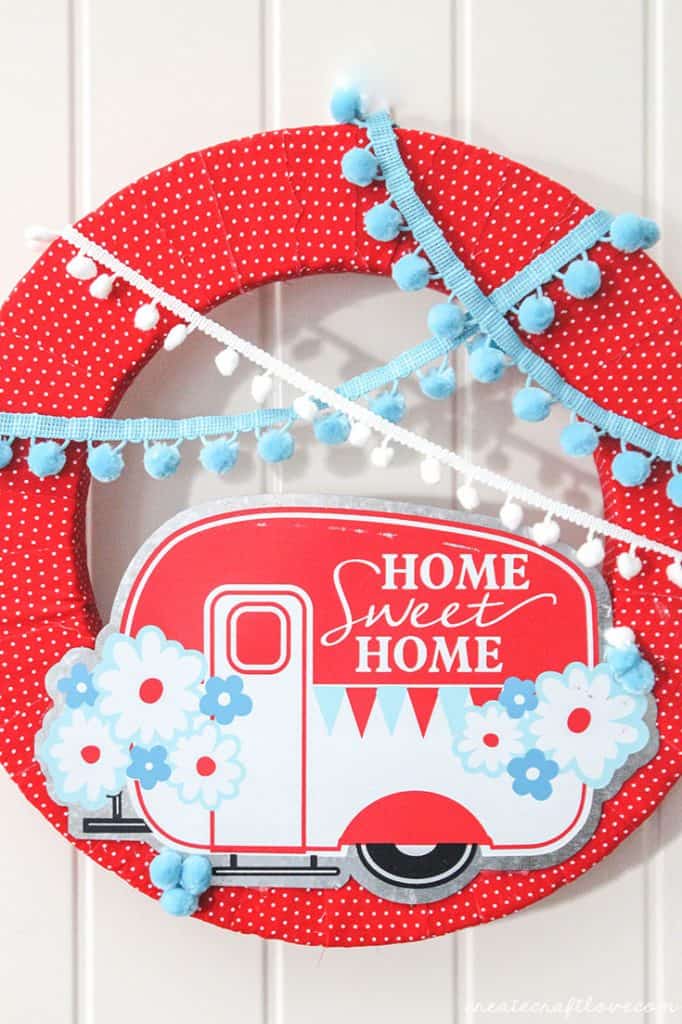
I am absolutely in LOVE with this Happy Camper Summer Wreath!
Plus the colors are great too! Since it’s red white and blue, I can keep it up throughout the summer holidays! Perfect for 4th of July!
