Create your own DIY Wooden Banner with your Cricut machine!

Although I was not directly compensated by Cricut, this post is being considered for a prize.
My house has a very farmhouse feel as does my Christmas decor. I wanted a wooden banner that brought out that rustic feel. But I needed it to be light weight – not the heavy wooden letters from the store. I turned to my handy dandy Cricut Explore and I cut WOOD. Yes you read that right. Wood. I am swooning over this banner I created just in time for Christmas!
How to make your DIY Wooden Banner
I used 1/16mm Balsa wood that I found at Michaels. The font is Tall, Dark and Handsome. {You can find it HERE}
My favorite part of the Explore is that I can adjust my own settings to cut different types of materials.
Set your dial on custom. In the cut screen, there is a button for material settings. Click on that button. You are going to add your own.
I set the pressure at the strongest. I also had it cut 7x to get the best and cleanest cut.
Balsa wood is very soft. It can be difficult to work with because of this. Here’s my advice…MOVE THE WHITE ROLLERS OUT OF THE WAY! They will leave marks on the wood.
Once your wood is cut, use an X-acto knife to be sure the cut is through the wood.
It’s hard to see in the pictures but I did stain the letters a weathered oak color.
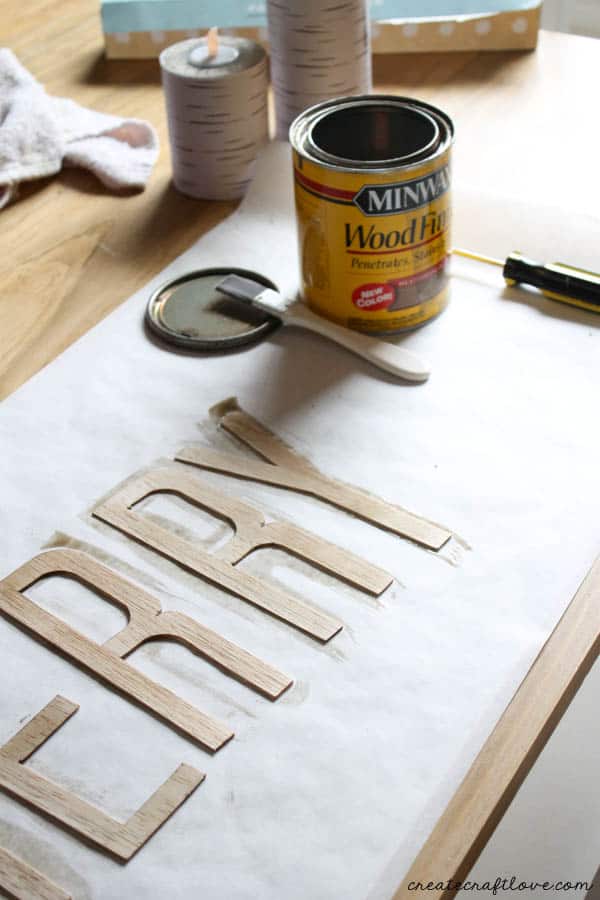
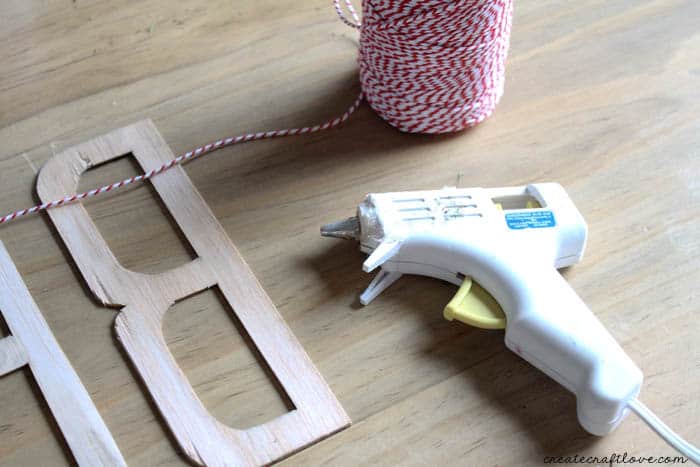
Once you’ve wiped them clean and allowed them to completely dry, you can hot glue the baker’s twine to the back of the letters.
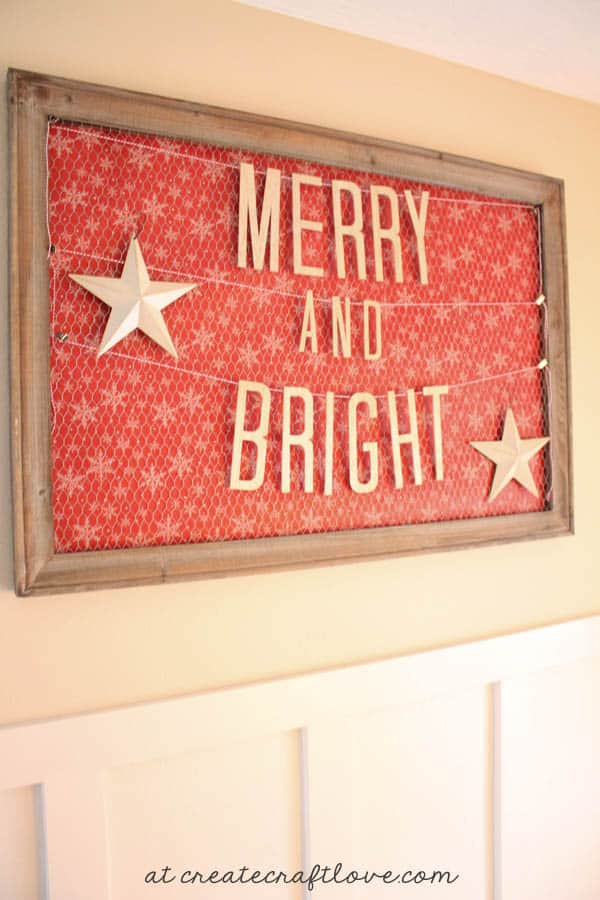
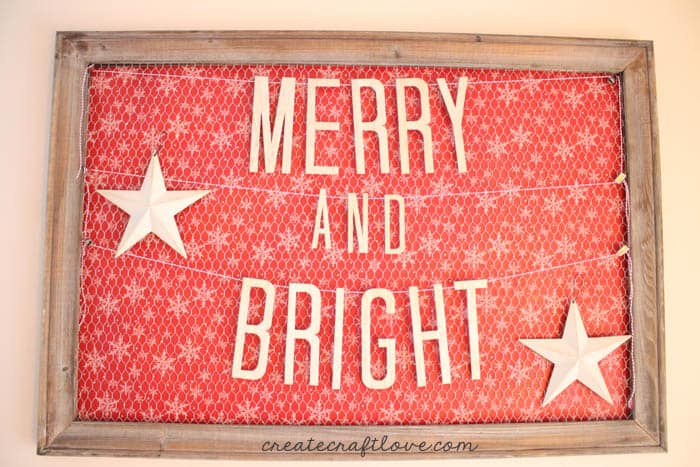
I LOVE how this turned out! It’s the perfect addition to my holiday decor and looks amazing over my banquette!
I did have a hard time deciding how I was going to use it.
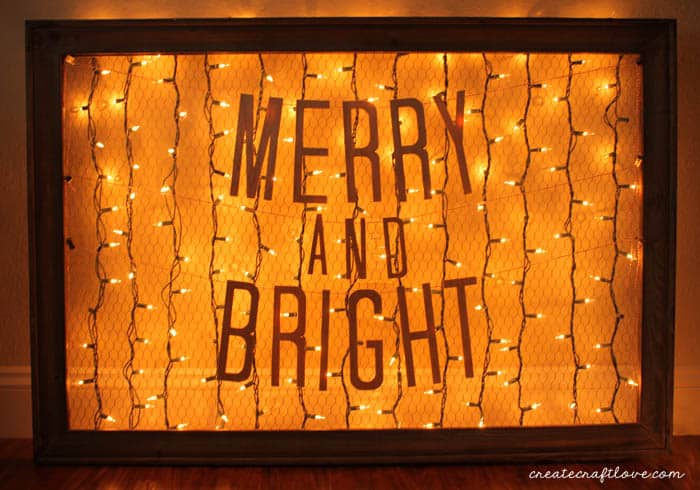
I back lit it for a silhouette type of look.
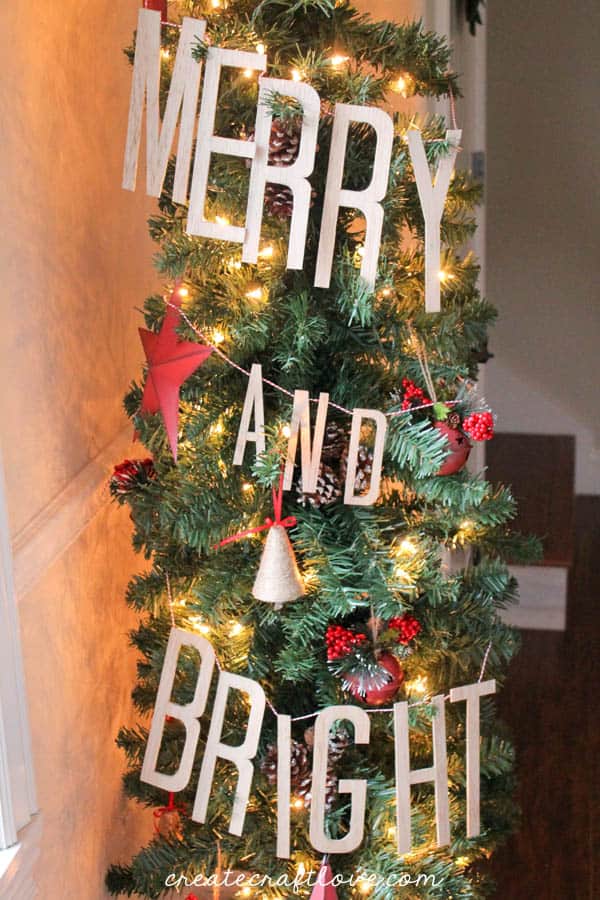
I also added it to my Christmas tree in the kitchen.
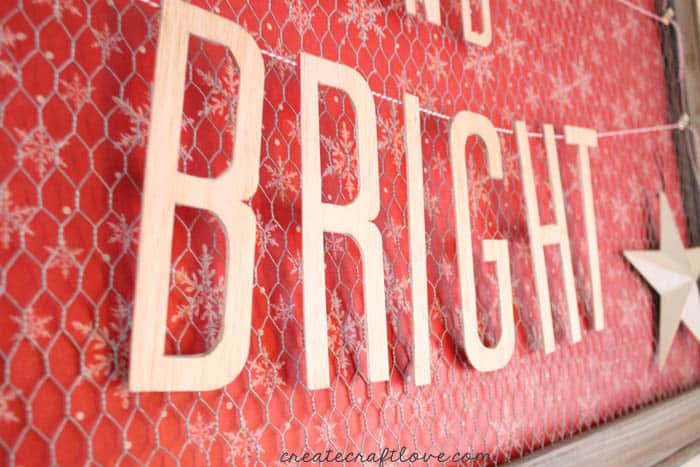
But the wrapping paper background is my favorite…
Have you seen the list of all the materials this thing can cut? It’s amazing! Check it out HERE!
