This post may contain affiliate links. See my disclosure policy for more details.
Sponsored by Cricut
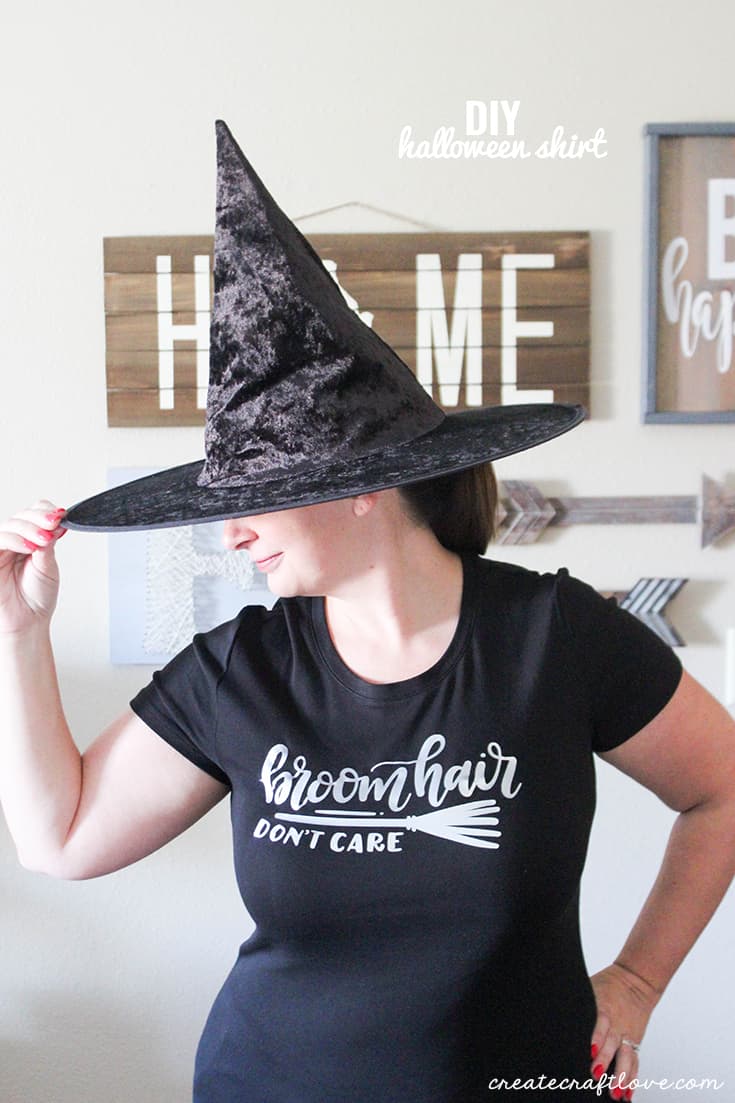
Creating your own DIY Halloween Shirt has never been easier! The Cricut EasyPress takes the guess work out of iron on and heat transfer vinyl!
This post contains affiliate links for your convenience.
I’m not going to lie. I used to hate heat transfer projects. No matter what the package says, ironing times were never accurate and half the time the vinyl ended up overheated and wrinkled. Why? Because iron temperatures can vary 200 degrees depending on which part of the iron you are using! Who knew? The Cricut Easy Press has eliminated that variable.
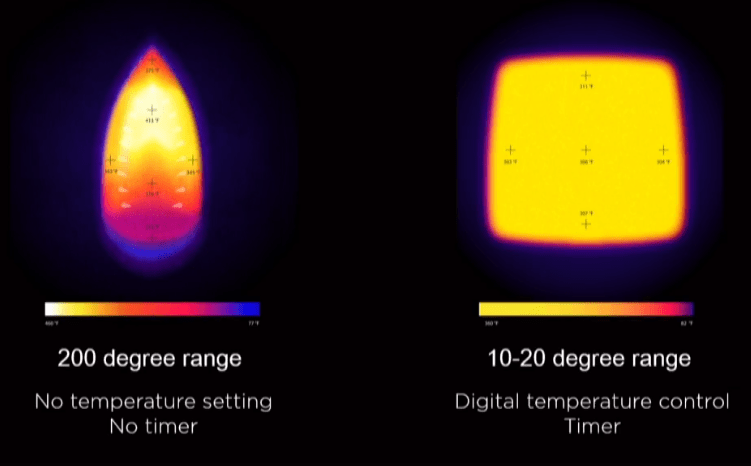
I had no idea! The Cricut EasyPress has a uniform heat distribution to ensure professional results. It has a built in timer and temperature setting for more accurate results.
Create your own Halloween Shirt with Cricut EasyPress
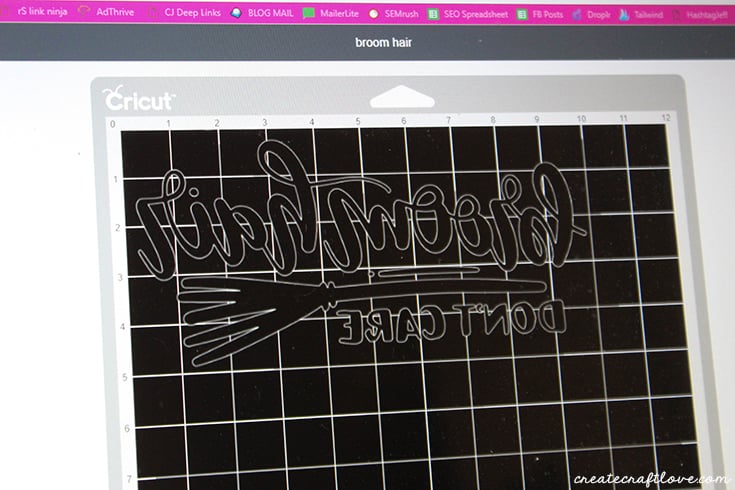
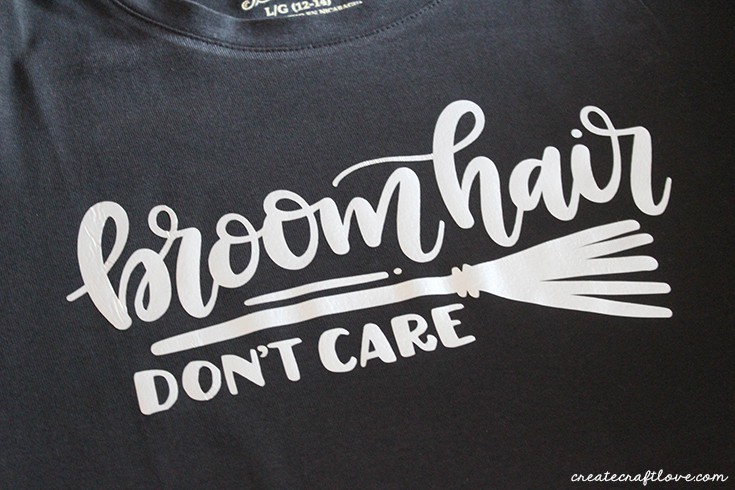
Sometimes I like to create my own designs and upload them into Design Space. Other times, I find something I love online, buy the image and take the easy way out. I am head over heels for this Broom Hair Don’t Care design I found at Hungry JPEG.
For this project I used Cricut Iron On Lite in silver. Don’t forget to mirror your image before you cut!
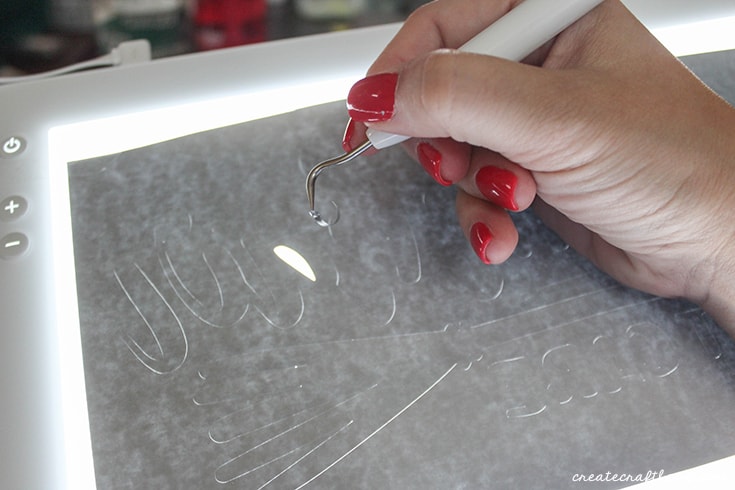
Once image is cut, weed out the excess iron on vinyl. I used my Cricut Brightpad to assist. Learn more about it HERE!
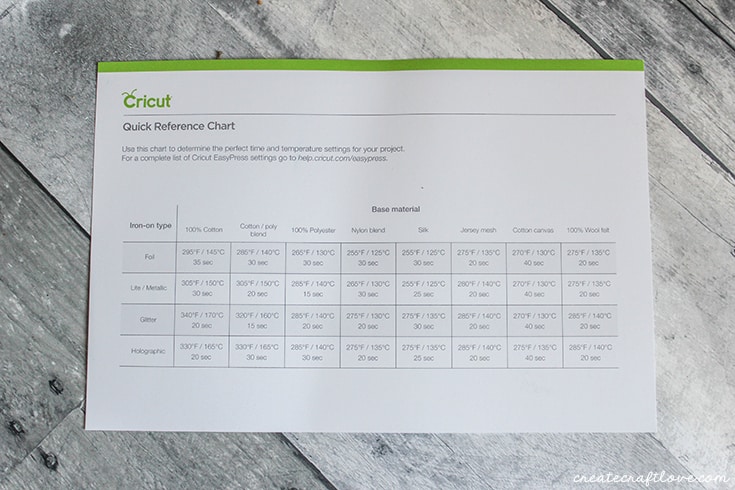
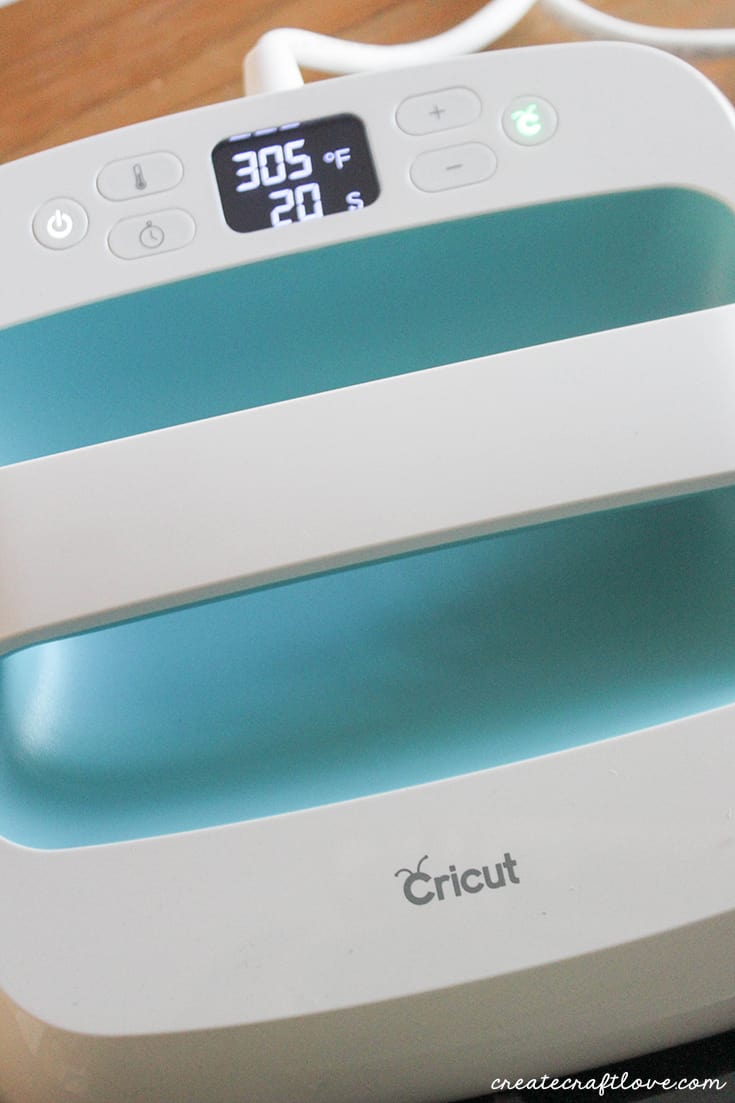
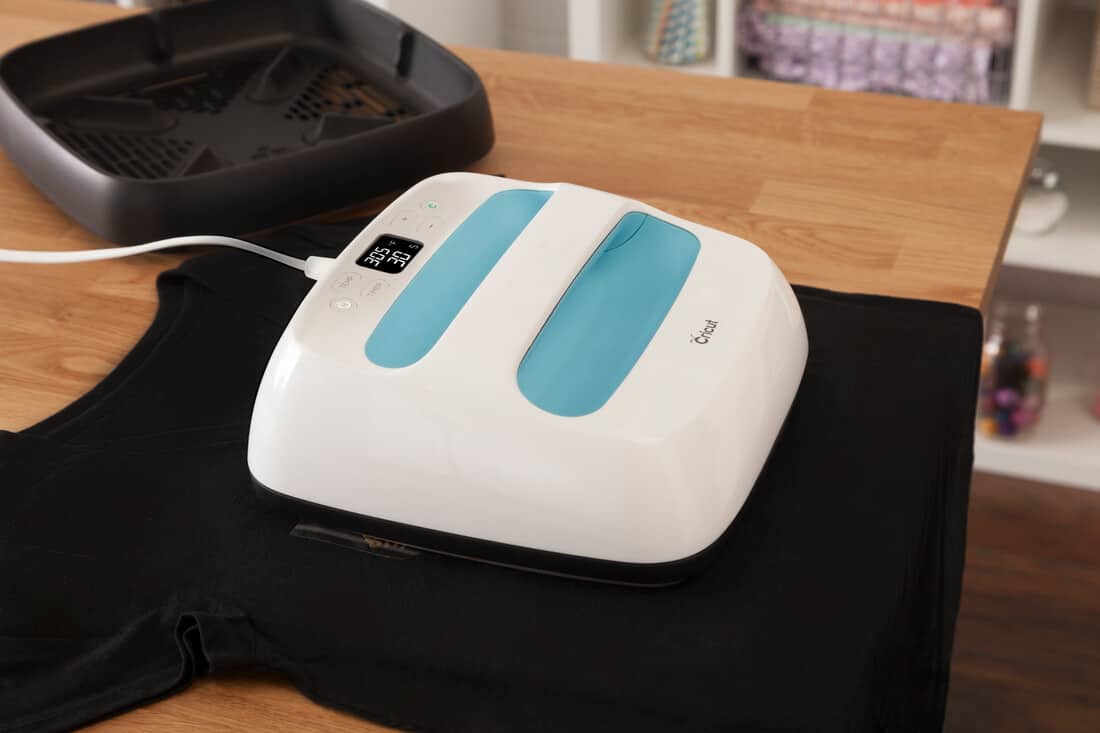
Each Cricut EasyPress comes with a quick reference guide to ensure perfect results every time! As you can see it is broken down between base material and iron-on type. I used metallic iron on with a cotton poly blend short. Therefore, I set my Easy Press to 305 degrees for 20 seconds.
Using your EasyPress to finish your shirt
Set your EasyPress to the appropriate setting based on quick reference guide. Click the temperature icon button and adjust your temperature with the plus and minus buttons to the right of the display. Follow the same procedure to set the timer but clicking on the clock icon button and adjusting time setting.
Once the it reaches temperature it will beep. Pre-heat the base material for 4-6 seconds by placing the EasyPress over the area where you will apply the iron on.
Place the weeded vinyl design sticky side down on your shirt. I used a terry cloth washcloth inside the shirt to protect my table.

Lift the EasyPress from it’s cradle and place on top of your vinyl. Apply light pressure and hit the green Cricut button. Hold pressure as timer counts down.
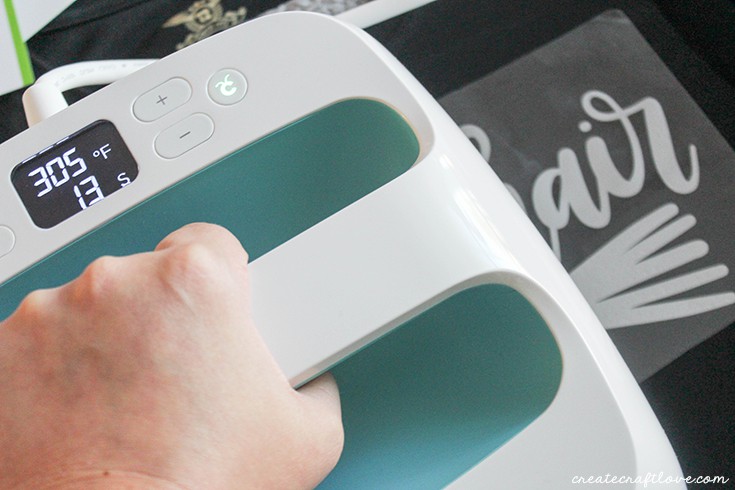
For larger designs, lift EasyPress and move to remaining section. Repeat process.
Allow 15 seconds for vinyl to cool before peeling back the lining.
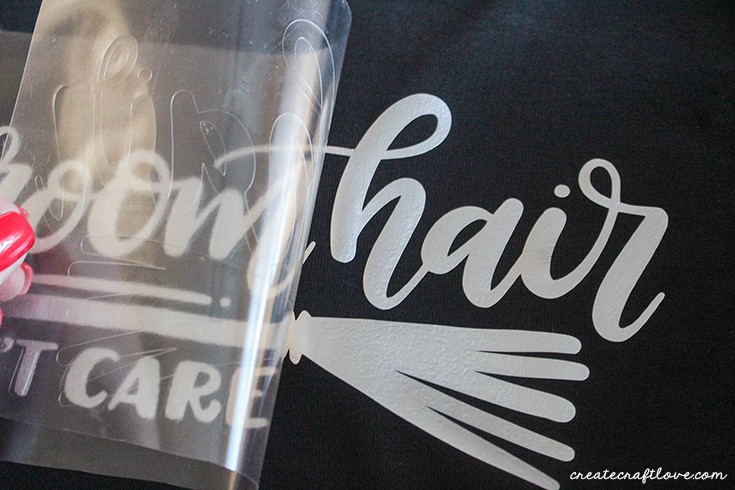
After cutting the vinyl, applying the iron on to the t-shirt took 40 seconds. (My design was large enough that it had to be done in two sections.) The vinyl was perfectly adhered!
I love how easy it is! Plus everyone loves my new DIY Halloween Shirt!
The Cricut EasyPress is available for $149. This would be the perfect Christmas gift for the avid crafter in your life!
This is a sponsored conversation written by me on behalf of Cricut. The opinions and text are all mine.
