This post may contain affiliate links. See my disclosure policy for more details.
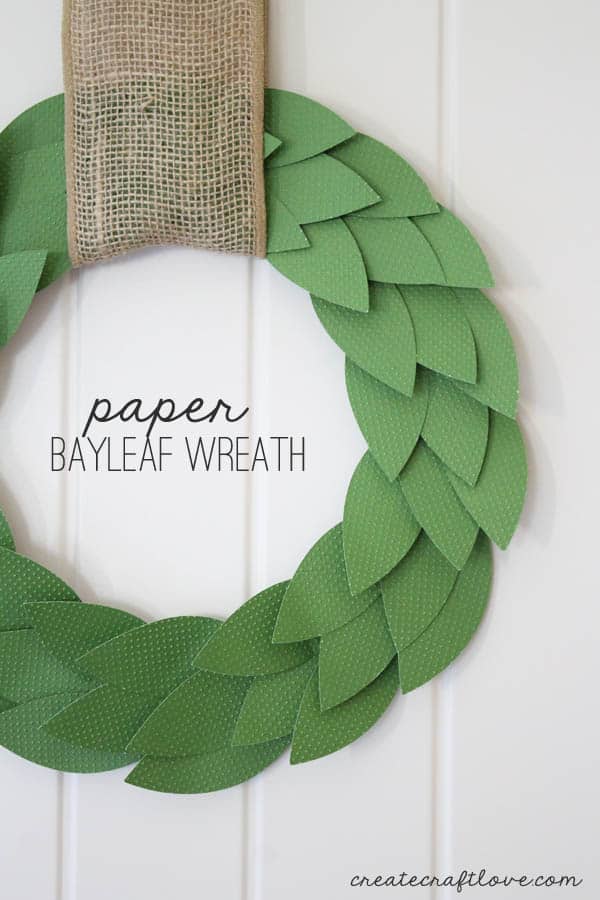
Create your own Paper Bayleaf Wreath to hang this holiday season!
We interrupt the Winter Wreath Workshop for this month’s Cricut Design Star challenge entry! Christmas is my favorite time of year. I love being surrounded by friends and family but decorating is the icing on the cake! I’ve been eyeing the Bayleaf Wreaths from Pottery Barn for some time but have not been wanting to spend an arm and a leg to purchase one. With a little help from the Explore, I whipped up this paper wreath in under 20 minutes!
This post contains affiliate links for your convenience.
Materials needed to create your own Paper Bayleaf Wreath
Cricut Maker or Explore
Fine point blade
Light Grip Mat
Green cardstock
Hot glue gun
Cardboard box
Scissors
I used #M46B41 from the Mother’s Day Bouquet image set.
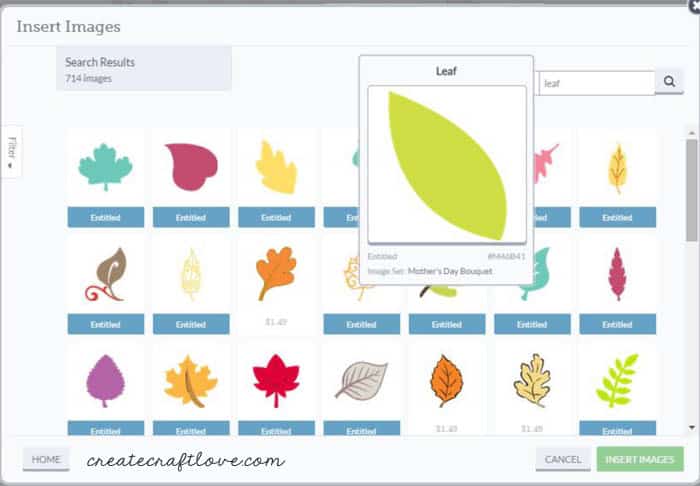
Using my Explore (you can use the Cricut Maker for this project too), I cut 5 dozen of these leaves on green cardstock. {You might recognize the paper from my Paper Succulent Vertical Wall Planter.} While it was cutting, I cut a ring out of an old cardboard box.
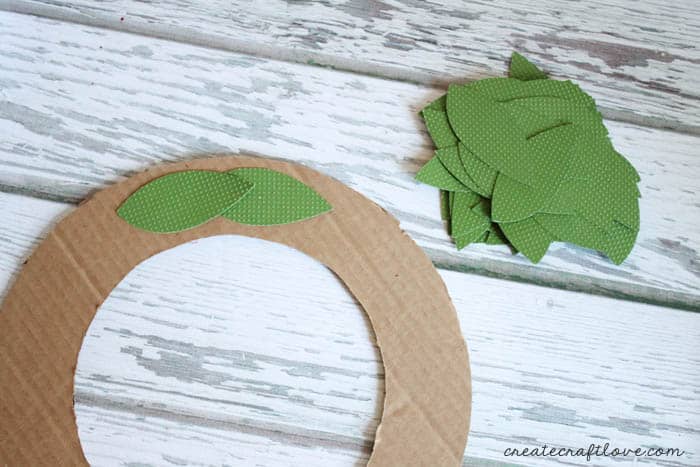
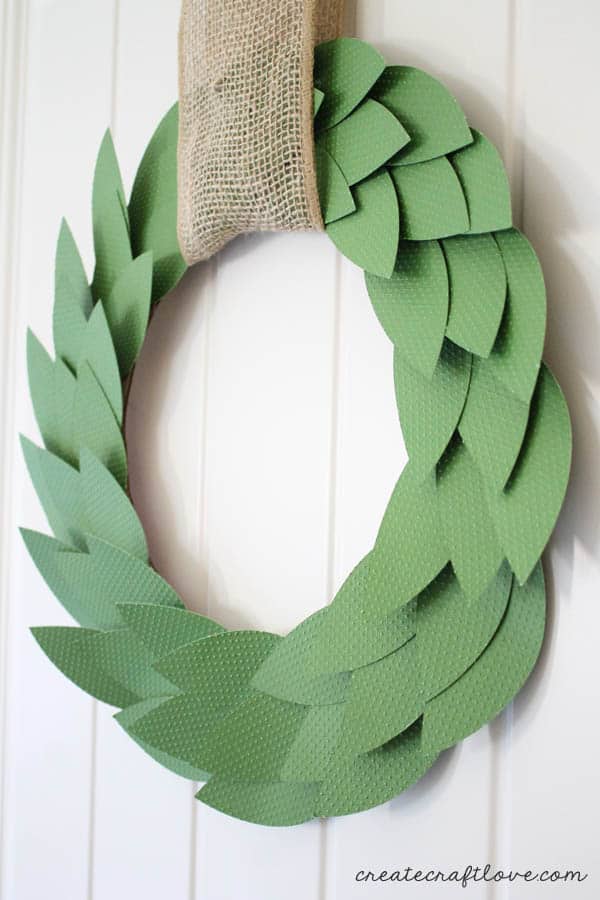
Once all of the paper leaves are cut, begin gluing the leaves to the cardboard ring. I used only a small amount of glue at the base of the leaf so I could maintain a 3D effect and layer the leaves. I actually fluffed the leaves a little so they did not appear so flat.
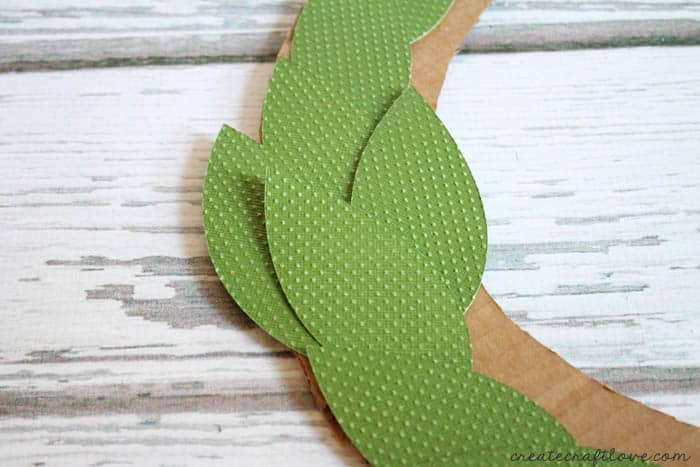
Continue gluing the leaves all the way around the ring until the cardboard is covered.
To hang the wreath, I used some burlap I had laying around.
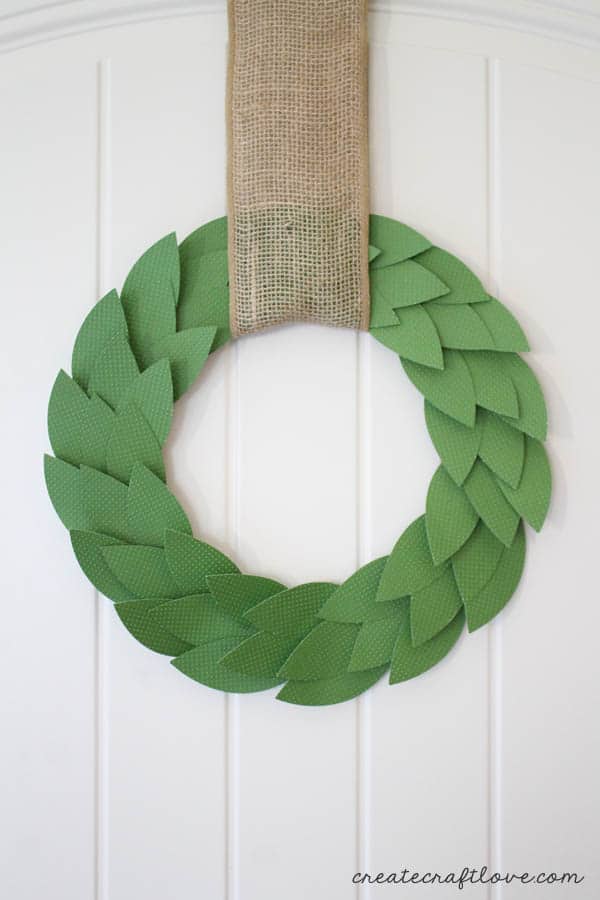
Isn’t it gorgeous? I have it hanging in my window just like the Pottery Barn designers!
It’s simple and stunning!
What do you think? I love it when a craft comes together that quickly!
