This post may contain affiliate links. See my disclosure policy for more details.
Hello! My name is Steph and I write the blog The Silly Pearl. I’m mama to 7 year old twin girls and I love to sew, make jewelry, and yes, make wreaths! So I was really excited to share a wreath today on Jill’s blog as part of her Christmas Wreath Workshop! Here’s how I made my Covered Button Christmas Wreath.

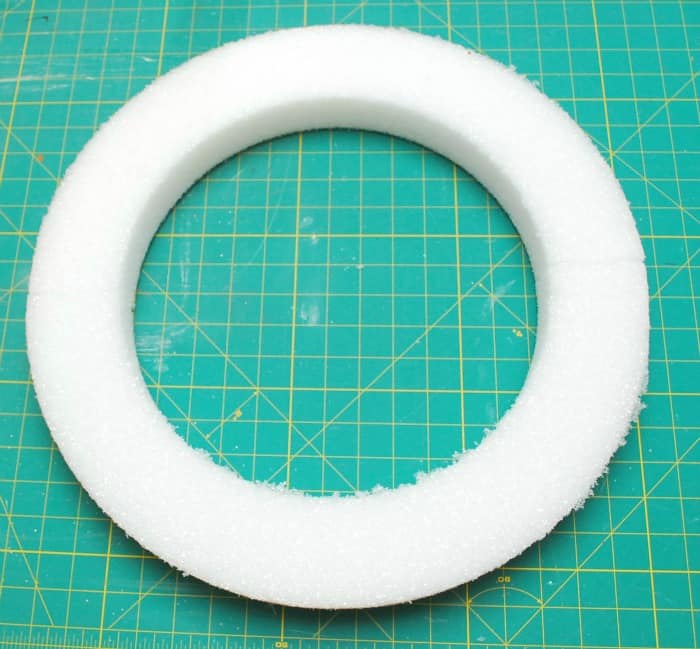
Here’s what I started with – a Styrofoam wreath form from Floracraft.
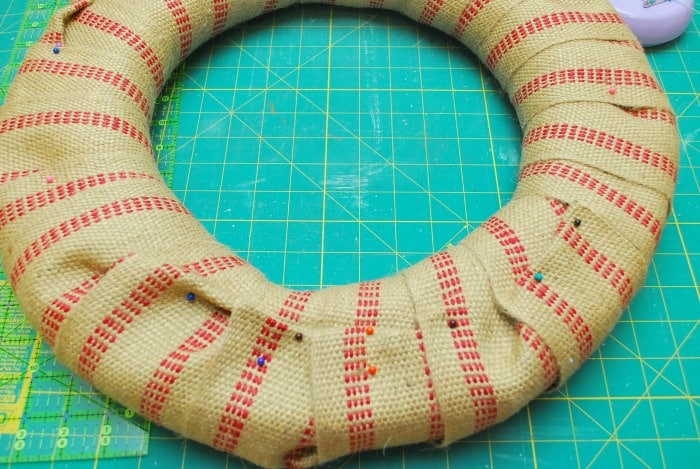
I covered the wreath with some jute upholstery webbing, which you can find at the fabric store. Use pins to secure them into the wreath form. Keep wrapping the wreath with the webbing until it’s completely covered. Pin down the webbing when the wreath is fully covered, but don’t trim off the excess webbing just yet. Be careful of kitty whiskers when pinning.

Pick one side to be the front and one side to be the back, depending on which one looks better! Use more pins to secure the webbing in the back. If there are any saggy areas, you can fold the webbing until it’s taught, and secure with more pins.
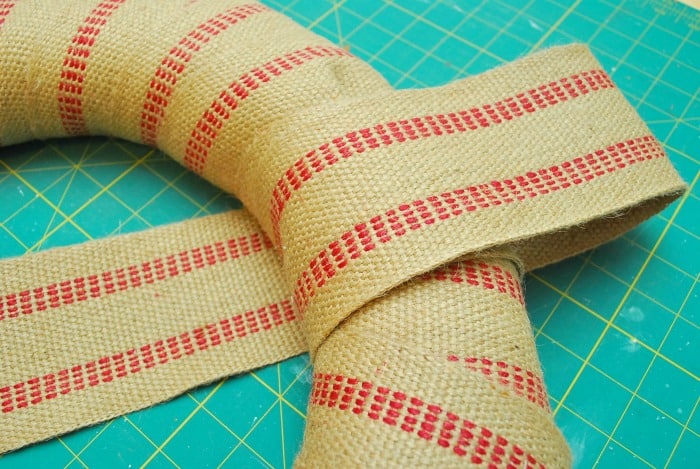
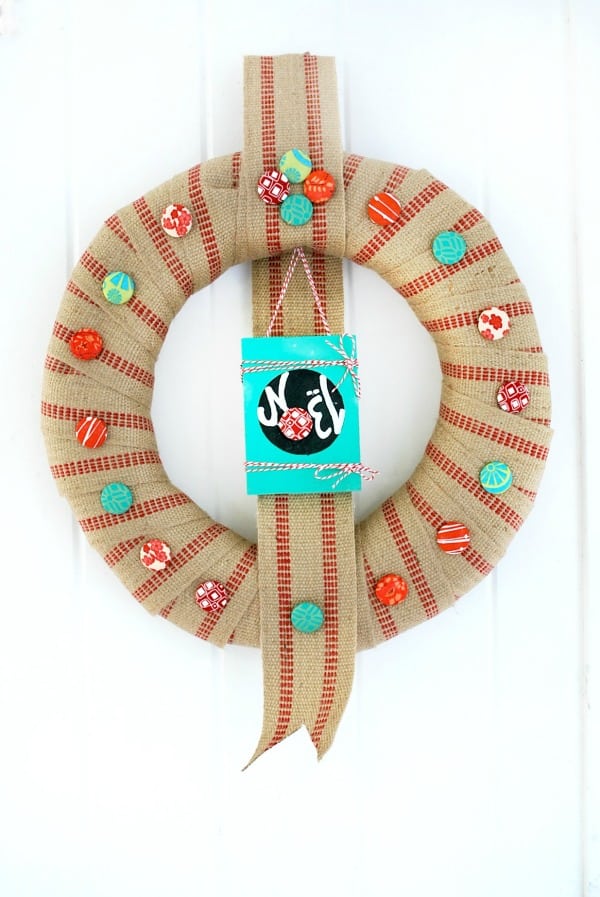
To make the hanging loop, wrap the webbing around but leave a big loop up top, about 5 inches tall. Then, allow the rest to hang down the middle, and drape the end over the wreath at the bottom.
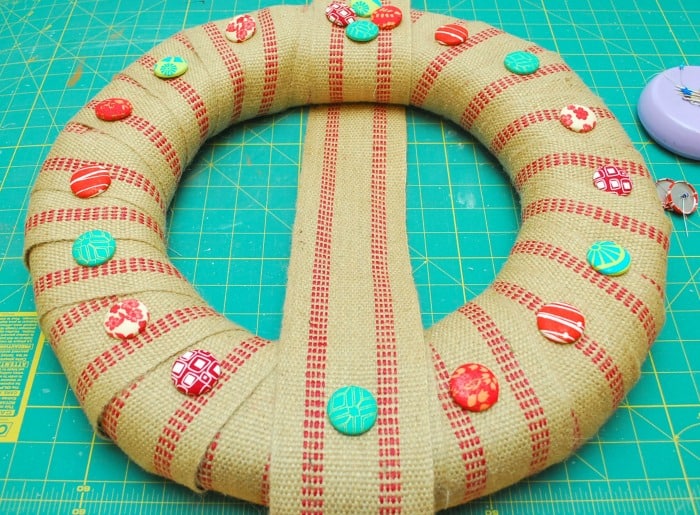
Make about twenty 7/8-inch covered buttons. Then, insert a pin into the shank (make sure the pin head doesn’t pass through the shank) and bend the pin so that it will stick straight into the wreath form. You can gently bend it with your fingers or use pliers.
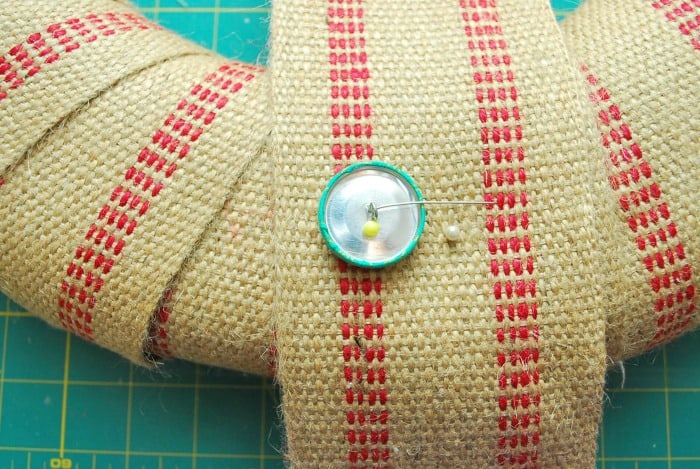
Stick the buttons into the wreath form. I evenly spaced 15 of them all along the wreath in a pattern (at my girls’ suggestion!). I placed four at the top.
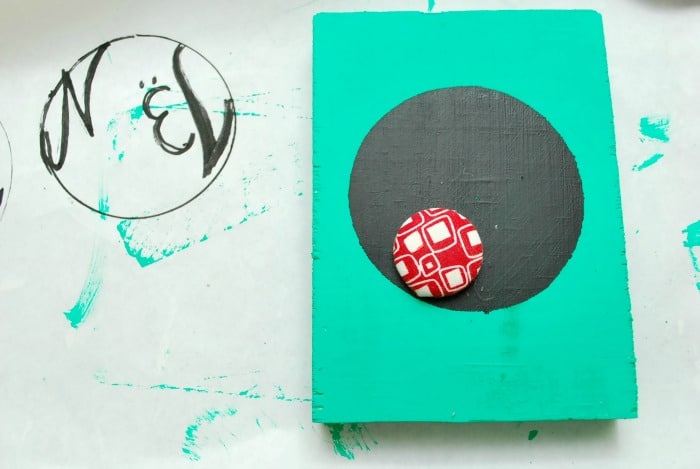
Now for the sign in the middle. I used a scrap piece of wood, and painted it first with green chalk paint, and then black chalkboard paint. While it dried, I practiced writing “Noel” in the space, allowing for a button for the “O”.
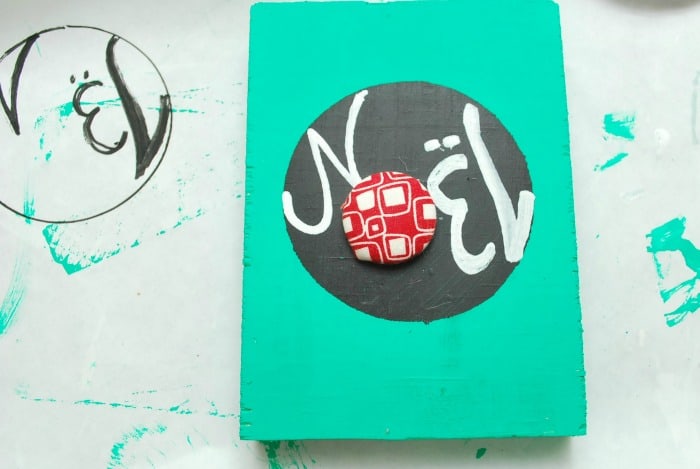
Using a chalk pen, I wrote the letters and hot glued the remaining covered button.
I added some bakers twine plus some hanging hardware in the back, and more twine for hanging. I pinned the twine into the inner edge of the wreath form.
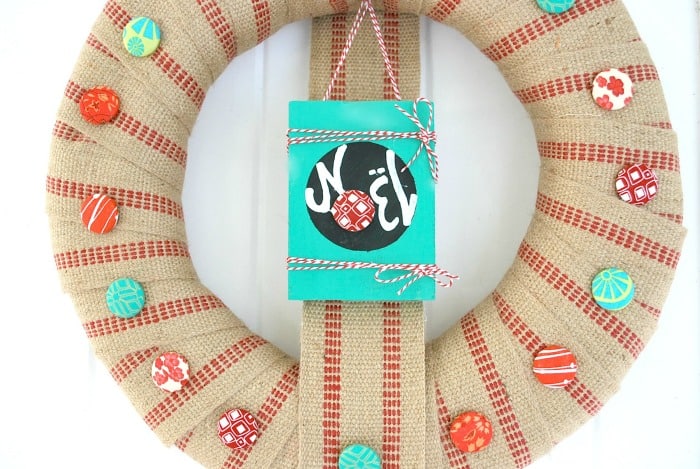
One more step – trim the end of the jute twine. All done!

Come by The Silly Pearl for more Christmas Crafts…

…as well as gift ideas for everyone.

Thank you Jill for having me on your blog today, and thank you Floracraft for the wreath form! – Steph
Bio: Stephanie Chan is the blogger behind The Silly Pearl. She has been blogging since 2008 and has been crafting since childhood. She is also blogging contributor to the Blitsy.com blog, is on the Xyron Design Team, and has appeared on Sew It All TV on PBS. She resides in the San Francisco Bay Area with her husband and twin girls.
