This post may contain affiliate links. See my disclosure policy for more details.
Good morning! I’m so glad to be back here today sharing a fun refashion project with you. I’m Lisa Mabey from Mabey She Made It, a DIY, craft, and sewing blog.
I don’t know if you’re like me, but I get stuck in a rut of always putting on the same thing each day–the mom uniform. You know, jeans and a t-shirt. They’re comfortable and functional because with everything you do in a day, cute fussy shirts aren’t always feasible. And while there’s nothing wrong with that, it sometimes gets a little boring. Turn that plain old T-shirt into this adorable Gathered Back T-shirt!
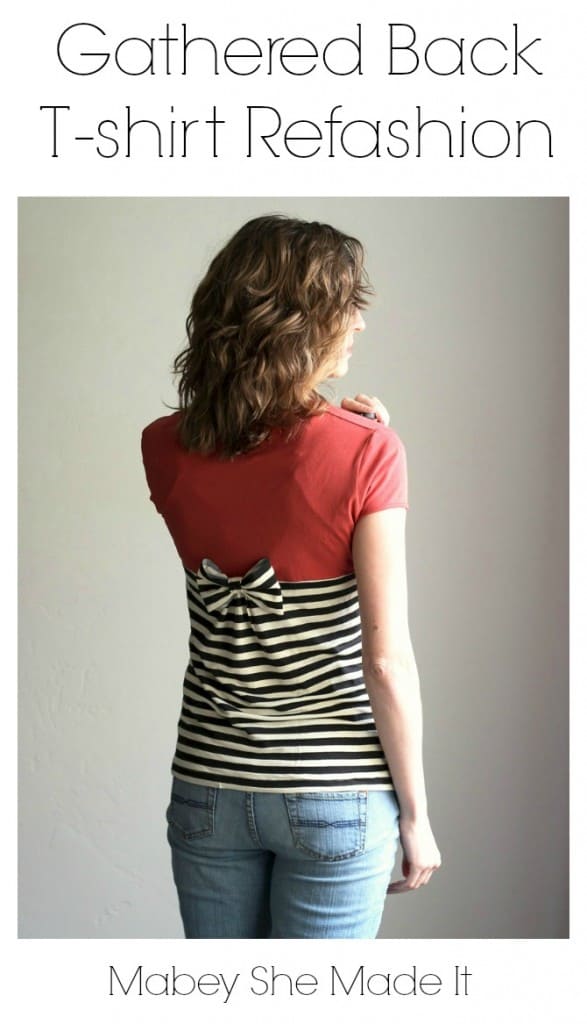
So today I’m going to show you how to turn a plain t-shirt into something stylish and cute but that still gets the job done. Go grab a too-big or loose shirt and we’ll get started!
You’ll Need:
A t-shirt that’s at least a little bit big on you
A t-shirt that fits you nicely
Sewing machine and thread
Scissors, needle, iron–the sewing basics
1/4 to 1/2 yard extra fabric (depending on size and fabric stretch)
Interfacing
Serger (optional)
Instructions:
Start by folding the too-big shirt in half and smoothing out all the wrinkles. Then turn your nice-fitting t-shirt inside out and fold it the same way, laying it on top of your big shirt with the folds together.
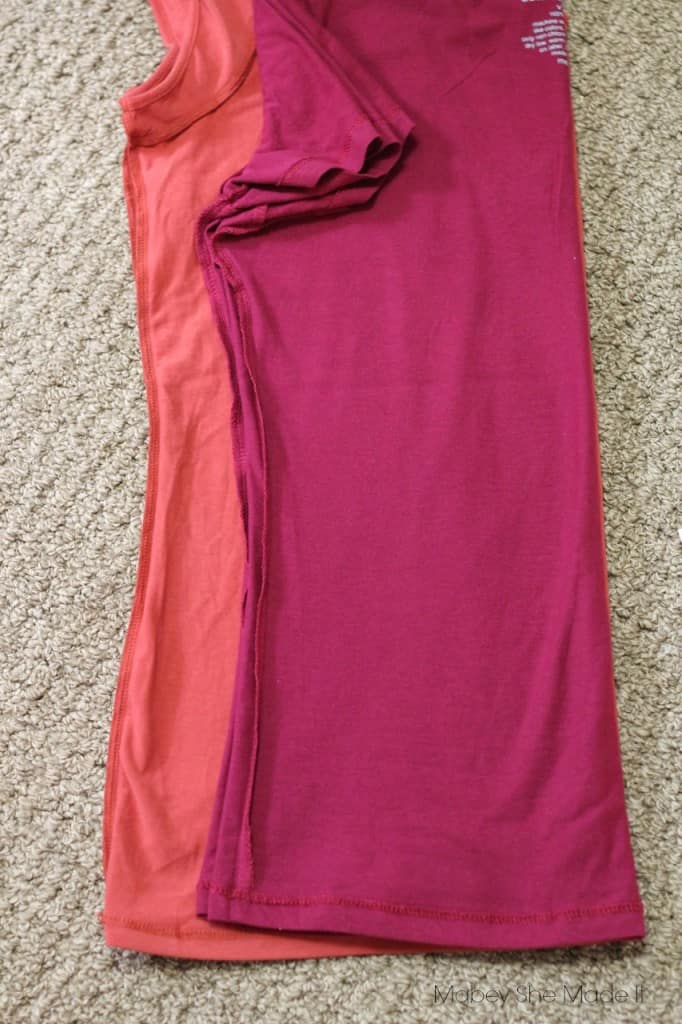
Cut your too-big shirt using the nice-fitting shirt as a guide. You don’t have to take much out, but you do need to cut out the entire side seam of your bigger shirt up to the sleeve. Leave the sleeve in tact or you can cut out the underarm seam if you need to reduce bulk. Set the nice-fitting shirt aside.
Fold your extra fabric, and lay your shirt back (also still folded) down so the folds are about 1″ apart and the extra fabric is wider. You’ll also want to leave extra fabric at the bottom that’s as big as the hem on your existing shirt.
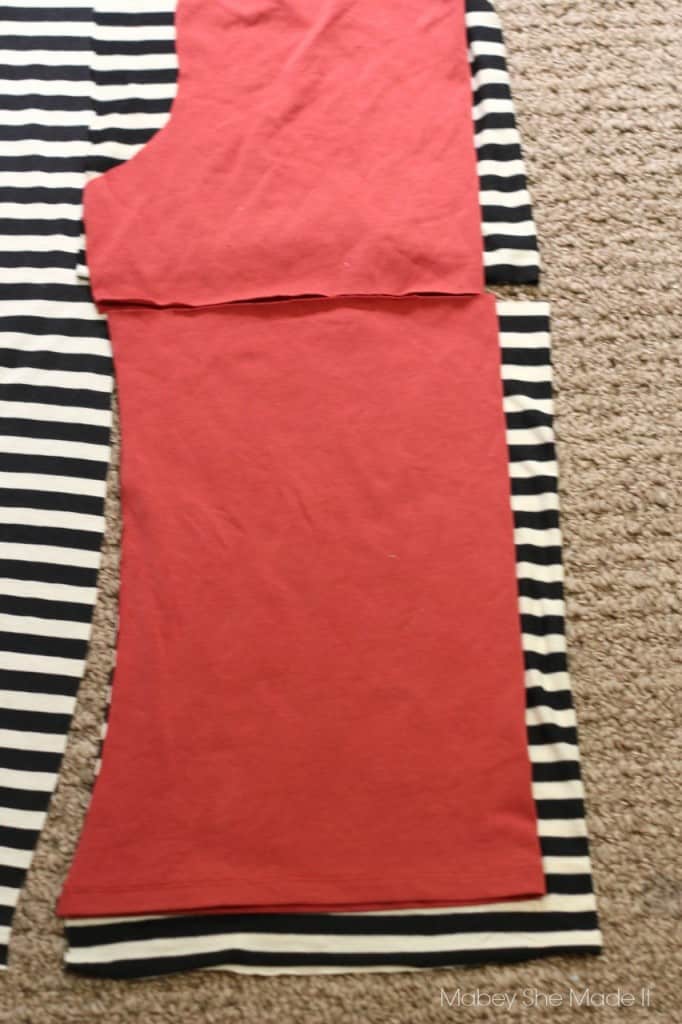
Decide how far down you want your extra fabric to come on your shirt, and cut out a second shirt back, leaving enough fabric at the bottom to account for a new hem that will match the hem size of your existing shirt hem. Cut the same amount off your shirt’s back since you’ll be replacing it with the extra fabric.
Hem the bottom of your fabric.
Baste the middle third of your extra fabric along the top, and push all gathers to the middle. With right sides together, pin your shirt back and your extra fabric back together gathering more or less until they are the same size. Sew them together.
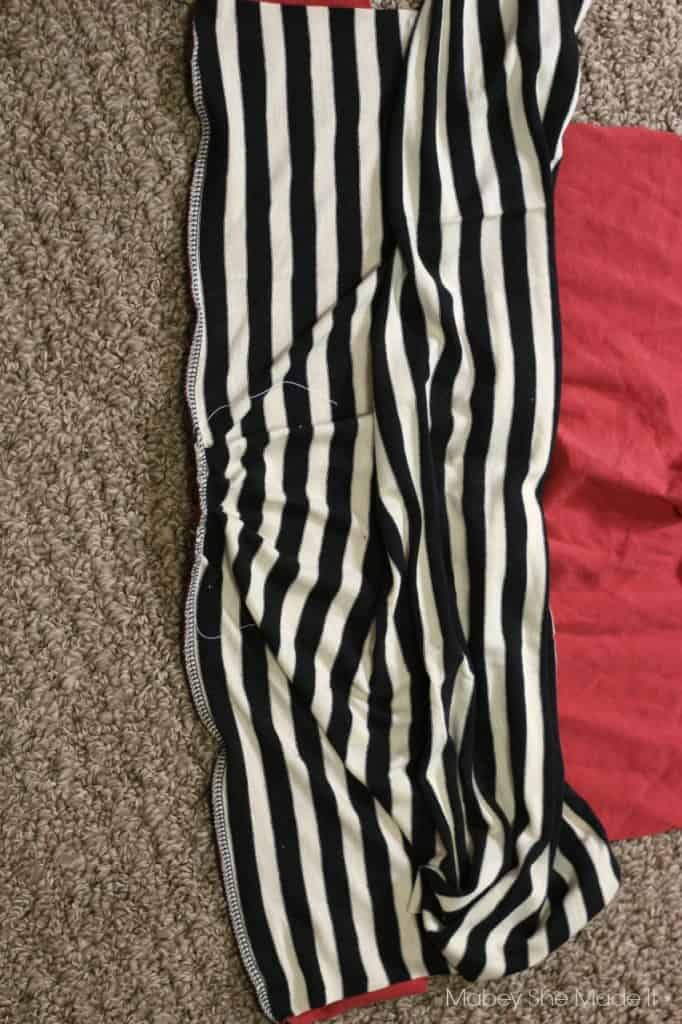
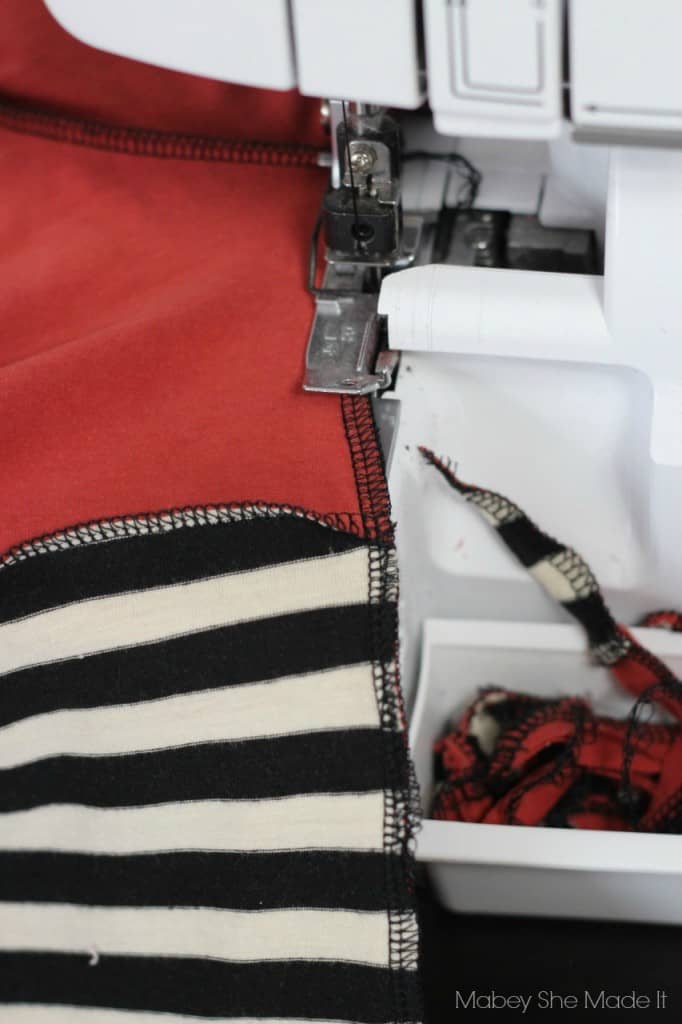
Now sew up your shirt sides (and sleeves if you’re taking them in too) with right sides together. Your shirt is back in one piece.
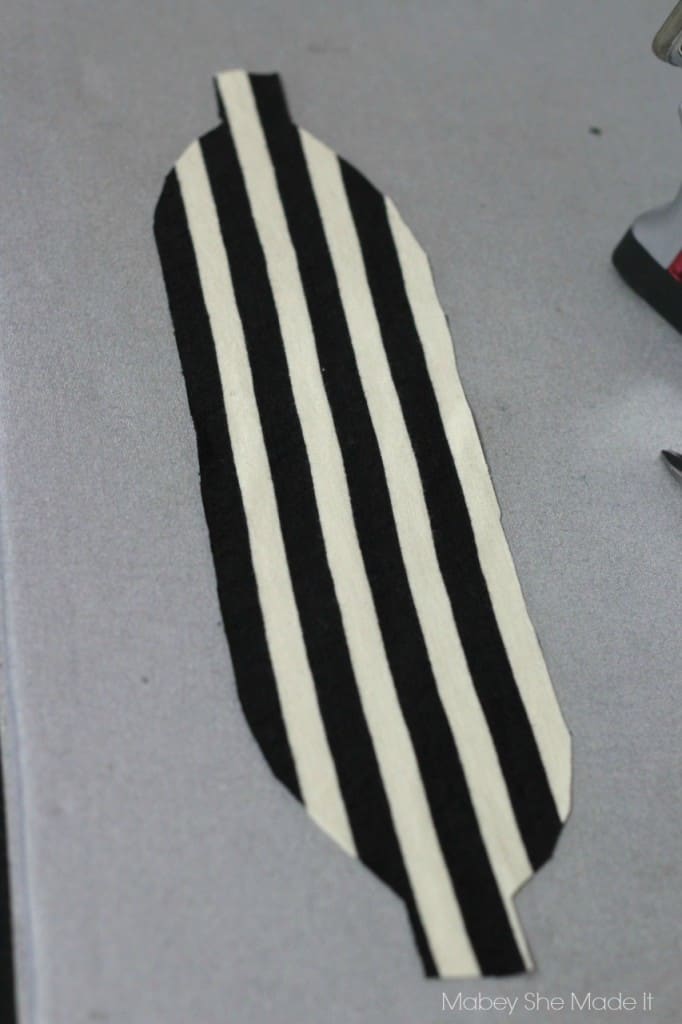
Add a bow! Press some fusible interfacing onto a piece of your extra fabric, then cut out a shape similar to the one below however big you want your bow.
Fold your bow piece so the ends overlap.
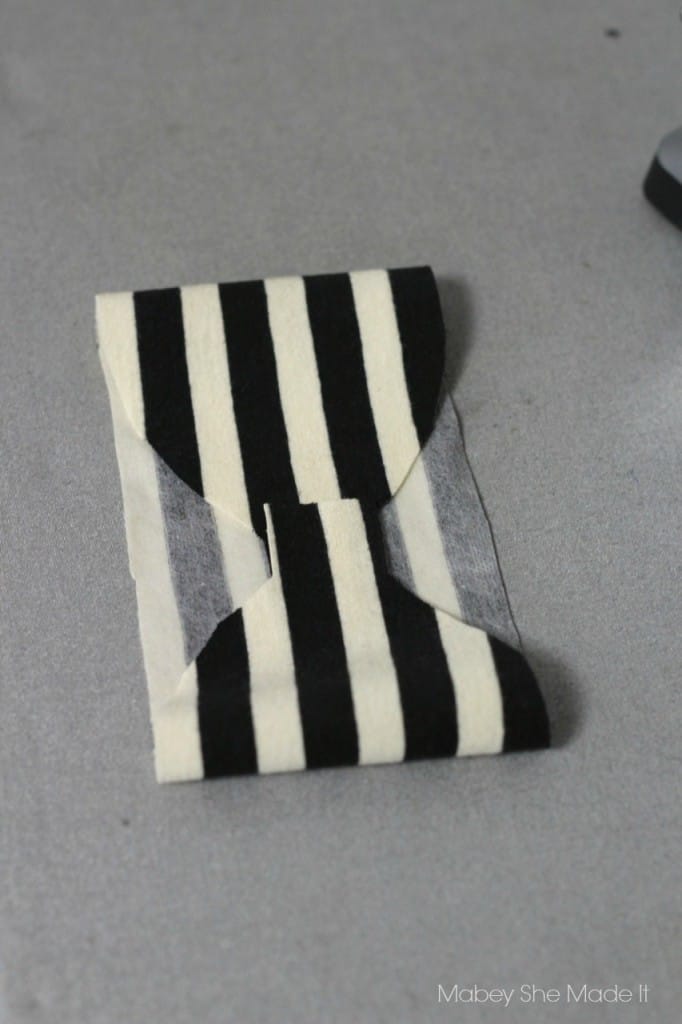
Sew the center of the bow together using needle and thread, folding the fabric like a fan to create pleats. Then wrap a small piece of fabric around the center and secure it with your needle and thread.
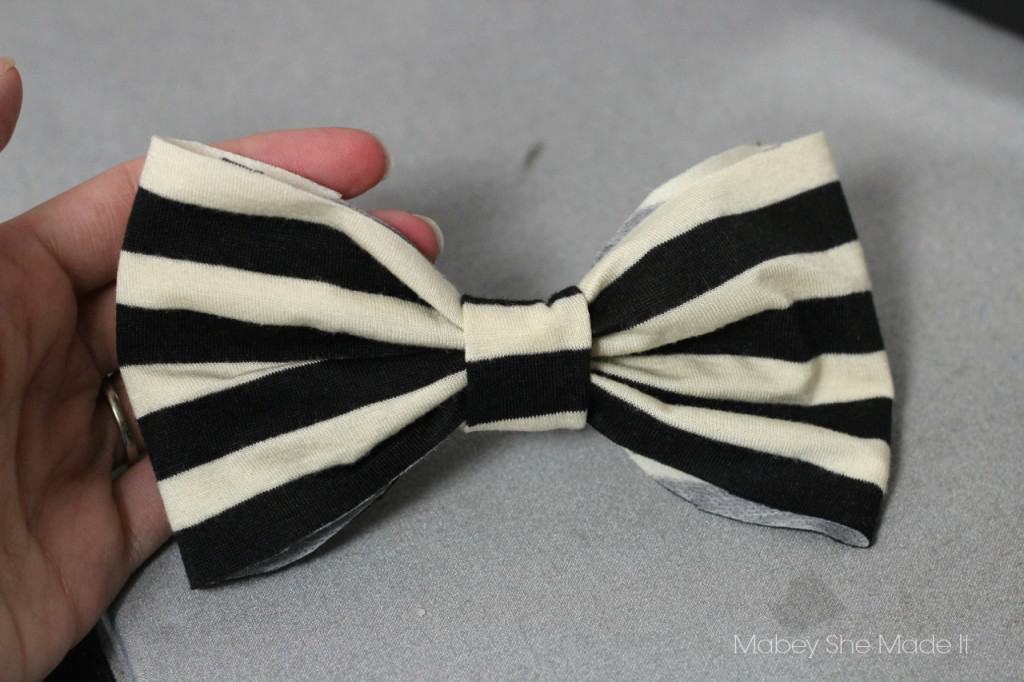
Sew it onto your shirt, and you’re done!
Tips for Sewing with Knits:
If you’re using a sewing machine, use a stretch stitch so you don’t get broken threads. The stretch stitch looks like a lightning bold most of the time.
Wash and dry your shirt and your extra fabric before making your shirt, especially since you’ll be combining two different fabrics–you’d hate for one to shrink or warp after you’re done creating!
Press all your seams. Sometimes knit seams can seem a little wonky until you steam press them.
You don’t have to finish your seam edges since knit doesn’t fray. But if you want to, you can either serge them or zigzag stitch them.
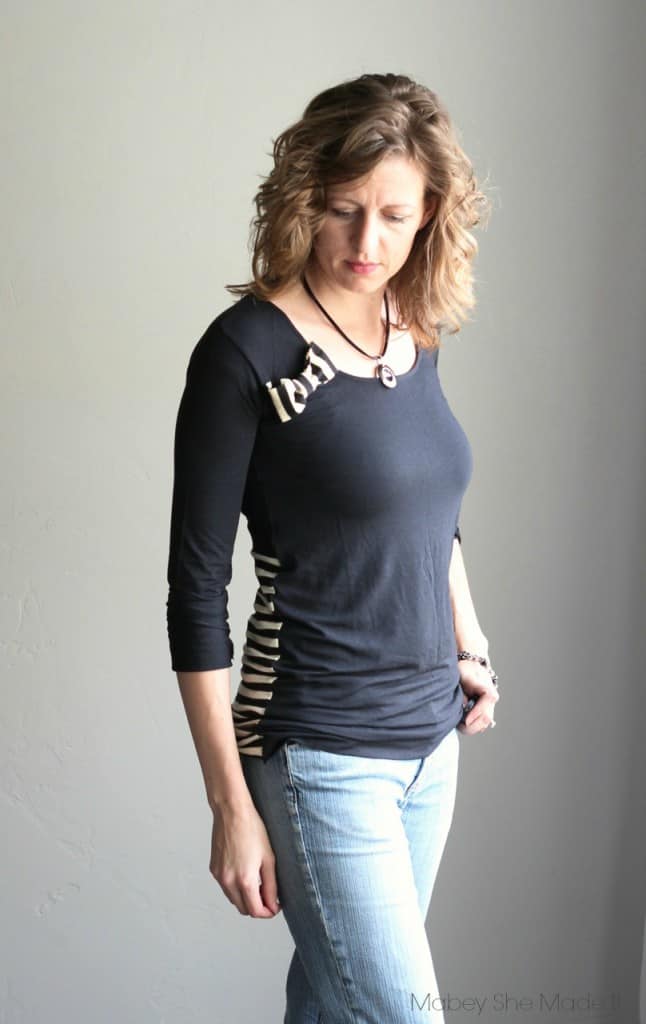
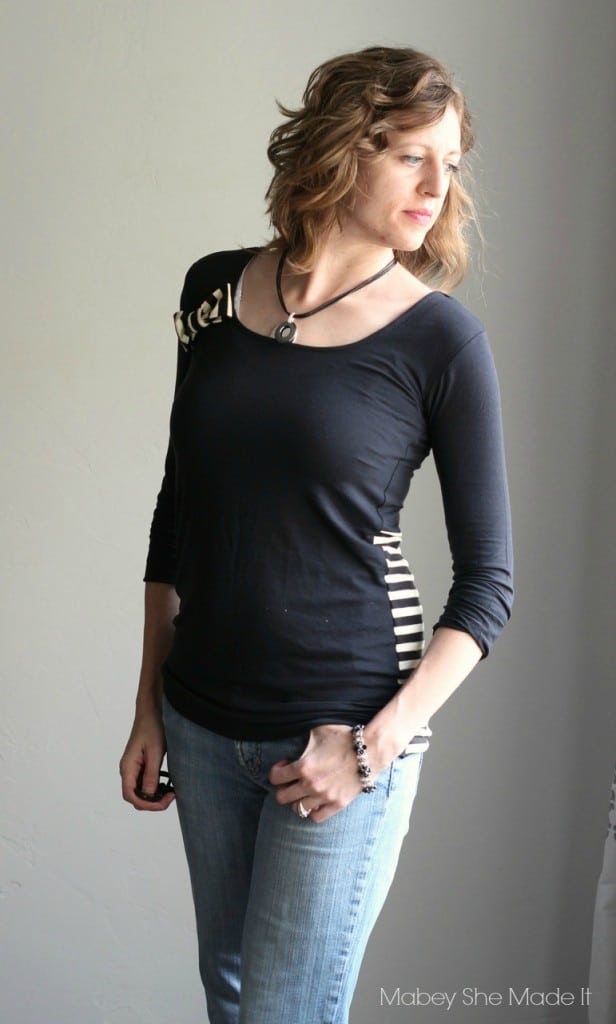
I ended up making two different versions because I had so much fun with it. I did a 3/4-sleeve version with a smaller bow on the front shoulder
and a short-sleeve version with a bow on the back.
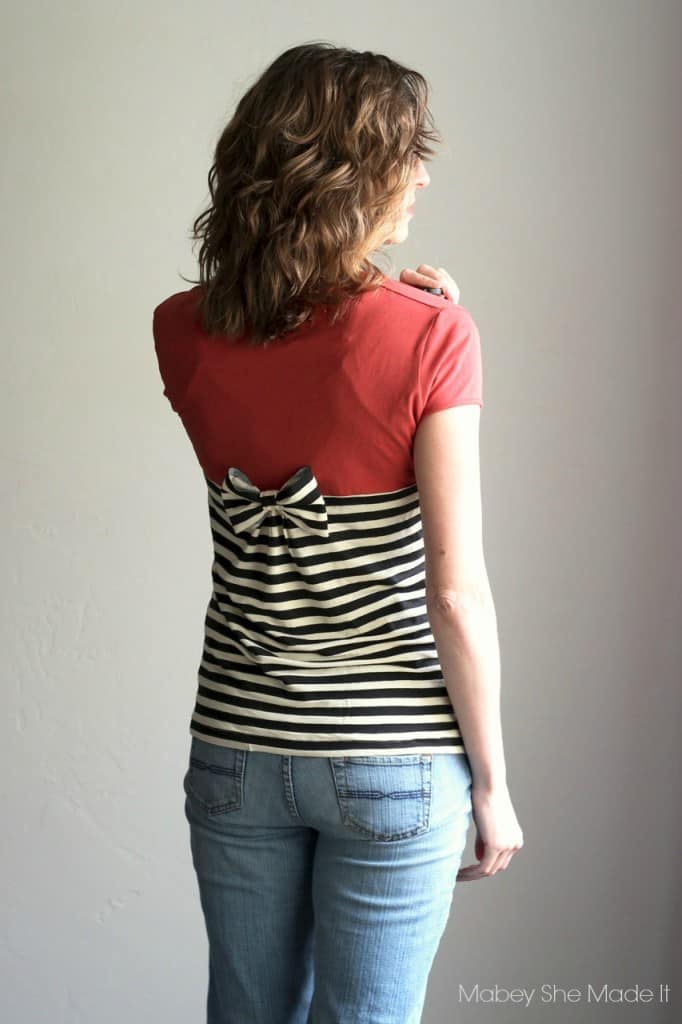
The best part? I wore the black shirt to a meeting and someone complimented me on it. When I mentioned that I made it, the lady looked surprised and said, “Wow, I was going to ask you if you got it at Anthropologie!” I don’t know if they have something similar (I couldn’t find anything similar on their site) or if it just reminded her of the style, but either way, I loved the comment.
So what do you think? Would you wear it?
Follow along with Mabey She Made It!
And you can also find me on Facebook, Twitter, Pinterest, Google + and Instagram