• Home
  • Crafts
    • Wreaths
    • Back to School Crafts
    • Christmas Crafts
    • Father’s Day Crafts
    • Fourth of July Crafts
    • Halloween Crafts
    • Kid’s Projects
    • Mother’s Day Crafts
    • Thanksgiving Crafts
    • Valentine’s Day Crafts
  • Recipes
    • Christmas Recipes
    • Fourth of July Recipes
    • Halloween Recipes
    • Thanksgiving Recipes
    • Appetizers
    • Beverages
    • Breakfast
    • Dessert
    • Main Dish
    • Side Dish
    • Soups & Salads
    • Snacks
  • Freebies
    • Back to School Printables
    • Christmas Printables
    • Father’s Day Printables
    • Fourth of July Printables
    • Halloween Printables
    • Mother’s Day Printables
    • Thanksgiving Printables
    • Valentine’s Day Printables
  • xTool
  • About
    • About CCL
    • Privacy Policy
    • Disclosure
    • Contact Us
    • Email
    • Facebook
    • Instagram
    • Pinterest
    • RSS
    • Twitter

Create Craft Love

October 8, 2014 ·

How to Upholster a Banquette Bench

DIY· Sponsored

  • Facebook
  • Twitter

This post may contain affiliate links. See my disclosure policy for more details.

Sponsored by Online Fabric Store

You guys.  I am so excited to share the final reveal of my breakfast nook soon!  It is coming together so nicely!  The last thing I have to put in place in the shelf above the board and batten.  I cannot WAIT to share it with all of you!  In the meantime, I thought I’d give you a little sneak peek and a new tutorial.  Here is an easy way to Upholster a Banquette Bench!
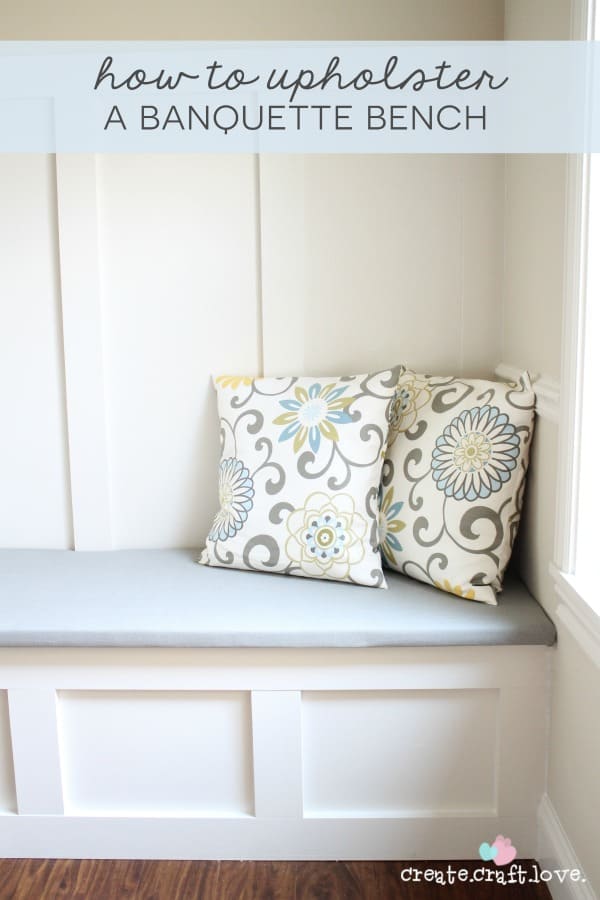
How to Upholster a Banquette Bench via createcraftlove.com

I began with this gorgeous fabric from Online Fabric Store.  I wanted something that would be durable and “Reed proof”.  LOL

This is Sunbrella Spectrum Dove and it’s beautiful.  It goes perfectly with the rest of the decor in my great room.

My banquette measures 109 inches long.  I purchased 1 inch foam in two 54.5 inch pieces.

To adhere to the foam to the bench, I used spray adhesive.  Once in place, I trimmed away the excess foam.
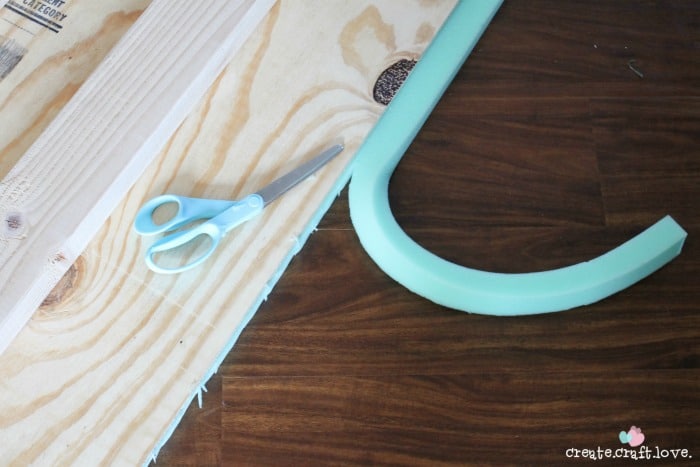
banquette1

For the back of the bench, I had to bevel the cut at a 45 degree angle to ensure the bench would fit under the battens.
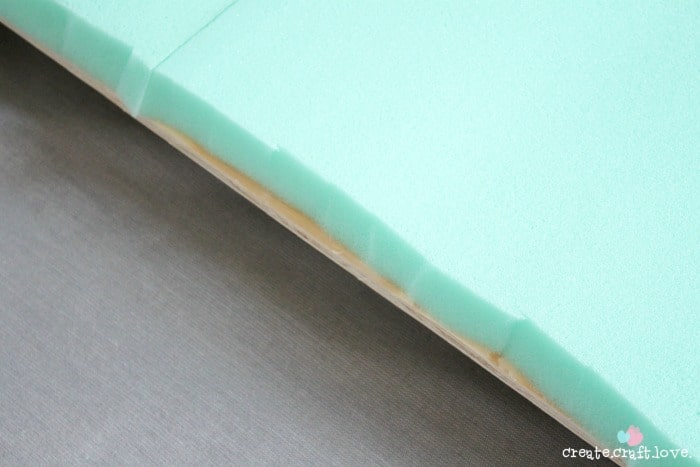
banquette2

Once the spray adhesive dried, I laid out the upholstery fabric and turned the bench over (foam side down).
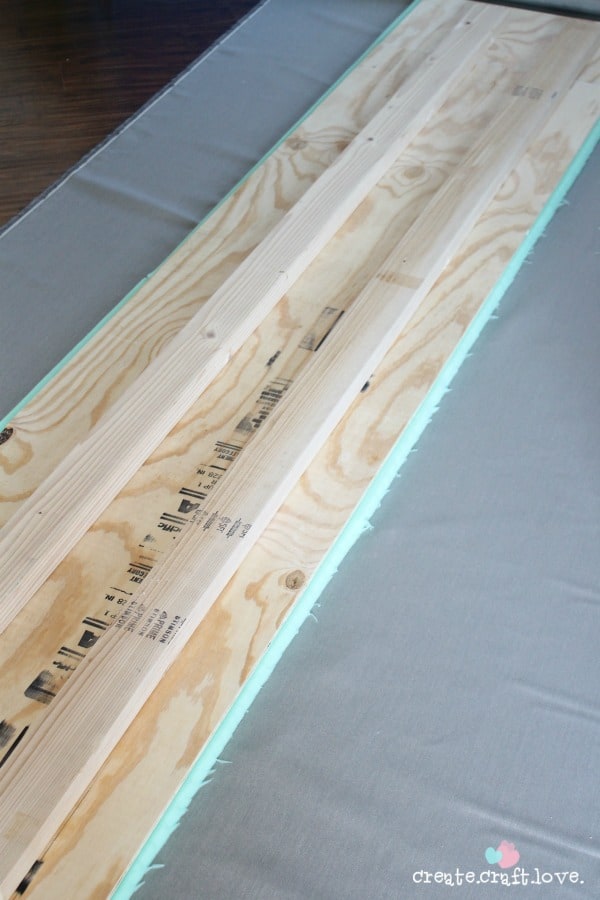
banquette3

Now those of you who have upholstered benches in the past will note that I have skipped a step.  Usually, you lay down batting and muslin and staple that around the foam and raw wood.  Unfortunately, this would not have left me with enough room under the battens.  Poor planning on my part, I know.  However, it turned out fine the way I proceeded.

I began stapling the fabric to the under belly of the bench.  Be sure you are pulling as tight as possible and then stapling.  You do not want you fabric moving around when it’s finished.  Work the long edges first.
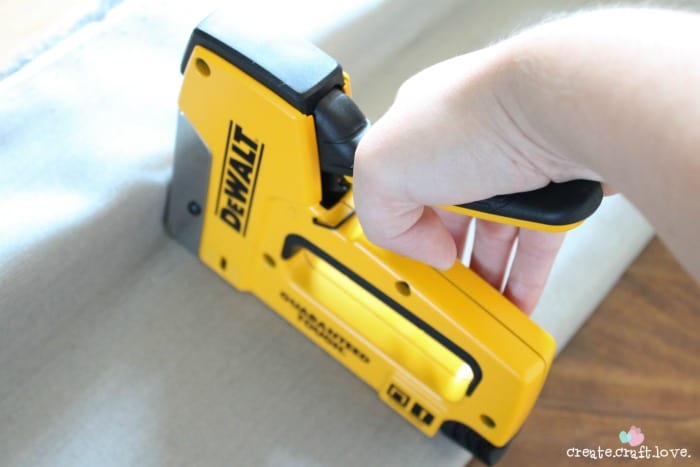
 banquette4

I did the end much like gift wrapping or miter cornering bed sheets.  Pull the bottom corner up to create a nice fold from the corner into
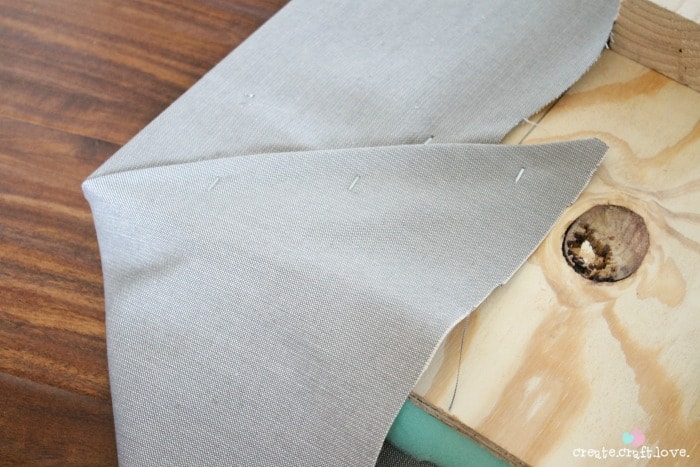
banquette5

 Repeat with the other corner.  Staple in place.  Then pull up the remaining fabric and staple it in place.
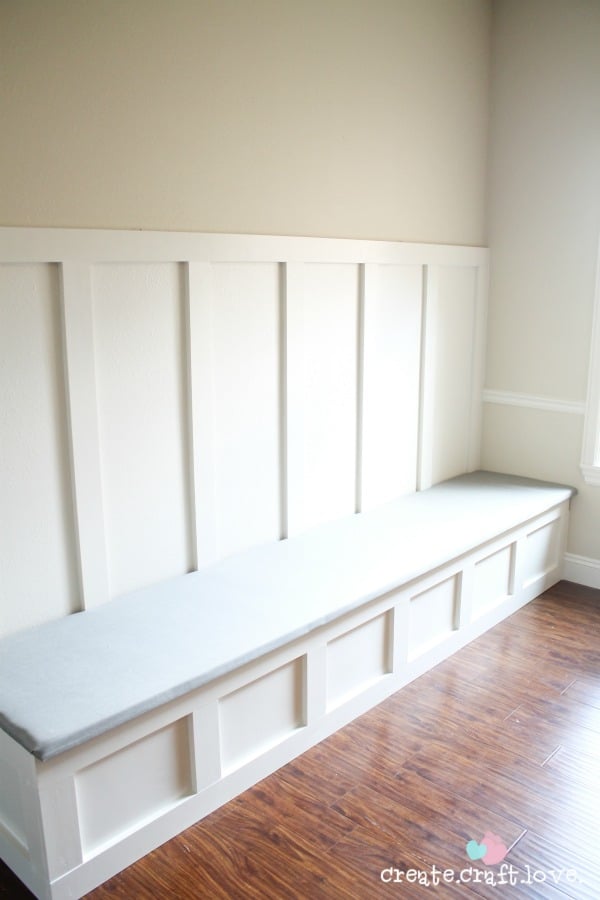
How to Upholster a Banquette Bench via createcraftlove.com

Doesn’t it look great?

I cannot wait to show you the finished product!

 

About Us

We are passionate about sharing simple, fun DIY projects that anyone can tackle—whether you're a seasoned crafter or just getting started. From seasonal décor to everyday crafts, we love inspiring others to make something beautiful with their own two hands.

« Halloween Muddy Buddies
Easy Pillow Sham Cover »

Trackbacks

  1. CraftCrave | DigiFree | CraftCrave says:
    October 12, 2014 at

    […] How to Upholster a Banquette Bench – 1 freebie(s)? […]

    Reply

Popular Posts

Winter Decorations for After Christmas
This Gold Leaf Mason Jar Vase is keeping with the trends this spring! #spring #gold #goldleaf #masonjars

HALLOWEEN

This Cauldron Bubbles Printable is great for candy and non-candy Halloween treats! via createcraftlove.com
This Halloween Centerpiece can be adapted for your style and takes less than 5 minutes to make! via createcraftlove.com

THANKSGIVING

These Cranberry Turnovers are a new twist on an old favorite! #spon via createcraftlove.com
Close up picture of Fall Leaf Garland

CHRISTMAS

upclose gift tag
Lovin' the rustic look of these Twine and Twig Christmas Ornaments! via createcraftlove.com
© 2019 · Create Craft Love·
  • Pinterest
  • Facebook
  • Twitter