This post may contain affiliate links. See my disclosure policy for more details.
This shop is part of a social shopper marketing insight campaign with Pollinate Media Group® and Sharpie, but all my opinions are my own. #pmedia #PaintYourWay https://my-disclosur.es/OBsstV
We finally finished moving!! I’m so happy to be in our new home! There are so many big changes happening here so you will definitely want to stay tuned. First, I am starting with the kitchen and dining area. I really want it to feel like a handmade home so I am trying to add my own personal touches along the way. I came across some cork trivets at the store the other day and knew I could spruce them up a bit. I hopped over to Michael’s to see what inspired me. With the help of the Sharpie Paint Marker, I created this DIY Stenciled Trivet to add a touch of me to my new kitchen and teach you how to make your own!
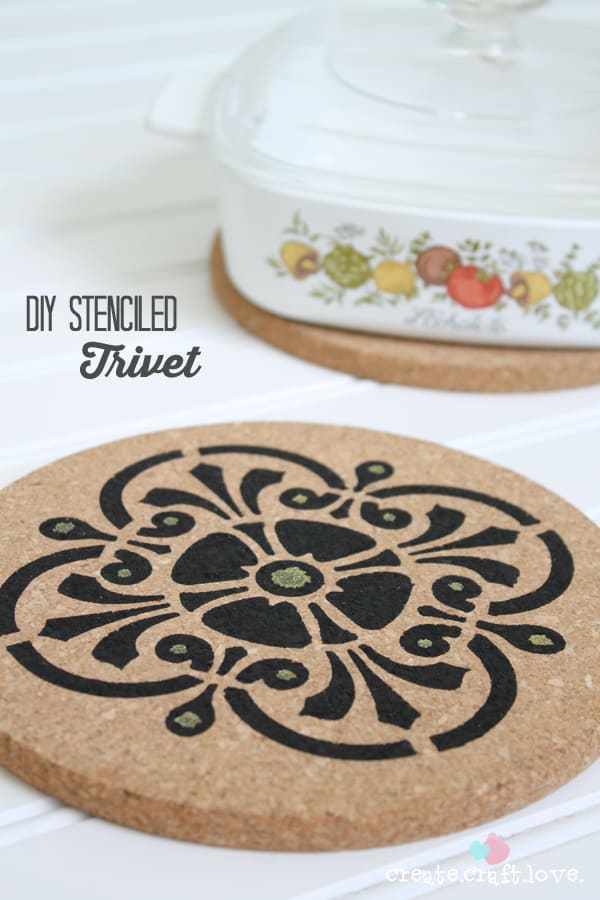
Create your own DIY Stenciled Trivet
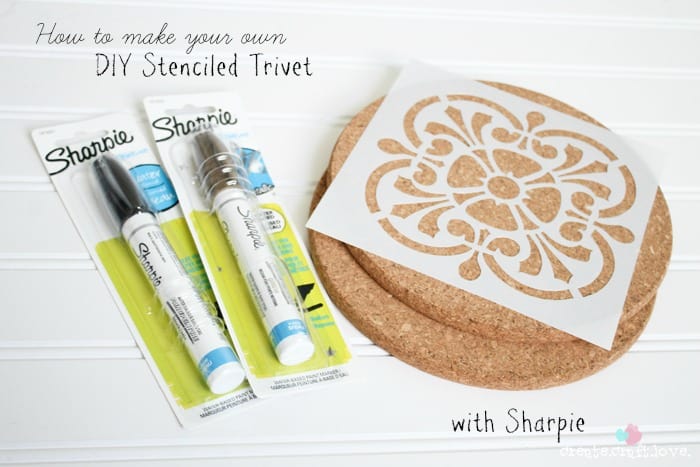
This DIY project was so easy! All you need is some cork trivets, a stencil, and Sharpie Paint Markers.
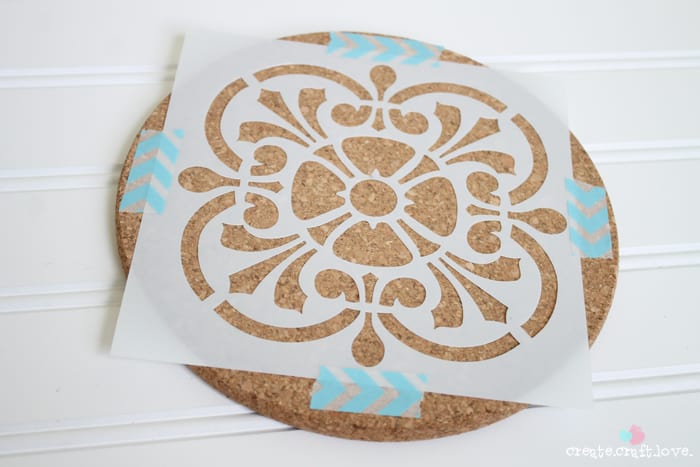
Begin by adhering your stencil to the cork trivet.
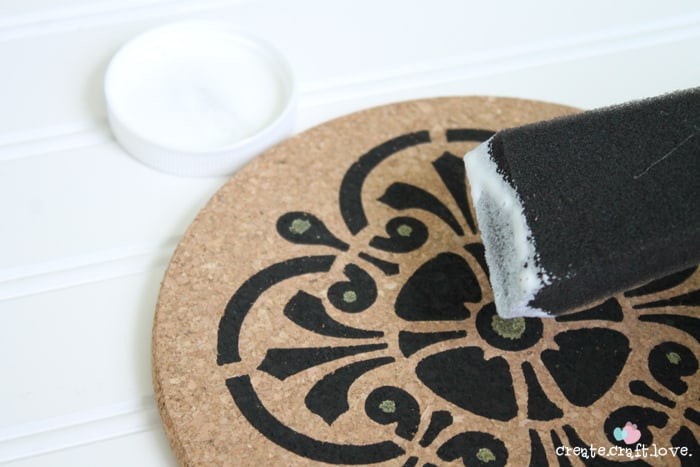
Slowly start coloring in your stencil with your Sharpie Paint Marker.
I was a little concerned with how this would turn out since the cork is so porous but the Sharpie Paint Markers did great! They didn’t bleed at all!

After I removed the stencil, I added some detail with a gold Sharpie Paint Marker. To seal it, I decoupaged the top of the trivet. Follow directions on your particular bottle of decoupage. It will cure within 24 days and then it will be easily wiped clean with a wet cloth.
Isn’t is adorable?! I am kinda in love with these markers! I want to go through the house and start stenciling everything!

Be sure to be on the look out for great deals on the Sharpie Paint Markers at Michael’s!
You would not believe all of the things you can make with your Sharpie Paint Markers! For more great inspiration, follow along with Sharpie on Facebook and Twitter!
What are you going to make?
