This Washi Tape Owl is my contribution to the Spring Fling being hosted by A Little Claireification! {If you haven’t checked out Claire’s blog, go now. It is adorable! I will wait for you.} Remember when I reviewed those “Smooch” letter for Valentine’s Day from Artsy Chaos? {If not, click here to see the post.} I told you I would be back with that cute owl! And since you can add washi tape to just about anything, I figured why not? The Washi Tape Owl is the perfect little addition to my spring decor!
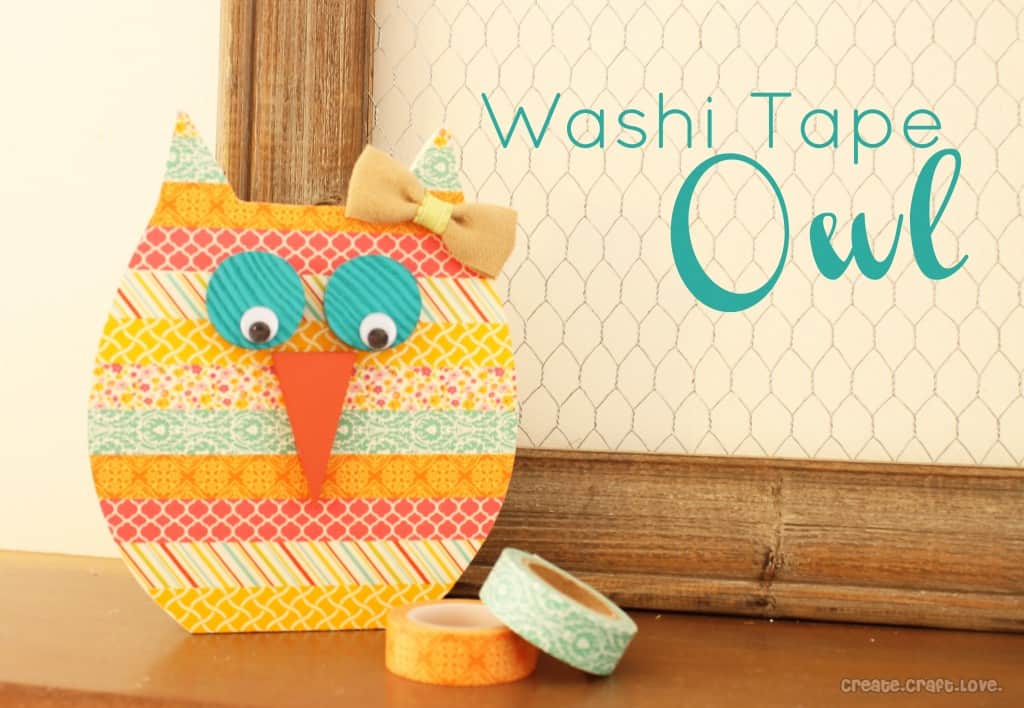
Wanna make your own Washi Tape Owl?
Here’s what you need:
Wooden Owl {$5 from Artsy Chaos – click here}
Paint/paintbrush
Mod Podge
Washi Tape
Cutting mat/Exacto knife
Hot glue gun

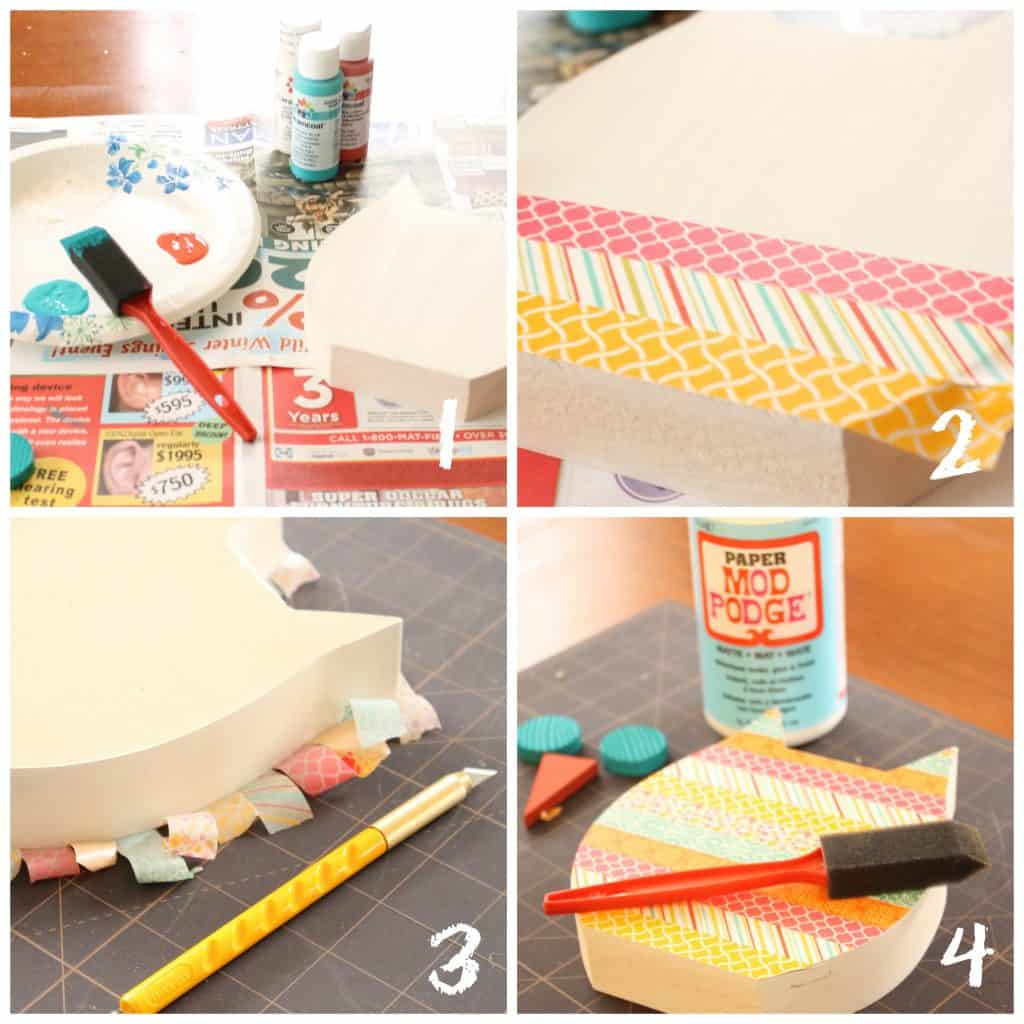
- I started by painting my owl oyster white. The eyes are turquoise and the beak is coral. Allow paint to dry completely before adding the washi tape.
- Once the paint dries, carefully apply the washi tape.
- Flip the owl over onto his washi tape side on your cutting mat. Trim the excess washi tape with your Exacto knife.
- Next, apply a thin layer of Mod Podge to the washi tape side to seal it. Allow Mod Podge to dry.
- Using your hot glue gun, apply the owl’s eyes to finish it off! {not pictured}
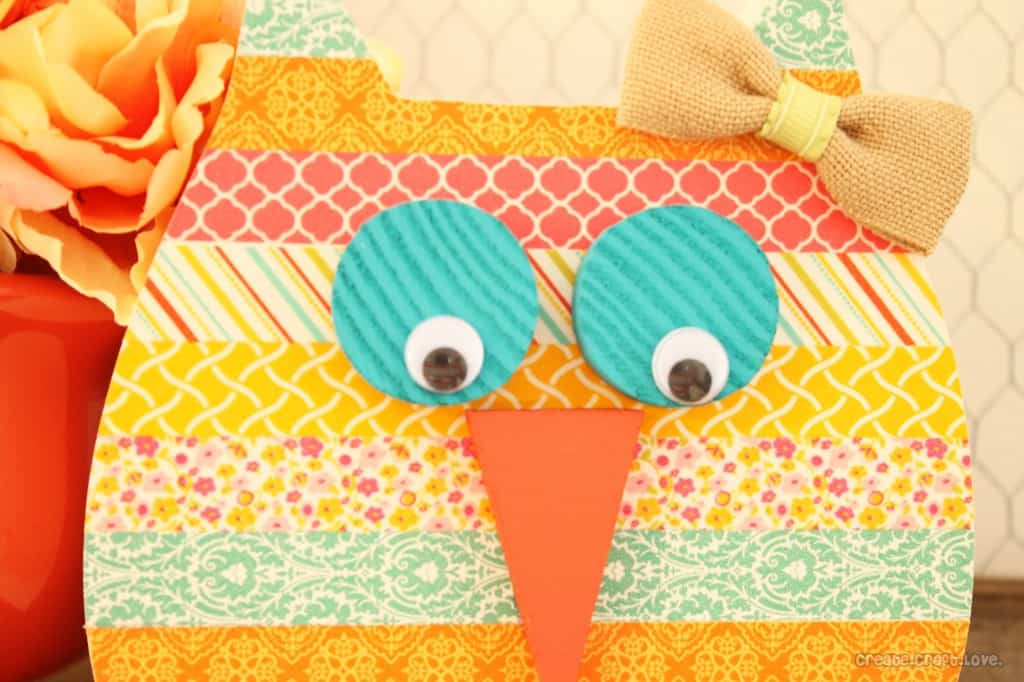
Isn’t this little Washi Tape Owl adorable?
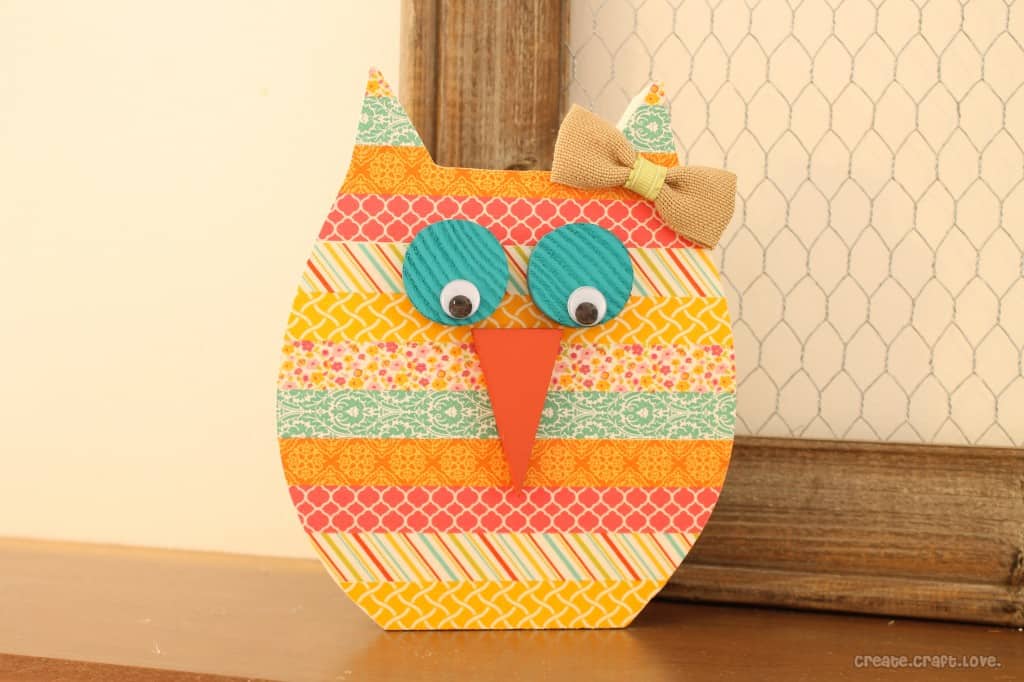
She would make the perfect addition to your spring decor or even a little girl’s room!
Big thanks to Claire from A Little Claireification for inviting me to participate in the Spring Fling! Make sure you stop by That’s What Che Said tomorrow for another amazing spring project!

Happy spring, friends!

[…] Jill is an awesome “Crafty Mommy” who offers fun craft/DIY tutorials for Pinterest addicts, craft junkies, DIY fanatics and other busy mamas (like me!)! If you are looking for craftiness with a dash of humor and a pinch of reality, you need look no further than Create, Craft, Love! […]