This post may contain affiliate links. See my disclosure policy for more details.
Are you excited to get to sewing? I am! {If you missed any part of our Cutting the Fabric post, click here!} This week we are going to work on piecing the quilt top together! {I apologize for the pictures in advance. The room big enough to lay this out has the worst lighting!}
If you chose to work ahead, you can skip this first part.
For those of you who waited, you are going to need to do a little prep work prior piecing the quilt together. Begin laying out your rows. Start with the large rectangles. Each row will contain 7 large rectangles separated by 6 small rectangles. There will be 12 rows separated by a sash. {You will only use 84 out of the 88 large rectangles.} It will look like this.
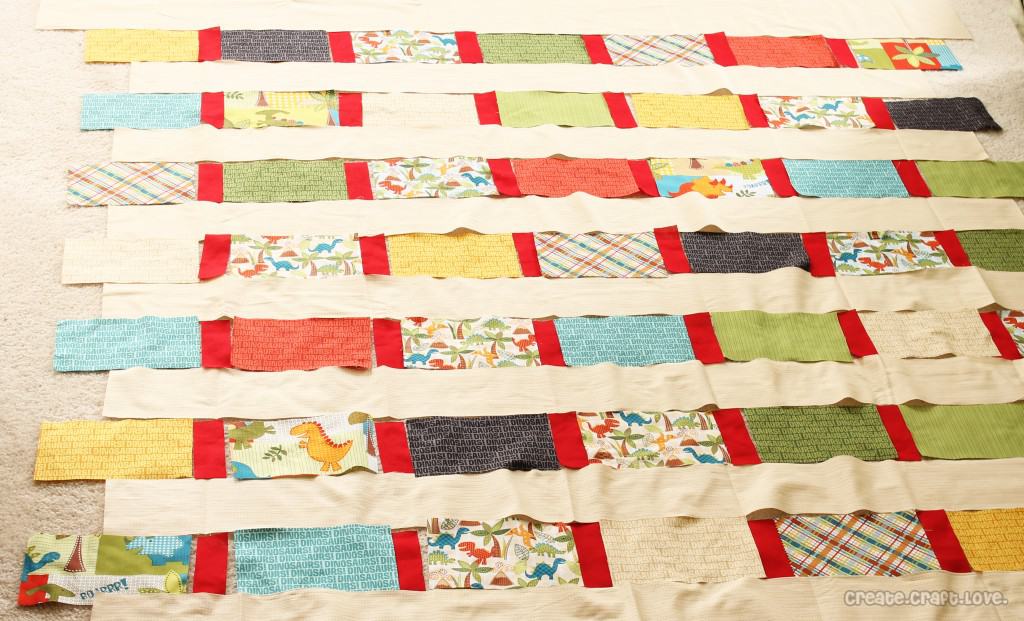
Lay out the entire quilt top. Move pieces around until you like how it looks. This took me about an hour because I’m picky. Don’t worry that the laid out rectangle rows are longer than the sash rows. Remember, once the rectangles are sewn together, they will be the same length as the sashes. This just gives you a general idea of how it will look.
Once you have it laid out how you want it, begin picking up the pieces – keeping them in order! I begin at the bottom right hand side {if you are looking at it} of the quilt. Place the first large rectangle on the bottom and then keep moving to the left and stacking the rectangles in order {right to left}. Next, fold the sash and lay it the opposite direction.
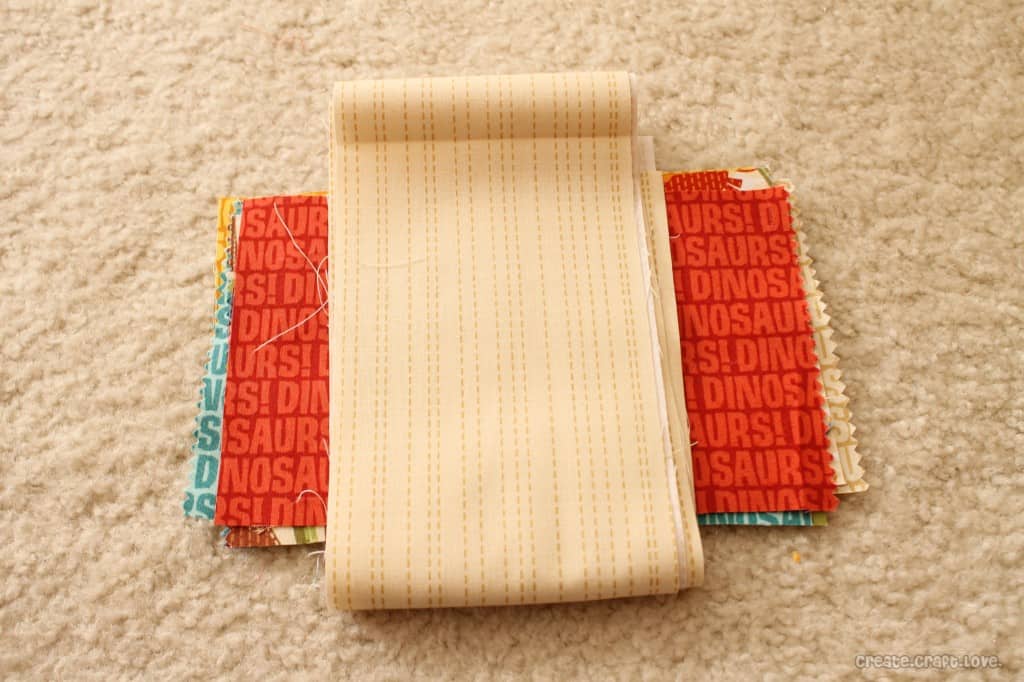
Keep moving up the quilt, collecting rectangles from each row {right to left} until all of the quilt is picked up.
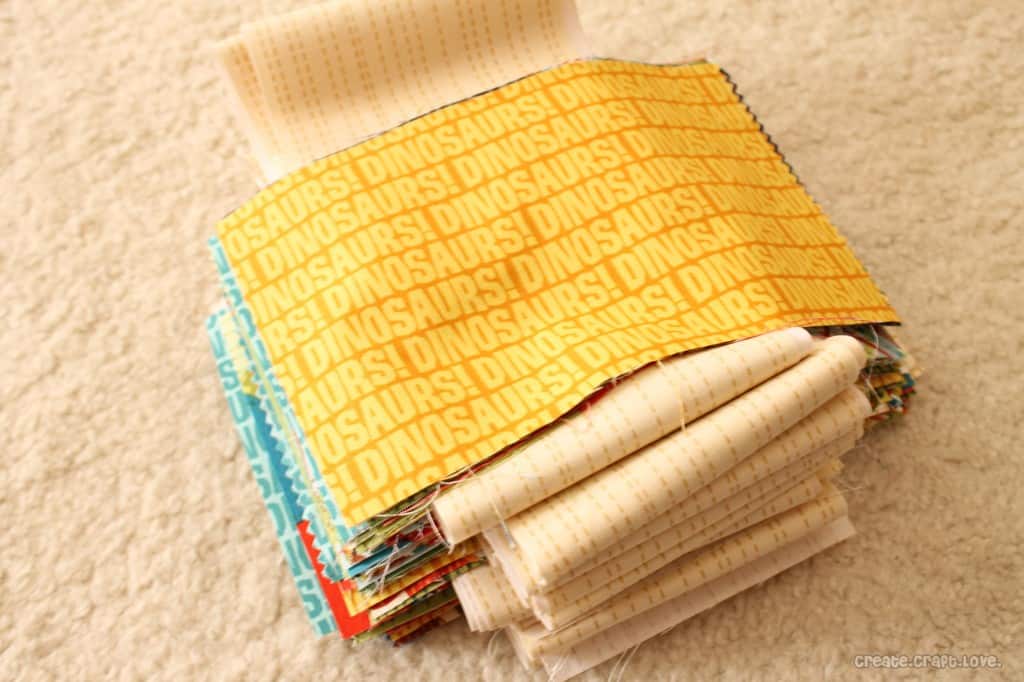
I like to place that bundle in a gallon size freezer bag to keep it separated and in order. Then I gathered the borders and small rectangles and placed in another bag.
Now let’s start piecing the quilt!
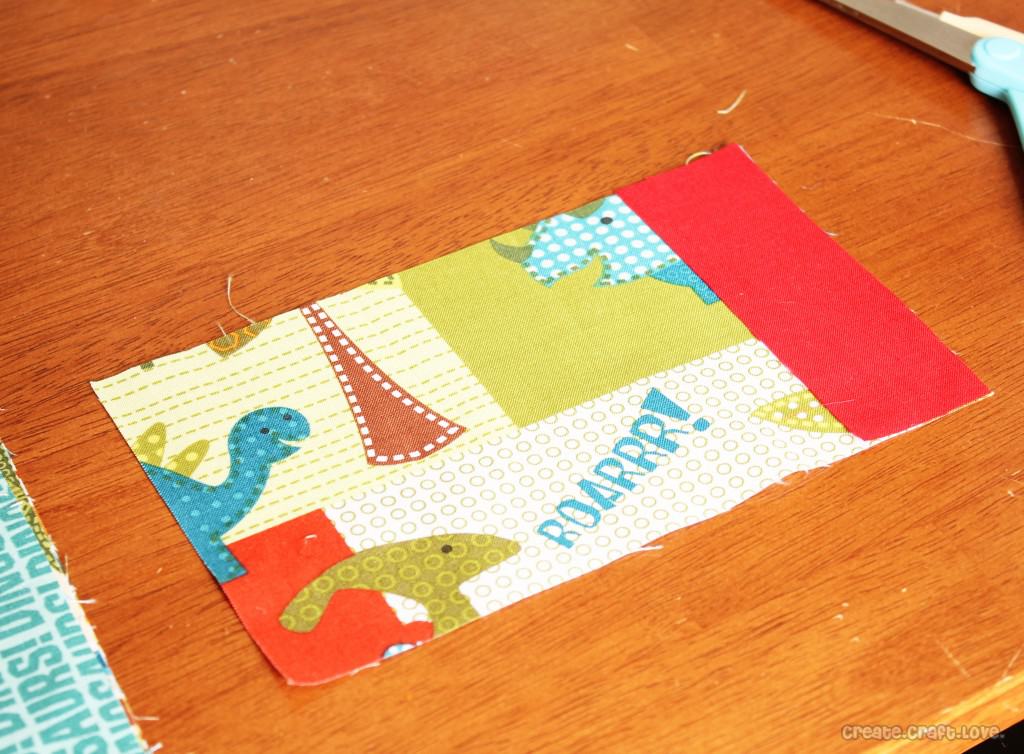
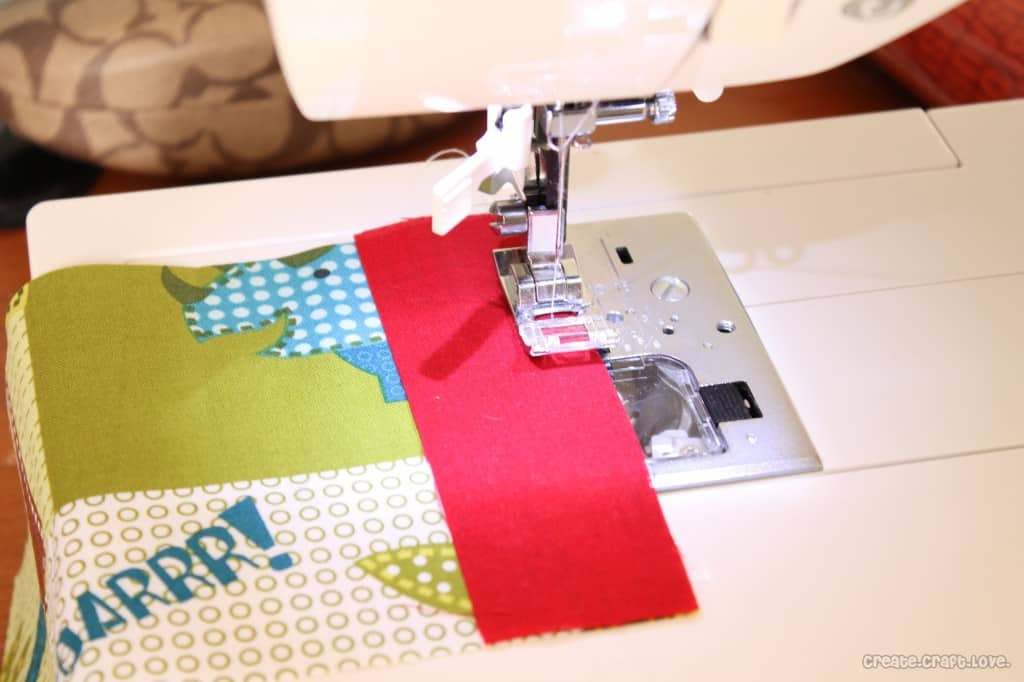
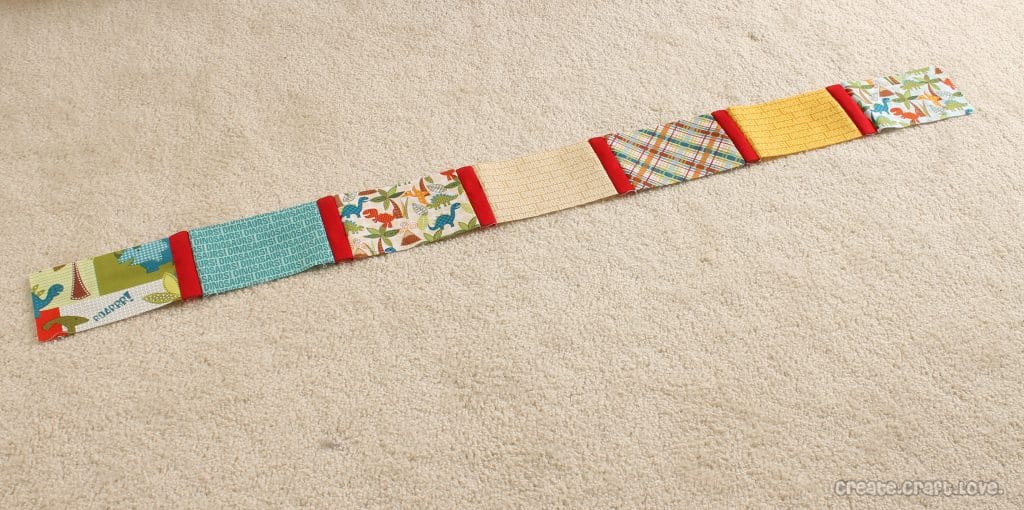
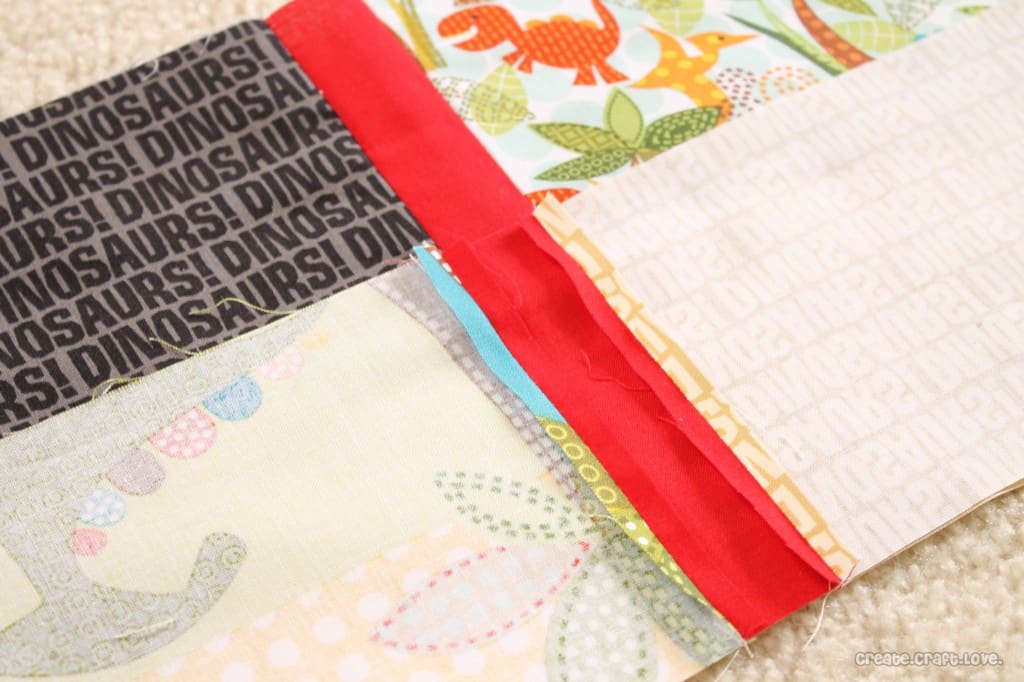
Grab that top row from your quilt pile. Place the first piece on your working space. Add your first small rectangle on the right hand side of the large rectangle. Remember for each row you will have seven large rectangles separated by six smaller rectangles.
Now here’s where my disclaimer comes in. Most of the experienced quilters may pass out when I divulge this next piece of information. I do not pin it. {I know! I know!} Here’s why…it takes longer to pin it than to sew that 4 inch piece to the large rectangle. So I’m sorry if this upsets you but I didn’t pin for this part.
Using your 1/4 inch seam allowance, stitch the length of the small rectangle.
Open up your piece that you just sewed. You will place the next large rectangle FACE DOWN on top of that piece. Line up the right hand edges and stitch again.
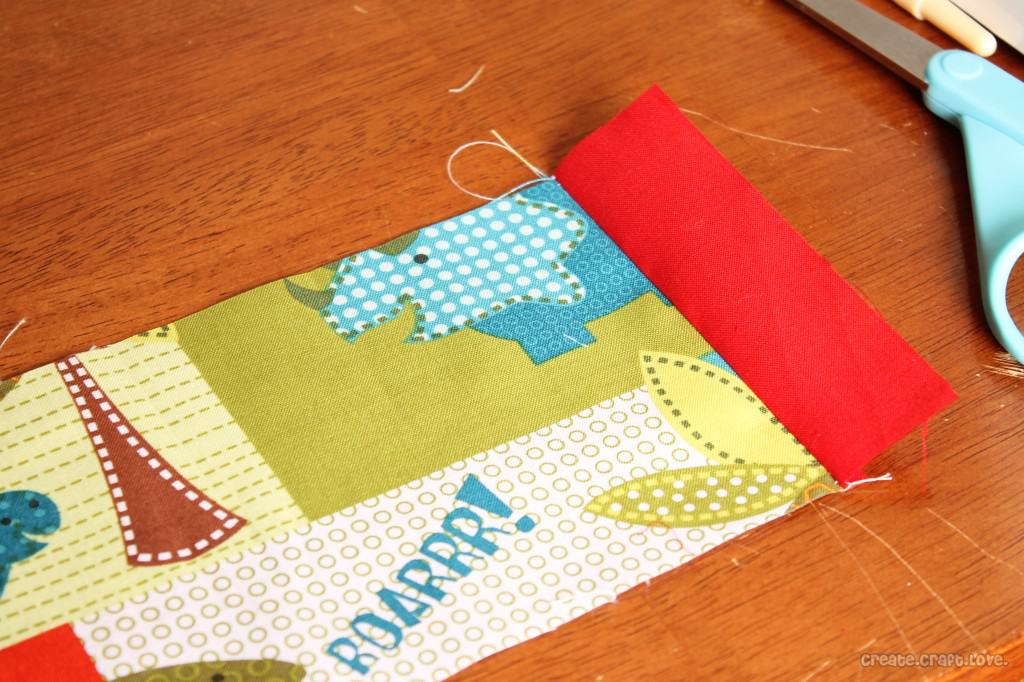

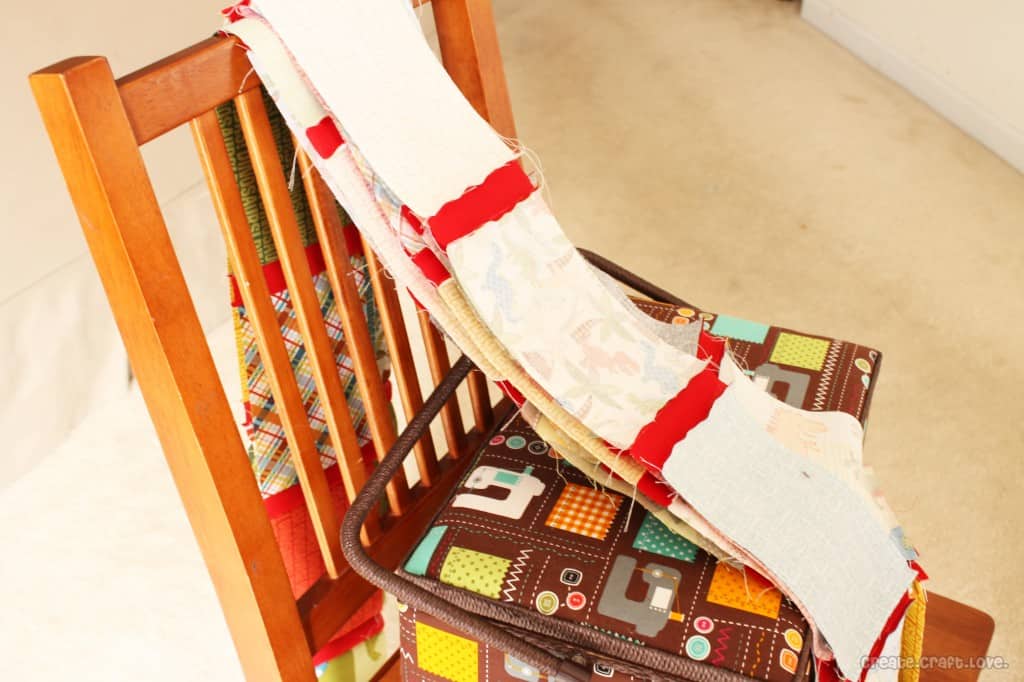
Continue this process until the entire row has been stitched together. Be sure to keep the rows in order!! I laid them face down across my dining room chair after I completed each row.
Once your twelve rows are sewn, press the seams open. I use a cute little Petite Press that I got from Joann Fabric for $20 and it has saved my fingers! When I was using the steam iron, I kept getting burned. It’s a great investment if you are going to continue quilting after the Quilt Along!
Lay out your top row of rectangles. Place the first sash, face down, on top of it – aligning with the bottom of the rectangle row. Pin that edge.
Sew along the pinned edge.
{Because I am anal retentive, I press my seams after it has been sewn. I want it to lay correctly.}
Now open up your sewn piece. Place the next row of rectangles, face down and upside down, aligned with the bottom of the sash. Line up your small rectangle seams. Pin along that bottom edge.
Sew along this pinned edge. Continue this process until all of the rows of rectangles and sashes are sewn together. You will end up with 12 rows of rectangles separated by 11 rows of sashes.

Once this piece has been sewn together, square off your edges using your acrylic ruler and rotary cutter.
Now you are ready to add your borders. Begin with the long border. Place border piece face down on top of the quilt. Make sure to line up your edges.
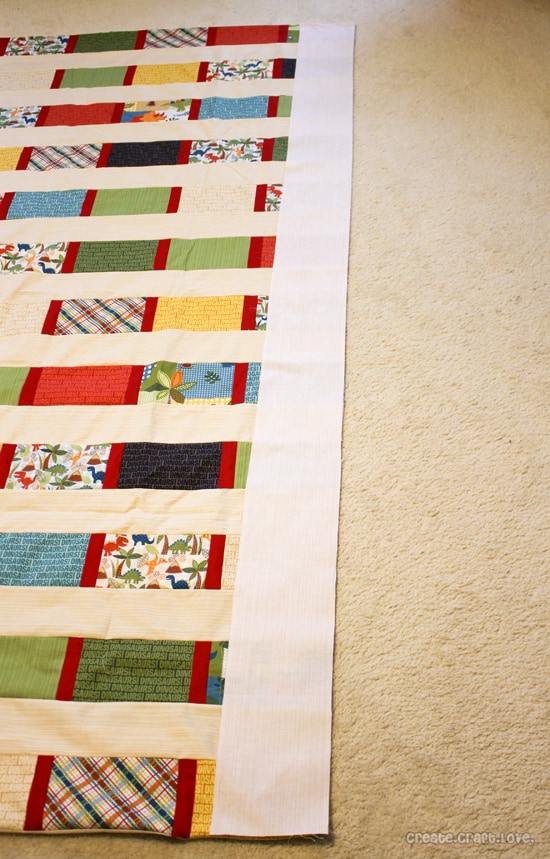
Pin the edges and sew. Repeat process for the other long edge border piece. Once sewn, press out the seams.
Place short border on top of the quilt, face down, lining up the edges. Pin and sew.
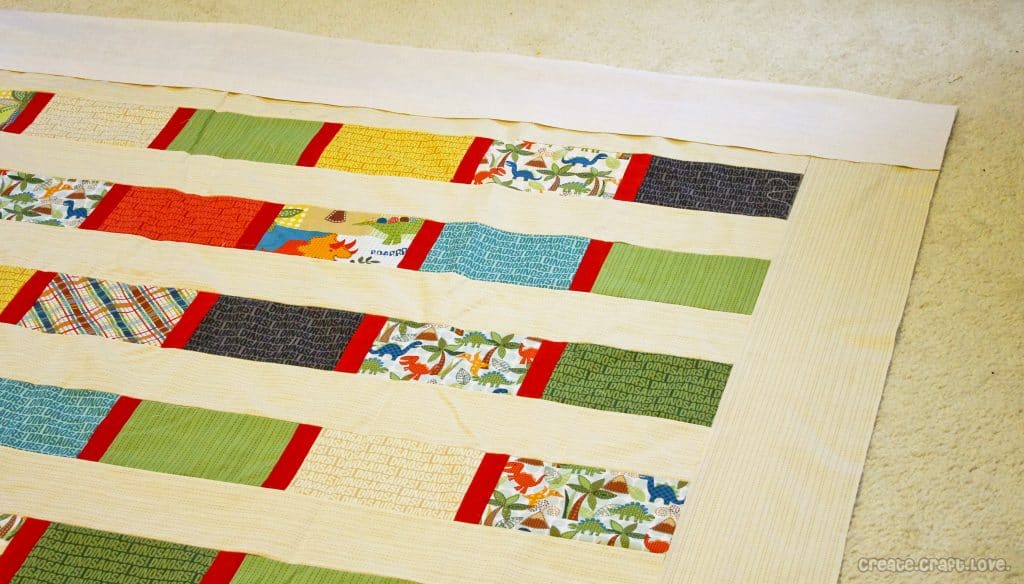
Repeat for the other short piece. Sew and press.
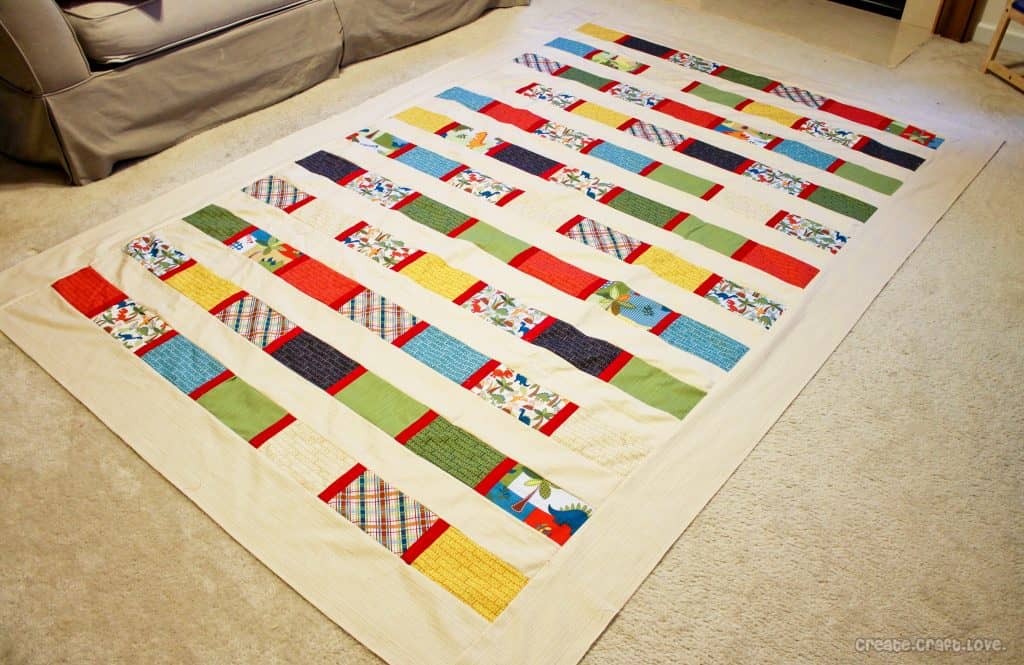
You have completed the quilt top! Great job! Next week, we will begin quilting the quilt!
