This post may contain affiliate links. See my disclosure policy for more details.
Sunflower seeds are one of my favorite salty snacks and watching October baseball with a batch of home roasted sunflower seeds just feels right. Once you taste the much deeper flavor of homegrown seeds you may never want to eat seeds off the shelf again. This guide will take you through growing the sunflower to cooking the seeds.
A brief history of Sunflowers
There are about 70 species of sunflower in the genus Helianthus. Three are native to South America and the rest are native to North America. The common sunflower or Helianthus annuus is the most familiar species and the one that has been domesticated for seed and oil production. Of this species there are at least 30 cultivars. Sunflower cultivation began around 5000 years ago in areas of the American southwest and Mexico. Sunflowers were an important crop for a number of Native American cultures ranging from tribes in the northern plains to the sprawling empires of the Aztec and Inca. In the 1600’s the Colombian exchange brought sunflowers to Europe and from there the rest of world. The steppes of East Asia provide a wonderful environment for sunflowers and half of the world’s entire sunflower crop comes from these areas of Ukraine and Russia.
Selecting seeds for planting
For seed harvesting select a cultivar that grows tall and typically produces one head. I use the Arikara sunflower from Baker Creek Heirloom Seeds here in Missouri. They will ship nationwide and have a full online catalog at www.rareseeds.com. Once established Arikaras grow to about 10 feet and produce a head a full foot in diameter yielding a large amount of seeds. Even if you aren’t harvesting the seeds, growing massive flowers to the height of basketball hoop is fun for any gardener.
Selecting a planting site
Sunflowers, as you might have guessed, do best in full sun. They require well draining soil and once established are pretty drought resistant. The soil quality does not need to be particularly good and they don’t require any special nutrients or fertilizers.
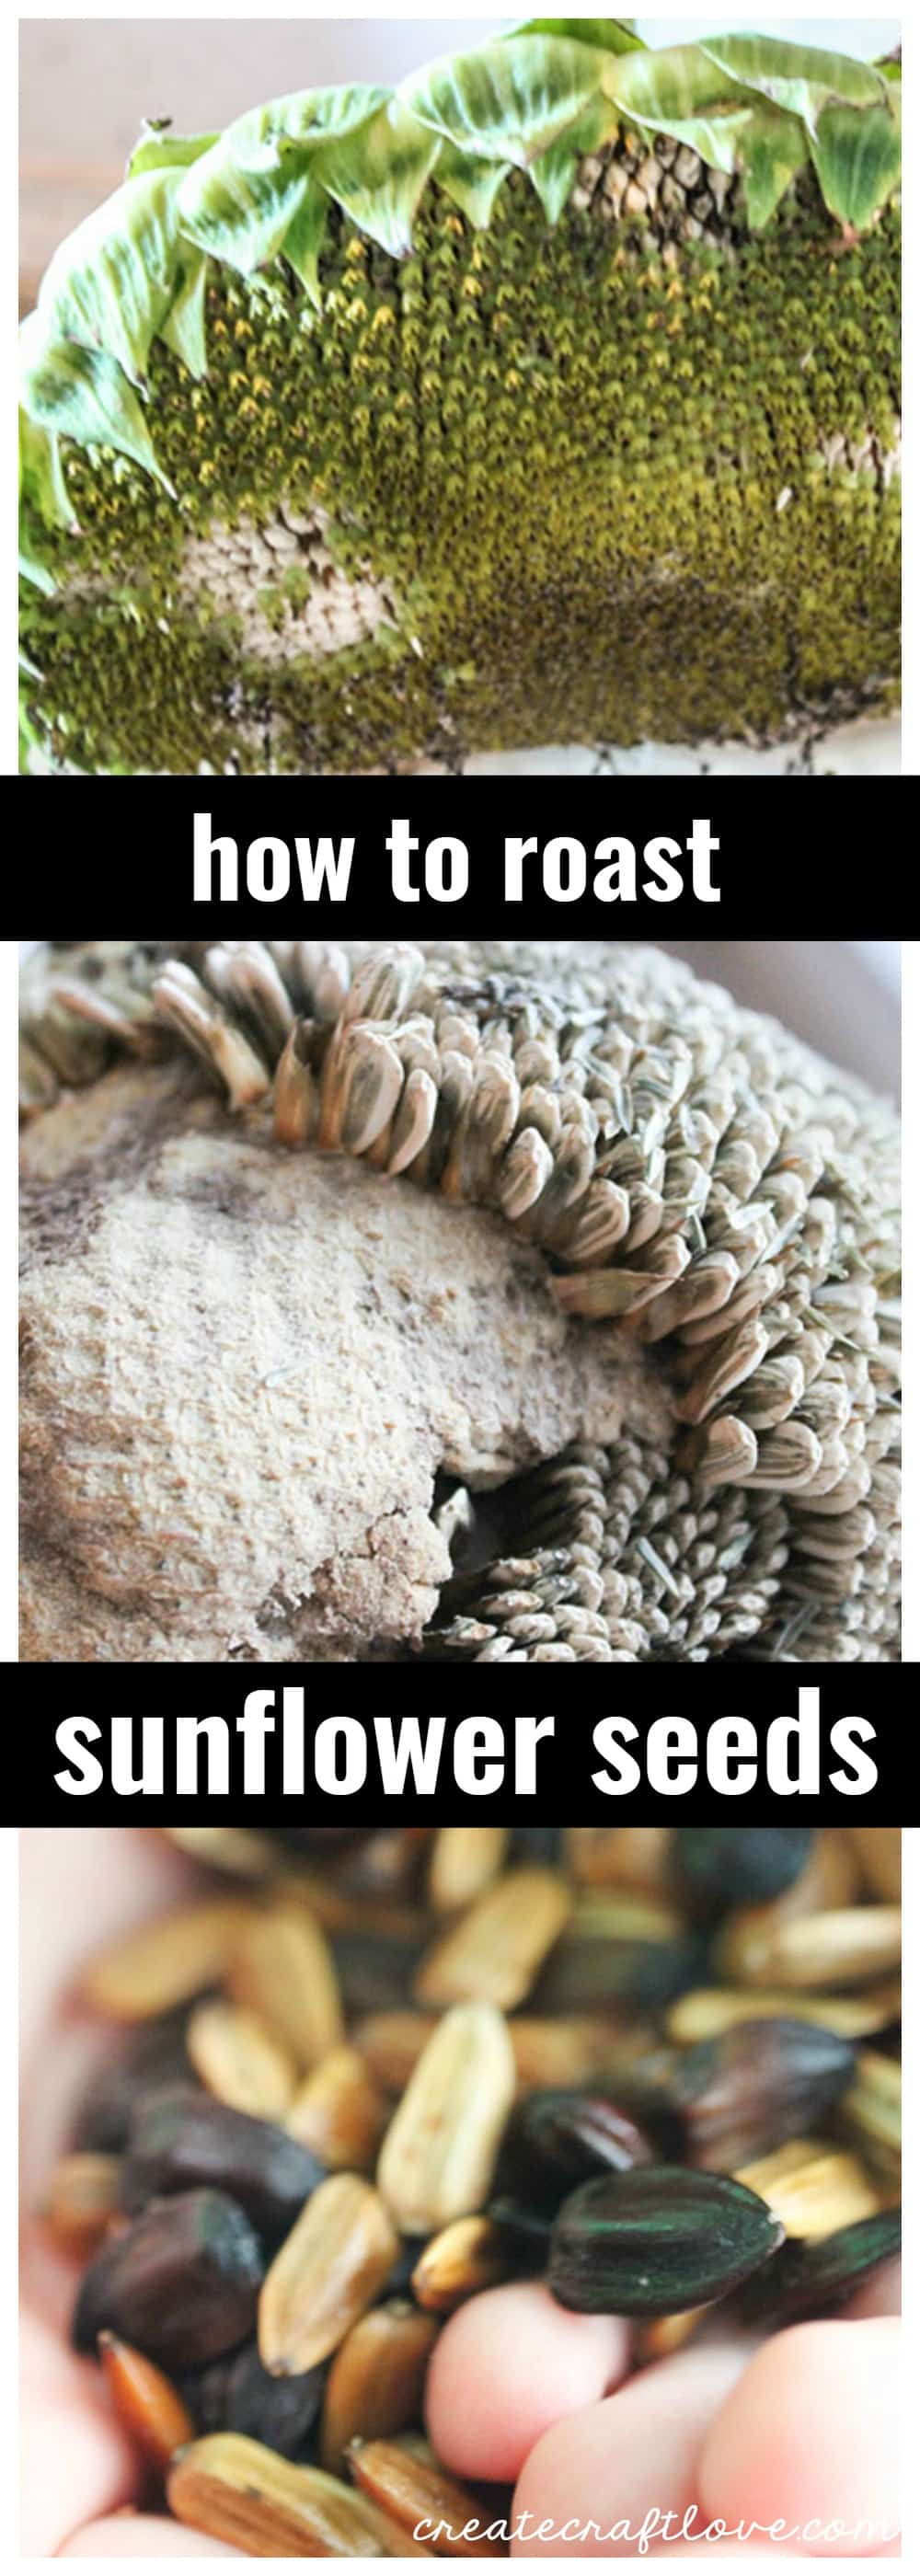
Harvesting the sunflower head
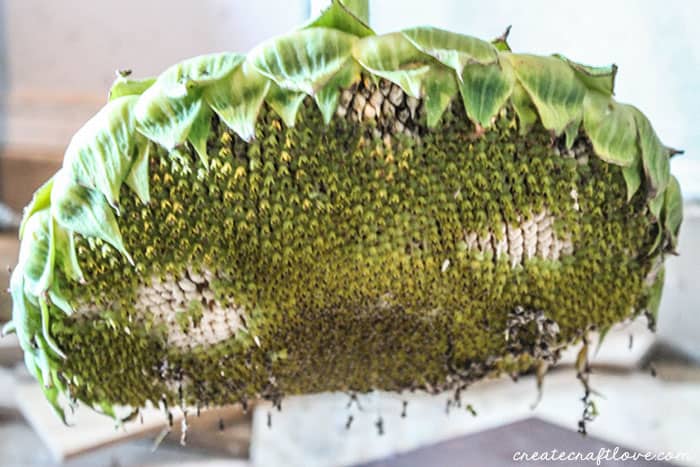
Before harvesting the seeds, the head needs to be dried. In dry climates, you can simply allow the head to dry on the stem and remove it once the back has become brown. In more humid climates, such as here in Missouri, you begin to run into problems with mold formation on the head. In such areas, wait until the back begins to yellow and cut the head off with about 1 foot of stalk. Hang these in a dry a place and wait until they brown. This takes a few weeks in my experience.
Removing the seeds
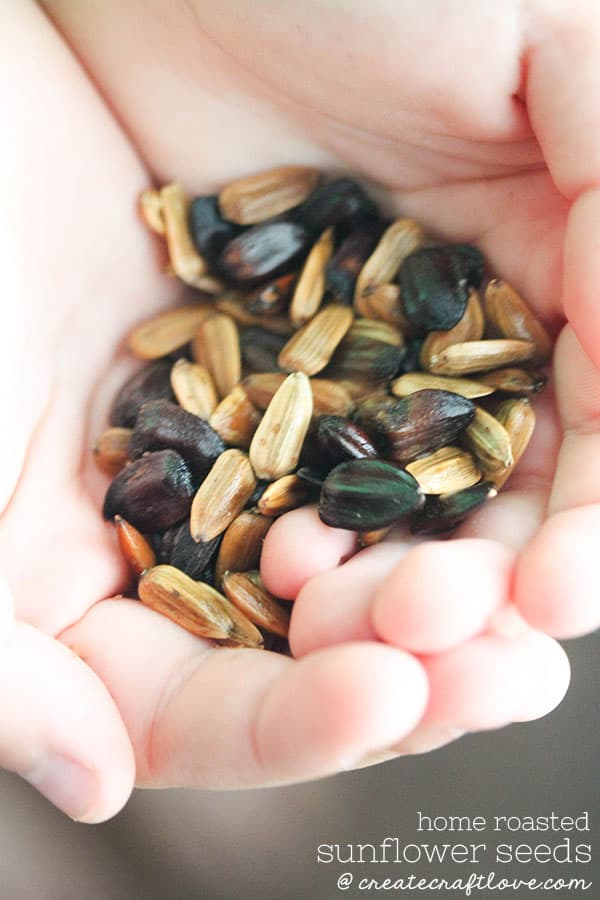
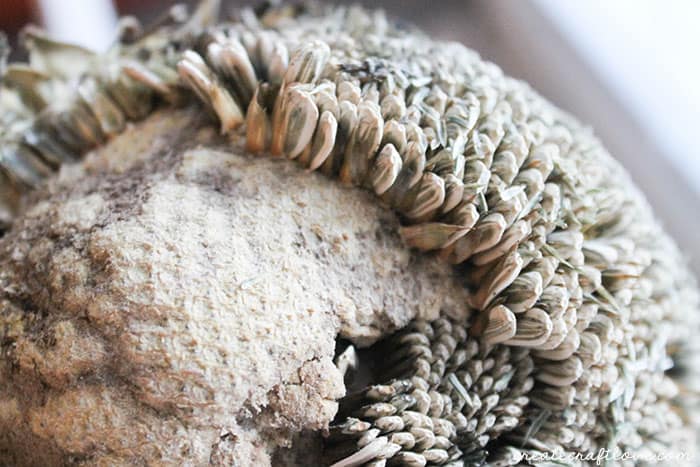
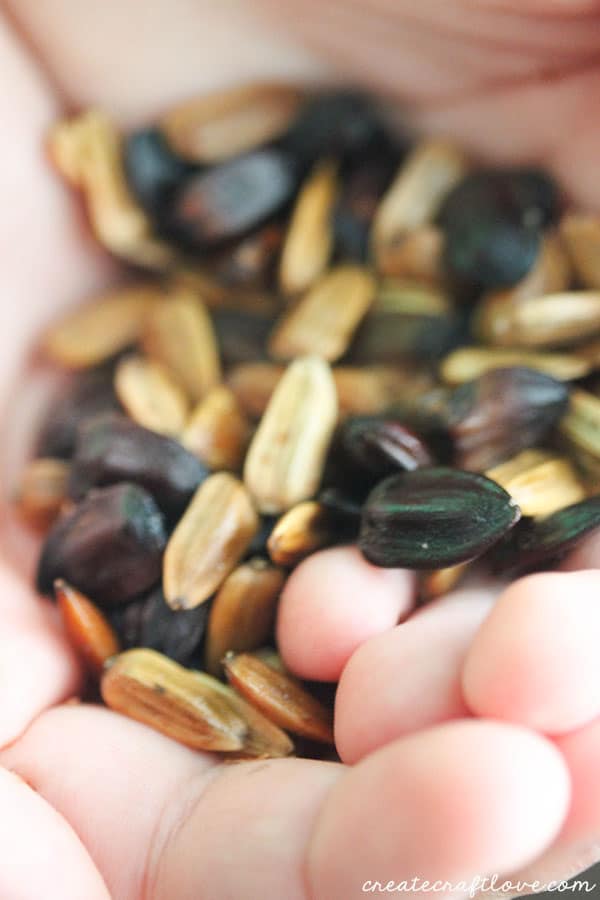
Once dried, the seeds will come off fairly easily with some lateral pressure. Be prepared to make a mess as some of the seeds will go flying as you remove them. You may notice that your seeds are different colors. Solid black seeds have more oil and are frequently used for pressing to extract the oil. The more familiar striped ones are generally set aside for roasting and consumption. However, both are completely edible and I find the black ones to have richer flavor.
Separating the chaff
Every seed has a little fiber layer around it and a number of them will have a small dry stem still attached. Removing these bits can be tedious. Traditionally, this has been accomplished by a process called winnowing which involves tossing the seeds in the air and letting the wind blow the lighter chaff away. Subsistence farmers around the globe can probably accomplish this while losing very little seed or grain. However, this skill seems to have been lost to the modern American and I am pretty terrible at it. Ultimately, this just takes me a lot of time and determination. If anyone has methods to make this easier please share them in the comments.
Preparing the seeds
Once the seeds are separated out, rinse them off to remove any lose dirt, etc. Soak them overnight in a bowl of salt water. The solution does not have to be a precise mixture and will depend on your own preference. As a starting point, mix 1 cup of kosher salt with ½ gallon of water. You can also experiment with other flavors such as garlic or hot sauce by adding it in here.
Roasting the seeds
There are a couple different methods of doing this. I have found the best results with a slow roast as this seems to leave the shells a little crisper and easier to work with. Preheat your oven to 250 degrees. Drain your seeds thoroughly. Lightly oil a baking sheet and spreads your seeds out. Cook the seeds for one hour then flip and redistribute them on the sheet. Continue cooking until they have thoroughly dried, for a total of 2-3 hours. Remove from the oven and let them cool. Place the home roasted sunflower seeds in an air-tight container to maintain crunch.
Home-Roasted Sunflower Seeds
- Soak seeds overnight in salt water (around 1 cup of kosher salt to ½ gallon of water)
- Drain the seeds
- Preheat oven to 250 degrees
- Lightly oil a baking sheet and spread the seeds out
- Cook for 1 hour then flip the seeds and redistribute on the baking sheet
- Continue cooking until thoroughly dried, total cooking time about 2-3 hours
- Remove the seeds, let them cool, and place in airtight container.
I’d LOVE for you to pin this image!
Share this image on Facebook!

Click HERE to see more amazing recipes!
