This post may contain affiliate links. See my disclosure policy for more details.
Sponsored by Cricut
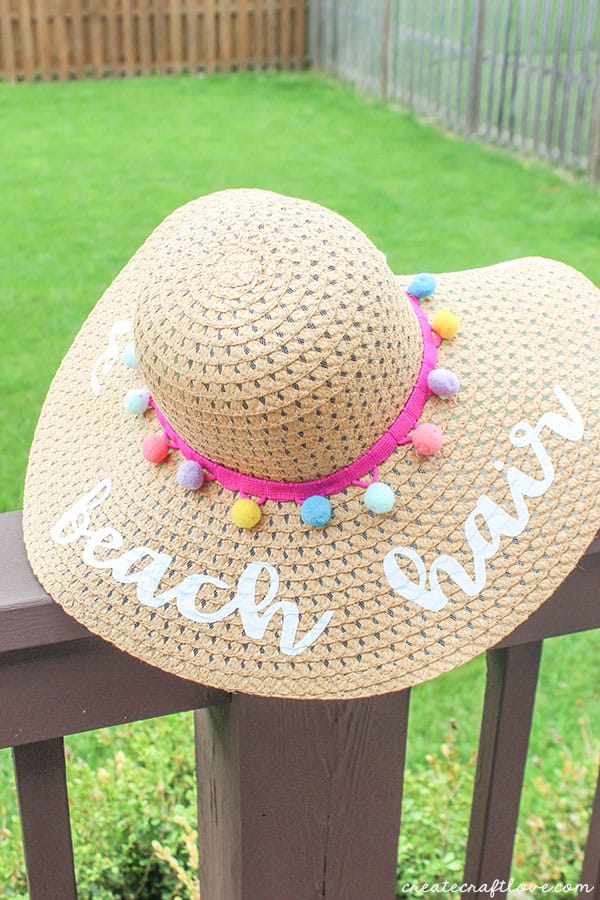
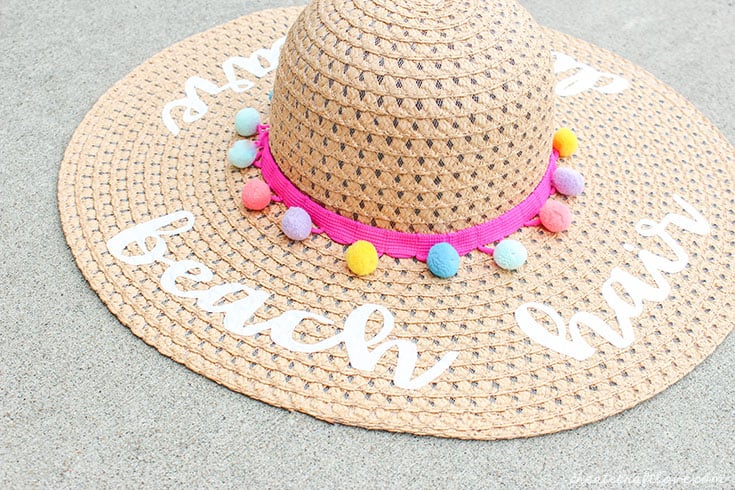
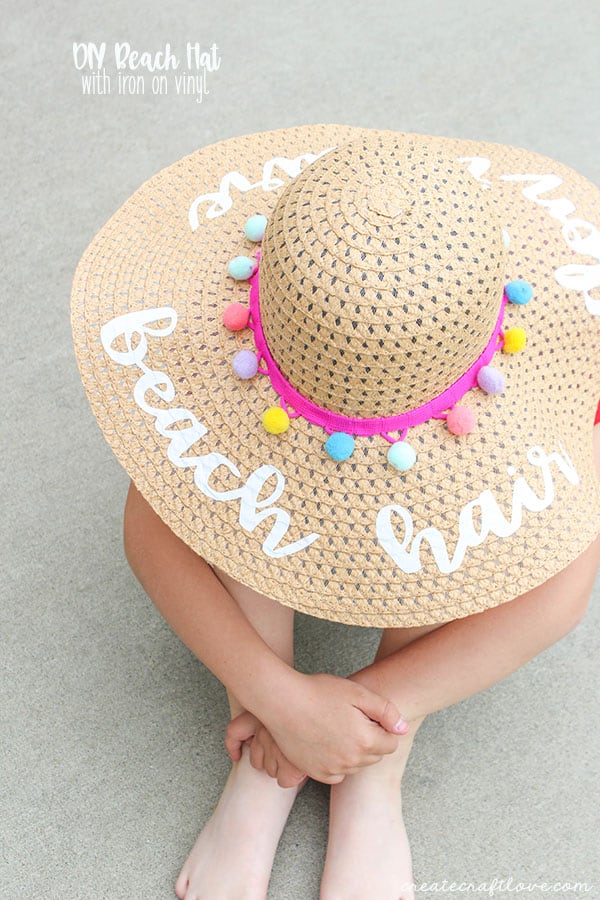
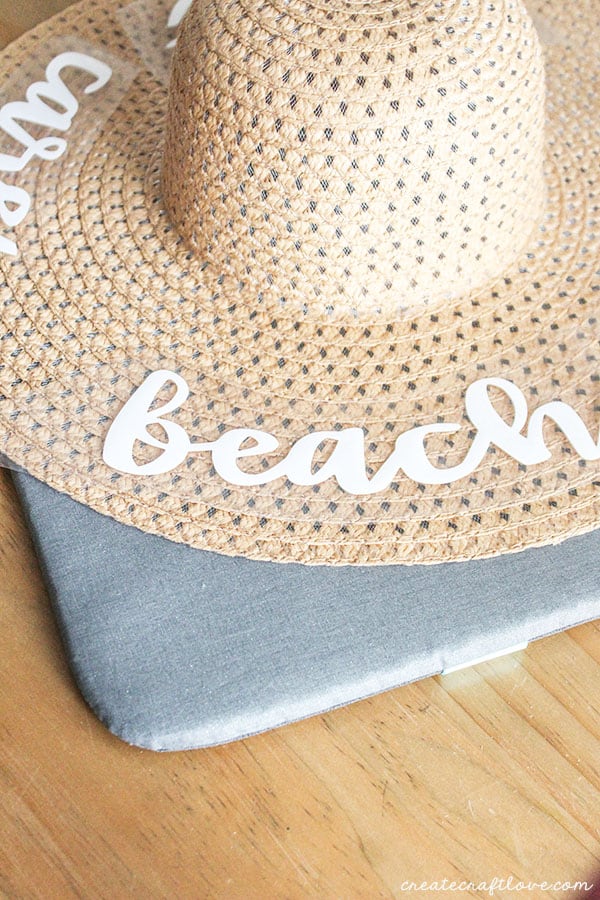
Protect your face from the sun’s harmful rays with our trendy DIY Beach Hat with Iron On Vinyl!
This post contains affiliate links for your convenience. See disclosure here.
Supplies for DIY Beach Hat
Beach hat
Iron On Vinyl (white)
Cricut Cutting Machine (Maker or Explore)
Cricut EasyPress
EasyPress Mat
Pom poms
Hot glue gun
I picked up this cute little beach hat at Wal-mart for $3.88! They had them in a couple of different shades of tan but I liked the light tan best.
Preparing the text for the hat was challenging because it is on a curve. No worries – I’m not going to walk you through it. There is a free file at the bottom of this post. Once you’ve downloaded the text, press select all and size to 16 inches by 6 inches. Don’t forget to mirror since we are working with iron on vinyl. Cut the text and weed excess vinyl.
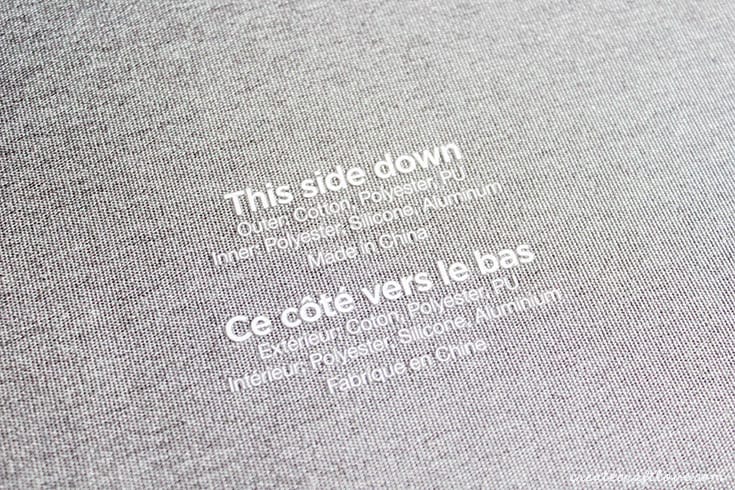
Cricut recently released the EasyPress Mat and it’s amazing! The mat eliminates moisture and directs the heat to the iron on vinyl. This shields your work from heat and moisture that can ruin the vinyl. It’s one sided and flexible allowing for ease of use.
The temperature settings are different when using the EasyPress with the mat. Click HERE to see those settings.
It’s made up of several different layers to provide the best results for your project!
- Durable, heat-resistant cover.
- Felt layer wicks moisture
- Foil layer reflects heat back to iron-on design, helping to protect work surface
- Silicone sponge layer insulates work surface and functions as a pressing pillow which can absorb seams such as those on onesies, zippers, etc.
- Bottom layer acts as a protective barrier .
Time to apply your vinyl to DIY Beach Hat!
Set your EasyPress to the burlap settings. Since we are using lite iron on vinyl with the EasyPress Mat, the temperature will be 305° for 30 seconds. You will NOT pre-heat your material.
Arrange the text on your hat brim. You want the text facing out.
Once the EasyPress reaches desired temperature, apply to the iron vinyl liner and start the timer.

After timer completes, carefully remove the clear liner.
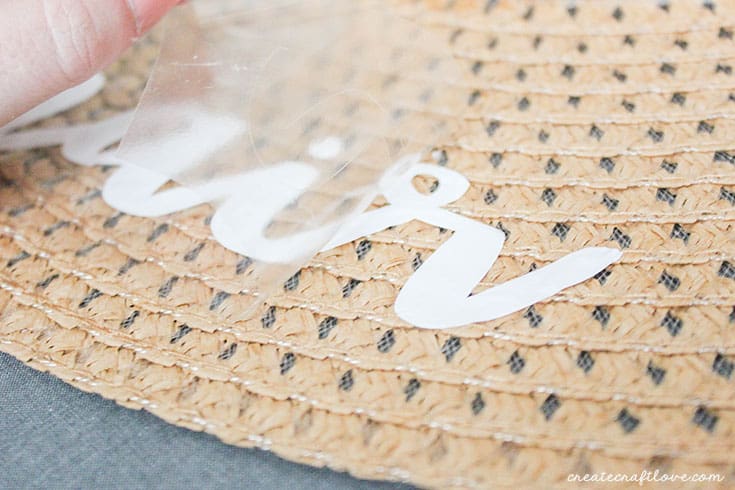
Use an extra piece of fabric to burnish the iron on to the hat. Iron on vinyl has a layer of glue that melts when heated. Since the hat brim is porous, I used the cloth to attach the iron on.

Repeat this process until all of the text has been added to the hat brim.
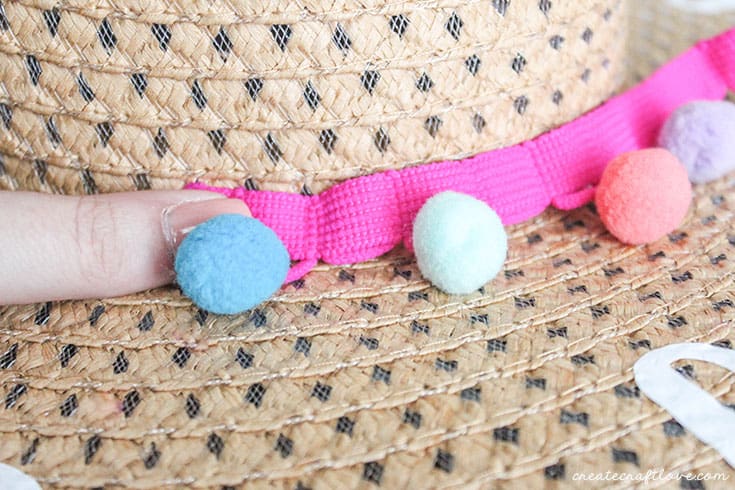
To complete the hat, remove the twine around the middle. Hot glue the pom poms in place.
How cute is that?!
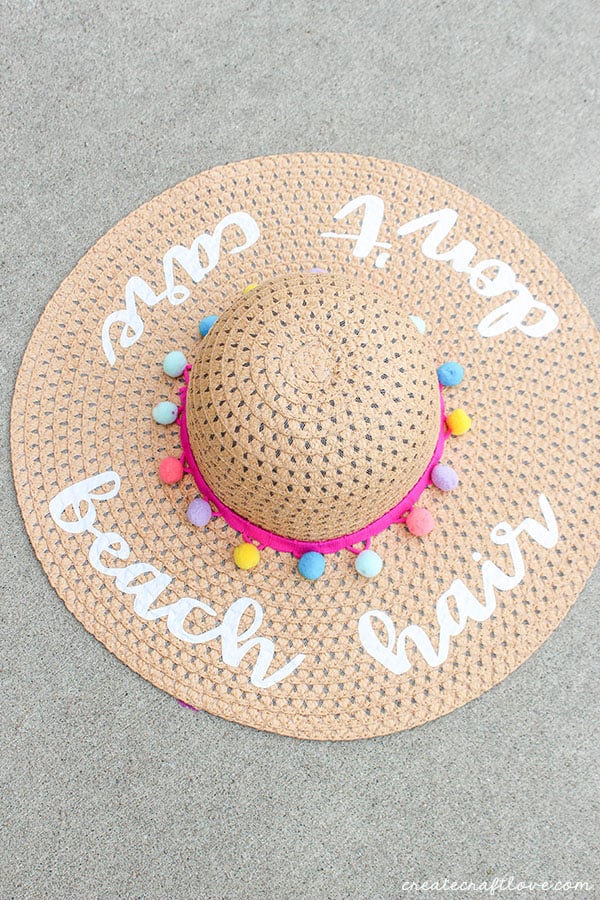
I can’t wait to wear this on the lake!
Grab your free DIY Beach Hat SVG file HERE!