This post may contain affiliate links. See my disclosure policy for more details.
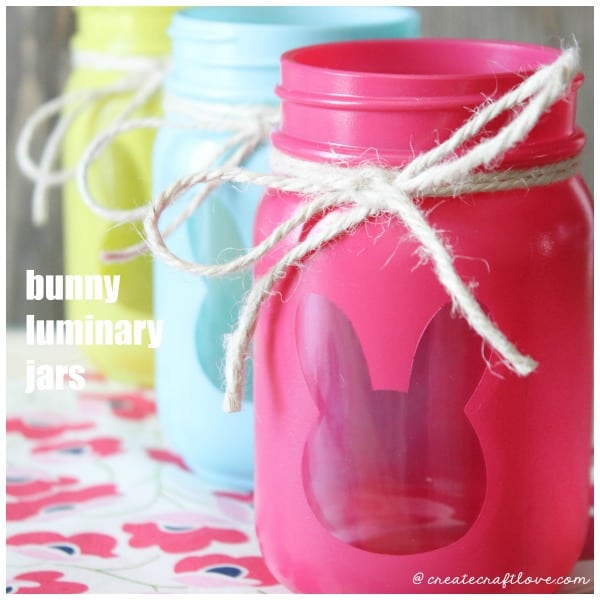
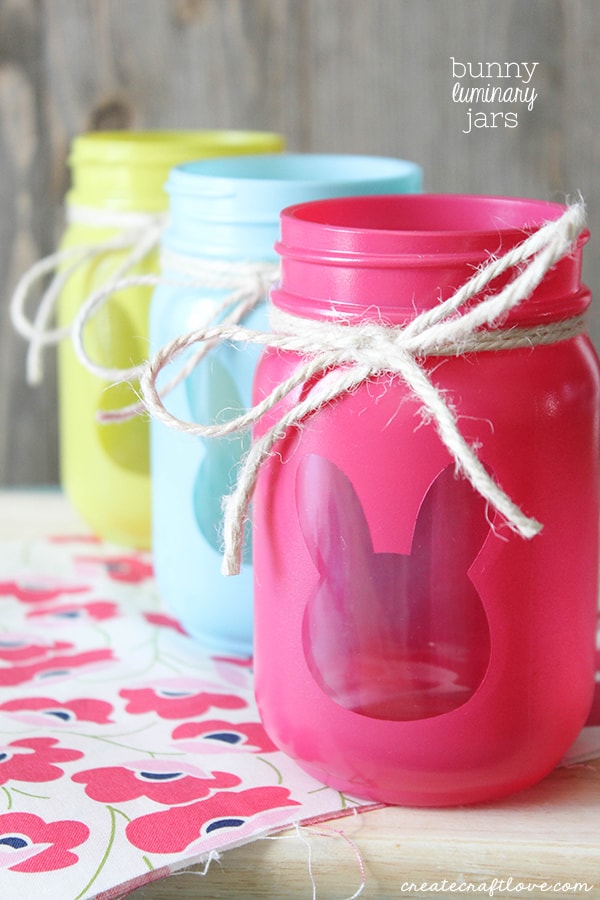
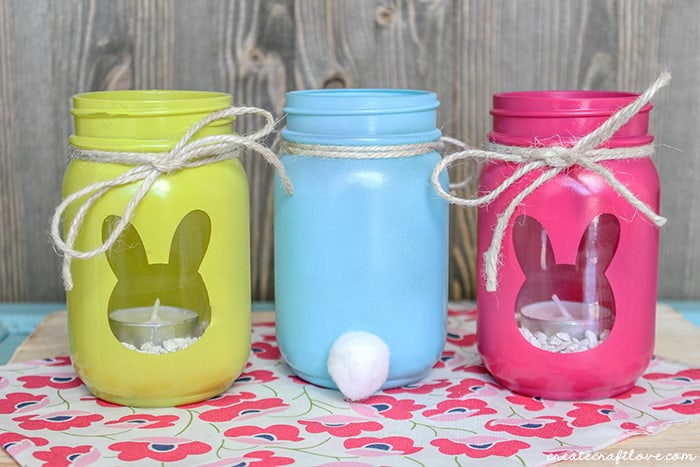
Talk about cuteness overload! These Bunny Luminary Jars boast bright spring colors with a surprise on the back!
Here’s what you need to make your own Bunny Luminary Jars!
Mason jars
Spray paint
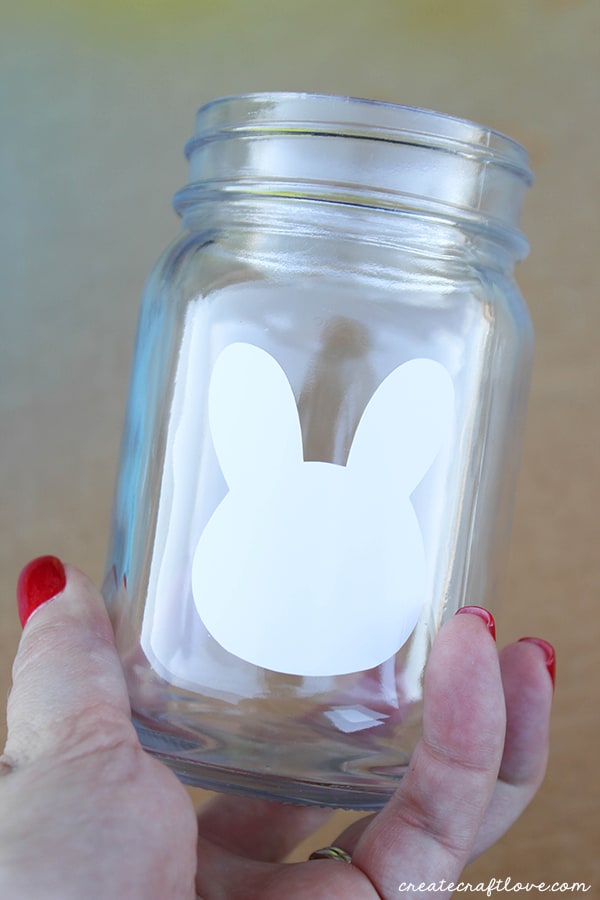
Bunny sticker or vinyl bunny cut out
Twine
Aquarium gravel
Tea light candles
White pom pom
Hot glue gun
Lay out cardboard or mason jars to protect your space. As always, only use spray paint in a well ventilated area.
I used my Cricut Explore Air 2 to cut out these vinyl bunnies. You can totally cut one out on your own or use a bunny sticker. Place the bunny sticker on the front of the mason jar. Be sure to get all of the bubbles smoothed out so you won’t have any paint bleed under the vinyl.
Place mason jar upside down on the cardboard or newspaper. Hold spray paint about 6-8 inches from the mason jar. Begin spraying light layers of paint on the jars. Allow about 5 minutes to dry between each layer. If you spray too heavily, you will have paint dripping.
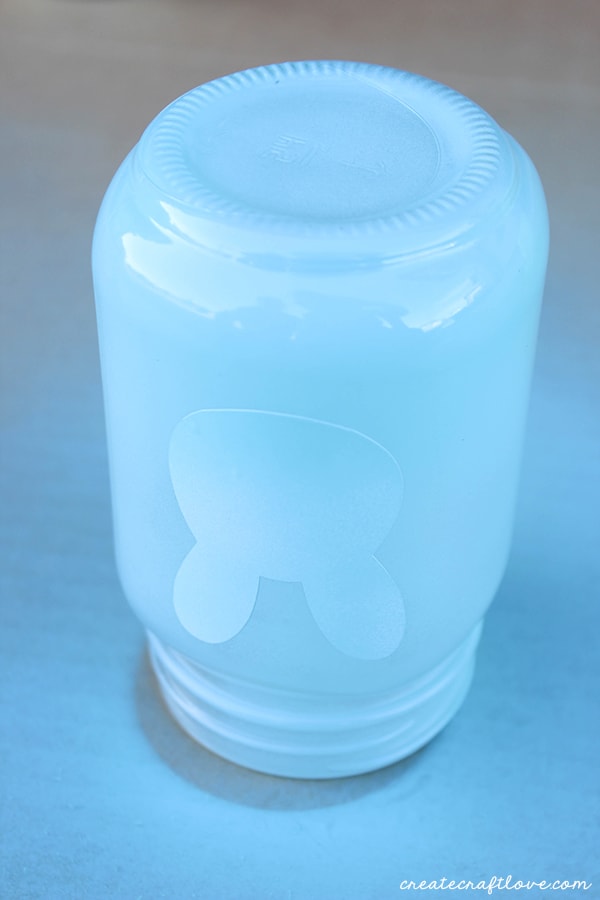
Once you have the mason jar completely covered, sit aside. Allow to dry overnight.
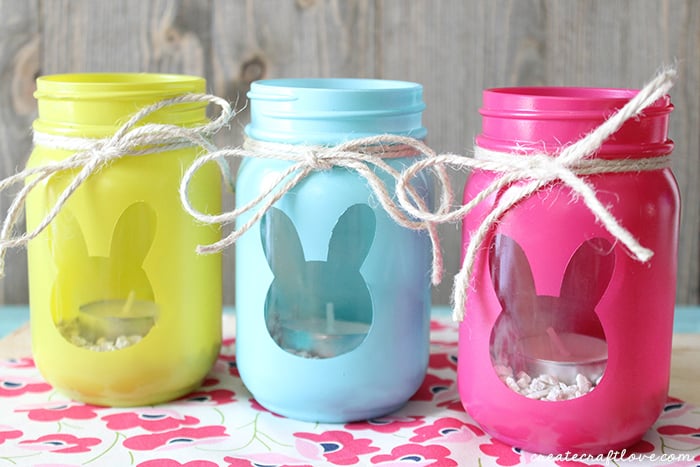
Gently peel the bunny vinyl or bunny sticker off the front of the jar.

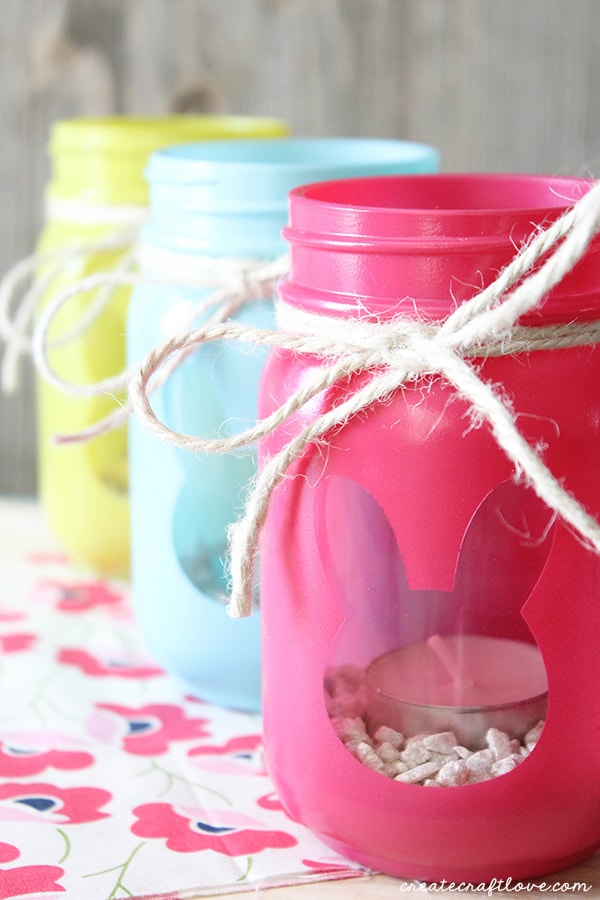
Tie some twine around the neck of the jar. Add some aquarium gravel to the bottom of the jar. Place a tea light candle in the middle of the gravel.
For the pièce de résistance, hot glue a white pom pom on the back of the jar!
Is that not the cutest?!
I just love how these all turned out!
I think the little bunny tail on the back is the best part!
I’d love for you to pin this image!
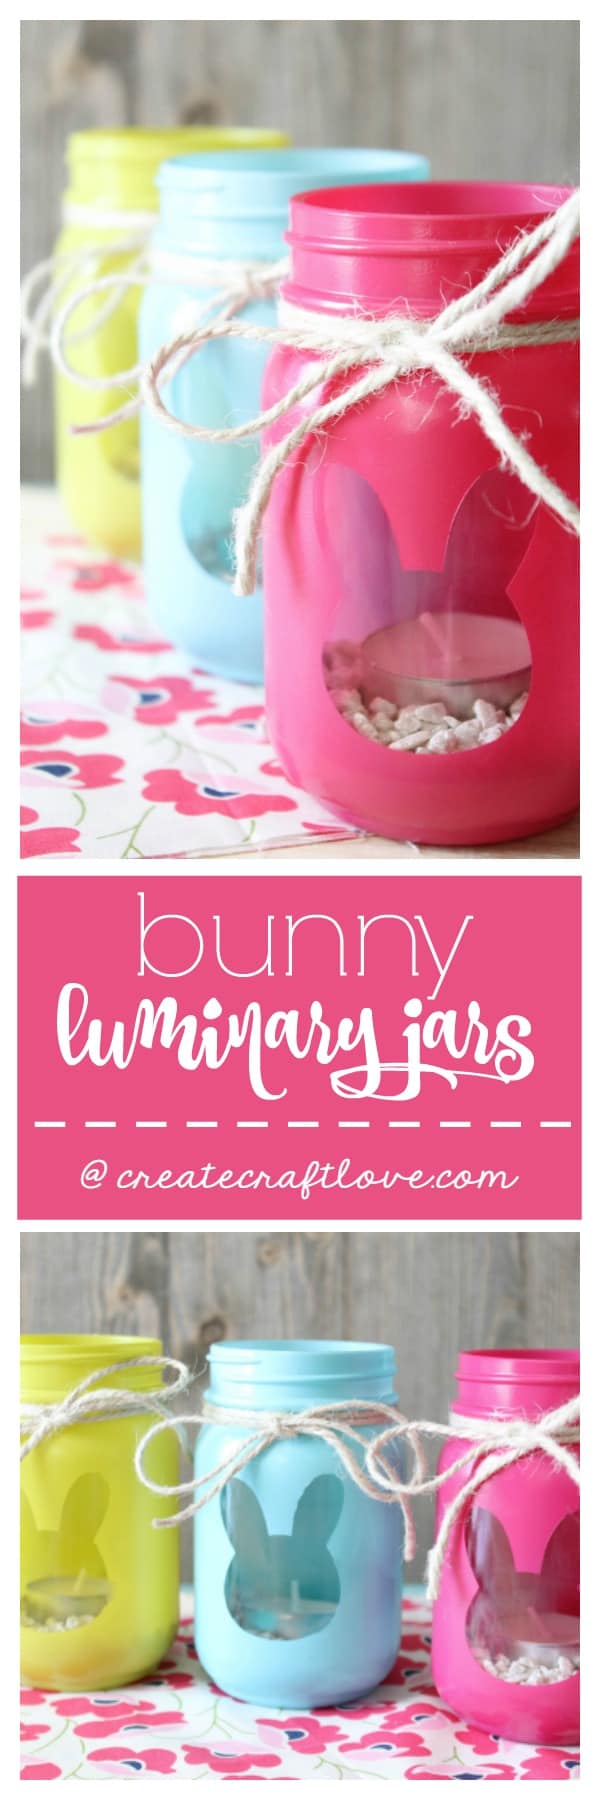 Share this image on Facebook!