This post may contain affiliate links. See my disclosure policy for more details.
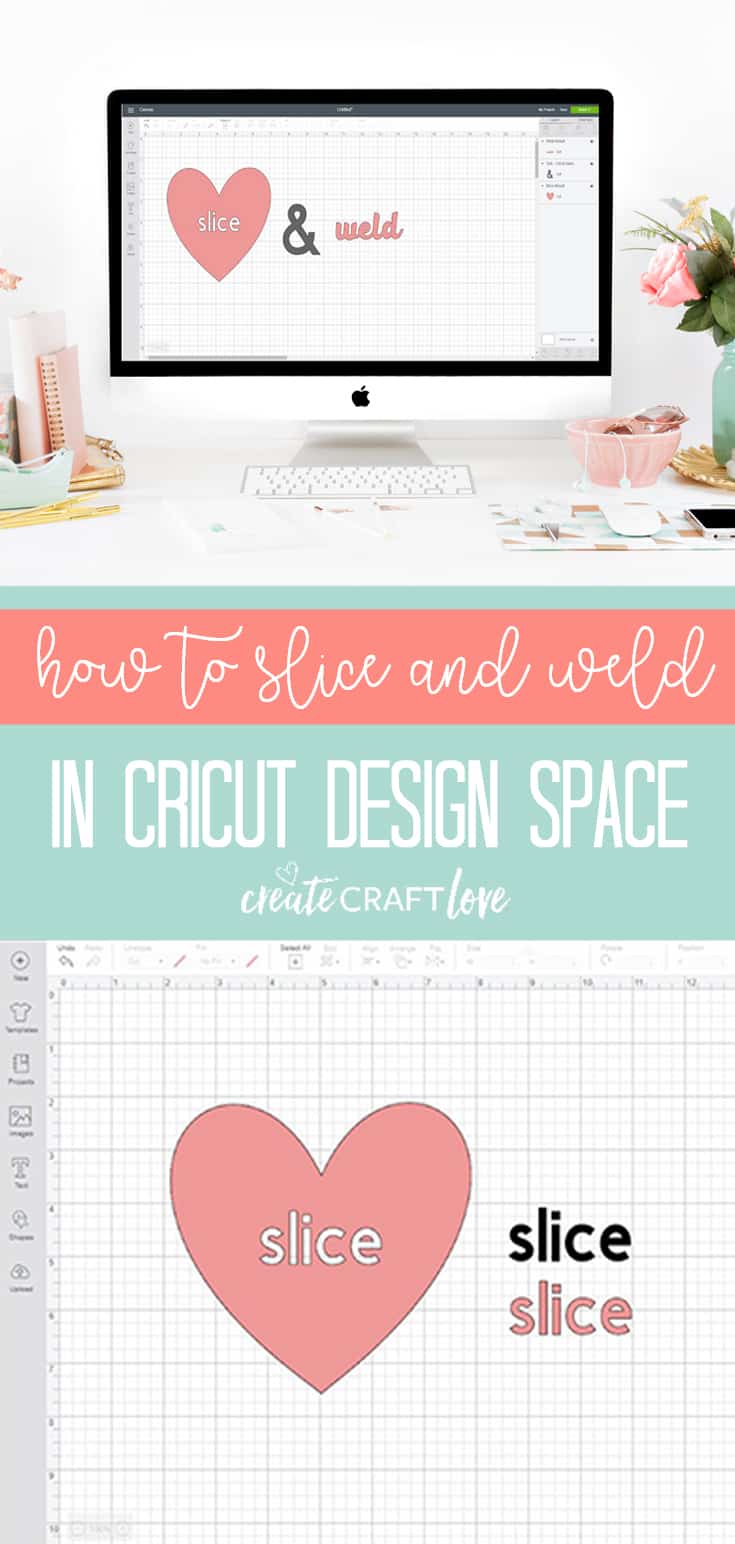
Learn how to slice and weld in Cricut Design Space!
How to Slice and Weld in Design Space
The slice and weld tools allow you to create new cut lines in multi-layer images. These tools are invaluable! They really allow you to bring your imagination to life.
Slice Tool
Basically, the slice tool acts like a cookie cutter allowing you to cut a shape from another shape or cut out text. This tool splits two overlapping layers into separate parts. The key word here is TWO. You can only work with two layers at a time when using the slice tool. After the layers have been sliced, they will appear as separate layers in the layers panel.
Arrange the heart and text so they are overlapping. Click “select all” in the edit menu on top.
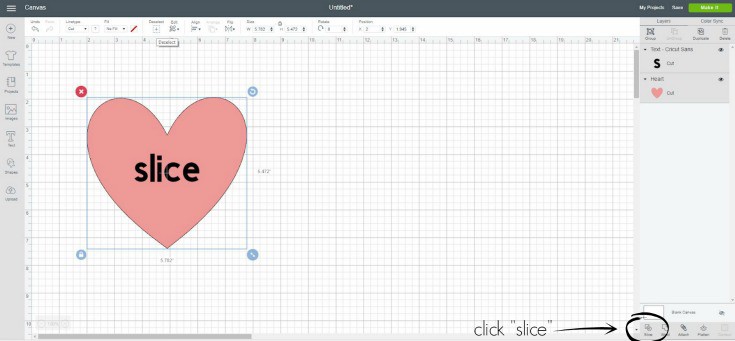
Click “slice” at the bottom of the layers panel. Now you have three different layers. The black wording was the cookie cutter and by clicking “slice”, you cut out that part of the dough and sat it aside.
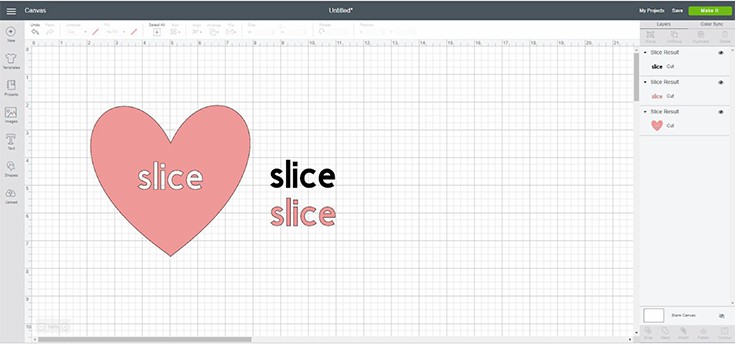
You can delete or hide the layers you do not want to use in your design.
Weld Tool
The weld tool allows you to combine images and creates an outline by removing any overlapping cut lines. It’s easiest to see on text but you can do this with images too!
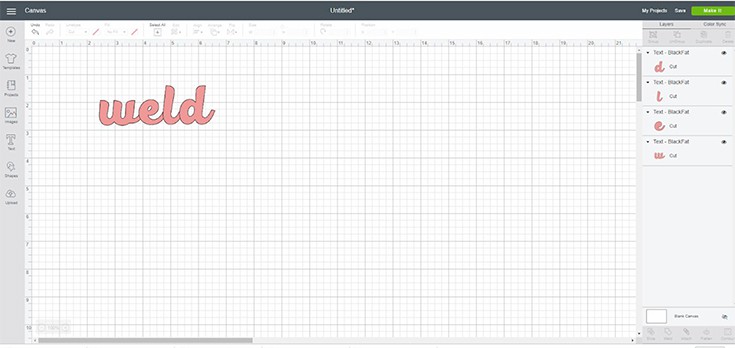
Combine your letters so they are overlapping.
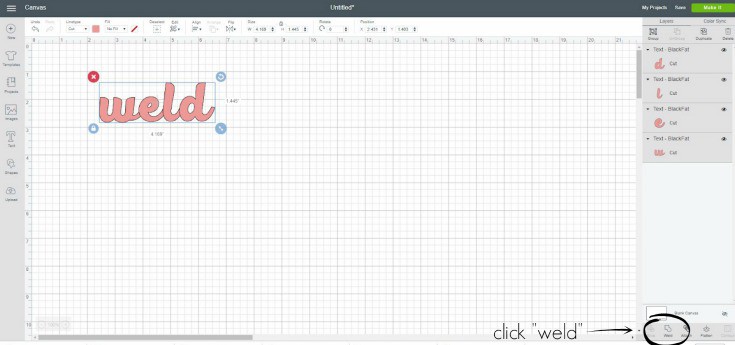
Click “select all” and then click “weld” at the bottom of the layers panel.
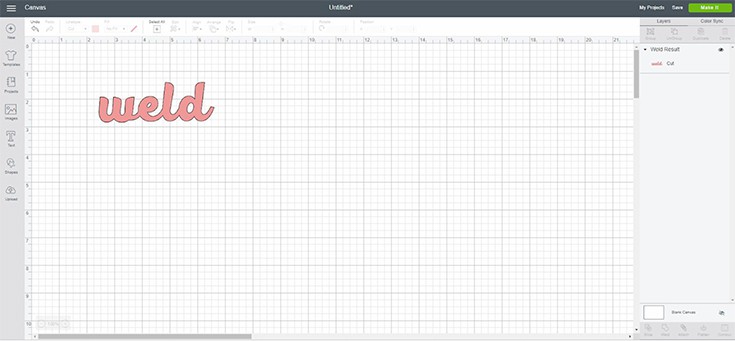
You can see how the outlines of the individual letters that were overlapped are now gone and you are left with the outline of the entire word.
Learning how to use slice and weld is super easy! It is a valuable tool to have in your back pocket and takes your understanding of Design Space to the next level.