This post may contain affiliate links. See my disclosure policy for more details.
These Mini Heart Pinatas are sure to bring a smile to any face!

Pretty sure this is my new favorite Valentine post of all time! These Mini Heart Pinatas were so much fun to make. You can totally get the kids involved too! Makes a great project for classroom parties this Valentine’s Day!
This post contains affiliate links for your convenience.
Materials needed for Mini Heart Pinatas
Cricut Explore or Maker
Scoring wheel or stylus
Cardstock (in colors of your choosing)
Light grip mat
Cricut basic tool set
Fine point blade
Tissue paper
Glue stick
Hot glue gun
Ribbon
Favorite Valentine Candy
Images used for this project:
Valentines Heart from House that Lars Built
I absolutely love the cute Valentines Heart project from House with Lars Built that is featured on Design Space! Her inspiration was red felt hearts she saw in the markets in Mexico City. I improvised and created these Mini Heart Pinatas from her heart design.
In Design Space, I deleted the embellishments on the heart box and contoured any additional cuts so we were just left with the box. The image includes an extra heart layer which is what I used to create the pinata look. I cut the heart from white kraft board. For the heart box I chose to use pink.
Once your design is cut, set the box aside. We are going to begin by working on the pinata portion.

- I used 5 different colors of tissue paper. Cut a strip measuring 1.5 x 5 inches from each color.
- Begin from the bottom of the heart and using your glue stick, glue an area about 1 inch in length. The next piece of tissue paper will be glued right above the last one (about the width of the glue stick).
- Continue this process until the heart is covered with layered tissue paper.
- Trim away excess tissue paper.
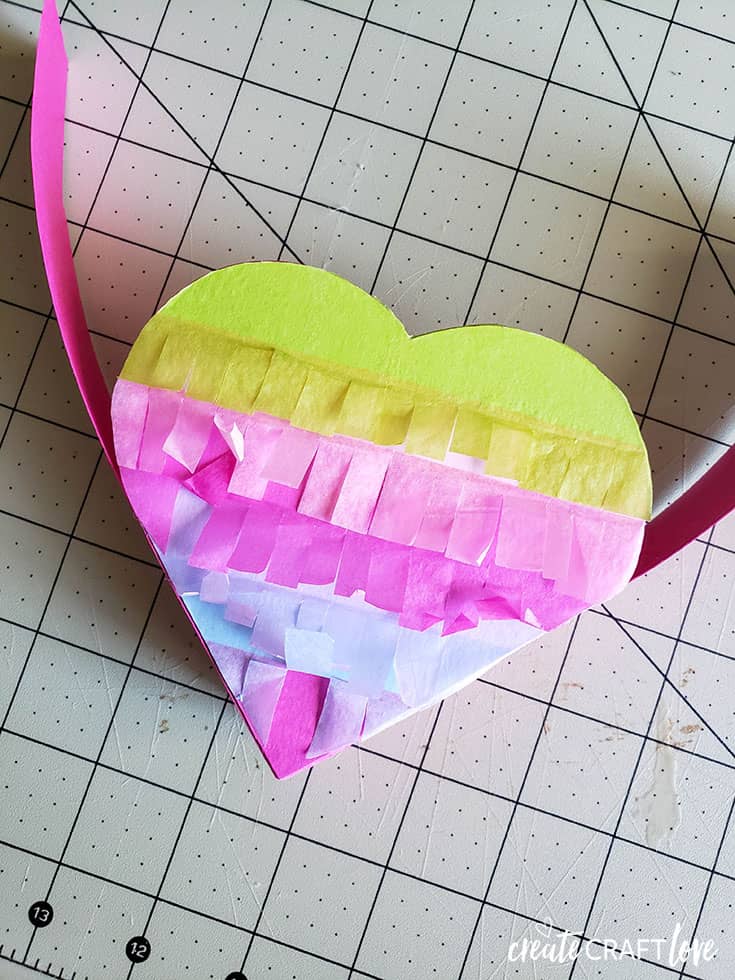
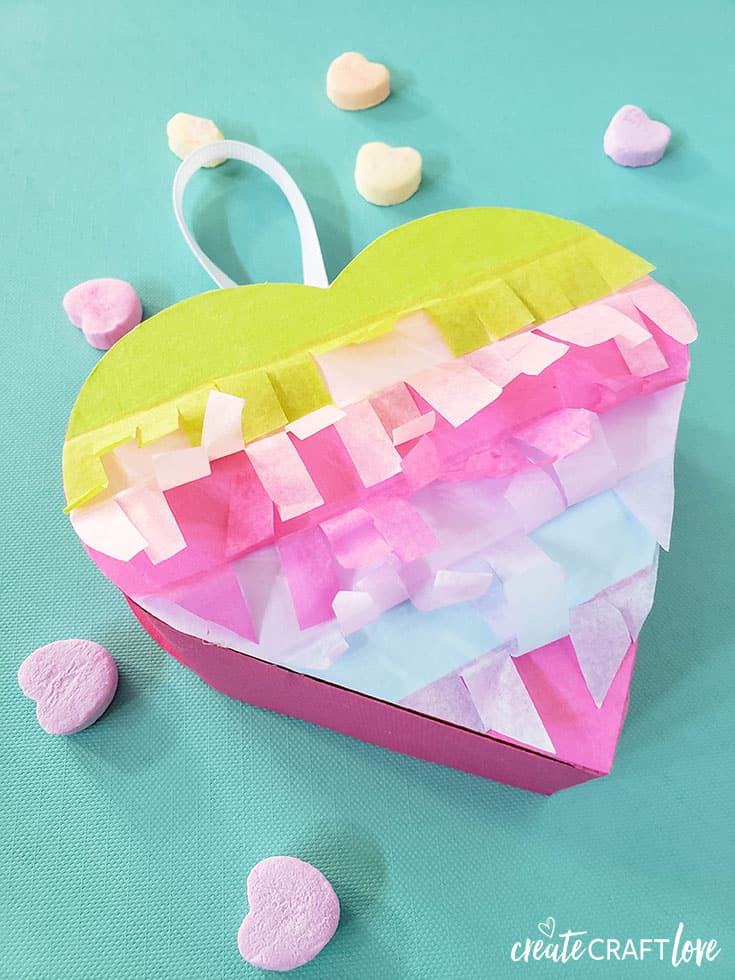
- This is what the trimmed heart should look like.
- Now starting at the top of the heart, begin cutting fringe. Work your way down each layer. Lightly fluff the fringe to make it appear curly.
Glue the heart pinata to the box.
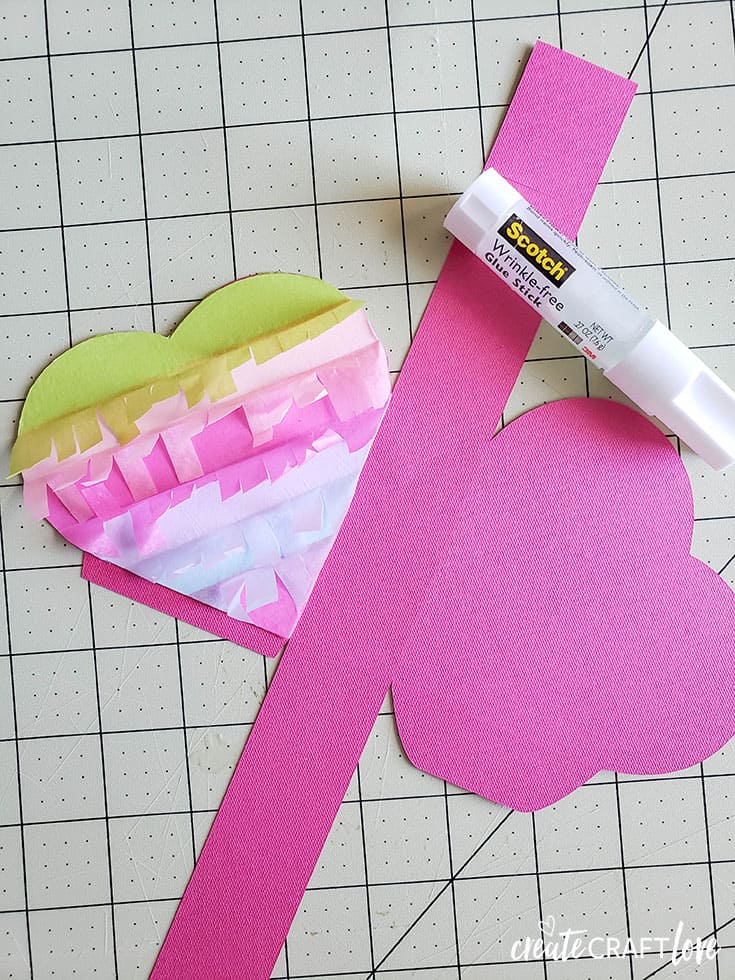
Turn the box over and fold along the scored lines.
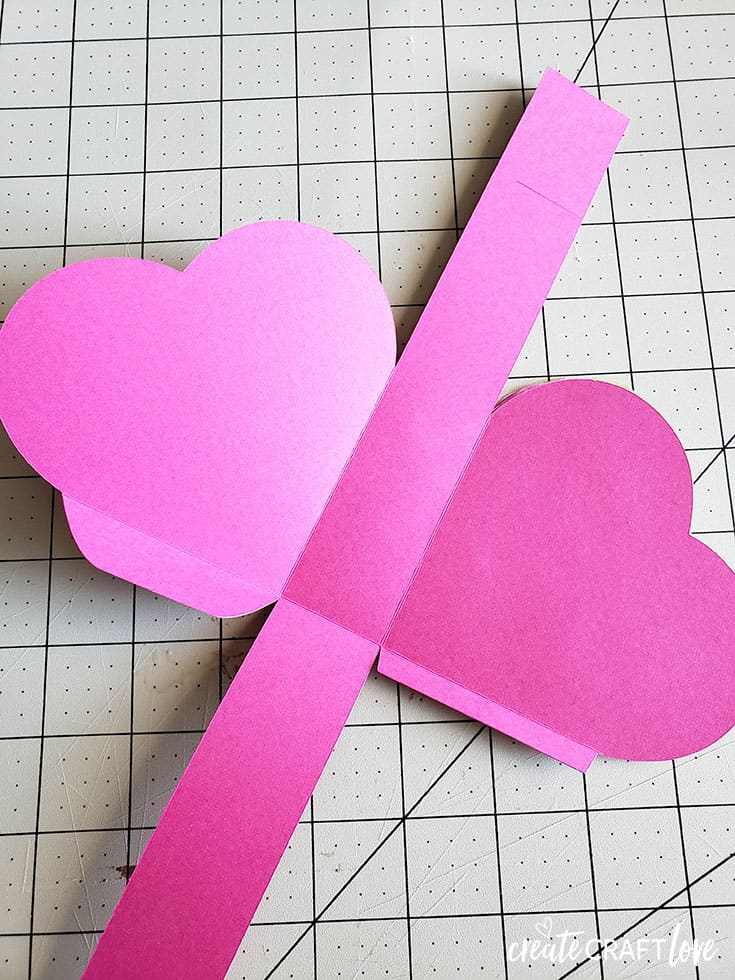
Turn box back over (pinata side facing up) and add a small amount of hot glue to the tabs on the heart. Fold the long piece up and attach the tabs to the inside of the strip.
Next, fill with your favorite Valentine candy! (I had some conversation hearts laying around from a previous project I used but these are by no means my favorite candy.)
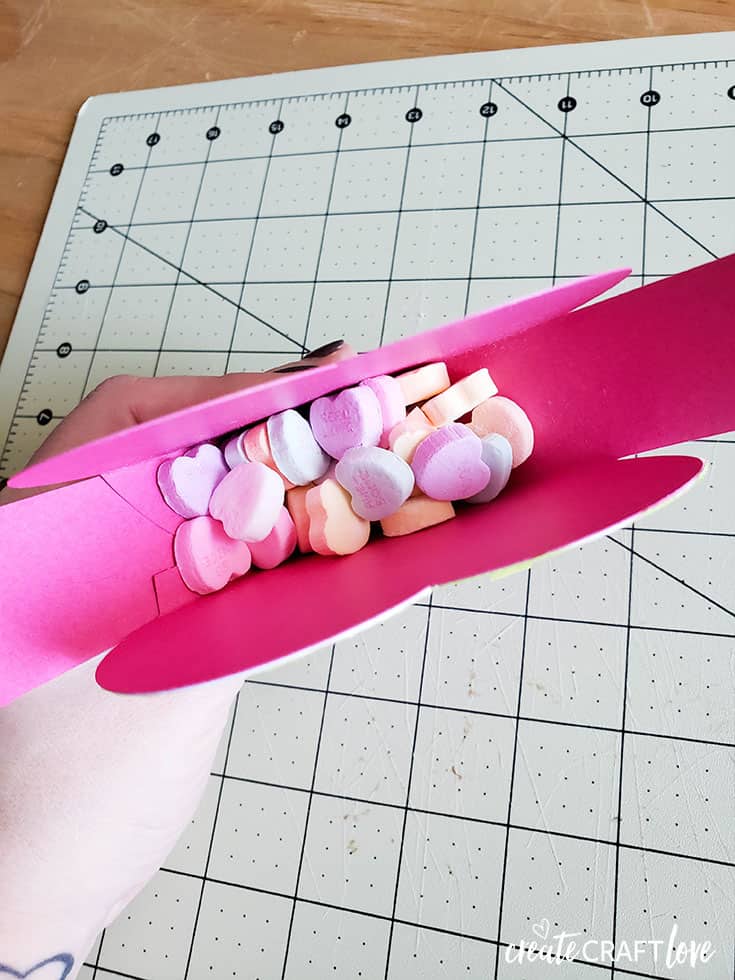
To close the box, bring the side together and attach ends together where the small cut is. Hot glue those edges to the inside of the heart to keep the box closed. Finally add a small piece of ribbon to the top of the heart.
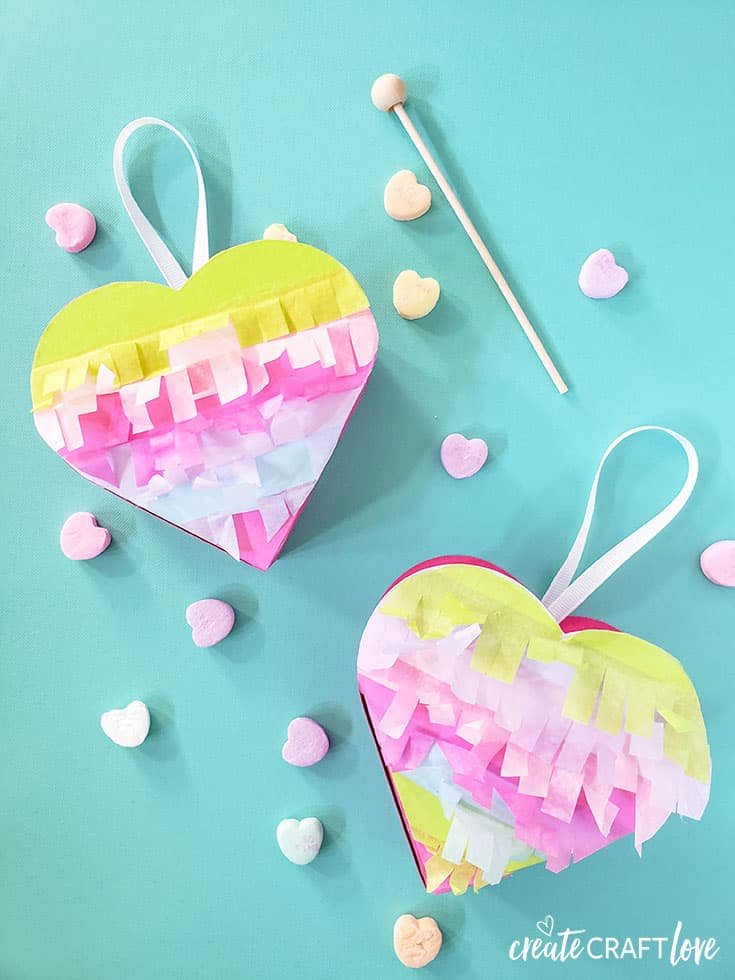
I am in love with these! They are so bright and colorful! They definitely make me smile.
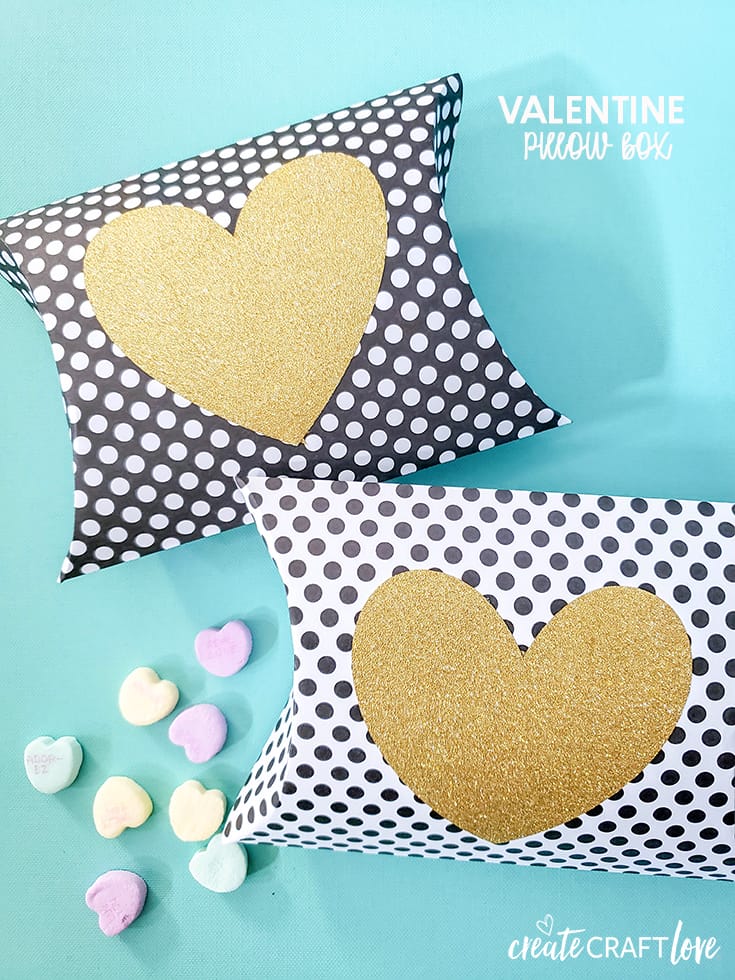
Looking for more Valentine ideas? Check out these Valentine Pillow Boxes!