This post may contain affiliate links. See my disclosure policy for more details.
This Snow Globe Ornament will make a beautiful addition to your Christmas tree decor!
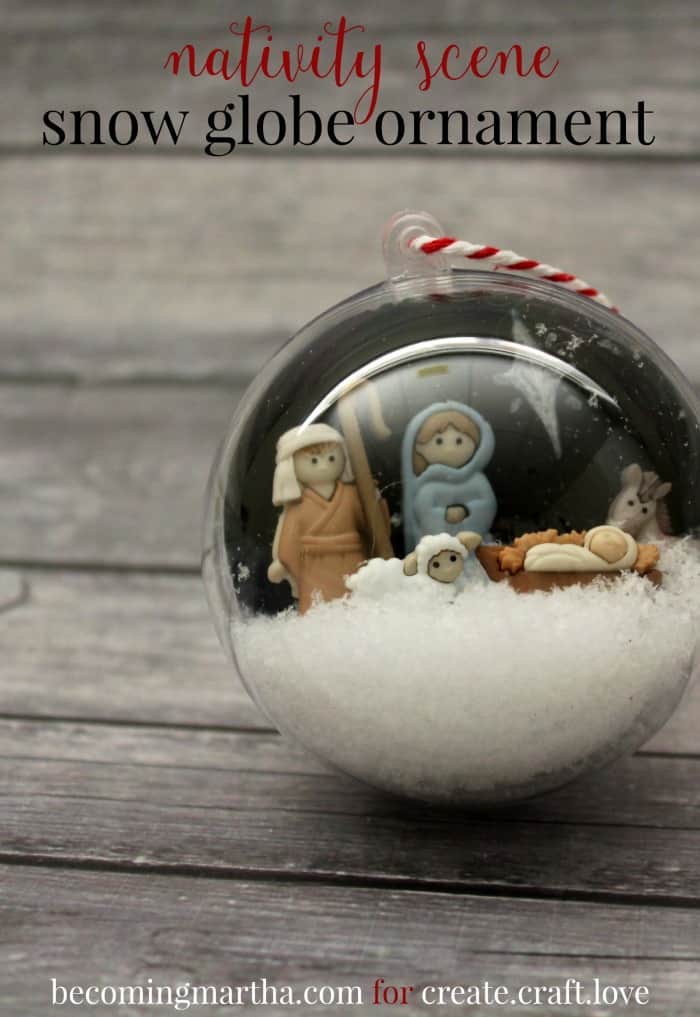
Hi everyone! I am so excited to be back again this month sharing a fun DIY snow globe ornament that you can easily create at home. When I say easy, I really mean it. If you can use a glue gun, you can create this project – that’s really all there is to it. Want to get started?
First, gather your supplies.
Materials needed for Nativity Scene Snow Globe Ornament
- a small (6 inch) styrofoam circle, or some other type of foam to cut up
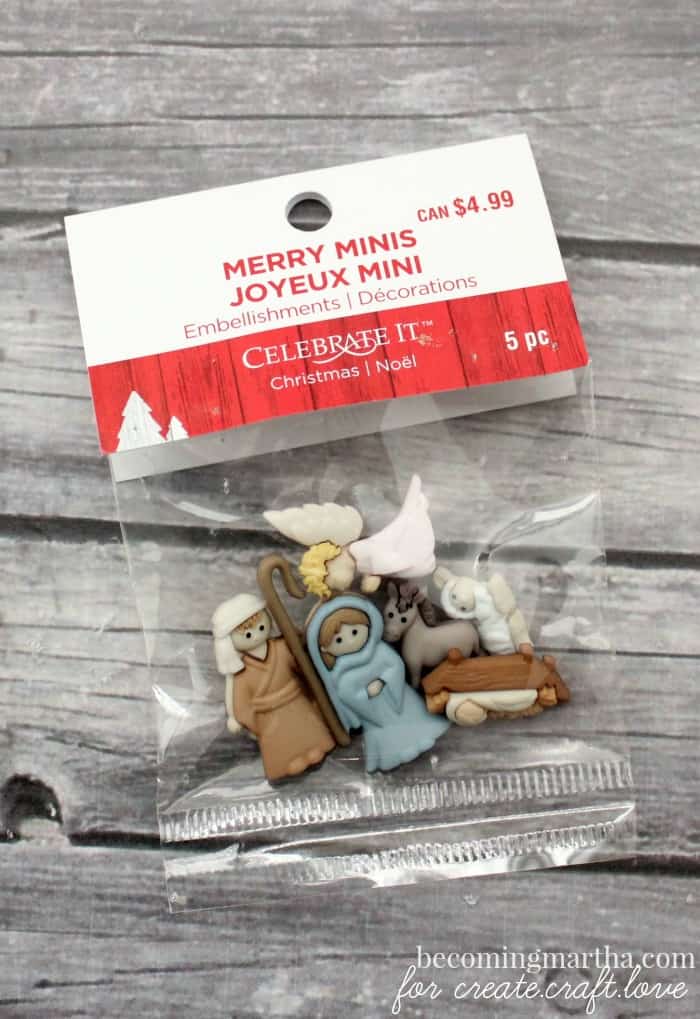
- mini nativity scene figurines (see below for more info)
- faux snow flakes
- clearn ornament (the type that comes apart in two pieces)
- a chalk pen (optional)
- black or chalkboard paper (optional)
- baker’s twine
- scissors
- hot glue gun
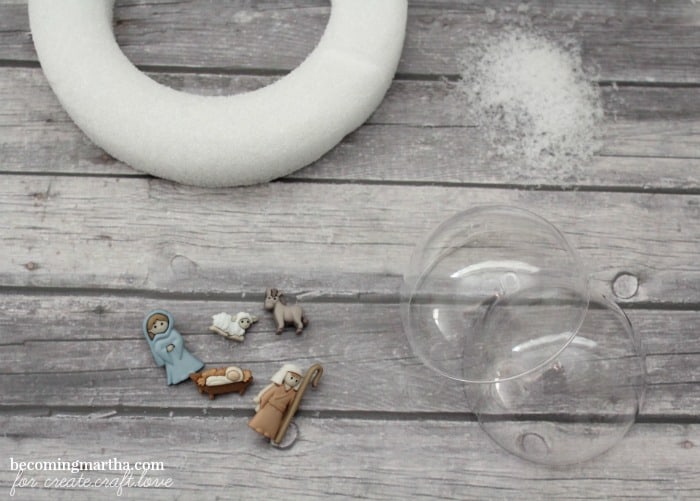
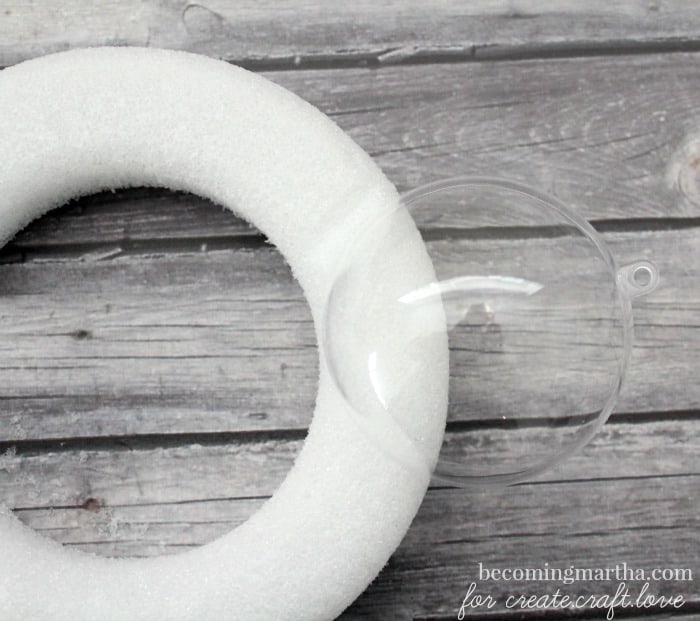
Once you have your supplies and tools together, use one half of your ornament to measure out a little base for your figurines to stand in. You can use any type of foam, but the wreath shape is nice because it gives a nice rounded edge to the base. Anything will work though, and you can always round the edges off.
Once your piece is cut out, it should look like this:
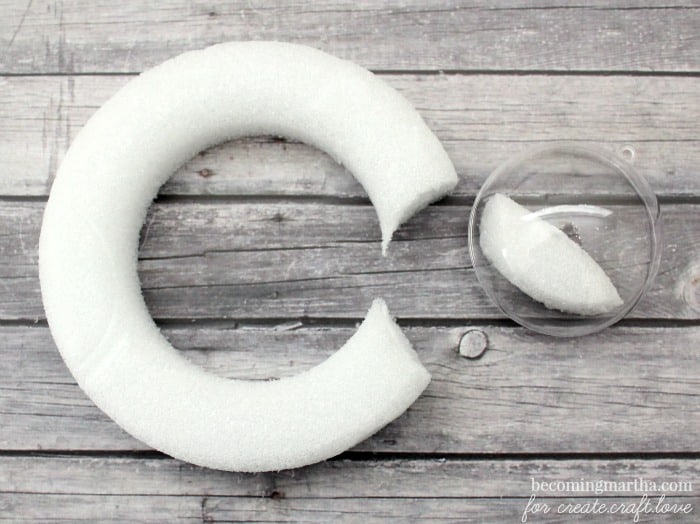
It won’t actually stay in place until you adhere it with the glue gun but as long as it fits, you’re good to go. Next, prepare your figurines. Now, let’s talk about these little cuties, shall we? I found this pack at Michaels, in the section with the miniature Christmas trees and small ornaments. I couldn’t find them online anywhere, but they were $4.99 Canadian, as you can see, but with a half off coupon, I only paid $2.50.
Using a small dab of hot glue (too much and you will melt the styrofoam), attach the figures into the foam base. It is easier if you arrange the figures before attaching the base to the ornament – I learned this the hard way as I tried to place all of those tiny pieces into the ornament. Once the figures are attached, apply a few dabs of hot glue to bottom of the ornament and stick on the base. Hold it in place until dry.
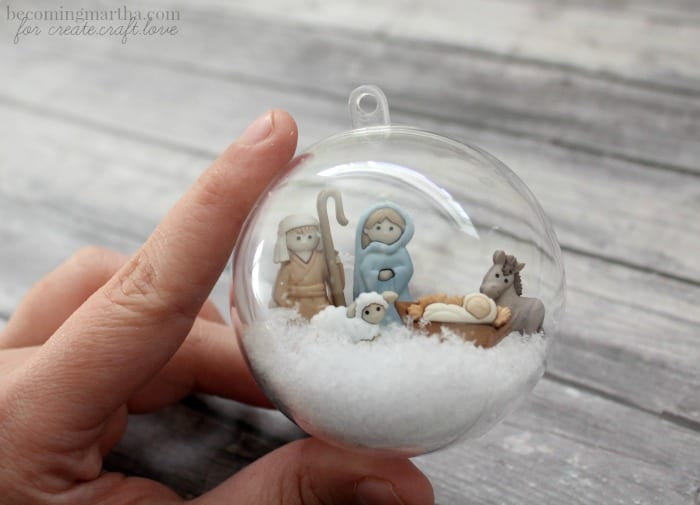
Next, sprinkle in a small amount of faux snowflakes. You can use as many as you want, just be careful not to drown your figures in snow! I made this mistake as well, and had to dump some back out. The snowflakes will go into any nooks and crannies left open by your base, and make the entire thing look like a snowy hilltop.
You could finish there, add the back, and call it a day, or you can create the night time sky backdrop like I did. To do this, you will need the black (or chalkboard) paper, a chalk marker, and some scissors.
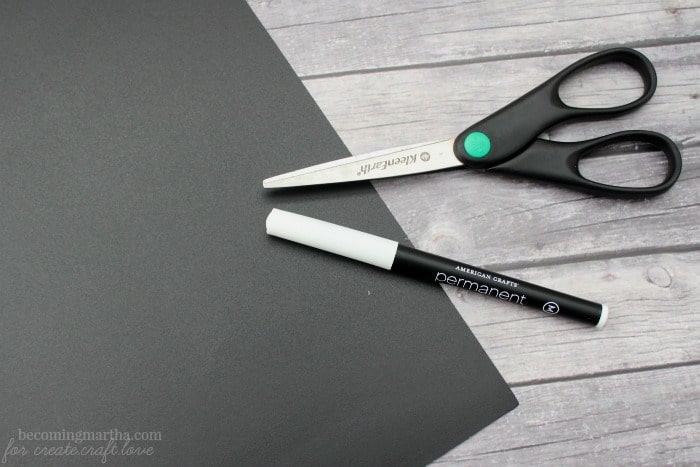
Trace around the empty half of the ornament to create a circle, and cut it out with the scissors. Draw a star in the corner using the chalk marker, and then use a little bit of hot glue to attach it to the half of the ornament with your figures.
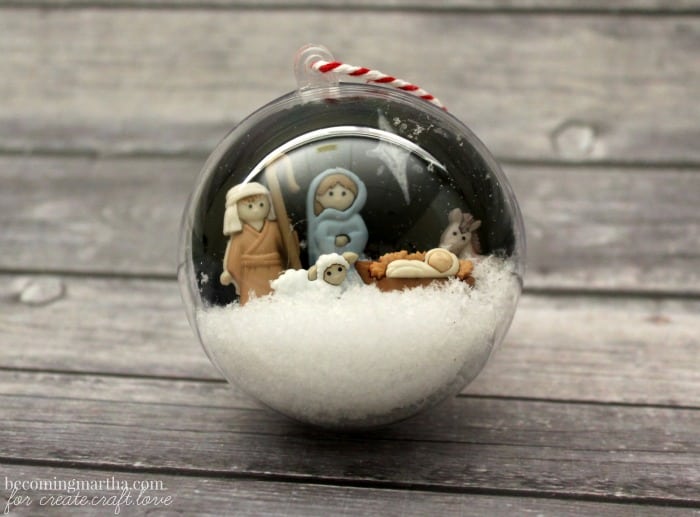
Attach the two halves of your ornament back together and create a hanging loop with some baker’s twine.
Pretty cute, right? I really love it, and it will look great hanging on our tree this Christmas. It would also make a great gift!
If you want to get a head start on your Christmas DIYs and need more ornament inspiration, head over to my blog, Becoming Martha. A search for “ornament” will give you a ton of ideas, including these popular posts:
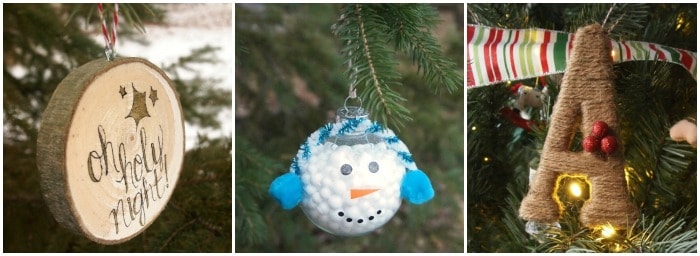
Wood Slice Ornaments / Snowman Ornaments / Twine Wrapped Monogram Ornaments
I also create a yearly post with 10 great ideas for ornaments that you can do with your kids. This will be my fourth year, so that means there will be 40 great DIY options for your kids to create! Make sure you check them out!
Thanks so much for having me again, Jill!
