• Home
  • Crafts
    • Wreaths
    • Back to School Crafts
    • Christmas Crafts
    • Father’s Day Crafts
    • Fourth of July Crafts
    • Halloween Crafts
    • Kid’s Projects
    • Mother’s Day Crafts
    • Thanksgiving Crafts
    • Valentine’s Day Crafts
  • Recipes
    • Christmas Recipes
    • Fourth of July Recipes
    • Halloween Recipes
    • Thanksgiving Recipes
    • Appetizers
    • Beverages
    • Breakfast
    • Dessert
    • Main Dish
    • Side Dish
    • Soups & Salads
    • Snacks
  • Freebies
    • Back to School Printables
    • Christmas Printables
    • Father’s Day Printables
    • Fourth of July Printables
    • Halloween Printables
    • Mother’s Day Printables
    • Thanksgiving Printables
    • Valentine’s Day Printables
  • xTool
  • About
    • About CCL
    • Privacy Policy
    • Disclosure
    • Contact Us
    • Email
    • Facebook
    • Instagram
    • Pinterest
    • RSS
    • Twitter

Create Craft Love

March 6, 2015 ·

How to Transfer Print to Wood

DIY

  • Facebook
  • Twitter

This post may contain affiliate links. See my disclosure policy for more details.

For ages I have wanted an old vintage milk crate.  No matter where I have looked (even thrift stores) they are so over priced.  When I came across this unfinished milk crate at Michaels the other day, I thought I could age it myself!  The only problem I had was getting the old stamped look on the sides.  Let me show you how to transfer print to wood!
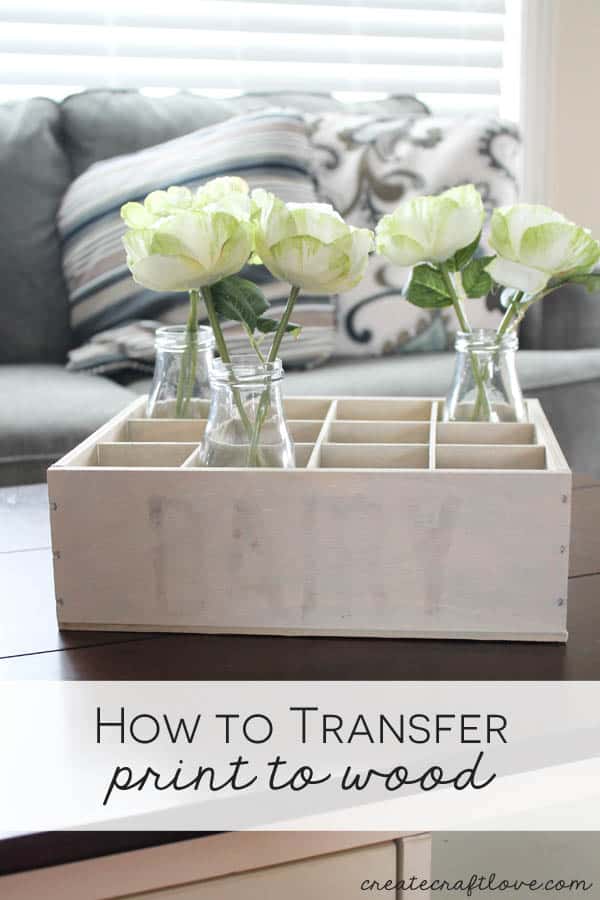
Let me show you how to transfer print to wood and create your own vintage milk crate! via createcraftlove.com

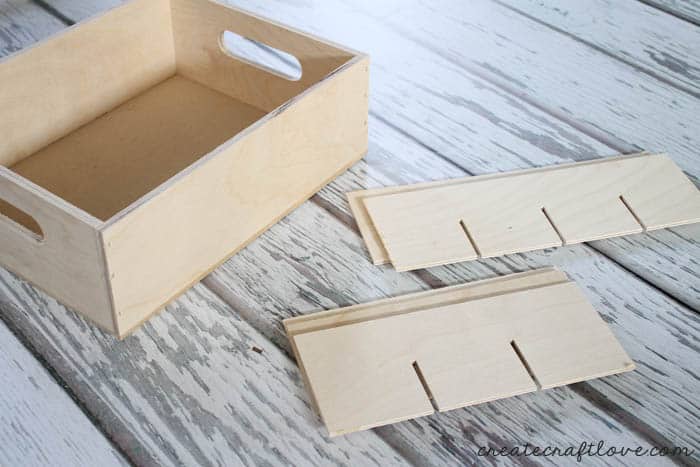
 I began with this unfinished milk crate.
milk crate 1

Remove the dividers.

milk crate 2

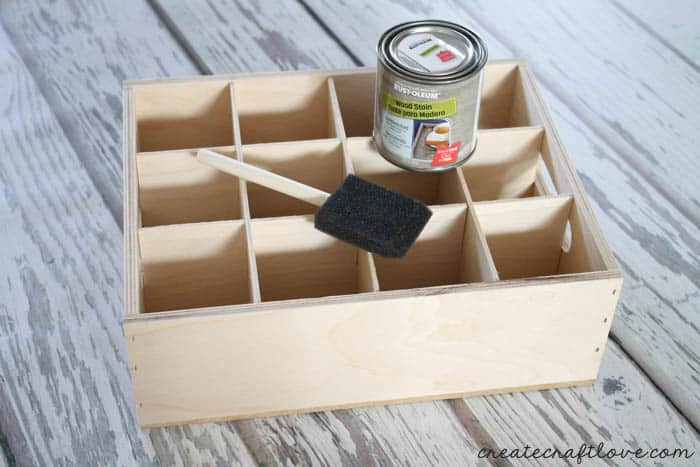
Stain the box and dividers.  I chose to use Rustoleum’s Sunbleached to get a more weathered look.  Apply as per the directions on the can.

Once dry, you can work on adding the stamp.

I created a stamp in PicMonkey that I wanted to use.  Be sure to mirror image the wording.

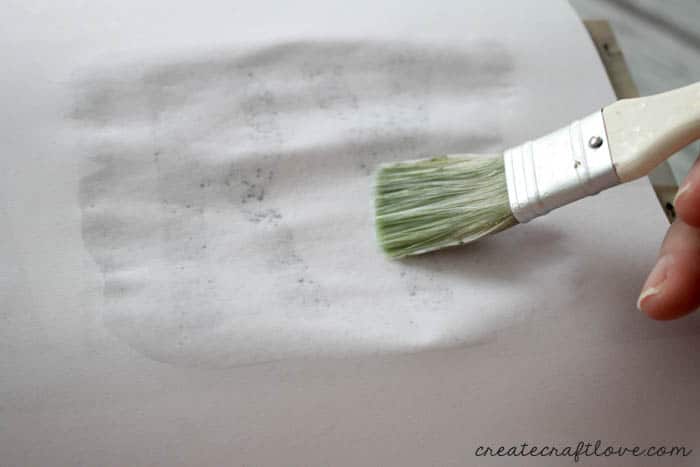
Print the stamp and tape to the milk crate – ink side against the wood.  Using a paint brush, brush water over the stamp.
milk crate 3

Be careful not to use too much water.  It will pool and run on the other side.
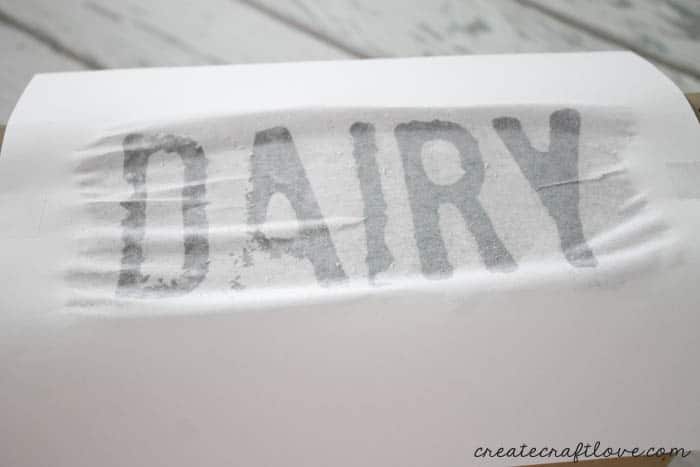
milk crate 4

I pressed the letters onto the wood to create a good “stamp”.

Gently remove the paper and pat dry.
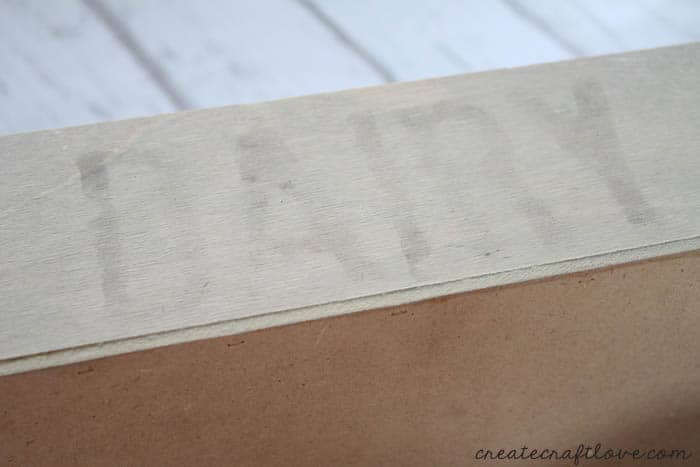
milk crate 5

How cool is that?!

I LOVE how it turned out!  It looks great on my coffee table with some spring flowers!
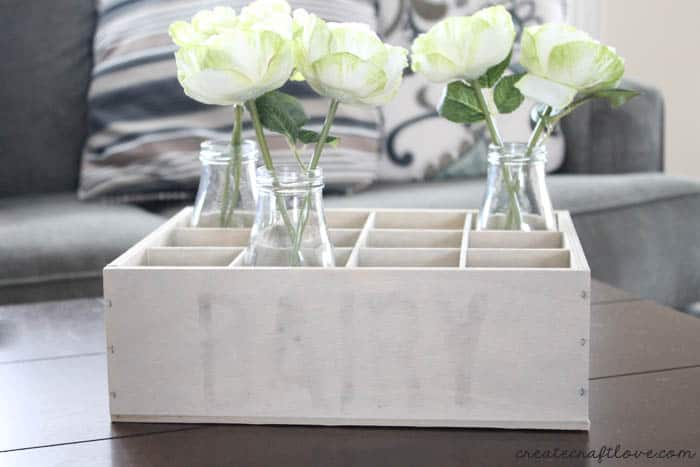
milk crate horizontal

Distressed, cottage-y decor is kinda my thing!  If you loved this, you will love my Distressed Serving Tray I made from an old cabinet door!
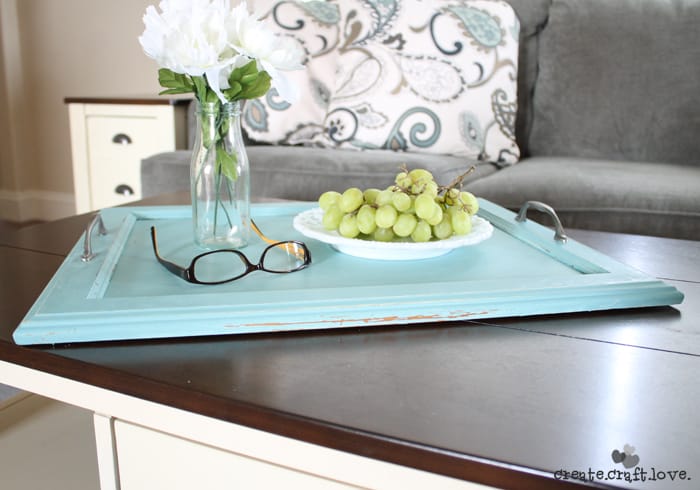
ascptrayhorizontal


About Us

We are passionate about sharing simple, fun DIY projects that anyone can tackle—whether you're a seasoned crafter or just getting started. From seasonal décor to everyday crafts, we love inspiring others to make something beautiful with their own two hands.

« Easter Muddy Buddies
DIY Superhero Easter Eggs »

Popular Posts

Winter Decorations for After Christmas
This Gold Leaf Mason Jar Vase is keeping with the trends this spring! #spring #gold #goldleaf #masonjars

HALLOWEEN

Try these Leftover Halloween Candy Recipes!
I whipped up this Haunted House Pillow with a little iron on vinyl! via createcraftlove.com

THANKSGIVING

Add a little something extra to your table with these Hand Stamped Placemats! via createcraftlove.com

CHRISTMAS

Lovin' the rustic look of these Twine and Twig Christmas Ornaments! via createcraftlove.com
More Pool Noodle Hacks: Christmas Edition! via createcraftlove.com
mod podge gift tags
© 2019 · Create Craft Love·
  • Pinterest
  • Facebook
  • Twitter