This post may contain affiliate links. See my disclosure policy for more details.
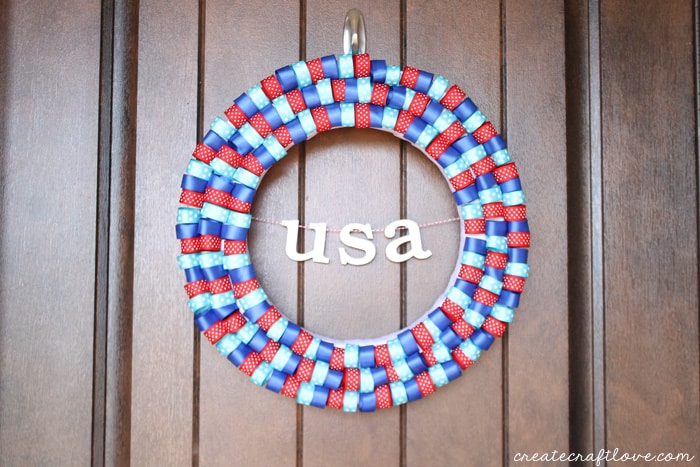
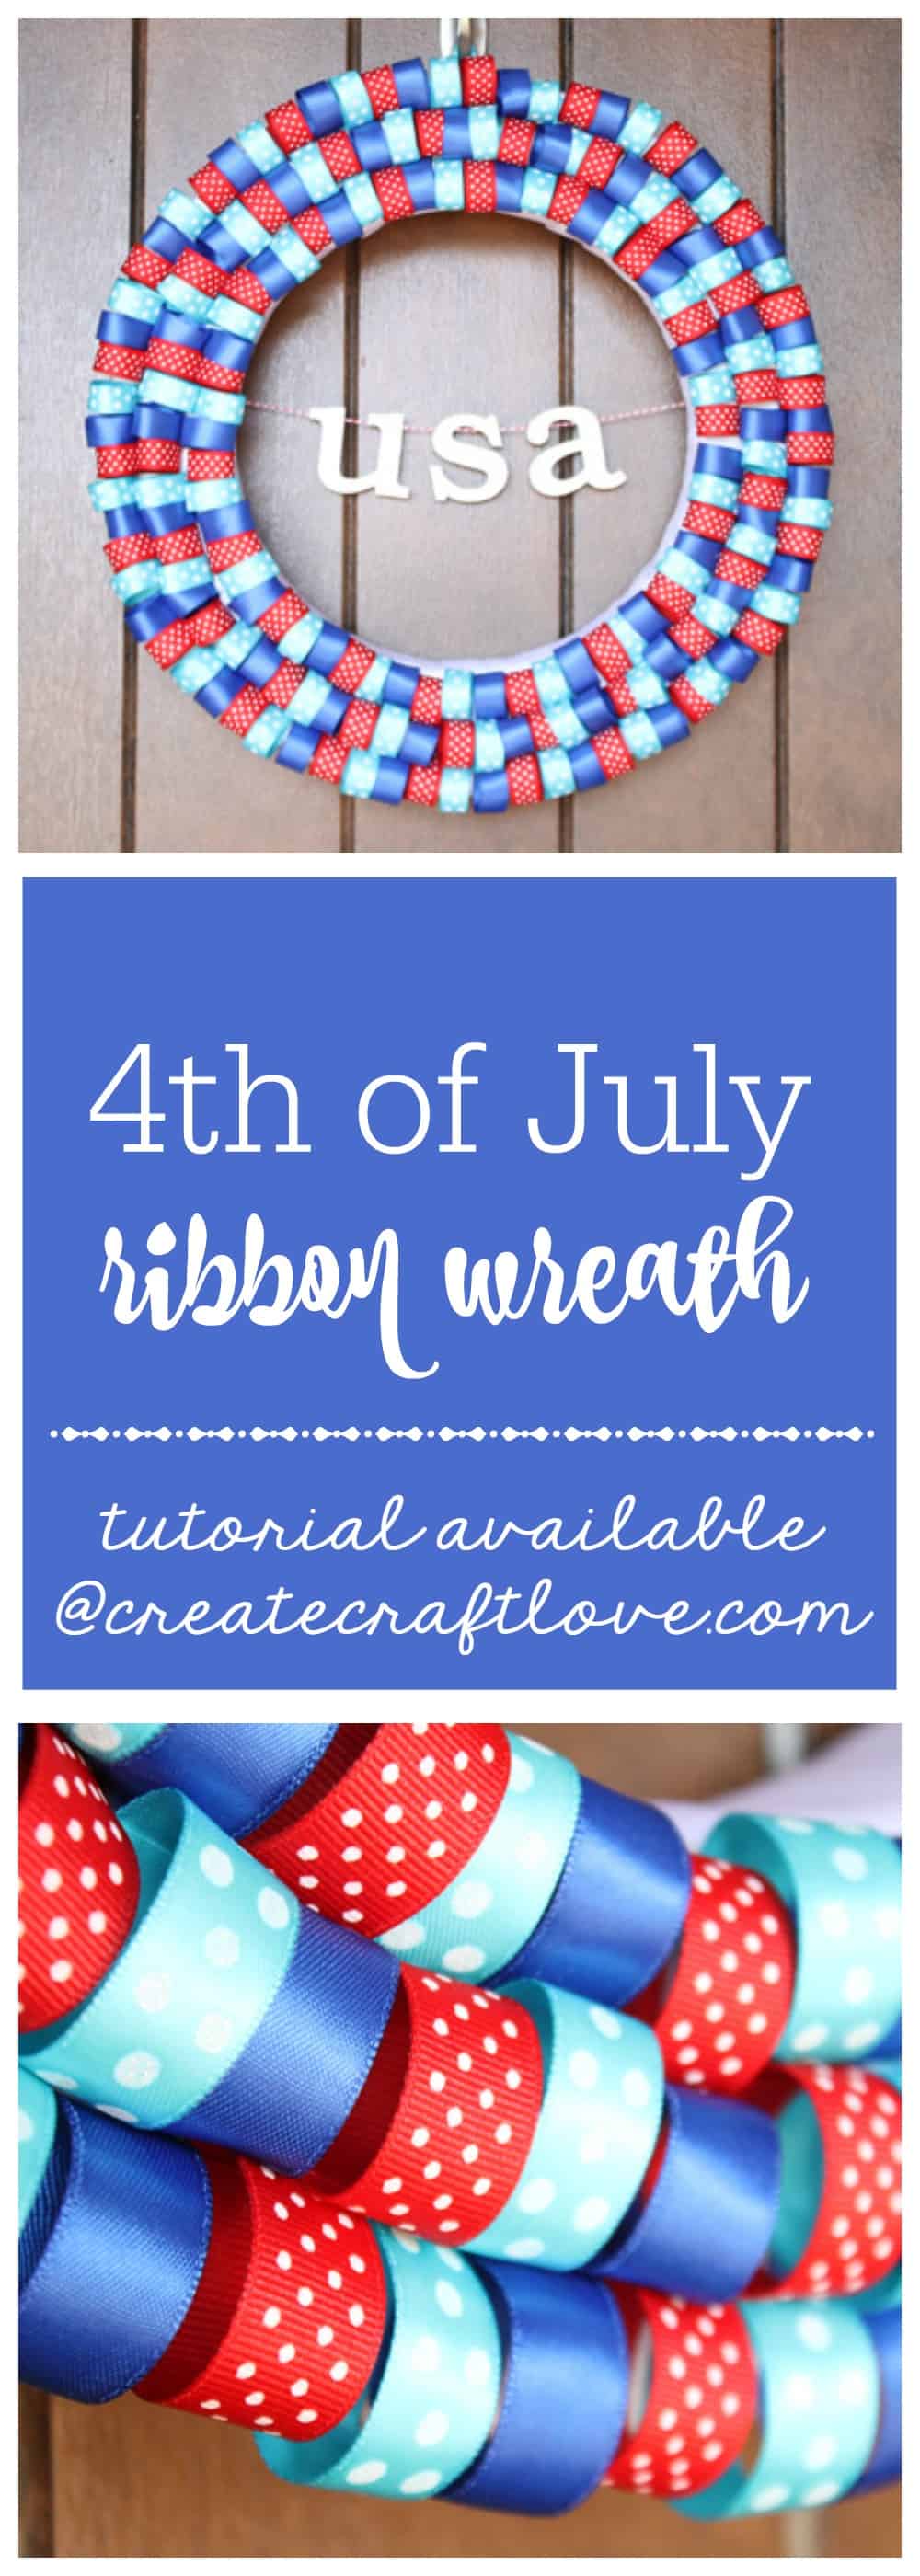
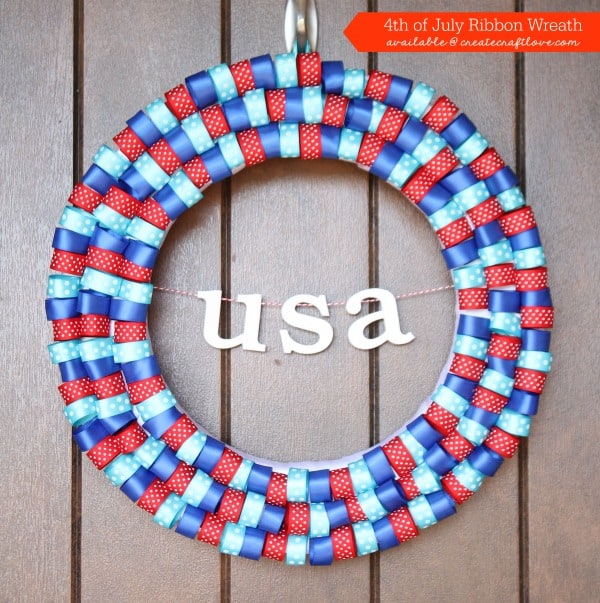
Every 4th of July I change up my wreath. And every year, I fall in love with it. The Americana appeals to me. This year I decided to channel my Halloween Ribbon Wreath as I created this new one! This 4th of July Ribbon Wreath is your typical red, white and blue decor with a pop of aqua!

This post contains some affiliate links for your convenience. Click here to read my full disclosure policy.
MATERIALS NEEDED FOR 4TH OF JULY RIBBON WREATH:
- 16 inch foam wreath form
- 3 rolls of 1.5 inch white satin ribbon
- Hot glue gun
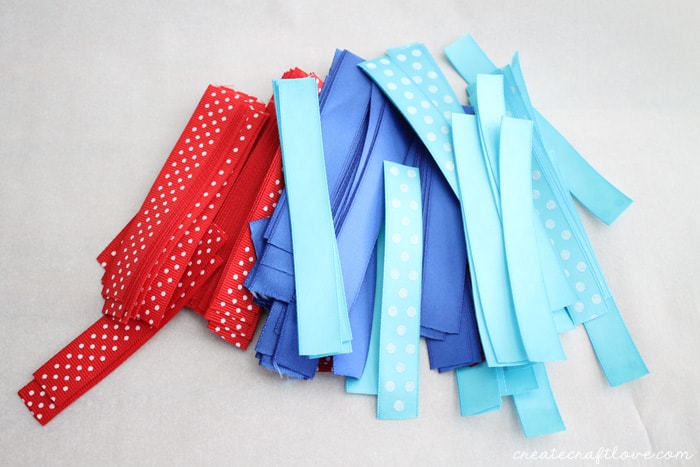
- 2 rolls of Celebrate It 360 Satin with Glitter Dots Turquoise/White
- 2 rolls of Celebrate It 360 5/8 inch Blue Satin Ribbon
- 2 rolls of Celebrate It 360 Grosgrain Red Ribbon, Small White Polka Dots
- 1 package of Recollections Adhesive Glitter Chipboard Letters in white
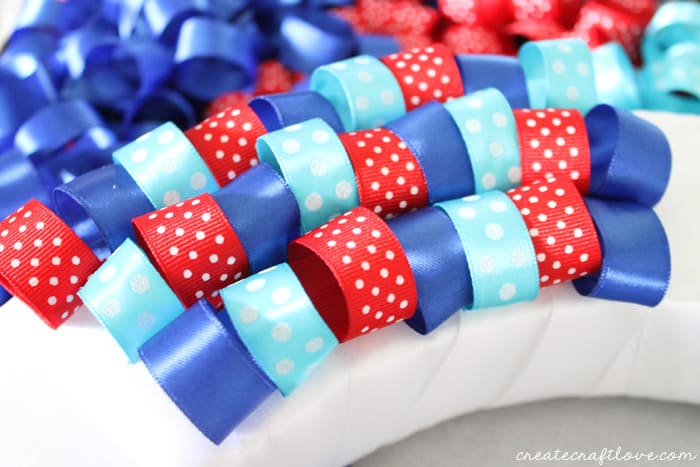
I begin each ribbon wreath by wrapping the wreath form in satin ribbon. This allows for a crisp clean finished look instead of the foam showing. Simply place a small dab of hot glue on the end of the ribbon and begin wrapping the foam. When you get to the end of the roll, hot glue in place on the back of the wreath and trim any excess. You will probably need multiple rolls of satin ribbon to cover the 16 inch wreath form. Keep repeating the above steps until the wreath is covered. Set aside.
Next, you will begin cutting your colored ribbon into 6 inch strips. Only cut one roll of each color of ribbon at a time. I barely needed any from the second rolls.
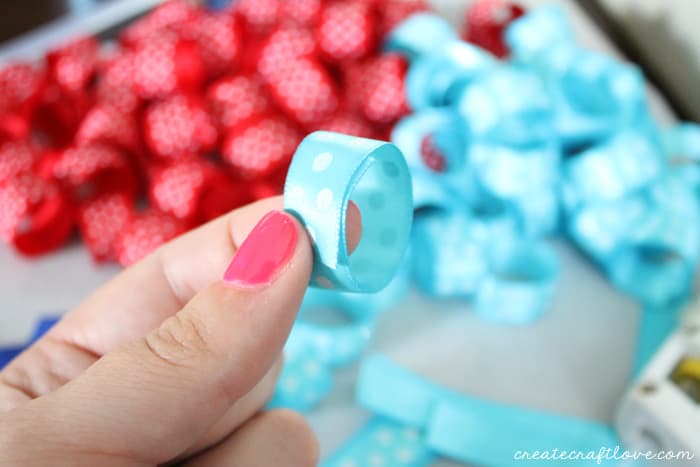
Now you will begin making your ribbon loops. Create a circle with the ribbon around your fingers. Hot glue the end in place. I put on Serendipity and began rolling and gluing ribbon.
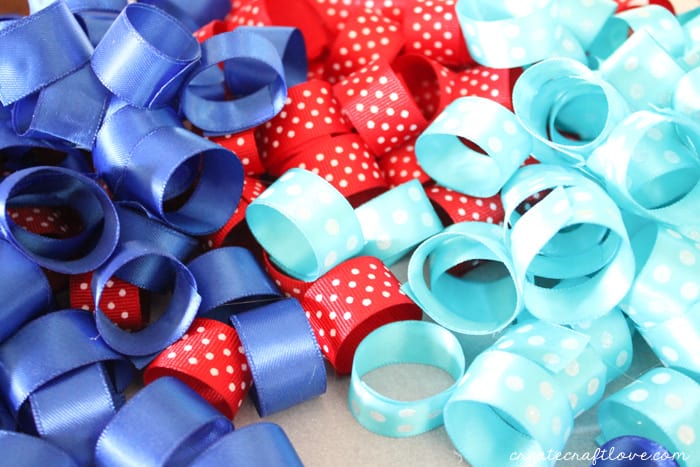
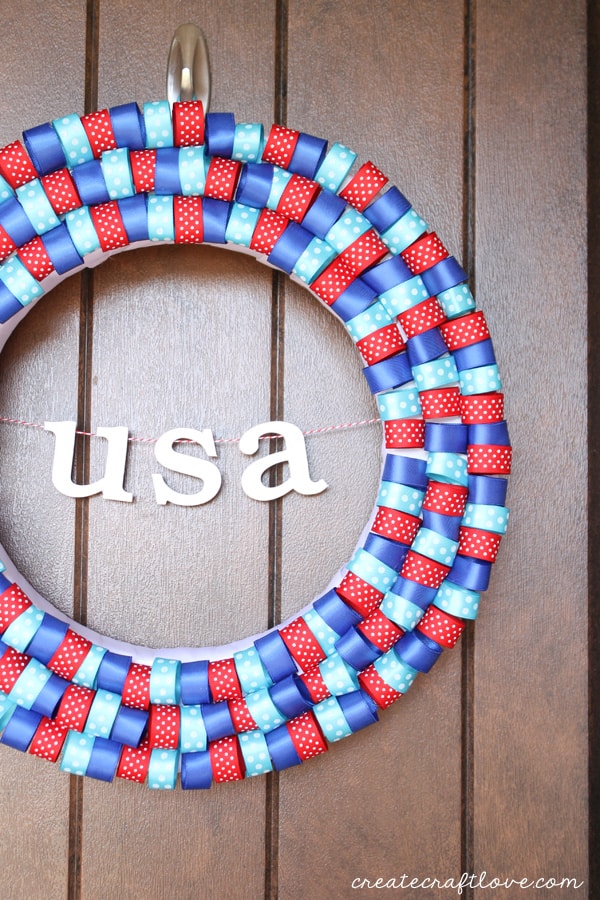
Once all of the ribbon is cut, decide on your pattern. I simply alternated red, blue aqua. Hot glue the ribbon loops to your wrapped wreath. I begin on the outside edge and work my way around the circle and towards the middle. Keep gluing the ribbon loops until the front side of the wreath is covered.
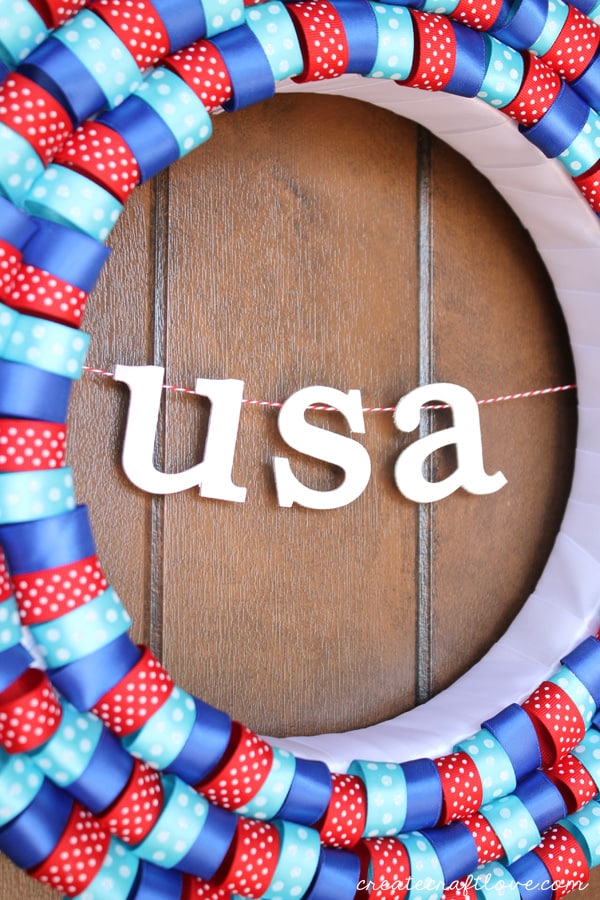
Once the wreath is covered, turn it over to add the lettering. Hot glue the “USA” on some bakers twine and then glue the edges of the twine to the back of the wreath.
To hang, create another ribbon loop and glue in place on the top of the back of the wreath.
I am in LOVE with this wreath! It looks so cute with my red Ice Cream Parlor Table and Chairs!
Have you ever made a ribbon wreath? I know they can be time consuming but they turn out so pretty!
I’d LOVE for you to pin this image!
Share this image on Facebook!
Click HERE to see more of our wreaths!
